Featured image for how to hang costco outdoor string lights
Image source: i.ytimg.com
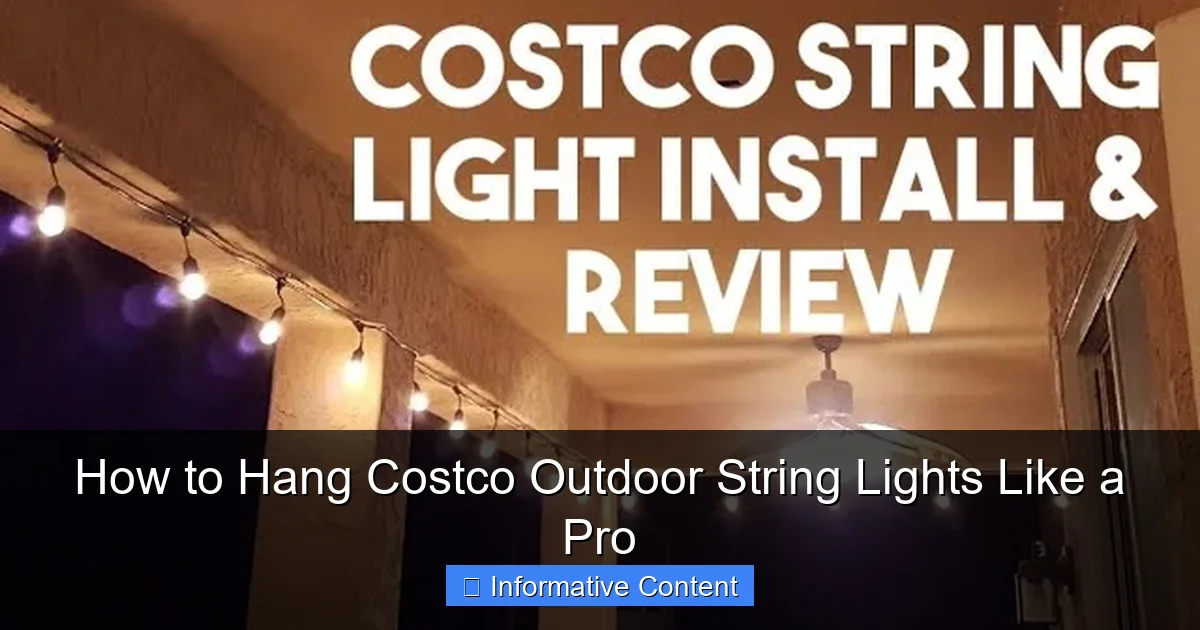
Hanging Costco outdoor string lights like a pro starts with planning your layout and measuring the space to ensure even spacing and proper tension. Use weather-resistant hooks or zip ties to secure the lights without damaging surfaces, and always connect them to a GFCI outlet for safety. With these simple steps, you’ll create a stunning, long-lasting outdoor ambiance effortlessly.
Key Takeaways
- Plan layout first: Measure space and mark anchor points for even spacing.
- Use sturdy anchors: Install hooks or eye bolts into solid structures for safety.
- Check bulb spacing: Align lights with your design for balanced illumination.
- Secure with zip ties: Fasten cords discreetly to avoid sagging or tangling.
- Weatherproof connections: Use outdoor-rated plugs and seal joints for durability.
- Test before finalizing: Ensure all bulbs work and adjust tension if needed.
📑 Table of Contents
- Why Hanging Outdoor String Lights Can Transform Your Backyard
- Choosing the Right Costco Outdoor String Lights for Your Space
- Planning Your Layout: Measure, Map, and Avoid Common Mistakes
- Essential Tools and Materials for a Secure, Long-Lasting Installation
- Step-by-Step Guide to Hanging Your Lights Like a Pro
- Maintenance and Longevity: Keeping Your Lights Glowing Year After Year
- Comparison of Popular Costco Outdoor String Light Models
Why Hanging Outdoor String Lights Can Transform Your Backyard
There’s something magical about outdoor string lights. They turn a plain backyard into a cozy, inviting space perfect for evening chats, weekend barbecues, or quiet nights under the stars. I remember the first time I hung a set of Costco outdoor string lights in my backyard—what started as a simple project turned into a total game-changer. The glow instantly made the space feel warm and welcoming, and I found myself spending way more time outside.
But let’s be honest: hanging lights isn’t always as easy as it looks. I’ve seen too many people end up with sagging wires, tangled cords, or lights that barely last a season. The good news? With the right tools, a little planning, and some pro tips, you can hang Costco outdoor string lights like a seasoned pro—no electrician degree required. Whether you’re lighting up a patio, a deck, or your entire backyard, this guide will walk you through every step, from choosing the right lights to securing them safely and stylishly.
Choosing the Right Costco Outdoor String Lights for Your Space
Before you grab a ladder and start hammering nails, it’s important to pick the right type of Costco outdoor string lights. Not all lights are created equal, and the best choice depends on your space, style, and how you plan to use them.
Visual guide about how to hang costco outdoor string lights
Image source: i.ytimg.com
Types of Outdoor String Lights Available at Costco
Costco carries a variety of outdoor string lights, and each has its own strengths. Here’s a quick breakdown of the most common types you’ll find:
- LED Edison Bulbs: These are the classic, warm-glowing bulbs that mimic vintage incandescent lights. They’re energy-efficient, long-lasting, and perfect for creating a nostalgic, café-style ambiance. Costco often sells these in 48-foot strands with shatterproof bulbs.
- Commercial-Grade String Lights: Designed for durability, these are thicker, weather-resistant, and often come with a lifetime warranty. They’re ideal if you live in an area with harsh weather or want lights that last for years.
- Twinkle or Color-Changing LEDs: For a festive touch, some sets offer twinkling modes or RGB color options. These are great for parties but might be overkill for everyday use.
- Solar-Powered String Lights: No outlet? No problem. These run on sunlight and are perfect for remote areas like a garden or gazebo. Just keep in mind they may not shine as brightly or last as long as plug-in versions.
Pro tip: Check the product details for key specs like bulb count, spacing (usually 12 or 24 inches), IP rating (look for IP65 or higher for full weather resistance), and whether they’re dimmable or compatible with smart plugs.
Matching Lights to Your Outdoor Layout
Think about how you want to use your lights. Are you creating a romantic dining area? Highlighting a walkway? Lighting up a large open yard? Your answer will shape your choice.
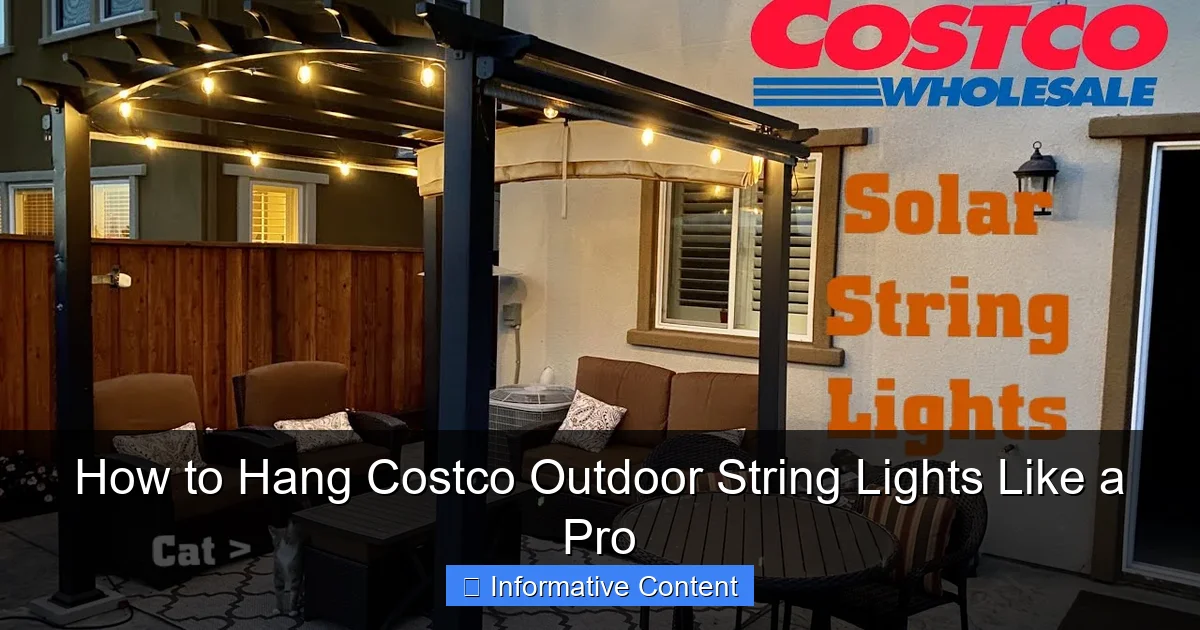
- Patio or Deck: A single strand of Edison-style lights strung across the perimeter works beautifully. You can even hang them in a zigzag pattern from posts to a pergola for extra charm.
- Large Backyard: Go for multiple strands or use commercial-grade lights with a higher lumen output. Consider using a central pole or tree as an anchor point to create a canopy effect.
- Garden or Pathway: Solar-powered lights with soft, warm LEDs add a gentle glow. Use them along borders or wrap them around tree trunks for a fairy-tale look.
I once tried using cheap, non-weatherproof lights on my deck—big mistake. After one rainy season, half the bulbs burned out. Lesson learned: invest in quality. The Costco outdoor string lights with commercial-grade construction have held up through three winters, snowstorms and all.
Planning Your Layout: Measure, Map, and Avoid Common Mistakes
You wouldn’t build a house without a blueprint, right? The same goes for hanging outdoor lights. A little planning now saves a lot of frustration later.
Measure Your Space (Twice!)
Grab a tape measure and map out your area. Measure the distance between anchor points—like posts, trees, eaves, or railings. Write it down. Then, add 10–15% extra length to your total for slack, curves, and connections. Most Costco outdoor string lights come in 24-, 48-, or 96-foot strands, so plan accordingly.
For example, if your patio is 20 feet long and you want lights running from the house to a pergola, that’s 20 feet. But if you’re going to zigzag or drape them slightly, you might need a 48-foot strand. Better to have a little extra than not enough.
Map Your Power Source
Most outdoor lights need an outlet. Identify the nearest GFCI (ground fault circuit interrupter) outdoor outlet. If you don’t have one, consider installing one—this is a job for a licensed electrician. Never run extension cords across walkways (safety hazard!), and avoid daisy-chaining more than three strands unless the manufacturer explicitly allows it.
I once tried powering five strands from one outlet using multiple splitters. The lights flickered, the breaker tripped, and my wife was not amused. Stick to the manufacturer’s recommendations—usually 2–3 strands max per outlet.
Sketch a Simple Diagram
Grab a piece of paper or use a free app like SketchUp or even Google Drawings. Sketch your yard, mark anchor points, and draw where the lights will go. This helps you visualize the final look and avoid over-lighting or awkward gaps.
Bonus tip: Take a photo of your space during the time of day you’ll use the lights most. This helps you see shadows, glare, and where the light will fall.
Avoid These 3 Common Mistakes
- Over-tightening: Pulling lights too tight can damage the wire and create tension on anchor points. Leave a slight sag (like a catenary curve) to handle wind and temperature changes.
- Ignoring Weather Exposure: If a section of your layout gets full sun or heavy rain, make sure those lights are rated for it. Not all “outdoor” lights are truly weatherproof.
- Forgetting Accessibility: Don’t hang lights so high or in such a way that you can’t change a bulb or unplug them easily. Leave a clear path to the plug and any switches.
<
Essential Tools and Materials for a Secure, Long-Lasting Installation
You don’t need a full workshop, but having the right tools makes the job faster, safer, and more professional-looking.
Must-Have Tools
- Ladder (or extension pole): For reaching eaves, trees, or high posts. Use a sturdy, non-conductive fiberglass ladder if working near power lines.
- Measuring tape: Already mentioned, but worth repeating. Measure everything.
- Drill and bits: For installing hooks or eye screws into wood, concrete, or brick.
- Hammer: For driving nails or stakes (if using ground anchors).
- Scissors or wire cutters: For trimming zip ties or cutting mounting tape.
- Stud finder (optional): If attaching to a house, this helps locate studs for secure mounting.
Mounting Hardware Options
How you attach the lights depends on your surface. Here are the best options:
- Eye Screws or Hooks: Great for wood, eaves, or pergolas. Drill a pilot hole, then twist the screw in. Use stainless steel or galvanized to prevent rust.
- Adhesive Mounts (Command Outdoor Hooks): No drilling? These heavy-duty adhesive hooks work on smooth surfaces like stucco or metal. I used these on my vinyl fence and they’ve held strong for two years.
- Zip Ties: Quick and cheap, but not always the most secure. Use UV-resistant zip ties and avoid over-tightening.
- Clips or Hangers: Some Costco outdoor string lights come with built-in clips or loops. Use these to attach to gutters, railings, or fences.
- Ground Stakes or Poles: For open yards, install metal or PVC poles with hooks at the top. These can be temporary or permanent.
Safety Gear
- Gloves: Protect your hands from splinters, sharp edges, or cold metal.
- Safety glasses: Especially when drilling or hammering.
- Non-slip shoes: Ladders and wet surfaces don’t mix.
Real-world example: I once used regular plastic zip ties on my deck lights. After six months, they cracked in the sun and the lights fell. Switched to stainless steel eye screws—no issues since.
Step-by-Step Guide to Hanging Your Lights Like a Pro
Now for the fun part: actually hanging the lights. Follow these steps, and you’ll get a clean, secure, and beautiful result.
Step 1: Install Anchor Points
Start by installing your hooks, screws, or adhesive mounts. Space them 4–6 feet apart, depending on the weight of the lights and wind exposure. For long spans, add extra anchors in the middle to prevent sagging.
If using adhesive hooks, clean the surface with rubbing alcohol first. Press firmly and let cure for 24 hours before hanging anything.
Step 2: Test the Lights
Before hanging, plug in the lights to make sure all bulbs work. Replace any dead bulbs. Trust me, it’s way easier to fix this on the ground than up a ladder.
Step 3: Hang the First End
Start at the plug end. Attach the first hook to the anchor point closest to the outlet. Leave a small loop of cord (about 6–12 inches) to allow for movement and strain relief. This prevents the plug from pulling out in strong wind.
Step 4: Work Your Way Across
Move from anchor to anchor, gently draping the lights. Don’t pull tight yet. Use the built-in clips or attach with zip ties or hooks. For a natural look, let the lights sag slightly between points—this also helps them move with the wind instead of snapping.
If you’re using multiple strands, connect them end-to-end before hanging. But again, don’t exceed the manufacturer’s recommended number of connected strands.
Step 5: Secure the Final End
Once the lights are in place, secure the final end. Leave a little slack here too. Then, go back and adjust each anchor point. Use zip ties or clips to secure loose sections, but don’t over-tighten.
Step 6: Manage the Power Cord
Run the cord neatly along a wall, railing, or under an eave. Use adhesive clips or zip ties to keep it off the ground. If the cord runs across a walkway, use a cord cover or run it under a mat (temporarily).
For a clean look, tuck excess cord into a weatherproof box or behind a planter. Some people even bury the cord in a shallow trench (use a conduit for protection).
Step 7: Test and Adjust
Turn on the lights and walk around. Look for dark spots, glare, or sagging. Make small adjustments as needed. If a section is too bright, add a sheer curtain or plant in front to diffuse the light.
Maintenance and Longevity: Keeping Your Lights Glowing Year After Year
Good installation is just the start. To keep your Costco outdoor string lights shining bright, a little TLC goes a long way.
Seasonal Care Tips
- Fall: Before winter, check for frayed wires, loose bulbs, or damaged sockets. Replace any faulty parts. If you live in a snowy area, consider taking down lights or using a protective cover.
- Winter: If left up, brush off snow gently. Avoid yanking on the lights to remove ice. Let it melt naturally.
- Spring: Inspect for sun damage, rust on hooks, or loose mounts. Tighten screws, replace broken bulbs, and clean the lenses with a damp cloth.
- Summer: Check for UV damage—especially on plastic parts. Replace any cracked or brittle components.
Cleaning and Storage
To clean, unplug the lights and wipe bulbs with a microfiber cloth. For stubborn grime, use a mild soap and water solution. Never use abrasive cleaners.
If you take them down, store them loosely coiled in a breathable bag or box. Avoid tight knots—they can damage the wires. I keep mine in a labeled bin with silica gel packets to prevent moisture buildup.
When to Replace vs. Repair
- Replace: If more than 20% of bulbs are out, or if the cord is frayed or cracked.
- Repair: A single dead bulb? Try replacing it. A loose socket? Use electrical tape. A minor wire nick? Wrap with weatherproof tape.
Remember, Costco outdoor string lights often come with generous warranties—some even lifetime. Keep your receipt and check the policy. I got a free replacement strand after two years when mine failed—no questions asked.
Comparison of Popular Costco Outdoor String Light Models
| Model | Length | Bulb Type | Weather Rating | Warranty | Best For |
|---|---|---|---|---|---|
| Sunset Lighting 48-ft Edison | 48 ft | LED, Shatterproof | IP65 | Lifetime | Patios, decks, pergolas |
| Brightech Commercial Grade | 96 ft | LED, Edison-style | IP67 | Lifetime | Large yards, events |
| Costco Solar String Lights | 30 ft | Solar-powered LED | IP65 | 2 years | Gardens, pathways, gazebos |
| TwinklePro Color-Changing | 48 ft | RGB LED | IP66 | 3 years | Parties, holidays |
This table gives you a quick way to compare top models. The Sunset Lighting set is my go-to for everyday use—durable, beautiful, and backed by a lifetime warranty. For big spaces, the Brightech Commercial Grade is worth the extra cost.
Hanging Costco outdoor string lights isn’t just about adding light—it’s about creating a mood, a space, a feeling. With the right lights, a solid plan, and a few pro tips, you can transform your backyard into a place you’ll love to spend time in, no matter the season. Don’t rush it. Take your time with the layout, use quality hardware, and don’t be afraid to tweak things until they feel just right. And remember: the best lighting isn’t the brightest—it’s the one that makes you want to stay outside a little longer. So grab your ladder, plug in those lights, and enjoy the glow.
Frequently Asked Questions
How do I hang Costco outdoor string lights without damaging my house?
Use adhesive hooks, gutter clips, or removable mounting brackets designed for outdoor use—they provide sturdy support while protecting siding and paint. Avoid nails or screws unless you’re installing on a fence or pergola.
What’s the best way to hang Costco outdoor string lights for a patio or backyard?
Create a zigzag or parallel pattern between trees, posts, or walls using tension cables or guide wires for even spacing. Ensure lights are hung 8–10 feet high for optimal visibility and safety.
Can I connect multiple Costco outdoor string lights together?
Yes, many Costco string lights are end-to-end connectable—check the packaging for the maximum number allowed (usually 3–5 sets). Use outdoor-rated extension cords and avoid overloading circuits.
How far apart should I space hooks when hanging outdoor string lights?
Space hooks or clips 2–3 feet apart to prevent sagging and maintain a clean, professional look. For longer runs, use a support wire to bear the weight and reduce strain on connections.
Do I need special hardware to hang Costco outdoor string lights on stucco or brick?
Yes, use masonry screws with plastic anchors for stucco or brick, or opt for magnetic hooks or removable adhesive strips for a no-damage solution. Always drill pilot holes for permanent installations.
How can I hide the wires when I hang outdoor string lights?
Run cords along rooflines, railings, or fence posts using cable clips or raceways, or tuck them under outdoor rugs or furniture. For a seamless look, choose lights with dark or neutral-colored wires.

