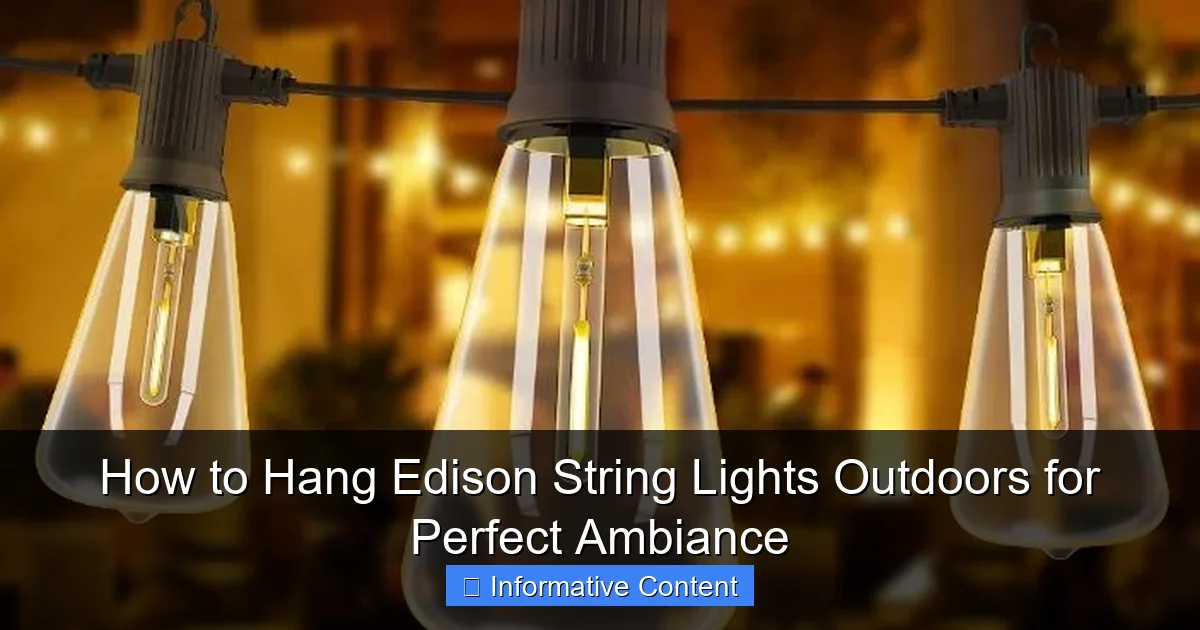
Featured image for how to hang edison string lights outdoors
Image source: nerdtechy.com
Choose durable, weather-resistant Edison string lights rated for outdoor use to ensure safety and longevity in any climate. Plan your layout carefully, using secure mounting hardware like screw hooks or zip ties on sturdy structures—such as pergolas, fences, or trees—to create balanced, inviting illumination. Always follow manufacturer guidelines and consider a dimmer or timer for effortless ambiance control.
Key Takeaways
- Plan your layout: Measure space and sketch light placement before hanging.
- Use outdoor-rated lights: Ensure lights are UL-listed for wet or damp locations.
- Secure with proper hardware: Use hooks, clips, or cables rated for outdoor weight.
- Keep bulbs spaced evenly: Maintain consistent gaps to avoid sagging or overheating.
- Protect connections: Use weatherproof covers for plugs and splices to prevent damage.
- Test before finalizing: Power up lights to check function and adjust placement.
📑 Table of Contents
- How to Hang Edison String Lights Outdoors for Perfect Ambiance
- Planning Your Layout: Designing for Function and Beauty
- Choosing the Right Edison String Lights
- Tools and Materials You’ll Need
- Step-by-Step Installation Guide
- Maintenance and Seasonal Tips
- Data Table: Edison String Light Options Compared
- Final Thoughts: Creating Your Perfect Outdoor Glow
How to Hang Edison String Lights Outdoors for Perfect Ambiance
Picture this: a warm summer evening, the sun slowly dipping below the horizon, and your backyard transformed into a cozy, glowing oasis. The soft, golden flicker of Edison string lights dances above you, casting a warm glow over your patio, trees, or pergola. It’s the kind of ambiance that makes you want to linger, whether you’re hosting a party or just enjoying a quiet night with a book. But getting that perfect look isn’t always as simple as it seems. I’ve spent years experimenting with different setups—some magical, some… well, let’s just say they involved more tangled cords and ladder wobbles than I’d like to admit.
If you’ve ever stood in your yard, staring at a box of string lights and wondering, “Where do I even start?”—you’re not alone. Hanging Edison string lights outdoors is equal parts art and science. It’s about more than just aesthetics; it’s about safety, durability, and creating a space that feels inviting year-round. In this guide, I’ll walk you through every step, from planning to plugging in, with practical tips, real-world examples, and a few hard-earned lessons. Whether you’re lighting up a small balcony or a sprawling backyard, you’ll walk away with a plan that’s both beautiful and functional. Let’s get started!
Planning Your Layout: Designing for Function and Beauty
Assess Your Space and Define the Purpose
Before you even touch a ladder, take a step back and visualize the space. Ask yourself: What’s the goal? Are you creating a dining nook under a pergola? Highlighting a garden path? Or simply adding a soft glow to your entire yard? The purpose will guide your layout. For example, if you’re lighting a dining area, focus on overhead coverage. If it’s a walkway, consider ground-level or low-hanging lights for safety.
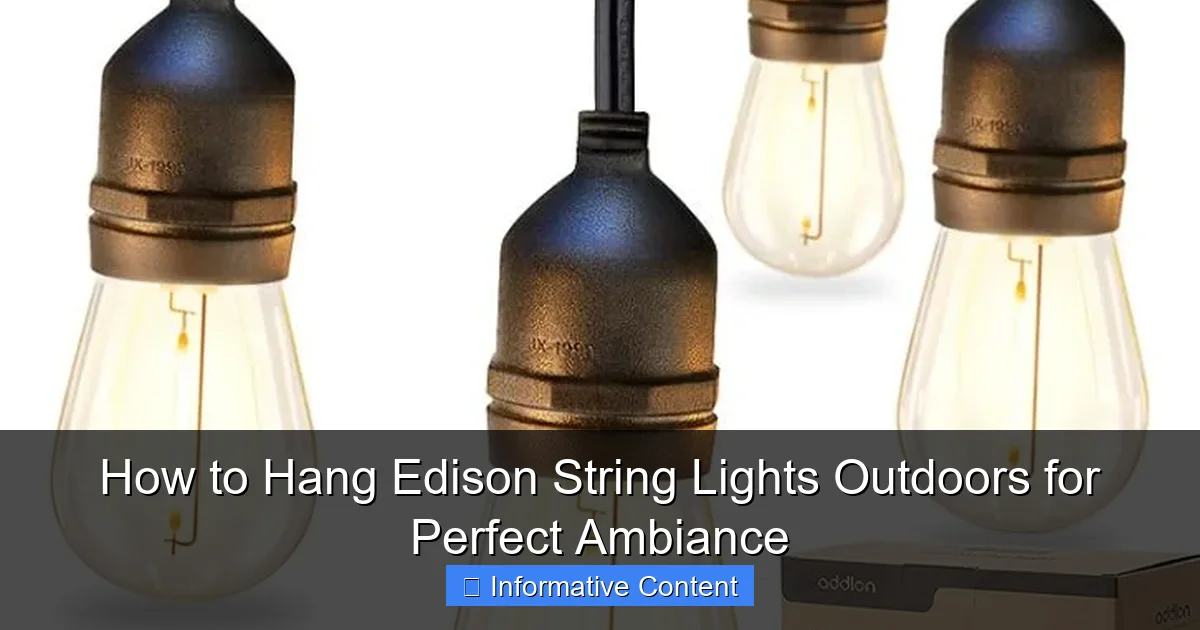
Visual guide about how to hang edison string lights outdoors
Image source: nerdtechy.com
Pro tip: Sketch a rough diagram of your space. Mark existing features like trees, walls, or railings. This helps you see where lights can be anchored and where you might need extensions. I once skipped this step and ended up with a lopsided setup—lesson learned!
Choose the Right Light Pattern
Edison string lights come in various styles, and the pattern you choose impacts the vibe. Here are the most common options:
- Straight lines: Great for pergolas, fences, or railings. Creates a clean, modern look.
- Zigzag or crisscross: Perfect for open areas like patios or pools. Adds visual interest and even light distribution.
- Hanging from trees: Use branches to create a canopy effect. Ideal for gardens or large yards.
- Looped or swagged: Drapes lights between two points with gentle curves. Works well for intimate spaces like a small porch.
For example, I used a zigzag pattern over my 12×16 ft patio and loved how it filled the space without looking cluttered. But if your yard has a single focal point (like a fire pit), a straight line from the house to a tree might be better.
Measure and Plan for Length
Measure your space carefully. Add 10-15% extra length to account for curves, swags, or unexpected obstacles. For example, if your patio is 12 ft wide, plan for at least 13.5-14 ft of lights per run. Also, check the spacing between bulbs—some lights have bulbs every 12 inches, others every 24. Closer spacing creates a denser glow, which is great for cozy areas, while wider spacing works for ambient lighting.
Remember: Most string lights can be connected end-to-end, but check the manufacturer’s limit (usually 3-5 strands). Overloading can cause voltage drop, leaving the last bulbs dimmer.
Choosing the Right Edison String Lights
Indoor vs. Outdoor Lights: The Critical Difference
Not all string lights are created equal. Outdoor-rated lights have weatherproof sockets, UV-resistant cords, and sealed bulbs to withstand rain, snow, and sun. Indoor lights, even if they look similar, can short-circuit or degrade quickly outside. I once used indoor lights on my deck during a drizzle—spoiler: the breaker tripped, and the lights died.
Look for these labels: IP44 (splash-resistant) or IP65 (dust- and water-resistant). The higher the number, the better the protection.
Bulb Type and Brightness
Edison bulbs come in two main types:
- LED: Energy-efficient, long-lasting (25,000+ hours), and cool to the touch. Great for year-round use. Some have warm white or amber tones for that vintage vibe.
- Incandescent: Warmer glow and softer flicker, but less efficient and shorter lifespan (2,000-3,000 hours). Use sparingly for special events.
For brightness, consider the lumens. 100-200 lumens per bulb is ideal for ambient lighting. For dining areas, go brighter (300+ lumens). I prefer LED bulbs with 150 lumens—they’re bright enough to see by but not harsh.
Plug Type and Power Source
Most string lights are plug-in, but if your outlet is far away, consider:
- Extension cords: Use outdoor-rated, heavy-duty cords (14-gauge or thicker). Avoid daisy-chaining multiple cords.
- Timer or smart plugs: Automate on/off times. I use a dusk-to-dawn timer so my lights turn on at sunset.
- Solar-powered: No outlet needed, but brightness can be inconsistent. Best for small areas or supplemental lighting.
Pro tip: If you’re using a GFCI outlet (common for outdoor areas), test it first. A tripped GFCI can cut power to your lights.
Tools and Materials You’ll Need
Essential Tools for Safe Installation
Having the right tools saves time and frustration. Here’s what I always keep in my “string light toolkit”:
- Measuring tape: For precise spacing.
- Drill and drill bits: For attaching hardware to wood or masonry.
- Hammer and nails: For temporary setups or soft surfaces.
- Screwdrivers: For tightening hooks or brackets.
- Level: To ensure lights hang straight.
- Ladder: Use a stable, non-slip ladder. I prefer a 6-ft step ladder for most jobs.
- Gloves: Protect your hands from sharp edges or splinters.
Hardware Options: Anchoring Your Lights
The right anchors depend on your surface:
- Wood (fences, pergolas, deck railings): Use screw-in cup hooks or eye bolts. They’re sturdy and easy to install. For a clean look, countersink the hooks so they’re flush with the wood.
- Masonry (brick, concrete, stone): Use masonry anchors or toggle bolts. Drill pilot holes first to avoid cracking.
- Metal (gutters, metal railings): Use magnetic hooks or zip ties. Avoid damaging the surface.
- Trees: Use tree-friendly hooks or bungee cords. Never nail or screw into living trees—it can harm them.
For example, I used cup hooks on my cedar pergola and loved how they blended in. But on my brick patio, masonry anchors were the way to go.
Cable Management and Safety
Keep cords tidy and safe:
- Zip ties: Bundle excess cord and attach it to hooks or poles.
- Clips: Use outdoor-rated cord clips to guide lights along edges.
- Weatherproof tape: Seal any exposed connections.
Always leave a small loop near the plug to prevent water from dripping down the cord.
Step-by-Step Installation Guide
Step 1: Install Anchors and Test Fit
Start by installing your anchors (hooks, brackets, etc.) at the planned locations. Use a level to ensure they’re straight. For swagged lights, install anchors at both ends and adjust the height to create a gentle curve. Test-fit the lights without plugging them in—this lets you see the spacing and adjust if needed.
Example: For my zigzag patio setup, I installed hooks every 2 ft along the pergola and used a laser level to keep them aligned.
Step 2: Hang the Lights
Unroll the lights and attach them to the anchors. For straight runs, stretch the lights taut. For swags, leave 6-12 inches of slack between hooks. If using multiple strands, connect them first, then hang the entire run. Avoid over-tightening—this can strain the sockets or pull anchors loose.
Pro tip: Hang the lights during the day to see the layout clearly. I once hung mine at night and realized the next morning that a branch was blocking half the bulbs!
Step 3: Secure Cords and Manage Excess
Use zip ties or clips to secure cords to anchors or poles. Leave a small drip loop near the plug to prevent water pooling. If you have extra cord, coil it neatly and tuck it behind a plant or railing.
For example, I coil my excess cord in a small basket under the pergola—it’s out of sight but easy to access if I need to unplug.
Step 4: Test and Adjust
Plug in the lights and check for:
- Brightness: Are all bulbs lit? If not, check connections.
- Spacing: Do the lights look even? Adjust hooks if needed.
- Safety: Are cords away from foot traffic? Are plugs elevated (not sitting on the ground)?
I once had a bulb flicker—turns out a socket was loose. A quick twist fixed it.
Maintenance and Seasonal Tips
Routine Checks for Long-Term Durability
Even the best lights need upkeep. Every few months:
- Inspect for damage: Look for frayed cords, loose bulbs, or rusted hooks.
- Clean bulbs: Wipe with a dry cloth to remove dust or cobwebs.
- Tighten hardware: Check hooks and anchors—they can loosen over time.
After storms, check for water damage. If a bulb goes out, replace it immediately to avoid overloading the circuit.
Seasonal Storage
If you take lights down in winter:
- Unplug and disconnect: Don’t leave lights plugged in during storage.
- Coil carefully: Wrap lights around a cardboard tube or reel to prevent tangling.
- Store in a dry place: A basement or closet works best. Avoid attics (too hot) or sheds (too damp).
I store my lights in a plastic bin with silica gel packets to absorb moisture.
Weatherproofing and Repairs
For year-round setups:
- Seal connections: Use silicone sealant on plug ends.
- Replace bulbs: Keep spare bulbs on hand. Most Edison bulbs are E26 base—easy to swap.
- Protect from wind: In windy areas, use shorter runs or secure lights closer to the anchor.
Example: My neighbor’s lights blew down in a storm because they were too loose. Now he uses tighter spacing and bungee cords for extra grip.
Data Table: Edison String Light Options Compared
| Feature | LED Outdoor (Recommended) | Incandescent Outdoor | Solar-Powered |
|---|---|---|---|
| Lifespan | 25,000+ hours | 2,000-3,000 hours | 5,000-10,000 hours |
| Energy Use | 5-10 watts per strand | 50-100 watts per strand | 0 watts (solar) |
| Weather Resistance | IP65 (waterproof) | IP44 (splash-resistant) | IP65 (waterproof) |
| Brightness | 100-300 lumens | 150-200 lumens | 50-150 lumens |
| Cost (per 25 ft strand) | $30-$60 | $20-$40 | $40-$80 |
Final Thoughts: Creating Your Perfect Outdoor Glow
Hanging Edison string lights outdoors isn’t just about flipping a switch—it’s about crafting a mood, a feeling, a moment. Whether you’re wrapping lights around a tree for a whimsical touch or creating a straight, elegant run over your dining table, the process is as rewarding as the result. I still smile every time I step into my backyard at night, seeing that warm, golden glow that makes the space feel alive.
Remember: start small. You don’t need to light up your entire yard on day one. Try one section—a corner of your patio, a tree, or a railing—and see how it feels. Adjust, experiment, and have fun with it. And if something doesn’t work? That’s okay. I’ve had my share of “oops” moments (hello, tangled cord disaster of 2022), but each one taught me something new.
The key is to prioritize safety, plan for durability, and let your creativity shine. With the right lights, tools, and a little patience, you’ll create an outdoor space that’s not just beautiful but truly yours. So grab your hooks, fire up that drill, and get ready to transform your yard into a glowing sanctuary. The perfect ambiance is just a few steps away.
Frequently Asked Questions
How do I hang Edison string lights outdoors without damaging my walls or roof?
Use removable adhesive hooks, gutter clips, or tension rods to avoid drilling. For a secure hold on stucco or brick, opt for masonry screws with plastic anchors. These methods keep your lights up without leaving permanent marks.
What’s the best way to hang outdoor Edison string lights for a patio or backyard?
For patios, drape lights between posts, railings, or trees using zip ties or S-hooks. Create a zigzag or canopy pattern for even coverage, ensuring bulbs face downward to reduce glare and enhance the ambiance.
How can I hang Edison string lights outdoors safely in windy or rainy conditions?
Choose weatherproof, commercial-grade outdoor Edison string lights with a high IP rating. Secure them tightly with reinforced clips and avoid overstretching cords to prevent sagging or breakage during storms.
Do I need a professional to install outdoor Edison string lights?
Not necessarily—many Edison string lights are DIY-friendly with plug-and-play setups. However, for complex layouts (e.g., spanning large distances or high ceilings), hire an electrician to ensure safe wiring and load capacity.
How far apart should I space the anchor points for hanging string lights?
Space anchor points 4–6 feet apart for standard 24-ft strings, adjusting based on bulb weight and cord tension. Use a laser level to ensure even spacing and avoid drooping in the middle.
Can I connect multiple Edison string lights together for a longer span?
Yes, but check the manufacturer’s wattage limit—most sets allow 3–5 connected strings. Use outdoor-rated extension cords and keep connections off the ground to prevent water damage.

