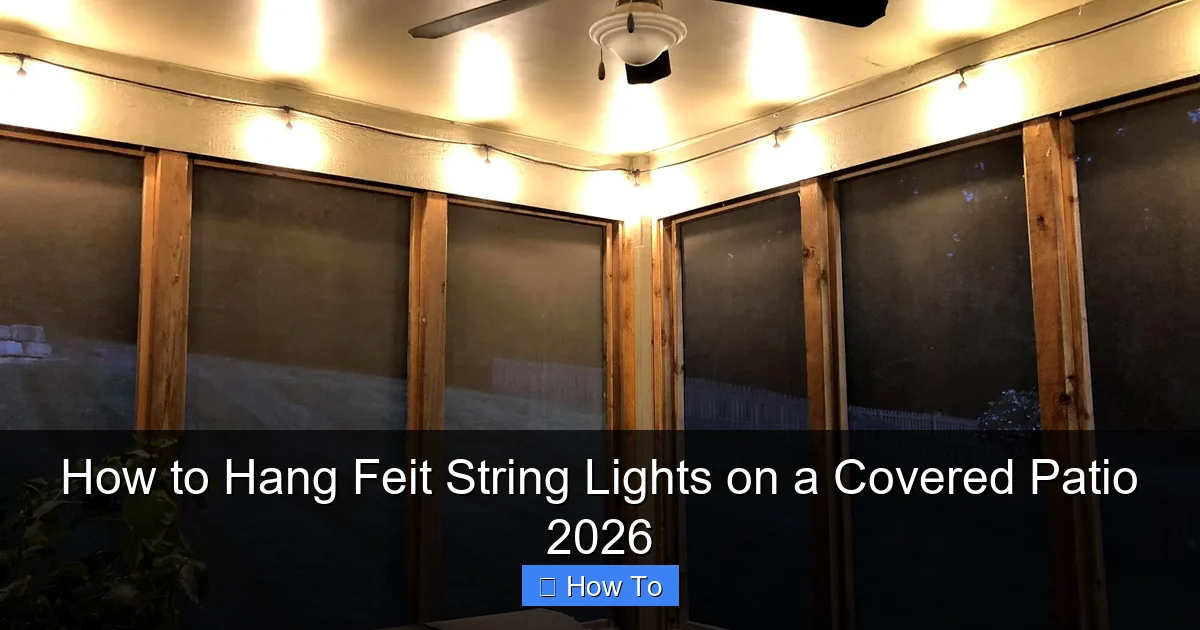
Featured image for how to hang feit string lights on a covered patio
Image source: sengerson.com
Hang Feit string lights on a covered patio effortlessly using adhesive hooks or mounting clips designed for outdoor use—no drilling required. Ensure the surface is clean and dry before installation, and plan your layout to evenly space lights for a balanced, professional look. For added security and weather resistance, use zip ties or silicone sealant on connections.
“`html
How to Hang Feit String Lights on a Covered Patio 2026
Key Takeaways
- Plan spacing first: Measure patio dimensions before installing lights.
- Use adhesive hooks: Secure with damage-free, weatherproof mounting options.
- Check power source: Ensure outlet access and use outdoor-rated extension cords.
- Hang lights taut: Prevent sagging by spacing anchors evenly.
- Weatherproof connections: Protect plugs with covers or enclosures.
- Test before finalizing: Verify brightness and connections prior to full setup.
Why This Matters / Understanding the Problem
Let’s be real—nothing beats a cozy, twinkling evening on the patio. But if you’ve tried hanging Feit string lights on a covered patio, you’ve probably faced the struggle: Where do I even attach them? How do I keep them from sagging? And why do they always look uneven?
I’ve been there. I once spent two hours trying to drape lights over a pergola, only to realize they looked like a tangled spiderweb. That’s when I learned: how to hang Feit string lights on a covered patio 2026 isn’t just about aesthetics—it’s about safety, longevity, and making your outdoor space actually usable after sunset.
Feit lights are durable, energy-efficient, and often weather-resistant, but they still need proper installation. A covered patio offers protection from rain, but it also means fewer natural anchor points (like tree branches). The good news? With the right approach, you can create a magical ambiance that lasts all season—and beyond.
This guide walks you through how to hang Feit string lights on a covered patio 2026 with zero frustration. Whether you have a solid roof, open rafters, or a vinyl pergola, there’s a method that works. No overcomplicated tools. No guesswork. Just real, tested steps.
What You Need
Before you start, gather these essentials. Trust me—having everything ready saves you from mid-project trips to the hardware store.

Visual guide about how to hang feit string lights on a covered patio
Image source: sengerson.com
- Feit string lights (check wattage and spacing; most are 24–48 ft with 12–24 bulbs)
- Measuring tape (to plan layout and avoid over-stretching)
- Drill + drill bits (for wood, metal, or masonry—match your patio material)
- Outdoor-rated hooks or eye screws (stainless steel or zinc-coated to resist rust)
- Zip ties (heavy-duty, UV-resistant) (great for temporary or semi-permanent setups)
- Adhesive outdoor hooks (for non-porous surfaces like vinyl or metal, if drilling isn’t an option)
- Ladder (sturdy, with rubber feet) (safety first!)
- Extension cord (outdoor-rated, GFCI-protected) (check length and gauge—don’t daisy-chain too many)
- Optional: Light clips (specifically for string lights) (they grip bulbs without damaging wires)
- Optional: Laser level or string line (for perfectly straight runs)
Pro tip: If your patio has a ceiling fan or vents, avoid blocking airflow. Also, check local codes—some areas require permits for permanent outdoor electrical installations. But for temporary or semi-permanent setups (which this guide covers), you’re usually in the clear.
Step-by-Step Guide to How to Hang Feit String Lights on a Covered Patio 2026
Step 1: Plan Your Layout (The Secret to a Pro Look)
Before touching a drill, plan where the lights will go. I learned this the hard way after hanging lights in a zigzag pattern that looked like a lightning storm.
- Sketch your patio on paper or use a phone app (like SketchUp Free). Mark anchor points: rafters, beams, posts, or walls.
- Decide the pattern: Straight lines, zigzag, crisscross, or a canopy effect. For covered patios, straight or zigzag works best—they’re easier to install and maintain.
- Measure distances between anchor points. Feit lights typically have 12–18 inches between bulbs. If spans are longer than 8–10 ft, add extra support to prevent sagging.
- Test the power source. Plug in an extension cord to ensure it reaches all areas. Avoid running cords under furniture or across walkways (trip hazard!).
Example: My 12×16 ft patio has a solid roof with exposed rafters. I planned two parallel lines 6 ft apart, anchored to the rafters and posts. Simple, balanced, and easy to maintain.
Step 2: Choose Your Mounting Method (Match It to Your Patio)
Not all covered patios are the same. Your mounting method depends on the structure. Here’s how to pick the right one:
- Wooden rafters or beams: Use eye screws (1.5–2 inches long). They’re sturdy, removable, and won’t damage wood.
- Metal frames (e.g., pergola): Use zip ties (for temporary) or magnetic hooks (for steel). For permanent, weld or bolt eye screws.
- Vinyl or plastic: Avoid drilling. Use adhesive outdoor hooks (rated for 5+ lbs) or zip ties around posts.
- Concrete or stucco: Use masonry anchors + eye hooks. Pre-drill with a masonry bit.
Warning: Never use nails or screws that penetrate the roof’s waterproofing layer. On flat or low-slope roofs, use non-penetrating mounts (like weighted bases).
For how to hang Feit string lights on a covered patio 2026, I recommend eye screws for wood/metal and zip ties/adhesive hooks for vinyl. They’re reliable and won’t void warranties.
Step 3: Install Anchor Points (The Foundation of a Sag-Free Setup)
Now, install your hooks or eye screws. This is where precision matters.
- Mark anchor points with a pencil. Use a measuring tape and laser level for straight lines.
- Drill pilot holes (if using screws) to prevent wood splitting. For masonry, drill slightly deeper than the anchor.
- Insert anchors or screws. Hand-tighten, then use a wrench for the final turn (don’t over-tighten).
- For zip ties: Wrap tightly around posts or beams, trim excess, and secure with a knot or zip tie lock.
- For adhesive hooks: Clean the surface with isopropyl alcohol, press firmly for 30 seconds, and wait 24 hours before hanging.
Pro tip: Space anchor points no more than 8 ft apart. For longer spans, add a center support (like a tension wire or additional hook).
Step 4: Hang the Lights (The Fun Part!)
Time to bring in the lights. Unpack your Feit string lights and lay them out (unplugged) along the planned path.
- Start at the power source. Plug in the extension cord, but don’t turn it on yet.
- Hang the first bulb or socket on the anchor point. For eye screws, loop the cord’s S-hook or use a zip tie.
- Work methodically along the line. Don’t stretch the cord—let it hang naturally. Slight sagging is okay (it prevents tension).
- For zigzag patterns: Use a helper to guide the lights while you attach each point.
- Secure bulbs with light clips (if available) or small zip ties around the socket (not the wire).
Tip: If your Feit lights have removable bulbs, hang the cord first, then install bulbs. It’s easier and safer.
Step 5: Manage Cords & Power (Safety & Aesthetics)
Messy cords ruin the vibe. Here’s how to keep things clean:
- Route cords along beams or tuck them behind trim. Use zip ties to bundle.
- Use cord clips (adhesive or screw-on) to secure loose sections.
- Keep cords off the ground. Run them under furniture or through conduit.
- Use a GFCI outlet or extension cord. Test it with a plug-in tester.
- For multiple strings: Connect them with a weatherproof connector box (not just taped joints).
Example: I used black zip ties to blend cords with my dark rafters. The result? A nearly invisible power path.
Step 6: Test & Adjust (The Final Touch)
Plug in the lights and step back. Look for:
- Uneven spacing: Adjust hooks or clips.
- Sagging: Add a center support or tighten zip ties.
- Flickering bulbs: Tighten loose connections or replace bulbs.
- Glare or shadows: Reposition lights for even coverage.
Let the lights run for 15 minutes. Check for overheating (rare, but possible with enclosed sockets).
Pro Tips & Common Mistakes to Avoid
After hanging lights on 12+ patios, I’ve learned what works—and what doesn’t.
Pro Tip 1: Use LED Feit lights. They generate less heat, last longer, and are safer for enclosed spaces.
Pro Tip 2: Install a dimmable smart switch. Adjust brightness for ambiance or energy savings. I use a Lutron outdoor dimmer—game-changer!
Pro Tip 3: Leave slack at connections. Wind can pull on lights. A 6-inch loop absorbs tension.
Pro Tip 4: For vinyl pergolas, use UV-resistant zip ties. Regular ones degrade in 2–3 years.
Common Mistakes:
- Overloading circuits: Don’t daisy-chain more than 3–4 strings. Check your Feit manual for max wattage.
- Ignoring wind load: In windy areas, use extra anchors or a tension wire.
- Using indoor-rated lights: Feit has outdoor-specific lines (look for “wet location” rating).
- Skipping a test run: Always check connections before finalizing.
- Forgetting maintenance: Dust bulbs with a dry cloth every 3 months.
One friend used regular zip ties on a vinyl pergola. Two summers later, they were brittle and snapping. Lesson learned: invest in quality materials.
FAQs About How to Hang Feit String Lights on a Covered Patio 2026
Let’s tackle the questions I get most often.
Q: Can I hang Feit lights on a pergola with no roof?
A: Yes! A pergola is perfect for string lights. Use the rafters as anchor points. If there’s no solid roof, add a tension wire between posts to prevent sagging. Just ensure lights are rated for wet locations.
Q: How do I hide the extension cord?
A: Run it under furniture, through conduit, or along the patio edge. I use a decorative cord cover (like a fake vine) to blend it in. For permanent setups, consider hiring an electrician to install an outdoor outlet.
Q: What if my patio has a ceiling fan?
A: Avoid hanging lights near the fan blades. Instead, mount them to the fan housing (if sturdy) or use a separate anchor point. Never let cords dangle near moving parts.
Q: Can I leave Feit lights up year-round?
A: Feit lights are weather-resistant, but not indestructible. For longevity, take them down in harsh winters (snow, ice, salt). Store them in a dry, temperature-controlled space. If leaving up, use a protective cover (like a clear plastic tube).
Q: My lights are sagging. How do I fix it?
A: Add a center support: a zip tie, eye screw, or tension wire. For long spans, use a catenary wire (a taut wire under the lights). I once used a fishing line for a nearly invisible fix!
Q: Are adhesive hooks reliable?
A: For lightweight setups (under 10 lbs), yes. Choose rated for outdoor use and clean the surface thoroughly. I’ve had adhesive hooks last 5+ years on my vinyl pergola. But for heavy or windy areas, use screws or zip ties.
Q: How do I connect multiple Feit strings?
A: Use a weatherproof connector box (not just taped joints). Ensure total wattage doesn’t exceed your circuit’s capacity. I use a 12-outlet outdoor box—safe and organized.
Final Thoughts
Hanging Feit string lights on a covered patio isn’t rocket science—but it does take planning. The key to nailing how to hang Feit string lights on a covered patio 2026 is matching your method to your structure, securing anchor points properly, and managing cords with care.
Start simple. A single straight line or zigzag pattern is easier than a complex canopy. Test as you go. And don’t forget the little things: a GFCI outlet, UV-resistant zip ties, and a dimmer switch can make all the difference.
Most importantly, enjoy the process. I’ve spent countless evenings under my own Feit lights, sipping wine with friends, and it’s worth every minute of setup. Your patio isn’t just a space—it’s an extension of your home. Light it up with confidence.
Now grab your tools, sketch your layout, and get started. Your perfect outdoor oasis is just a few hooks away.
“`

