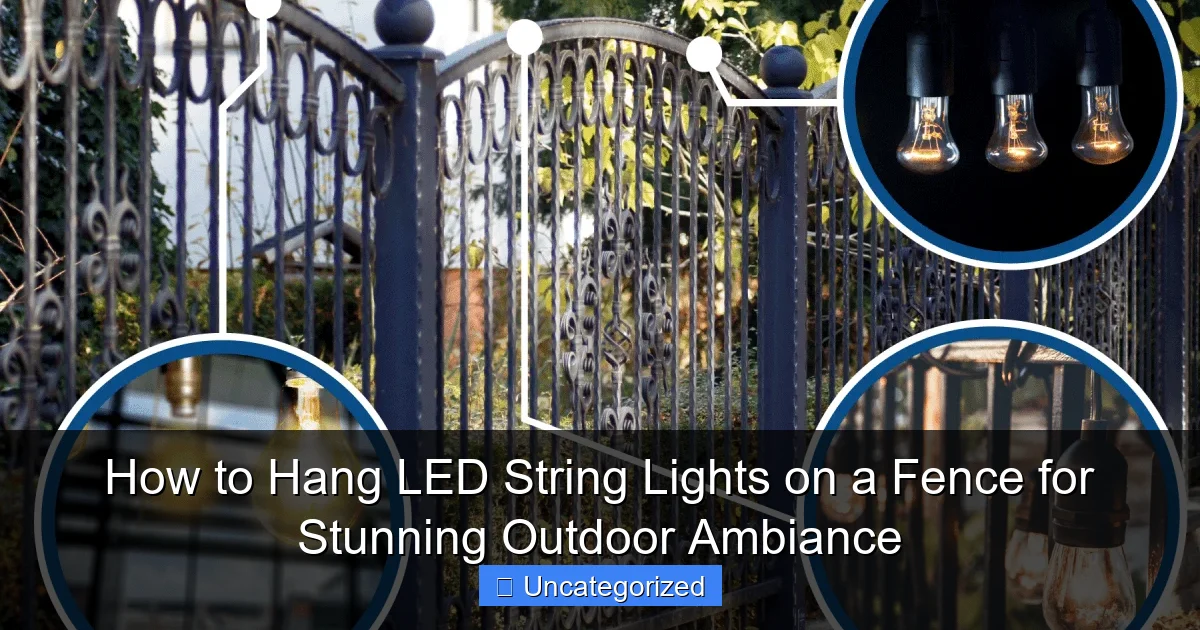
Featured image for how to hang led string lights on a fence
Image source: fencefixation.com
Transform your outdoor space instantly by securely attaching LED string lights to your fence using weather-resistant hooks or zip ties for a clean, professional look. Ensure even spacing and steady support by planning your layout beforehand and testing lights before installation. For maximum ambiance, weave lights vertically or horizontally at consistent intervals, avoiding sagging for a polished, eye-catching glow.
How to Hang LED String Lights on a Fence for Stunning Outdoor Ambiance
Key Takeaways
- Plan spacing first: Measure fence length to evenly space lights for balanced illumination.
- Use outdoor-rated clips: Secure lights with weatherproof clips to prevent sagging or damage.
- Test lights before hanging: Check functionality to avoid rework after installation.
- Anchor at corners: Reinforce connections at bends to maintain tension and alignment.
- Hide power source: Route cords discreetly and use extension cables if needed.
- Opt for warm white: Choose 2700K-3000K LEDs for a cozy, inviting ambiance.
Why This Matters / Understanding the Problem
Imagine this: It’s a warm summer evening. The grill is sizzling, laughter fills the air, and your backyard feels alive. But as the sun dips below the horizon, the mood dims—literally. Without proper lighting, your outdoor space loses its magic. That’s where learning how to hang LED string lights on a fence for stunning outdoor ambiance comes in.
Outdoor lighting isn’t just about visibility—it’s about creating a vibe. Whether you’re hosting a dinner party, enjoying a quiet night with family, or just want your yard to feel inviting, the right lighting transforms the space. LED string lights are affordable, energy-efficient, and come in a rainbow of styles—warm white, multicolor, Edison bulbs, and more.
The challenge? Most people either skip lighting altogether or end up with a tangled mess, drooping wires, or lights that fall after one windy night. A poorly installed setup can ruin the ambiance you’re trying to create. That’s why a thoughtful, step-by-step approach matters. When done right, how to hang LED string lights on a fence for stunning outdoor ambiance becomes more than a chore—it becomes a design statement.
From backyard patios to poolside fences, this guide shows you how to install LED lights safely, securely, and stylishly. No electrical degree required. Just practical know-how and a few smart choices.
Real-life example: Sarah, a homeowner in Austin, wanted to brighten her backyard for weekend BBQs. She bought cheap string lights and nailed them directly into her cedar fence. Within a month, the wood was damaged, and the lights sagged. After following our method, she used clips and spacing—now her fence glows perfectly, and the wood stays intact.
What You Need
Before you start, gather your tools and materials. A well-prepared setup saves time, prevents frustration, and ensures your how to hang LED string lights on a fence for stunning outdoor ambiance project looks professional.
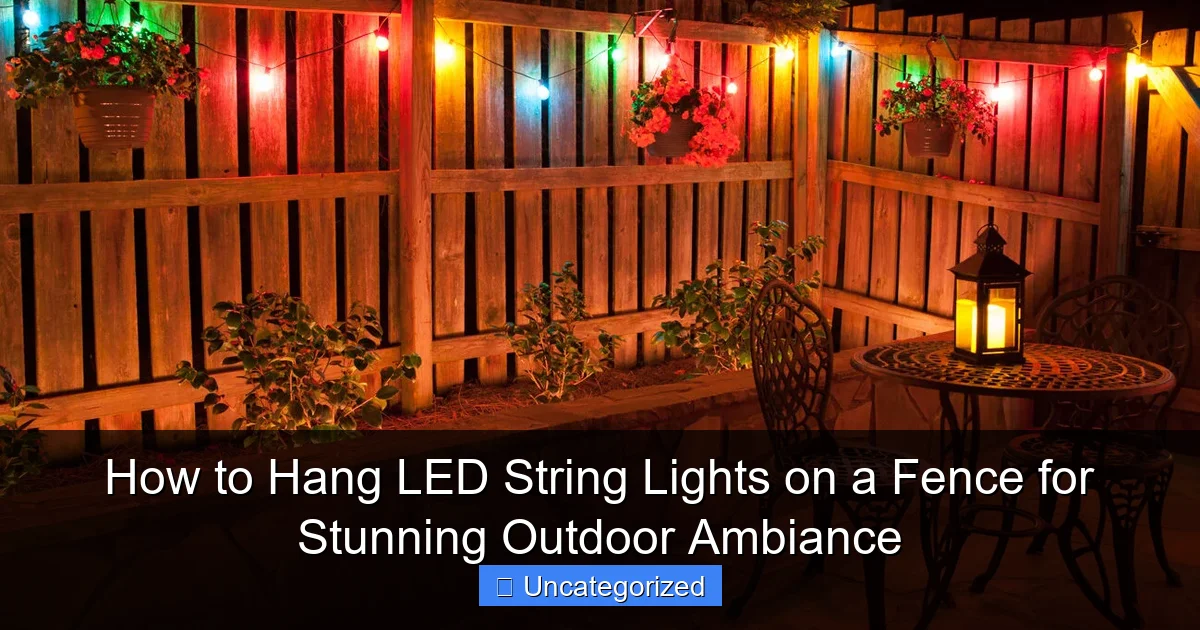
Visual guide about how to hang led string lights on a fence
Image source: img.yardenvy.com
Essential Tools & Materials
- LED string lights (outdoor-rated): Choose weatherproof, UL-listed lights. Look for IP65 or higher rating for rain and snow resistance. Consider length—measure your fence first.
- Fence clips or mounting hooks: Plastic or rubber-coated metal clips designed for fences. Avoid nails or screws unless the fence is metal.
- Measuring tape: For precise spacing and alignment.
- Scissors or wire cutters: To trim zip ties or cut extra cord (if needed).
- Extension cord (outdoor-rated): With a GFCI plug for safety. Choose a length that reaches your outlet without strain.
- Zip ties (optional): For securing loose wires or bundling excess cord.
- Ladder (if needed): For taller fences. Use a stable, non-slip model.
- Timer or smart plug (recommended): Automate lighting—turn on at sunset, off at bedtime. Great for energy savings and convenience.
- Marker or chalk: To mark clip positions.
Smart Add-Ons (Optional but Helpful)
- Light dimmer or remote control: Adjust brightness for different moods.
- Weatherproof outlet cover: Keeps the connection dry during rain.
- Light clips with adhesive backing: For vinyl or painted wood fences where clips won’t grip.
- Light string connectors: If you’re linking multiple strands end-to-end.
Pro tip: Always check your fence type before buying clips. Wood, vinyl, metal, and chain-link each need different mounting solutions. For example, vinyl fences are slippery—use adhesive-backed clips or zip ties through pre-drilled holes.
Once you’ve gathered everything, you’re ready to begin. The goal is a clean, durable installation that enhances your outdoor space—no sagging, no damage, no hassle.
Step-by-Step Guide to How to Hang LED String Lights on a Fence for Stunning Outdoor Ambiance
Follow these steps to create a beautiful, long-lasting light display. Whether your fence is 10 feet or 100 feet long, this method works for all setups. Remember: the key to how to hang LED string lights on a fence for stunning outdoor ambiance is planning, precision, and protection.
Step 1: Plan Your Layout and Measure the Fence
Start by walking around your fence and visualizing the light pattern. Do you want a straight line along the top? A zigzag? A canopy effect? Sketch it out or use chalk to mark key points.
Measure the total length of your fence where you’ll hang the lights. Add 10–15% extra for curves, corners, or slight slack (to prevent tension). This ensures you don’t run short.
Decide where the power source will be. The lights should start and end near an outdoor outlet. If the outlet is on the opposite side of the yard, plan how to route the cord safely—along the fence, under a deck, or through a conduit (for permanent setups).
Example: Mark “Start” and “End” points with chalk. For a 30-foot fence, you’ll need at least 33 feet of lights. If your outlet is 10 feet away, add an outdoor extension cord of matching gauge (16-gauge or thicker).
Step 2: Choose the Right Mounting Method for Your Fence Type
Not all fences are the same. The mounting method depends on material and structure. Here’s how to match clips to your fence:
- Wooden fences: Use plastic fence clips or small cup hooks. Clips grip the top rail or pickets. Avoid driving screws into pickets—they can crack. For a cleaner look, use clips with a low profile.
- Vinyl or PVC fences: These are slippery. Use adhesive-backed clips (rated for outdoor use) or zip ties through pre-drilled holes. Never use nails—vinyl can crack.
- Metal fences (chain-link or wrought iron): Use S-hooks, carabiners, or zip ties. Wrap lights around top rails or weave through chain-link mesh.
- Concrete or brick walls (with fence-style top): Use masonry anchors with hooks, or adhesive clips rated for smooth surfaces.
Test one clip before installing all. Gently tug the light string—does it stay secure? If not, adjust the clip or try a different type.
Warning: Never staple or nail directly into the lights or cords. This damages insulation, creates fire hazards, and voids warranties.
Step 3: Space Your Mounting Points for Even, Sag-Free Lighting
Even spacing prevents drooping and ensures a professional look. For most fences, place a clip or hook every 12 to 18 inches. Closer spacing (10–12”) is better for heavier bulbs or windy areas.
Start at the end farthest from the outlet. Mark clip positions with chalk or a marker. Use a measuring tape for consistency. For corners, place a clip just before and after the turn to guide the lights smoothly.
If your fence has posts, use them as natural anchors. Attach a clip to the top of each post. For long straight runs, every third or fourth picket is enough.
Pro tip: For a “canopy” effect (lights draping downward), space clips every 10 inches and leave 6–12 inches of slack between each. This creates gentle curves, not tight lines.
Step 4: Install the Mounting Clips or Hooks
Now it’s time to attach the hardware. For plastic clips, snap them onto the fence top rail or picket. They should grip firmly but not damage the surface.
For adhesive clips, clean the fence surface with rubbing alcohol. Let it dry. Press the clip on and hold for 30 seconds. Wait 1–2 hours before hanging lights (adhesive needs time to bond).
For metal fences, use S-hooks or carabiners. Clip them over the top rail or through chain-link mesh. For vinyl, pre-drill small holes (1/8”) and thread zip ties through, then attach the clip to the tie.
Double-check alignment. All clips should be at the same height for a straight line. Use a level or string line as a guide if needed.
Example: On a cedar fence, use clear plastic clips. They’re nearly invisible and won’t stain the wood. Install 15 clips along a 20-foot section—one every 16 inches.
Step 5: Hang the LED String Lights (Start at the End, Work Toward Power)
Here’s the golden rule: Hang from the end away from the outlet, and work toward the power source. This prevents tangles and gives you slack to plug in at the end.
Unroll the lights and drape them over the first clip. Let the bulbs hang freely. Don’t stretch the cord—LED strings have a maximum tension limit.
Move to the next clip and repeat. Gently guide the lights into place. If you’re using a zigzag pattern, alternate sides at each clip.
At corners, let the lights turn naturally. Don’t force sharp bends—this can break wires inside the cord.
When you reach the outlet, leave 3–5 feet of extra cord. Coil it neatly and secure with a zip tie. Plug in the lights and test them. All bulbs should glow.
Warning: Never hang lights with the power on. Unplug during installation. Safety first!
Step 6: Secure Excess Cord and Manage Power
Loose cords are tripping hazards and look messy. Bundle any extra length and secure it to the fence with zip ties or clips.
For long cords, create a “service loop” near the outlet. Wrap the excess in a figure-eight pattern and zip-tie it to the fence. This makes future unplugging easier.
Use a weatherproof outlet cover to protect the connection from rain. These are cheap and widely available. If your outlet is exposed, consider a GFCI outlet with a built-in cover.
Plug in a timer or smart plug. Set it to turn on at sunset and off at 10 PM (or your preferred time). This saves energy and ensures your lights come on every night.
Pro tip: Label the timer “String Lights” so guests don’t accidentally turn it off. Use a smart plug app to control lights from your phone.
Step 7: Test, Adjust, and Enjoy
Turn on the lights at night. Walk around and inspect:
- Are all bulbs lit?
- Is there any sagging between clips?
- Do the lights cast the right mood?
If a section sags, add an extra clip or tighten the cord slightly. If a bulb is out, unplug and check the connection. Some LED strings have replaceable bulbs.
Adjust the pattern if needed. Maybe you want more lights near the seating area? Add a second strand or reposition clips.
Once you’re happy, step back and admire your work. Your how to hang LED string lights on a fence for stunning outdoor ambiance project is complete—and it looks amazing.
Real-life result: After hanging lights on her vinyl fence, Lisa in Portland hosted a garden party. Guests raved about the “cozy, magical” glow. The lights stayed up all summer—even through heavy rain.
Pro Tips & Common Mistakes to Avoid
Even small mistakes can ruin your lighting setup. Here’s how to avoid the most common pitfalls and elevate your design.
Pro Tips for a Flawless Installation
- Use a level for straight lines: A small level or smartphone app ensures clips are aligned. Crooked lines look sloppy.
- Mix light types for depth: Combine warm white string lights with solar-powered path lights. The layered effect feels richer.
- Go beyond the fence: Hang lights on nearby trees, pergolas, or railings. Connect them to the fence lights for a full ambiance.
- Choose dimmable lights: Brightness control lets you shift from party mode to romantic dinner mode.
- Clean lights annually: Wipe bulbs with a damp cloth to remove dust. This keeps brightness consistent.
Common Mistakes to Avoid
- Using indoor lights outdoors: Indoor-rated lights aren’t waterproof. Rain or dew can cause shorts. Always check the label—outdoor-rated is a must.
- Overloading circuits: Too many lights on one outlet can trip breakers. Check wattage limits (usually 1800W per 15-amp circuit).
- Ignoring weatherproofing: Even “weatherproof” lights need protection. Use outlet covers and avoid direct ground contact for cords.
- Stapling or nailing cords: This damages insulation, creates fire hazards, and voids warranties. Use clips, hooks, or zip ties instead.
- Forgetting the timer: Manual on/off is a hassle. A timer or smart plug saves time and energy.
- Hanging lights too tight: Tension can break internal wires. Allow slight slack, especially at corners.
Warning: If your fence is near a pool or hot tub, keep cords and outlets at least 10 feet away. Water and electricity don’t mix.
By following these tips, your how to hang LED string lights on a fence for stunning outdoor ambiance will last for years—not just a season.
FAQs About How to Hang LED String Lights on a Fence for Stunning Outdoor Ambiance
Q: Can I use regular string lights on my wooden fence?
Only if they’re outdoor-rated. Indoor lights aren’t waterproof and can short out in rain. Look for IP65 or higher rating. For wood fences, use plastic clips—not nails—to avoid damage.
Q: How many lights do I need for a 50-foot fence?
Measure the fence length and add 10–15% for slack. For a 50-foot fence, use 55–60 feet of lights. If you want a zigzag pattern, add 20% more. Most LED strings come in 25, 50, or 100-foot lengths—buy accordingly.
Q: Are adhesive clips safe for vinyl fences?
Yes, if they’re rated for outdoor use and smooth surfaces. Clean the fence first with rubbing alcohol. Wait 1–2 hours before hanging lights. Avoid cheap adhesives—they fail in heat or rain.
Q: Can I connect multiple light strands together?
Yes, but check the manufacturer’s limit. Most LED strings can be connected up to 3–5 strands. Exceeding this can overload the circuit. Use waterproof connectors and avoid daisy-chaining more than recommended.
Q: How do I remove lights without damaging the fence?
For clips: Gently pry them off. For adhesive clips: Use a hair dryer to warm the glue, then peel slowly. For zip ties: Cut with scissors. Never pull or yank—this can scratch or crack the fence.
Q: What’s the best way to power lights if my outlet is far away?
Use an outdoor-rated extension cord (16-gauge or thicker). Route it along the fence or under a deck. For permanent setups, consider installing a new GFCI outlet. Always use a weatherproof cover.
Q: Do LED string lights get hot?
No. LEDs produce very little heat—unlike incandescent bulbs. They’re safe to touch and won’t damage fences or plants. However, keep cords away from flammable materials (like dry leaves).
Final Thoughts
Learning how to hang LED string lights on a fence for stunning outdoor ambiance isn’t just about adding light—it’s about creating a lifestyle. A well-lit fence turns your backyard into a retreat, a gathering place, a source of pride.
With the right tools, a smart layout, and attention to detail, your installation will be secure, stylish, and long-lasting. No more drooping wires or broken bulbs. Just warm, inviting glow every night.
Start small if you’re new to outdoor lighting. Hang a single strand on one section of fence. Test it, tweak it, then expand. Use timers to automate, and mix light types for depth. Most importantly—have fun with it.
Your outdoor space deserves to shine after dark. So grab your lights, follow this guide, and transform your fence into a beacon of ambiance. The next time the sun sets, your yard won’t fade into darkness—it will come alive.
Now go make some magic.

