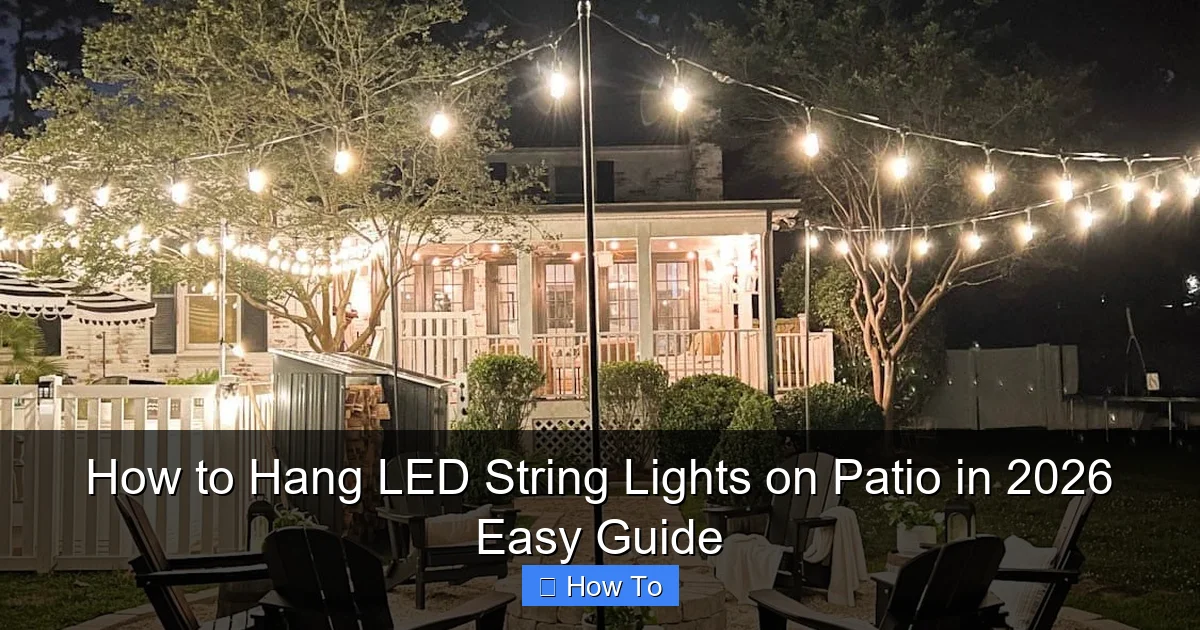
Featured image for how to hang led string lights on patio
Image source: blesserhouse.com
Transform your patio into a glowing retreat in 2026 with simple, secure LED string light installation using weather-resistant hooks or adhesive clips designed for outdoor use. Ensure a professional look by measuring spacing, avoiding sagging, and connecting lights to a GFCI outlet for safety and longevity. No drilling? No problem—modern tension rods and magnetic mounts offer damage-free solutions perfect for renters and homeowners alike.
How to Hang LED String Lights on Patio in 2026 Easy Guide
Key Takeaways
- Plan your layout: Sketch light placement before installation for balanced coverage and minimal strain.
- Use weatherproof lights: Choose IP65-rated LEDs to withstand sun, rain, and humidity in 2026.
- Secure with hooks: Install stainless steel or plastic hooks every 12–18 inches for stability.
- Hide cords smartly: Tuck wires under eaves or use cord covers for a clean, safe setup.
- Test before finalizing: Check bulb function and spacing adjustments prior to permanent mounting.
- Add a timer: Automate on/off times to save energy and extend LED lifespan effortlessly.
Why This Matters / Understanding the Problem
Let’s be honest: your patio is *almost* perfect. You’ve got the furniture, the grill’s fired up, and the playlist is on point. But when the sun goes down? It’s like someone flipped the “off” switch. Dark, quiet, and suddenly, the party’s over.
That’s where how to hang LED string lights on patio in 2026 easy guide comes in. These aren’t just decorative touches—they’re mood-makers. They turn your outdoor space into a warm, inviting extension of your home. Whether you’re hosting a summer BBQ, reading a book with a glass of wine, or just enjoying a quiet night under the stars, the right lighting changes everything.
But here’s the catch: hanging them wrong can lead to sagging wires, tangled messes, or lights that barely last a season. I learned this the hard way. One summer, I strung up cheap lights with flimsy hooks. By August, half the bulbs were out, and the whole thing looked like a spider web after a storm.
The good news? With a little planning and the right technique, you can create a stunning, durable setup that lasts years. This guide walks you through the entire process—from picking the right lights to securing them safely—so you can enjoy a beautifully lit patio without the headache.
Real talk: LED string lights aren’t just about looks. They’re energy-efficient, long-lasting, and safe for outdoor use. But only if you install them right. This guide is your shortcut to a pro-level setup.
What You Need
Before you start, gather your tools and materials. Trust me, nothing kills the vibe like realizing you’re missing a key part halfway through. Here’s your checklist:
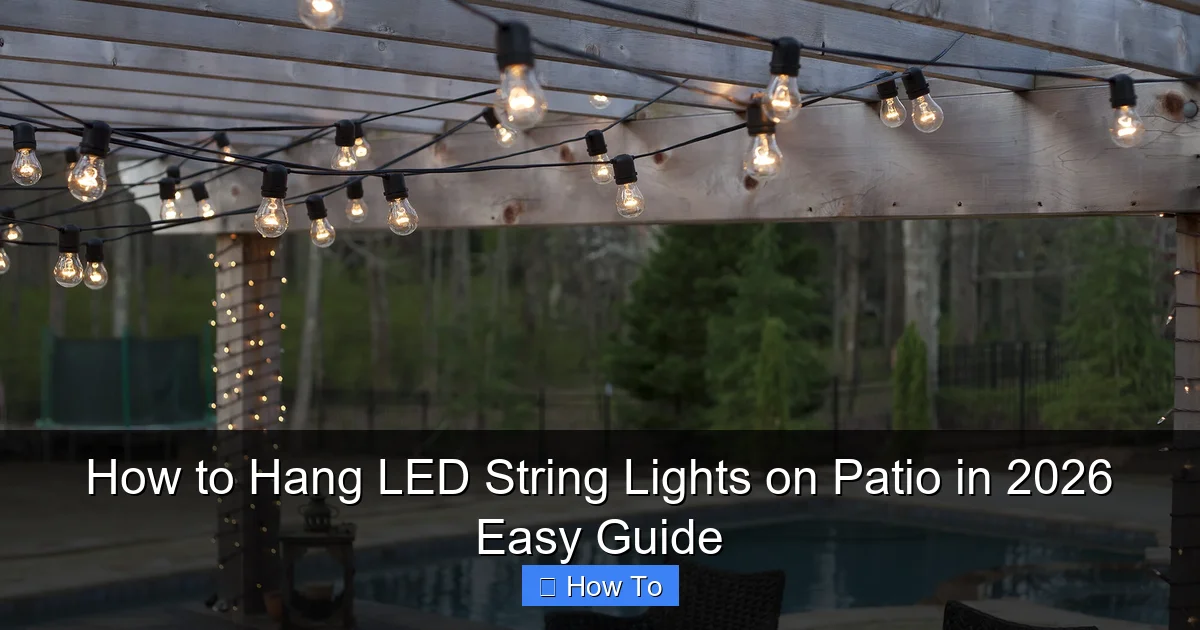
Visual guide about how to hang led string lights on patio
Image source: img.yardenvy.com
- LED string lights (outdoor-rated): Look for “weatherproof” or “IP65” on the label. I recommend 25–50 ft strands with warm white or soft amber tones for a cozy feel.
- Hanging hardware: Stainless steel hooks, eye screws, or outdoor adhesive clips (for smooth surfaces). Avoid plastic or cheap metal—it rusts fast.
- Measuring tape: To map out spacing and avoid overstretching.
- Drill & bits (if needed): For wood, stucco, or brick. Use masonry bits for hard surfaces.
- Ladder (if needed): A sturdy step ladder or extension ladder for higher areas.
- Extension cord (outdoor-rated): With a GFCI outlet for safety.
- Zip ties or cable clips (optional): For managing excess wire.
- Timer or smart plug (optional): So your lights turn on automatically at sunset.
Pro tip: Buy 10–20% more lights than you think you need. You’ll want extra for curves, corners, or backup strands. And always check the maximum connectable length on the box—don’t daisy-chain more than the manufacturer recommends.
This setup works for most patios: wood decks, concrete pads, pergolas, or even a small balcony. The key is matching your hardware to your surface. More on that in Step 2.
Step-by-Step Guide to How to Hang LED String Lights on Patio in 2026 Easy Guide
Step 1: Plan Your Layout (The Secret to a Polished Look)
Don’t just start hammering hooks. Sketch a quick layout first. This is where most people skip and regret it later.
Grab paper (or use your phone’s notes app) and draw your patio. Mark:
- Where you want the lights to go (e.g., along the roofline, over a dining table, around a pergola).
- Power source location. You’ll want to minimize visible extension cords.
- Obstacles (trees, furniture, planters) that might block the path.
Now, decide on a hanging pattern. Here are the most popular (and effective):
- Straight line: Simple and clean. Great for railings or eaves. Lights run parallel to the ground.
- Zig-zag or crisscross: Creates a canopy effect. Ideal for large open spaces or pergolas.
- U-shape or perimeter: Outlines the patio. Adds definition and ambiance.
- Clustered clusters: Group lights over seating areas for focused lighting.
Measure the total distance. For example, if you’re going around a 12’x12’ patio, that’s about 48 feet. If your lights are 25 ft each, you’ll need two strands with a 2-ft overlap.
My lesson learned: I once tried to cover a 60-ft perimeter with three 20-ft lights. The connections were visible, and the gaps killed the vibe. Always add 10% extra for overlaps and curves.
Use painter’s tape to mark anchor points on the wall or railing. This lets you visualize the layout before drilling.
Step 2: Choose & Install the Right Hardware
Your hardware is the backbone. Pick the wrong kind, and your lights will sag, fall, or damage your patio.
Match your hardware to your surface:
- Wood decks or railings: Use stainless steel cup hooks or eye screws. They’re strong, rust-resistant, and easy to install.
- Concrete or brick walls: Use masonry anchors or toggle bolts. Drill pilot holes first.
- Stucco or siding: Use adhesive outdoor clips (like 3M VHB) or stucco hooks. Avoid nails—they crack the surface.
- Pergolas or beams: Use J-hooks or zip ties (for temporary setups).
- Smooth surfaces (glass, metal): Use outdoor adhesive clips. Test on a small area first.
Installation tips:
- Space hooks every 18–24 inches. Closer spacing (12–15”) for heavier lights or windy areas.
- Drill pilot holes for wood and stucco to prevent splitting.
- For masonry, use a hammer drill with a masonry bit. Insert anchors flush with the surface.
- For adhesive clips, clean the surface with rubbing alcohol first. Let the adhesive cure 24 hours before hanging lights.
Warning: Never use nails, screws, or staples directly on the light cords. It damages the wiring and creates a fire hazard. Always hang from the socket or use a clip that grips the cord’s rubber coating.
Test each hook by tugging it gently. If it wiggles, reinforce it. Better safe than sorry!
Step 3: Hang the Lights (Keep It Tight, But Not Too Tight)
Now the fun part: hanging the lights. But don’t rush. Take your time.
Start at the power source. Plug in your first strand and test it. If it works, unplug it before hanging.
Begin at one end and work your way around. Here’s how:
- Loop the socket (not the cord) around the first hook. Use a figure-eight knot for extra security.
- Run the lights to the next hook. Keep the cord slightly taut—not stretched tight, but no drooping.
- Loop around each hook. For straight lines, use a simple overhand loop. For zig-zags, cross the cord between hooks.
- At corners, use a hook to redirect the line smoothly. Avoid sharp bends—they weaken the cord.
- For pergolas, drape the lights in a crisscross pattern. Use zip ties to attach the cord to the beams every 3–4 feet.
When connecting multiple strands:
- Use the manufacturer’s connector (usually a plug-and-socket system).
- Hide the connection behind a hook or planter. Never leave it dangling.
- Don’t exceed the max connectable length. For example, if the box says “max 3 strands,” stop at 3.
Pro tip: Hang the lights during the day. It’s easier to see the layout, and you can fix mistakes before it gets dark.
For a canopy effect (zig-zag):
- Install hooks in two parallel lines (e.g., on opposite sides of a pergola).
- Start at the first hook, run the light to the opposite side, then back, creating a “V” shape.
- Repeat every 2–3 feet. Adjust the angle for a wider or narrower pattern.
For perimeter lighting:
- Hang lights along the roofline, railing, or fence.
- Use a U-shape to frame the patio. Connect the ends near the power source.
Step 4: Manage Cords & Power (No Tripping Hazards)
Nothing ruins the ambiance like a tangled cord or a tripping hazard. Keep it clean and safe.
Hide extension cords:
- Run them along the ground behind planters, furniture, or under outdoor rugs.
- Use cord covers (like rubber channels) for high-traffic areas.
- For railings, use zip ties to bundle the cord and attach it to the railing every 12–18 inches.
Power source safety:
- Use an outdoor-rated extension cord with a GFCI outlet. This cuts power if there’s a short circuit.
- Elevate the outlet and cord off the ground. Use a power strip cover to protect it from rain.
- Plug in the lights only after they’re fully installed.
Smart lighting (optional):
- Use a smart plug or timer to automate on/off times. I use a sunset-to-midnight schedule.
- For color-changing lights, use an app to adjust the mood. Warm white for dinner, soft blue for late nights.
Step 5: Test, Adjust, & Secure
Before you celebrate, test the entire setup.
Turn on the lights and check:
- All bulbs are working. If some are out, check the connections or replace the strand.
- No sagging or drooping. Tighten any loose sections.
- Cords are secure and not in the way of foot traffic.
- No buzzing, flickering, or overheating. If you see this, unplug immediately and check the wiring.
Adjust the look:
- For a softer glow, hang lights 6–8 feet high. For brighter light, lower them to 5–6 feet.
- Use light diffusers (like sheer fabric) to soften harsh bulbs.
- Add fairy lights in planters or around furniture for extra sparkle.
Secure everything:
- For permanent setups, use weatherproof sealant on drill holes to prevent water damage.
- For adhesive clips, reinforce with a small dab of outdoor caulk (after testing).
- Trim excess zip ties with a utility knife.
Pro Tips & Common Mistakes to Avoid
My #1 rule: Buy quality lights. I once saved $20 on cheap “outdoor” lights. By winter, half the bulbs were dead. Spend a little more for IP65-rated, UL-listed lights. They last 5–10 years.
Pro tips from years of trial and error:
- Use a laser level (or string line) for straight lines. Eyeballing leads to crooked lights. I learned this after my first patio setup looked like a drunk spider made it.
- Hang lights in the off-season. Install in fall or winter so they’re ready for spring. No more last-minute scrambling.
- Add a dimmer switch. It extends bulb life and lets you adjust brightness. I use a Lutron outdoor dimmer—game-changer.
- Label your strands. Use colored zip ties to mark which strand is which. Makes troubleshooting easier.
- For windy areas, use double hooks. Install a second hook 2–3 inches below the first. Attach the cord to both for extra stability.
Common mistakes (don’t be me):
- Overstretching the cord. It weakens the wiring and causes shorts. Keep it snug, not tight.
- Using indoor lights outdoors. They’ll rust, short out, or catch fire. Always check the label.
- Ignoring the power source. A GFCI outlet is non-negotiable. It protects against shocks and surges.
- Hanging lights on trees with nails. It damages the bark and kills the tree. Use zip ties or clips instead.
- Forgetting to test before finalizing. Always plug in and check before you call it done.
Real talk: Your lights will face rain, wind, and UV rays. Invest in a light cover (like a clear plastic sleeve) for extra protection. I use them on my pergola lights—still going strong after 4 years.
FAQs About How to Hang LED String Lights on Patio in 2026 Easy Guide
Q: Can I use regular string lights outdoors?
A: Nope. Regular lights aren’t weatherproof. Look for “IP65” or “outdoor-rated” on the box. I made this mistake once—my lights died after one rainstorm. Learn from my pain.
Q: How many lights do I need for my patio?
A: Measure the area you want to cover. Add 10% for overlaps and curves. For a 10’x10’ patio, 25–30 ft of lights should work. If you want a canopy, double that.
Q: Can I hang lights without drilling holes?
A: Yes! Use adhesive clips for stucco, siding, or glass. For railings, use zip ties or tension rods. I use 3M VHB clips on my stucco wall—no holes, no damage.
Q: How do I fix a burnt-out bulb?
A: If one bulb goes out, the whole strand might still work. But if multiple bulbs fail, replace the strand. Some lights have replaceable bulbs—check the manual.
Q: Are solar-powered string lights a good option?
A: They’re great for low-light areas (like a garden path), but not for bright patio lighting. They need 6–8 hours of direct sun to charge. I use them for accent lighting, not main lights.
Q: How do I store lights in winter?
A: For permanent setups, leave them up if they’re weatherproof. For temporary ones, coil them loosely and store in a dry place. Use a storage reel to avoid tangles.
Q: Can I hang lights on a rental property?
A: Yes, but use non-damaging methods. Adhesive clips, zip ties, or tension rods are landlord-friendly. Always ask for permission first!
Final Thoughts
Hanging LED string lights isn’t just about adding light—it’s about creating a feeling. The right setup turns your patio into a cozy retreat, a party hub, or a quiet escape. And with this how to hang LED string lights on patio in 2026 easy guide, you’ve got the tools to do it right.
Remember: plan first, choose quality lights, and secure them properly. Don’t rush. Take your time, test everything, and adjust as needed. A little effort now means years of enjoyment.
And if you’re still on the fence? Just try it. Hang one strand. See how it feels. You’ll be surprised how much it transforms your space.
Now go grab your lights, fire up the grill, and enjoy your beautifully lit patio. The night is young—and so is your outdoor oasis.

