Featured image for how to hang led string lights on wall
Image source: digsdigs.com
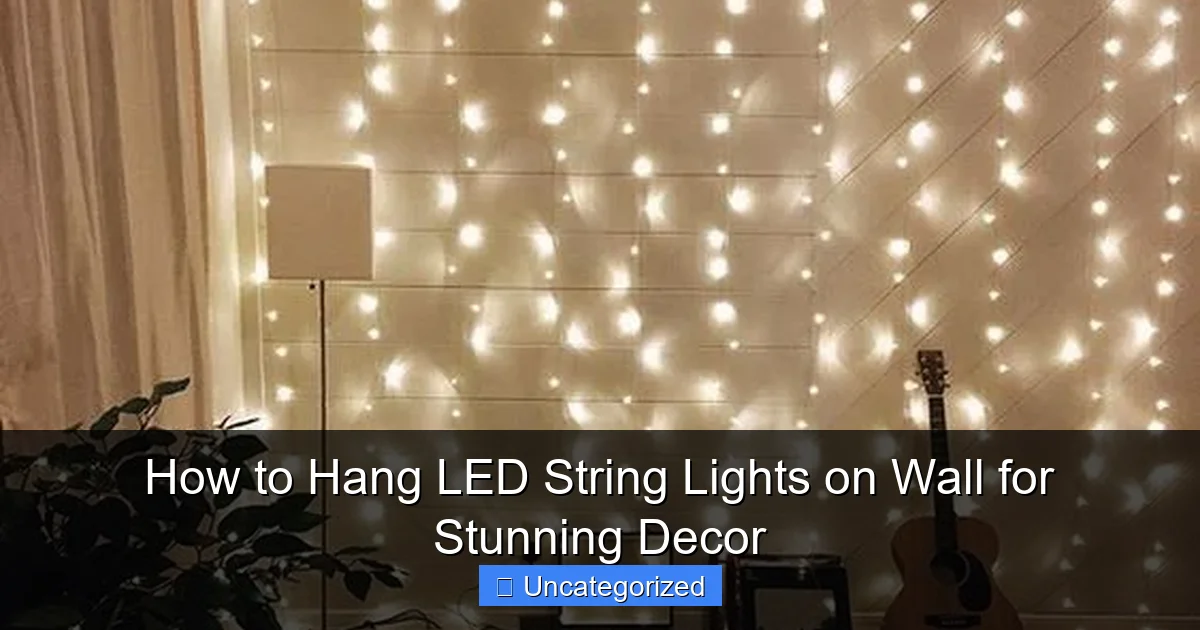
Transform your space instantly by securely mounting LED string lights with removable adhesive hooks or clips—no nails, no damage. Choose a layout that highlights your wall’s features, then weave the lights evenly for a professional, glowing effect. Always test the lights and plan the power source location before final installation to ensure a seamless, stunning display.
How to Hang LED String Lights on Wall for Stunning Decor
Key Takeaways
- Plan your layout first: Sketch light placement to avoid uneven spacing or gaps.
- Use adhesive hooks: Secure lights with damage-free hooks for easy adjustments.
- Hide cords creatively: Tuck wires behind shelves or moldings for a clean look.
- Test lights before hanging: Ensure all bulbs work to avoid rework later.
- Layer for depth: Combine wall lights with other decor for dynamic ambiance.
- Anchor with clips: Use clear clips to keep cords straight and tangle-free.
Why This Matters / Understanding the Problem
Imagine walking into a room that feels warm, inviting, and full of personality—not because of expensive art or furniture, but because of soft, twinkling lights gently outlining the space. That’s the magic of LED string lights. Whether you’re sprucing up a bedroom, creating a cozy reading nook, or adding flair to a party backdrop, how to hang LED string lights on wall for stunning decor is one of the easiest, most impactful DIY upgrades you can make.
But here’s the catch: many people end up with crooked lines, sagging wires, or lights that fall down after a week. The result? Frustration and wasted time. The good news? With the right approach, hanging LED string lights can be quick, secure, and visually stunning—no professional help needed.
Whether you’re using them for everyday ambiance or a special event, learning how to hang LED string lights on wall for stunning decor ensures your lights stay put, look intentional, and transform any wall into a mood-setting masterpiece.
What You Need
Before you start, gather these essential tools and materials. Having everything ready saves time and avoids mid-project trips to the hardware store.

Visual guide about how to hang led string lights on wall
Image source: cdn.diys.com
- LED string lights (battery-powered or plug-in—choose based on outlet access)
- Wall-safe mounting hardware: adhesive hooks, removable strips (like Command™), nails, or small picture hangers
- Measuring tape or ruler for even spacing
- Pencil or painter’s tape to mark placement (no permanent marks!)
- Level (a phone app works too) to keep lines straight
- Scissors or wire cutters (if trimming excess wire or zip ties)
- Zip ties or clear cord clips (for managing loose wires)
- Ladder or step stool (if working on high walls)
- Optional: masking tape, template paper, or masking tape for complex patterns
Pro tip: Choose warm white or soft multicolor LED lights for a cozy feel. Cool white works best for modern, minimalist spaces. Avoid lights with thick, heavy wires—they’re harder to secure and can pull down weak mounts.
Step-by-Step Guide to How to Hang LED String Lights on Wall for Stunning Decor
Step 1: Plan Your Layout and Design
Before touching the wall, decide how you want the lights to look. Are you going for a simple outline, a cascading waterfall, a geometric shape, or a whimsical heart?
Start by sketching your idea on paper or using masking tape on the wall to test the shape. For example, if you’re framing a mirror, place tape along the edge. If you’re creating a zigzag pattern, lay out tape in the desired path.
Use a measuring tape to ensure symmetry. For a headboard, center the lights above the bed. For a gallery wall, align with the top of the highest frame.
Pro Tip: For complex designs (like stars or trees), cut a template from paper and tape it to the wall. Then trace the outline with your lights. This prevents mistakes and saves time.
Remember: how to hang LED string lights on wall for stunning decor starts with a solid plan—not just random placement.
Step 2: Choose the Right Mounting Method for Your Wall
Not all walls are the same, and the wrong mounting method can damage paint, leave holes, or fail to hold weight. Match your wall type to the best hardware:
- Drywall (painted or textured): Use adhesive hooks or removable strips (like Command™). They’re paint-safe and hold up to 5 lbs per strip.
- Concrete or brick: Use small masonry nails or adhesive hooks rated for rough surfaces. Avoid regular nails—they won’t grip.
- Plaster: Use picture hangers with small nails or strong adhesive clips. Plaster is fragile, so avoid heavy pressure.
- Temporary setups (rentals, dorms): Stick with removable adhesive strips or blue painter’s tape. Zero damage, easy removal.
For battery-powered lights, place the battery pack in a discreet spot (like behind a plant or under a shelf). For plug-in lights, plan the route so the cord runs along the wall or baseboard—never across the floor.
Warning: Never use nails or screws on rental walls unless you have permission. Even small holes can lead to deposit deductions.
Step 3: Install the Mounting Hardware
Now it’s time to secure your anchors. Follow these steps carefully:
- Clean the wall surface with a damp cloth and let it dry. Dust and grease weaken adhesives.
- Mark mounting points with a pencil or tape. For straight lines (like framing a mirror), use a level to draw light guidelines.
- Install hooks or strips:
- For Command™ strips: Press firmly for 30 seconds. Wait 1 hour before hanging lights.
- For adhesive hooks: Peel and stick. Apply pressure for 10 seconds.
- For nails or hangers: Tap gently with a hammer. Don’t over-tighten.
- Space hooks evenly: Place them every 6–12 inches, depending on the light weight. Heavier strands (like globe lights) need closer spacing.
For a zigzag or crisscross pattern, install hooks in a grid. For a curved design (like a heart), space hooks closer together at tight bends.
Pro Tip: If you’re using multiple strips of lights, stagger the hooks so the wires don’t tangle. This makes the final look cleaner.
Step 4: Hang the Lights with Care
This is where your plan comes to life. Start from one end and work your way across.
- Begin at the top or power source: If using plug-in lights, start at the outlet and work upward. For battery packs, start at the top of the design.
- Loop or hook each light segment:
- For hooks: Drape the wire over the hook. Let it hang slightly for a soft, draped look.
- For adhesive clips: Snap the wire into place. Use clear clips for a nearly invisible effect.
- Keep tension light: Don’t pull the wire tight. A slight droop looks more natural and reduces strain on hooks.
- Follow your template: If using tape or paper, align the lights with the outline. Adjust as needed.
For waterfall or curtain designs, hang vertical strands from a horizontal line of hooks. For geometric shapes, use straight runs between hooks.
Common Mistake: Overloading hooks. If a hook bends or the adhesive peels, you’ve put too much weight on it. Redistribute or add more hooks.
Step 5: Manage Wires and Cords
Nothing ruins a beautiful display like a tangled mess of wires. Here’s how to keep it tidy:
- Use zip ties or cord clips to bundle excess wire. Place them behind furniture or under shelves.
- Route cords along baseboards or moldings using adhesive clips. Paint them to match the wall if needed.
- Hide battery packs in decorative boxes, behind plants, or under furniture.
- For plug-in lights: Run the cord behind a curtain rod, along a bookshelf, or through a cord cover (available at hardware stores).
For a minimalist look, use clear clips and white or clear cords. For industrial style, let black cords run along exposed brick.
Pro Tip: Use a smart plug or timer to turn lights on/off automatically. No more crawling behind the couch!
Step 6: Test, Adjust, and Perfect
Turn on the lights and step back. Look for:
- Uneven spacing (fix by adjusting hooks)
- Sagging wires (add more hooks or tighten slightly)
- Visible cords (reposition clips or use cord covers)
- Flickering lights (check connections or battery charge)
Make small tweaks until the lights look intentional and balanced. A level or measuring tape helps here.
Warning: Don’t over-tighten the wire. LED lights have delicate filaments. Pulling too hard can break them.
Step 7: Secure and Maintain
Once everything looks perfect, take a few extra steps to ensure longevity:
- Double-check adhesives after 24 hours. If any hooks are loose, reinforce them.
- Trim excess zip ties with scissors for a clean look.
- Label the switch or timer so others know how to use it.
- Dust regularly with a microfiber cloth to keep lights bright.
For seasonal displays (like holiday lights), take photos before removal. This makes reinstallation easier next year.
Pro Tips & Common Mistakes to Avoid
Even small missteps can ruin your decor. Here’s how to avoid them:
- Don’t skip the plan: Random placement leads to crooked, unbalanced designs. Always sketch first.
- Match hardware to weight: A 10-ft strand of fairy lights weighs less than a 15-ft globe light. Use appropriate hooks.
- Avoid direct sunlight: UV rays can fade LED bulbs over time. Hang lights in shaded areas or use UV-protected cords.
- Test before finalizing: Plug in the lights during installation to check for dead bulbs or faulty connections.
- Use dimmers or smart bulbs: Not all LED strings are dimmable. Check the package. A dimmer adds ambiance and saves energy.
- Mind the heat: While LEDs run cool, never cover them with fabric or paper. It can cause overheating.
- Think long-term: If you plan to remove the lights later, use removable strips. They leave no residue.
Real-Life Scenario: Sarah tried to hang a star-shaped light design with regular tape. It fell after 2 hours. She switched to Command™ hooks and spaced them every 6 inches—now it’s held for 6 months!
Remember: how to hang LED string lights on wall for stunning decor isn’t just about hanging—it’s about planning, precision, and patience.
FAQs About How to Hang LED String Lights on Wall for Stunning Decor
Can I hang LED string lights on wallpaper?
Yes—but with caution. Use low-tack adhesive hooks or painter’s tape. Avoid heavy pressure, as wallpaper can peel. Test a small area first. If your wallpaper is textured or vinyl-coated, adhesive strips work better than nails.
How do I hide the battery pack or cord?
Great question! For battery packs, place them in a decorative box, behind a plant, or under a shelf. For cords, run them behind furniture, along baseboards with adhesive clips, or use a cord cover (paintable to match the wall). For a high-tech solution, use a smart plug with a remote.
Will adhesive hooks damage my paint?
Most modern adhesive hooks (like Command™) are designed to be paint-safe. However, old or low-quality paint may chip. To be safe:
- Use the correct weight rating.
- Remove slowly by pulling the tab straight down (not sideways).
- Wait 1 hour before hanging.
Avoid adhesives on fresh paint (less than 2 weeks old).
Can I use nails instead of hooks?
Yes, but only if you’re okay with small holes. Use small picture nails or finishing tacks for a discreet look. For drywall, nails work well. For brick, use masonry nails and a hammer. Always patch holes if removing later.
How do I hang lights in a zigzag or crisscross pattern?
Install a grid of hooks in a diamond or diamond pattern. Start at one corner and weave the lights through the hooks. Use a measuring tape to ensure even spacing. For a crisscross, alternate directions with each row. Pro tip: Use a template to guide the shape.
Are battery-powered lights better than plug-in?
It depends on your needs:
- Battery-powered: Great for areas without outlets (like dorms, patios, or headboards). But batteries need replacing.
- Plug-in: More reliable for long-term use. Use a timer to save energy.
For permanent decor, plug-in is better. For temporary events, battery-powered offers more flexibility.
How do I make my lights look professional?
Focus on clean lines, even spacing, and hidden cords. Use a level, measure twice, and step back frequently to check symmetry. Avoid cluttered designs. For a high-end look, use clear clips and white or black cords that match the wall.
Final Thoughts
Learning how to hang LED string lights on wall for stunning decor isn’t just a DIY project—it’s a way to express your style, set the mood, and make any space feel special. Whether you’re creating a romantic bedroom, a festive party backdrop, or a cozy reading corner, the right lighting transforms the ordinary into the extraordinary.
Remember: start with a plan, choose the right hardware for your wall, and take your time. A little patience now means months (or years!) of beautiful, reliable lighting.
Now it’s your turn. Grab your tools, sketch your design, and start hanging. And when you step back to admire your work? That’s the magic moment—when your wall comes alive with light.
Pro tip: Take a photo when it’s done. You’ll want to remember how it looked—and so will your guests.

