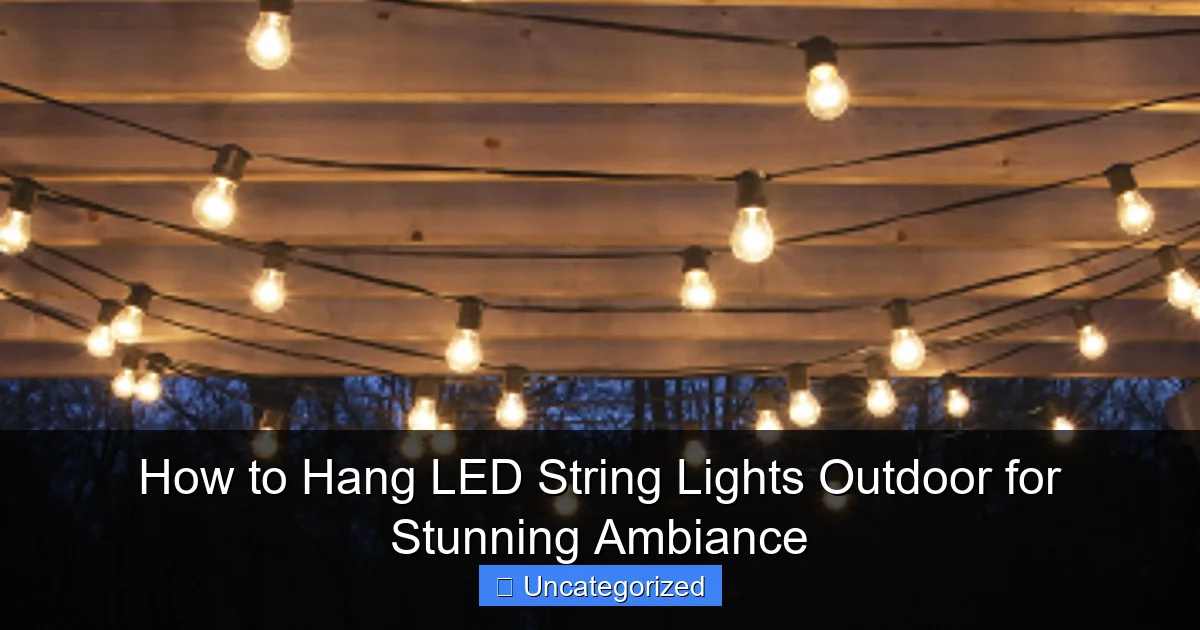
Featured image for how to hang led string lights outdoor
Image source: randolphsunoco.com
Choose durable, weather-resistant LED string lights and secure them along sturdy structures like eaves, fences, or trees using hooks, clips, or zip ties for a safe, long-lasting glow. Plan your layout to evenly distribute lights and connect multiple strands safely, avoiding overloaded circuits. For maximum ambiance, drape lights at varying heights and conceal cords for a clean, professional look that transforms your outdoor space.
How to Hang LED String Lights Outdoor for Stunning Ambiance
Key Takeaways
- Plan your layout: Sketch light placement for balanced coverage and minimal strain.
- Use weatherproof fixtures: Choose IP65-rated lights for safe, lasting outdoor use.
- Secure with hooks or clips: Install durable mounts to prevent sagging or damage.
- Measure power needs: Calculate wattage to avoid overloading circuits or extensions.
- Hide cords strategically: Tuck wires under eaves or use cord covers for a tidy look.
- Test before installing: Check all bulbs and connections to ensure full functionality.
Why This Matters / Understanding the Problem
Imagine this: it’s a warm summer evening, you’re hosting friends for dinner in your backyard, and the only lighting is a dim porch bulb. The mood is flat, the vibe is off. Now picture the same scene—but with warm, glowing LED string lights draped over the patio, wrapped around trees, or strung above the dining table. Suddenly, your outdoor space transforms into a cozy, magical retreat.
That’s the power of lighting. But here’s the catch: how to hang LED string lights outdoor for stunning ambiance isn’t as simple as just plugging them in and tossing them up. Poor placement, sagging wires, or tangled cords can ruin the effect—or worse, create a safety hazard.
Whether you’re setting up for a party, creating a year-round cozy nook, or just want to enjoy your yard after dark, the right lighting can make all the difference. The key is knowing how to hang them safely, beautifully, and in a way that lasts through seasons and weather. This guide walks you through every step—so you can skip the trial and error and go straight to that Instagram-worthy glow.
From choosing the right lights to avoiding common pitfalls, we’ll cover everything you need to know. No electrician skills required. Just a ladder, some tools, and a vision for your dream outdoor space.
Pro Insight: Ambiance isn’t just about brightness—it’s about warmth, spacing, and placement. The right setup makes your yard feel inviting, not like a construction site.
What You Need
Before you start climbing ladders or drilling holes, gather the right tools and materials. A little prep now saves time, frustration, and potential damage later. Here’s your complete checklist for how to hang LED string lights outdoor for stunning ambiance.
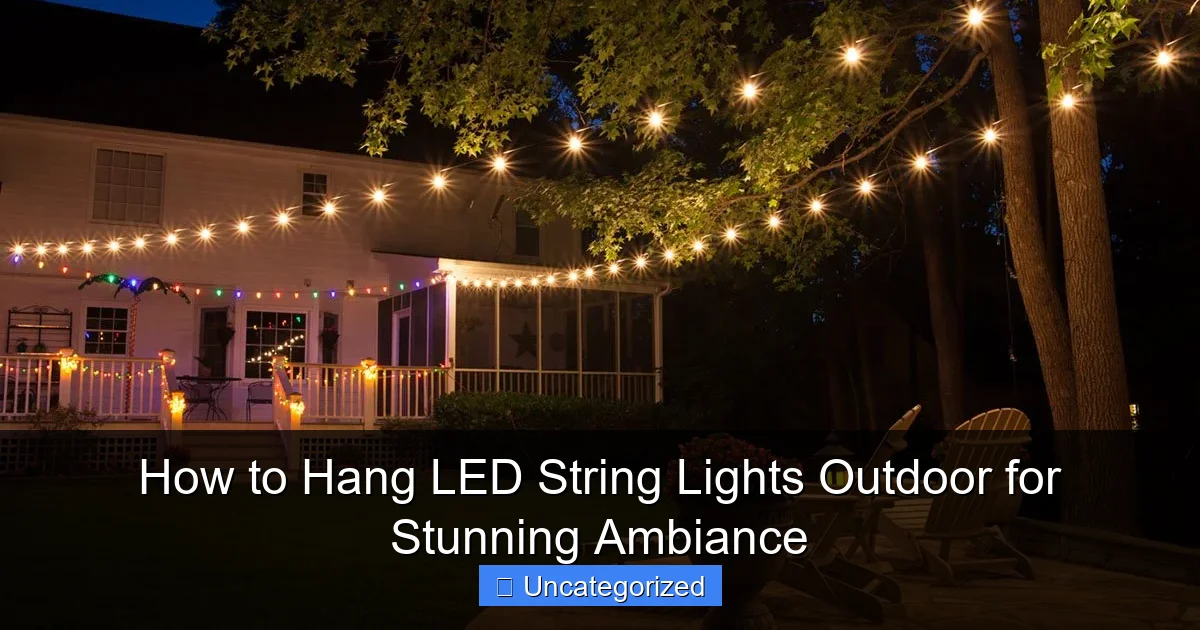
Visual guide about how to hang led string lights outdoor
Image source: houseilove.com
LED String Lights (The Right Kind)
- Outdoor-rated LED string lights (look for “wet-rated” or “weather-resistant” on the packaging)
- Choose warm white (2700K–3000K) for cozy vibes, or color options for festive events
- Opt for shatterproof bulbs (plastic) if kids or pets are around
- Consider connectable sets if you need to cover a large area (e.g., 25–50 ft runs)
Mounting Hardware
- Outdoor-rated hooks or clips (plastic-coated, stainless steel, or vinyl-coated for metal)
- Zip ties (UV-resistant) for trees or railings
- Command outdoor strips (for renters or no-damage setups)
- Eye screws or cup hooks (for wood surfaces like pergolas or eaves)
- Wall anchors and screws (for brick, stucco, or concrete)
Tools
- Drill with masonry and wood bits (if installing into walls)
- Hammer (for nail-in hooks)
- Measuring tape
- Ladder (stable, with a spotter if needed)
- Scissors or wire cutters
- Extension cords (outdoor-rated, GFCI-protected)
Optional (But Helpful)
- Light timer or smart plug (set and forget—lights turn on at sunset)
- Voltage tester (to check for live wires if near electrical sources)
- String light clips with adhesive (for gutters or soffits)
- Weatherproof junction boxes (for connecting multiple strings)
Warning: Never use indoor string lights outdoors. They’re not sealed against moisture and can short out or cause fires. Always check the label.
Step-by-Step Guide to How to Hang LED String Lights Outdoor for Stunning Ambiance
Now that you’re ready, let’s get into the fun part. This step-by-step guide covers everything from planning to plugging in. Follow along, and you’ll have a beautifully lit outdoor space in no time.
Step 1: Plan Your Layout (The Blueprint)
Before touching a single tool, sketch out where you want the lights. This is the most important step for achieving that stunning ambiance. Think about:
- Which areas need light? (Dining table, lounge zone, walkway, trees)
- What shape will the lights form? (Straight lines, zigzag, crisscross, canopy)
- Where are your power sources? (Outlets, extension cords, solar options)
- How many strings do you need? (Measure distances with a tape)
For example: If you have a 15-foot patio, you might use two 25-foot strings connected end-to-end (with a weatherproof connector), running parallel along the eaves and down the posts. Or, wrap lights around a 20-foot tree in a spiral pattern using zip ties.
Use painter’s tape to mark anchor points (where you’ll install hooks or clips) on walls, railings, or trees. This helps you visualize spacing and avoid overloading one area.
Pro Tip: Aim for 12–18 inches between anchor points for straight runs. Closer spacing prevents sagging and looks more professional.
Step 2: Choose the Right Mounting Method
Your mounting method depends on your surface. Here’s how to match the right hardware to your space:
- Wood (pergola, deck railing, eaves): Use cup hooks or eye screws. Drill a pilot hole first to avoid splitting wood.
- Metal (gutters, railings): Use vinyl-coated hooks or zip ties. Avoid metal-on-metal contact to prevent rust.
- Brick, stucco, or concrete: Use plastic wall anchors with screws. Drill into mortar (not brick) for easier removal.
- Trees: Use UV-resistant zip ties or tree-friendly straps. Wrap loosely to avoid cutting into bark.
- Renters or no-damage setups: Try outdoor Command strips or adhesive clips (rated for 1–2 lbs each).
For a canopy effect (lights crisscrossing above a seating area), install hooks in a grid pattern on opposite walls or posts. Use a chalk line or laser level to keep everything straight.
Warning: Never nail or drill into electrical wiring, plumbing, or structural supports. If unsure, call a pro.
Step 3: Install the Anchors (Secure & Spaced)
Now it’s time to install your mounting hardware. Follow these rules:
- Space anchors evenly. For straight runs, place hooks every 12–18 inches. For curves or spirals (like around a tree), go to 6–12 inches.
- Use a level. A crooked line looks messy. A $10 level app on your phone works fine.
- Don’t overtighten. Screws should be snug, not so tight they crack the surface.
- Label each anchor. Use small pieces of tape to mark where each light string will go. This avoids confusion later.
Example: For a 20-foot pergola, install 12 cup hooks—6 on each side—spaced 16 inches apart. Use a tape measure to ensure symmetry.
For trees, wrap zip ties loosely around the trunk or branches. Tighten just enough to hold the lights, but leave room for growth. Avoid wrapping too high—wind can stress branches.
Pro Tip: For a “floating” effect, install hooks slightly above eye level. This hides the hardware and makes the lights appear to hang in midair.
Step 4: Hang the Lights (No Sagging, No Tangles)
Unplug the lights first. Then, start hanging:
- Begin at the power source. This is usually the end with the plug. Hang the first bulb or socket at the anchor closest to your outlet.
- Work outward. Clip each bulb or socket into the hooks as you go. For zip ties, thread the wire through the tie and secure.
- Keep tension even. Pull the string gently—just enough to remove slack, not so much it stretches the cord.
- For curves or spirals: Wrap lights around the anchor point, then move to the next. Use a helper to hold the string taut.
If you’re connecting multiple strings, use a weatherproof connector (not just twist ties). Seal the connection with electrical tape or a waterproof cap.
For a zigzag pattern (great for covering large walls), run the string back and forth between anchors, leaving a 2–3 foot gap between lines. This creates depth and avoids a “wall of light” effect.
Warning: Don’t hang lights on power lines, gas pipes, or near sprinklers. Moisture + electricity = danger.
Step 5: Manage Cords & Power (Hide the Ugly)
The lights look great—but now you have a mess of cords. Here’s how to clean it up:
- Use outdoor-rated extension cords. Choose one with a GFCI plug (ground fault circuit interrupter) for safety.
- Run cords along walls or under railings. Use cord clips or zip ties to secure them. Avoid tripping hazards.
- Hide cords with planters, furniture, or outdoor rugs. A decorative basket near the outlet works too.
- For long runs: Use a junction box to connect strings, then run one cord to the outlet.
- Add a timer. Set it to turn on at sunset and off at 10 PM. No more forgetting to turn them off!
Example: If your outlet is on the side of the house, run the cord along the fence, clip it every 3 feet, and hide the bulk with a potted fern.
Pro Tip: Use a smart plug (like TP-Link Kasa) to control lights via an app or voice assistant. Great for parties or vacation mode.
Step 6: Test & Adjust (The Final Touch)
Plug in the lights. Walk around your space. Look for:
- Dark spots: Add more lights or reposition strings.
- Sagging: Tighten the string or add extra anchors.
- Glare: Angle bulbs downward or use frosted covers.
- Uneven spacing: Adjust hooks or re-hang sections.
Invite a friend to give feedback. Sometimes a fresh pair of eyes spots issues you’ve missed.
For a canopy, step back 10 feet. The lights should form a soft, even glow—not a grid of bright spots.
Pro Tip: Take a photo at night. Review it the next day. Lighting often looks different in photos than in person.
Step 7: Maintain & Protect (Keep the Glow)
Your lights will last longer if you care for them. Here’s how:
- Clean bulbs monthly. Wipe with a damp cloth to remove dust and bugs.
- Check connections. Look for frayed wires or loose plugs.
- Remove in extreme weather. Take down lights during hurricanes, heavy snow, or high winds.
- Store properly. Wrap lights around a cardboard reel or use a storage reel to prevent tangles.
- Replace bulbs promptly. A single dead bulb can dim the whole string.
If you’re leaving lights up year-round, inspect them every 3 months. Look for corrosion on metal hooks or UV damage to plastic clips.
Warning: Don’t use metal hooks on aluminum gutters—they can cause electrolytic corrosion. Use plastic-coated or vinyl options.
Pro Tips & Common Mistakes to Avoid
Even with the best plan, things can go wrong. Here are the top pro tips and mistakes to avoid when learning how to hang LED string lights outdoor for stunning ambiance.
Pro Tips
- Use a light guide. Tape a long string of yarn or rope to the anchors first. Then hang the lights along it. This ensures perfect alignment.
- Layer your lighting. Combine string lights with solar path lights or lanterns for depth. A single layer can look flat.
- Try “ghosting.” Hang lights slightly behind a pergola or tree. The glow appears to float in the air—magic!
- Go solar. Solar-powered string lights are great for remote areas. Just ensure the panel gets 6+ hours of sun.
- Use dimmers. Some LED sets are dimmable. Lower the brightness for intimate gatherings.
Common Mistakes
- Overloading circuits. Don’t plug 10 strings into one outlet. Use a power strip with surge protection and check the wattage limit.
- Ignoring weather ratings. Indoor lights + rain = fire hazard. Always check the IP rating (e.g., IP65 = dust/water resistant).
- Tying knots. Knots stress the cord and cause breaks. Use clips or ties instead.
- Hanging too high. Lights above 8 feet lose their intimacy. Aim for 6–7 feet for cozy vibes.
- Forgetting maintenance. Dust, pollen, and bugs dim lights over time. Clean them regularly.
Real-Life Example: A homeowner hung lights 12 feet up on a pergola. The result? A bright, harsh glow—like a parking lot. Lowering them to 7 feet with a zigzag pattern created a warm, inviting canopy.
FAQs About How to Hang LED String Lights Outdoor for Stunning Ambiance
Got questions? We’ve got answers. Here are the most common queries about hanging outdoor LED string lights.
Can I leave LED string lights outside year-round?
Yes—if they’re rated for outdoor use (look for “wet-rated” or IP65+). Remove them during extreme weather (hurricanes, heavy snow) to prolong life. Most quality sets last 2–5 years outdoors.
How do I connect multiple strings safely?
Use weatherproof connectors, not just twist ties. Seal connections with electrical tape or a waterproof cap. Never exceed the manufacturer’s max connection limit (usually 2–4 strings). Overloading can melt wires.
What’s the best way to hang lights on a rental property?
Use no-damage options: outdoor Command strips, adhesive clips, or zip ties. Avoid drilling holes. For railings, wrap lights around posts with zip ties. For walls, use clips rated for 1–2 lbs.
How far can I run extension cords for outdoor lights?
Use 14-gauge (or thicker) outdoor cords. For runs under 50 feet, a 16-gauge cord works. Beyond that, go to 14-gauge to prevent voltage drop. Always plug into a GFCI outlet.
Can I hang lights on trees without harming them?
Yes—with care. Use tree-friendly straps or UV-resistant zip ties. Wrap loosely (leave a finger’s space). Remove lights in winter to prevent girdling. Never use nails or screws.
Why are my string lights dim or flickering?
Common causes: overloaded circuit, loose connections, or damaged bulbs. Check each bulb. Replace any that are dark. Test connections with a voltage tester. Reduce the number of connected strings.
How do I create a “floating” canopy effect?
Install hooks in a grid pattern (e.g., 3×3) on opposite walls or posts. Hang lights in a crisscross or zigzag pattern, 6–7 feet high. Use frosted bulbs to diffuse light. Add a sheer canopy for extra magic.
Final Thoughts
Hanging LED string lights outdoors isn’t just about illumination—it’s about creating a mood, a memory, a moment. Whether you’re lighting up a tiny balcony or a sprawling backyard, the right setup turns ordinary evenings into something special.
Remember: start with a plan, choose the right tools, and take your time. A little patience now means years of enjoyment later. And when you see your space glowing under the stars—friends laughing, kids playing, or just you sipping tea in the quiet—you’ll know it was worth it.
Now go ahead: grab your lights, follow this guide, and start creating your own stunning ambiance. The night is yours to light up.
Ready to shine? Pick a clear evening, invite a friend to help, and let the glow begin. Your dream outdoor space is just a few hooks away.

