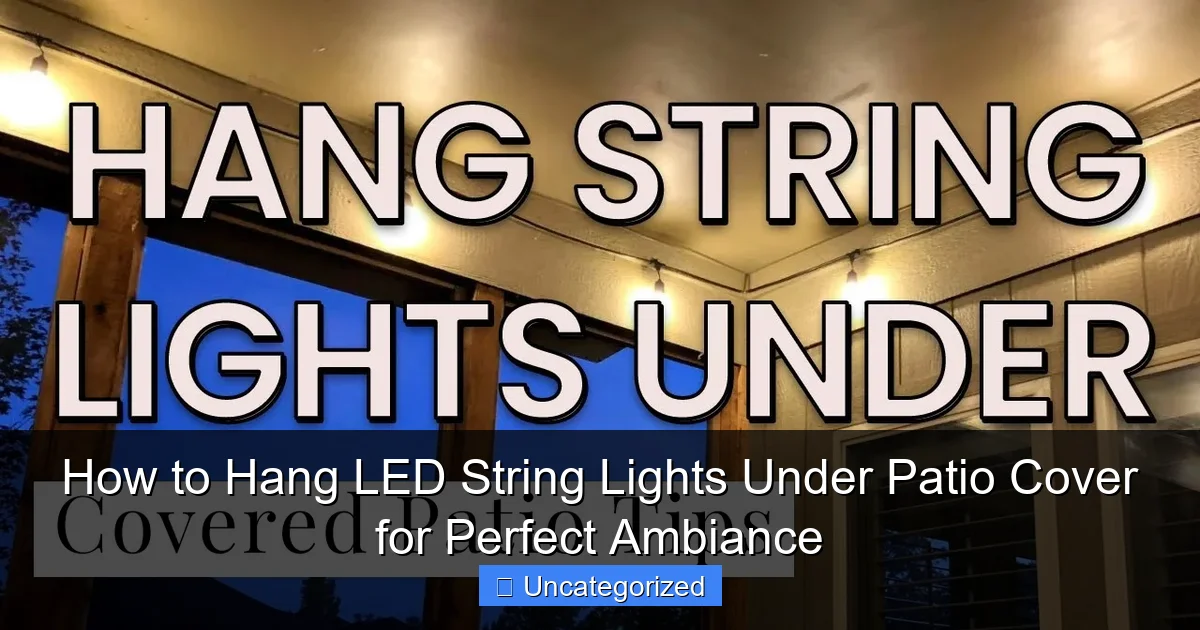
Featured image for how to hang led string lights under patio cover
Image source: i.ytimg.com
Transform your patio into a cozy retreat by hanging LED string lights under your cover using simple, damage-free methods like adhesive hooks, zip ties, or tension rods for a secure fit. Choose warm white or color-changing LEDs to set the perfect mood, and drape them in zigzag, parallel, or cascading patterns for maximum visual impact—no electrical expertise required!
How to Hang LED String Lights Under Patio Cover for Perfect Ambiance
Key Takeaways
- Plan spacing first: Measure and mark light placement before installation.
- Use adhesive clips: Secure lights with removable hooks or clips.
- Choose waterproof lights: Ensure IP65+ rating for outdoor durability.
- Hide power sources: Tuck cords into beams or use raceways.
- Layer for depth: Combine string lights with other lighting types.
- Test before securing: Check brightness and connections first.
Why This Matters / Understanding the Problem
Imagine this: it’s a warm summer evening. You’re sitting under your patio cover with family or friends, laughing over drinks. The sun has dipped below the horizon, and suddenly, the space feels a bit too dark. You want a cozy, inviting glow—something that feels magical, not harsh or clinical. That’s where how to hang LED string lights under patio cover for perfect ambiance comes in.
Many people struggle with outdoor lighting that either feels too bright (like a parking lot) or too dim (like a flashlight in fog). The key is balance. LED string lights offer soft, warm illumination that enhances your space without overpowering it. When hung correctly under a patio cover, they create a canopy of light that mimics a starry sky or a cozy bistro vibe—perfect for dining, relaxing, or entertaining.
But here’s the catch: hanging them wrong can lead to sagging wires, uneven lighting, or even safety hazards. You don’t want lights that flicker in the wind or look like a tangled mess. The goal isn’t just to hang lights—it’s to create an atmosphere. That’s why learning how to hang LED string lights under patio cover for perfect ambiance isn’t just a DIY project—it’s a mood-setting skill.
Whether your patio cover is a pergola, gazebo, aluminum frame, or a simple roof overhang, this guide will help you achieve a professional-looking, long-lasting setup. We’ll walk you through the tools, techniques, and insider tips to make your outdoor space shine—literally.
What You Need
Before you start, gather the right tools and materials. Skipping this step can turn a fun project into a frustrating one. Here’s your patio lighting toolkit:
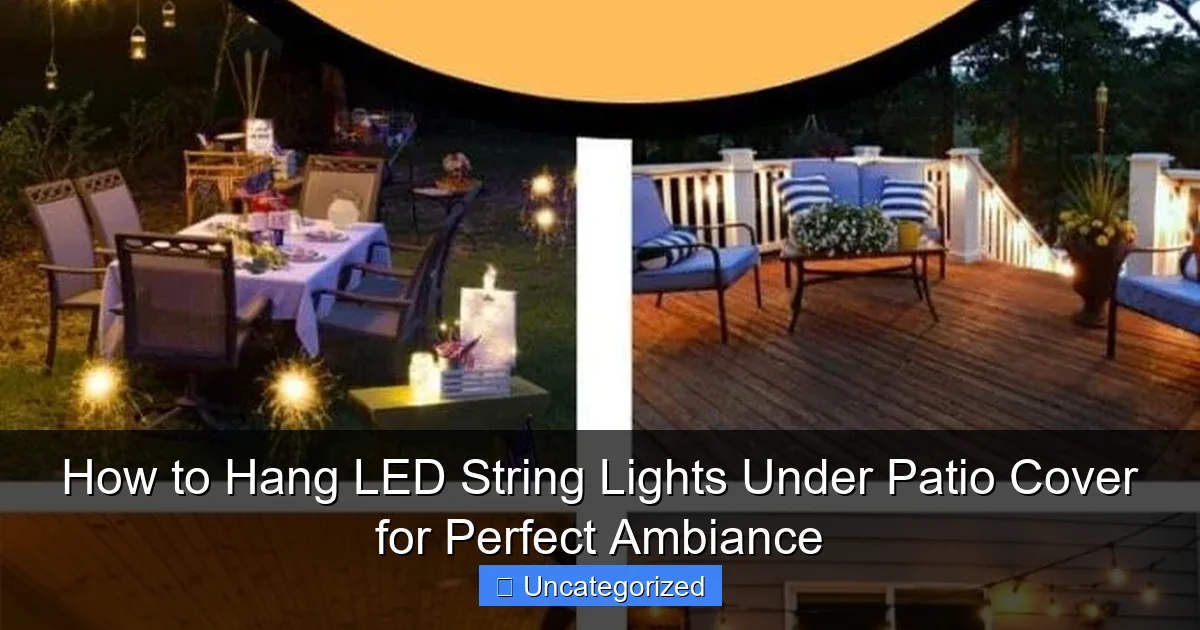
Visual guide about how to hang led string lights under patio cover
Image source: jessicawellinginteriors.com
- LED string lights – Choose weatherproof, outdoor-rated lights with warm white (2700K–3000K) bulbs for soft, inviting glow. Look for shatterproof bulbs and a “wet location” rating.
- Measuring tape – To plan spacing and avoid overbuying or underbuying.
- Drill and drill bits – For wood, metal, or masonry, depending on your patio cover material.
- Outdoor-rated fasteners – Options include:
- Stainless steel screws with washers (for wood/metal frames)
- Toggle bolts or anchors (for drywall or hollow surfaces)
- Heavy-duty adhesive hooks (for smooth surfaces like vinyl or aluminum)
- Zip ties or cable clips (for temporary or semi-permanent setups)
- Extension cords (outdoor-rated) – With surge protection and GFCI (Ground Fault Circuit Interrupter) for safety.
- Power source access – A nearby outdoor GFCI outlet. If none, use a heavy-duty extension cord from a protected indoor outlet.
- Ladder or step stool – Make sure it’s stable and tall enough to reach safely.
- String or fishing line – For marking guide lines or temporary hanging.
- Timer or smart plug (optional) – For automatic on/off control and energy savings.
- Gloves and safety glasses – Protect your hands and eyes during drilling or installation.
Pro Tip: Buy 10–20% more lights than you think you need. You’ll likely want to drape or zigzag for visual interest, and extra length helps with plug placement.
With these tools, you’re ready to tackle how to hang LED string lights under patio cover for perfect ambiance like a pro. Now, let’s get into the step-by-step process.
Step-by-Step Guide to How to Hang LED String Lights Under Patio Cover for Perfect Ambiance
Step 1: Plan Your Layout & Measure the Space
Start by mapping out where you want the lights. Don’t just eyeball it—measure. Use your tape to get the exact dimensions of your patio cover. Note the distance from the power source to the farthest corner. This helps you choose the right length and number of string light strands.
Decide on your hanging pattern. Popular options include:
- Straight lines – Parallel rows for a clean, modern look.
- Zigzag or crisscross – For a bistro or canopy effect.
- Drape or waterfall – Lights hang down like curtains, great for gazebos or pergolas.
- Grid or lattice – For large, flat patio covers.
Sketch a rough diagram. Mark where each fastener will go—typically every 12–18 inches for straight runs, or at each intersection for zigzags. This prevents sagging and ensures even light distribution.
Warning: Avoid placing fasteners too close to edges or weak spots. Wood can split, and metal may warp. Always drill pilot holes for screws in wood.
This planning phase is crucial for how to hang LED string lights under patio cover for perfect ambiance—it sets the foundation for a balanced, professional look.
Step 2: Choose & Prepare Your Fastening Method
Your patio cover material determines the best way to hang the lights. Here’s how to match fasteners to your surface:
- Wood (pergola, rafters): Use stainless steel screws with rubber or plastic washers. The washer protects the light cord and prevents fraying. Pre-drill holes to avoid splitting.
- Metal (aluminum frame, steel beams): Use self-tapping metal screws or magnetic clips. Adhesive hooks work too, but only if the surface is clean and smooth.
- Vinyl or plastic (siding, trim): Avoid drilling. Use outdoor-rated adhesive hooks or zip ties with adhesive bases. Test adhesion on a small area first.
- Drywall or hollow surfaces: Use toggle bolts or anchors rated for outdoor use. These provide secure hold without damaging the structure.
Before installing, clean the surface with isopropyl alcohol or a mild cleaner. Dust and grime weaken adhesives and can cause fasteners to loosen over time.
For temporary setups (like seasonal lights), consider using cable clips or removable hooks. These leave no damage and are easy to adjust.
Pro Tip: Use different colored fasteners (like black or brown) to blend into the frame. It makes the lights the star, not the hardware.
Choosing the right fastener is a key part of how to hang LED string lights under patio cover for perfect ambiance—it ensures durability and a clean look.
Step 3: Install Fasteners & Mark Guide Lines
Now, install your fasteners. Start at the power source corner and work outward. Use a level or plumb line to keep everything straight—especially for parallel rows.
For straight runs:
- Drill pilot holes (for screws) at your marked spots.
- Insert screws, leaving the head about 1/4 inch out to hook the light cord.
- Use washers to protect the cord and add stability.
For zigzag patterns:
- Mark diagonal lines from corner to corner.
- Install fasteners at each intersection point.
- Use string or fishing line to test the layout before hanging lights.
For drape or waterfall style:
- Install fasteners along the front edge of the cover.
- Use longer cords or zip ties to create downward loops.
- Space hooks every 6–8 inches for a fuller look.
Warning: Don’t overtighten screws. It can damage the light cord or pull the fastener out over time. Snug is enough.
This step is where your plan comes to life. Take your time—rushing leads to crooked lines or uneven lighting.
Step 4: Hang the Lights (With Tension Control)
Now, the fun part: hanging the lights. Start at the plug end and work backward. This keeps the power source accessible and prevents tangles.
For straight or zigzag patterns:
- Hook the light cord onto each fastener.
- Keep tension consistent—snug but not stretched. Sagging looks sloppy; too tight can damage the cord.
- Use zip ties or clips to secure loose sections, especially near corners.
For drapes:
- Hang the top end first, then let the cord drape down.
- Use small clips or hooks to hold the bottom of each loop at the desired length.
- Adjust for even spacing—no bunching or gaps.
If using multiple strands:
- Connect them end-to-end, but check the manufacturer’s max wattage limit.
- Use outdoor-rated extension cords to avoid overloading.
- Plug into a GFCI outlet—it cuts power if there’s a short, preventing shocks.
Pro Tip: Test the lights as you go. Plug them in after every 2–3 fasteners. It’s easier to fix a broken strand before the whole thing is up.
Hanging with care ensures your how to hang LED string lights under patio cover for perfect ambiance project looks polished and lasts for years.
Step 5: Manage Power & Cables
Messy cords ruin the vibe. Here’s how to keep power sources tidy:
- Use a weatherproof outlet cover to protect the plug.
- Route extension cords along the frame with clips or ties—never across walkways.
- Use a timer or smart plug to automate on/off. Set it to turn on at sunset for effortless ambiance.
- If running a cord from indoors, use a door sweep cord protector or drill a small hole (seal it with silicone).
For a cleaner look, hide cords behind beams or use cord covers (available in black or brown). You can also paint cords to match the frame—just use outdoor paint and let it dry completely.
Warning: Never staple or nail cords. It damages insulation and creates fire hazards. Use only manufacturer-approved clips.
Smart cable management is essential for how to hang LED string lights under patio cover for perfect ambiance—it’s the difference between “DIY” and “pro.”
Step 6: Test, Adjust, and Enjoy
Once everything is up, test the full setup. Turn on the lights at dusk to see the real effect. Look for:
- Even light distribution (no dark spots or hotspots)
- No sagging or loose cords
- Secure fasteners (no wiggling)
- Safe cord placement (no tripping hazards)
Make adjustments as needed. Add clips to tighten sagging sections, or reposition a few hooks for better balance. Step back and view it from different angles—inside the patio, from the yard, even from a neighbor’s yard. Does it look inviting? Magical? That’s the goal.
Finally, invite someone over for a test run. Real-life feedback is invaluable. If they say, “Wow, it feels like a restaurant!”—you’ve nailed it.
Pro Tips & Common Mistakes to Avoid
Even with the best plan, things can go wrong. Here are insider tips and pitfalls to dodge:
- Don’t skip the GFCI outlet. Outdoor electricity + water = danger. Always use a GFCI outlet or adapter. Test it monthly with the “Test” button.
- Use dimmable or warm lights. Cool white (5000K+) feels clinical. Warm white (2700K–3000K) is cozier. Dimmable lights let you adjust the mood.
- Leave room for growth. If you plan to add more lights later, install extra fasteners now. It’s easier than retrofitting.
- Check bulb spacing. Too many bulbs close together = harsh glare. Space them 4–6 inches apart for soft glow.
- Weatherproof everything. Use outdoor-rated lights, cords, and fasteners. Indoor lights fail fast in rain.
- Think about wind. In windy areas, use extra clips or shorter strands. Long, loose cords whip in the breeze and can break.
- Avoid “light pollution.” Angle lights downward to reduce glare. Use shields or diffusers if needed.
Common Mistake: Hanging lights too high. If they’re above eye level, they lose their intimate feel. Aim for 7–8 feet high—just above head level.
Pro Tip: For a “twinkling” effect, mix in a few strands with flickering bulbs (like candle-style LEDs). Use sparingly—too much flicker is distracting.
These tips ensure your how to hang LED string lights under patio cover for perfect ambiance setup is not just pretty—but safe and long-lasting.
FAQs About How to Hang LED String Lights Under Patio Cover for Perfect Ambiance
Q: Can I hang LED string lights on a metal patio cover?
A: Yes! Use self-tapping metal screws, magnetic clips, or outdoor adhesive hooks. Just avoid drilling into thin or painted metal without a pilot hole. For a clean look, use black fasteners that blend in.
Q: How do I prevent the lights from sagging?
A: Use fasteners every 12–18 inches. For longer runs, add mid-span supports. Use zip ties or clips to tighten loose sections. Never stretch the cord—snug tension is key.
Q: Can I leave the lights up all year?
A: It depends. If your lights are rated for “wet locations” and you use outdoor-rated fasteners, they can stay up. But in harsh climates (heavy snow, salt air), take them down in winter. Always unplug during storms.
Q: How many strands can I connect?
A: Check the manufacturer’s wattage limit. Most LED strands can connect 20–25 max, but never exceed 80% of the max (e.g., connect only 16 of a 20-strand limit). Use a power strip with surge protection.
Q: What’s the best way to hide the cords?
A: Route cords along beams or edges. Use cord covers, clips, or paint them to match the frame. For a seamless look, run cords inside hollow metal frames (if possible).
Q: Can I use solar-powered string lights?
A: Yes! They’re great for no-power zones. But solar lights are dimmer and may not last all night. Use them for accent lighting, not primary illumination.
Q: How do I fix a burnt-out bulb?
A: Most LED string lights have replaceable bulbs. Turn off power, remove the bulb, and insert a new one. If the whole strand fails, check the fuse in the plug (replaceable on some models).
Final Thoughts
Hanging LED string lights under your patio cover isn’t just about adding light—it’s about crafting an experience. With the right tools, a solid plan, and attention to detail, you can transform your outdoor space into a cozy, inviting retreat. Whether you’re hosting a dinner party, reading a book, or just enjoying a quiet evening, the right lighting sets the mood.
Remember, how to hang LED string lights under patio cover for perfect ambiance is about balance: light and dark, tight and loose, permanent and flexible. Take your time, test as you go, and don’t be afraid to tweak the setup. The best lighting is the kind that feels effortless—like the space was always meant to glow.
So grab your tools, sketch your layout, and get started. In a few hours, you’ll have a patio that’s not just functional—but magical. And when your guests look up and say, “This is beautiful,” you’ll know you did it right.
Now go make your patio shine.

