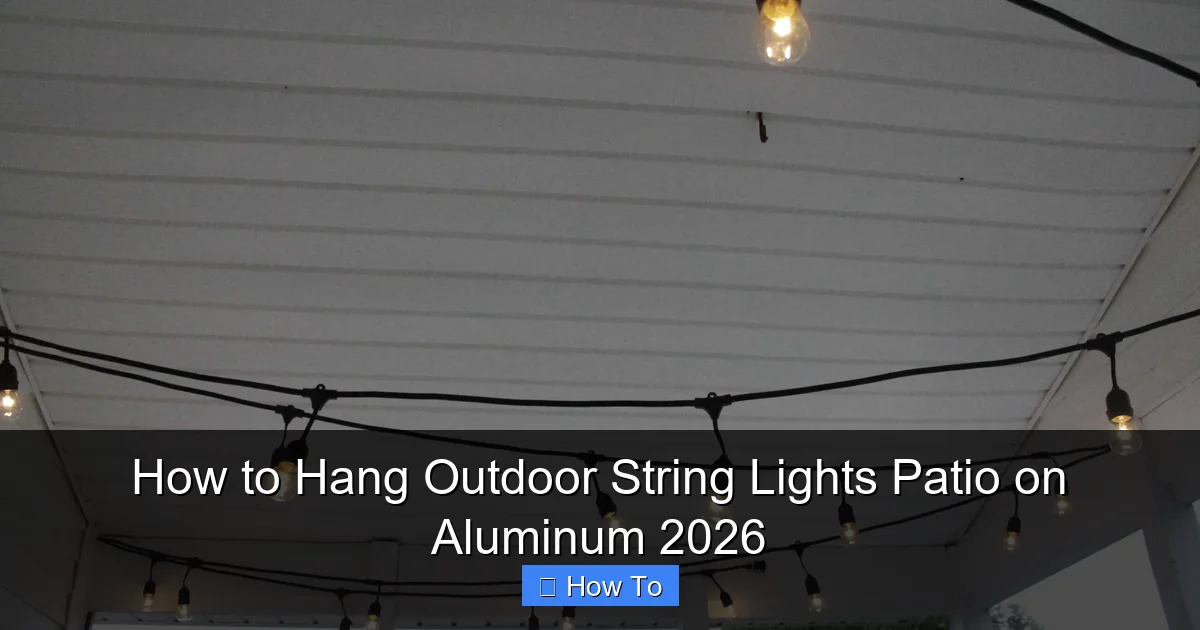
Featured image for how to hang outdoor string lights patio on aluminum
Image source: charlestoncrafted.com
Hanging outdoor string lights on an aluminum patio is simple and secure when you use the right mounting hardware—like aluminum-rated clips or no-damage adhesive hooks—designed to grip smooth metal without corrosion. Ensure lights are spaced evenly and anchored at key points to prevent sagging, especially across wide spans. Always follow manufacturer guidelines and use outdoor-rated, weatherproof fixtures for a safe, long-lasting glow in 2026 and beyond.
“`html
How to Hang Outdoor String Lights Patio on Aluminum 2026
Key Takeaways
- Plan layout first: Measure and mark light spacing for balanced coverage.
- Use magnetic hooks: Secure lights without drilling into aluminum surfaces.
- Anchor to eaves: Attach lights to roof edges for stable suspension.
- Choose LED bulbs: Opt for weatherproof, energy-efficient lights for longevity.
- Test before hanging: Ensure all bulbs work before final installation.
- Secure with clips: Use aluminum-compatible clips to prevent sagging over time.
Why This Matters / Understanding the Problem
Let’s be honest—nothing beats the cozy glow of outdoor string lights on a summer evening. But if you’ve got an aluminum patio (common in newer homes and modern builds), hanging those lights can feel like trying to stick gum to metal. Unlike wood, aluminum is smooth, slippery, and often treated with protective coatings that resist adhesives and screws.
I learned this the hard way. Last year, I spent an entire afternoon wrestling with zip ties and adhesive hooks, only to wake up the next morning to a sad pile of dangling wires and a very unimpressed partner. The truth? Hanging outdoor string lights on aluminum isn’t just about aesthetics—it’s about durability, safety, and making sure your hard work doesn’t collapse after one windy night.
That’s why how to hang outdoor string lights patio on aluminum 2026 is a real challenge—especially with today’s sleek, low-maintenance aluminum structures. But don’t worry. With the right approach, you can create a stunning, long-lasting setup that survives rain, wind, and even your neighbor’s curious dog.
What You Need
Before you start, gather these tools and materials. Trust me—having everything ready saves time and frustration.
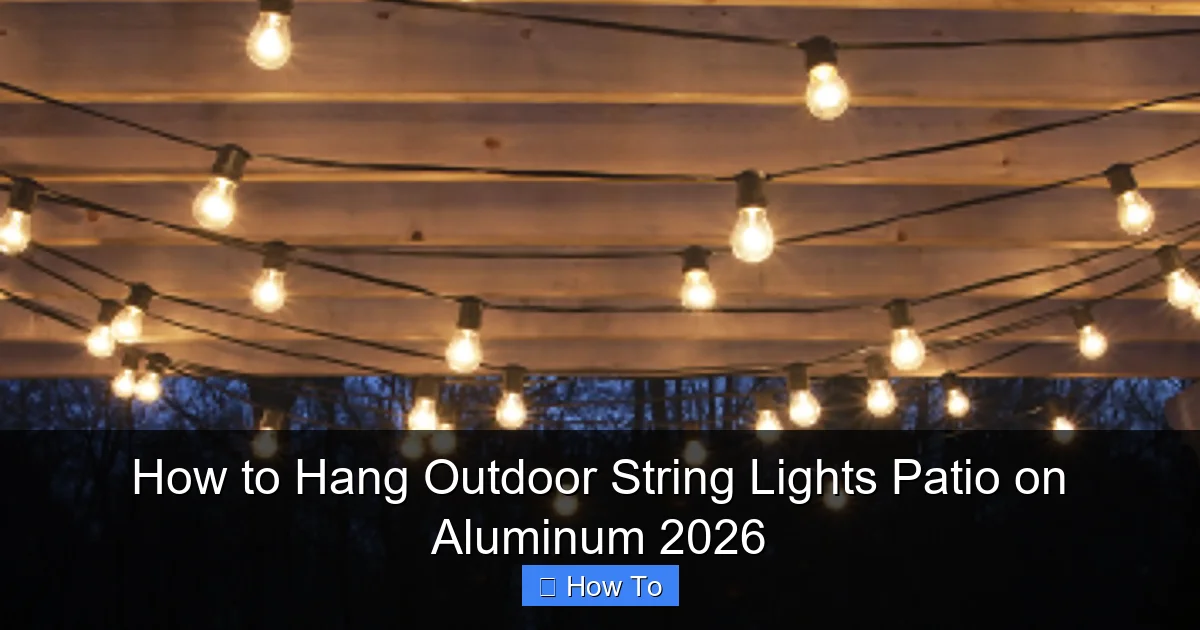
Visual guide about how to hang outdoor string lights patio on aluminum
Image source: houseilove.com
- Outdoor-rated string lights (LED, weatherproof, with proper IP rating—IP65 or higher)
- Aluminum-safe fasteners (stainless steel screws, nylon zip ties, or specialty aluminum clips)
- Drill with metal drill bits (for aluminum, use a cobalt or titanium bit—don’t use wood bits!)
- Measuring tape and level (for even, symmetrical spacing)
- Pencil or marker (for marking drill points)
- Silicone sealant or outdoor caulk (to seal holes and prevent water ingress)
- Eye protection and gloves (safety first!)
- Extension ladder or step stool (if your patio has high eaves or beams)
- Optional: Aluminum mounting clips, adhesive-backed aluminum rails, or magnetic hooks (great for renters or no-drill options)
Pro Tip: If you’re renting or want a non-permanent setup, skip drilling. Use high-tack outdoor adhesive hooks rated for metal, or magnetic clips (if your aluminum has a steel backing). Just test a small area first!
Step-by-Step Guide to How to Hang Outdoor String Lights Patio on Aluminum 2026
Step 1: Plan Your Layout Like a Pro
Before you touch a drill, sketch your layout. Decide where you want the lights—along the eaves, across the patio, or in a zigzag pattern. Use painter’s tape to mark the path temporarily.
Measure the total length of your space. Buy string lights with at least 10–15% extra length to allow for slack and connections. For example, if your patio is 20 feet wide, get a 25-foot strand.
Also, check where your power source is. You don’t want to string 40 feet of lights just to find out the outlet is on the other side. Use extension cords only as a last resort—they can be tripping hazards and aren’t always weather-safe.
Why this matters: A well-planned layout prevents mid-installation “uh-oh” moments. I once tried to hang lights without measuring and ended up with a strand that was *just* too short. Cue the sad trombone.
Step 2: Choose the Right Mounting Method
Aluminum is tricky because it’s thin, lightweight, and prone to corrosion if you use the wrong fasteners. Here are your best options:
- Stainless steel self-tapping screws: Ideal for permanent, secure mounting. They bite into aluminum without cracking it.
- Aluminum mounting clips: These are U-shaped clips that snap onto the edge of aluminum beams or eaves. No drilling needed!
- High-tack adhesive hooks: Look for “outdoor metal-rated” hooks with UV resistance. 3M and Command make good ones.
- Magnetic hooks: Only if your aluminum has a steel backing (common in some modern structures).
- Zip ties with aluminum sleeves: Use nylon zip ties with metal-reinforced heads. They won’t snap in the sun.
For how to hang outdoor string lights patio on aluminum 2026, I recommend stainless steel screws for permanent setups and adhesive clips for renters or temporary use.
Warning: Avoid regular steel screws—they’ll rust and stain your aluminum. Also, don’t use nails or staples. Aluminum is too soft and can split.
Step 3: Mark and Drill Pilot Holes (If Using Screws)
If you’re using screws, start by marking your drill points. Use a measuring tape and level to ensure even spacing—every 18–24 inches is ideal. This prevents sagging and keeps the lights looking professional.
Now, drill a pilot hole. Use a cobalt or titanium drill bit (size #3 or #4). Aluminum is soft, but it can still crack if you apply too much pressure. Go slow and steady—don’t force it.
After drilling, clean out the hole with a soft brush or compressed air. This removes metal shavings that could interfere with the screw.
My mistake: I once used a regular wood bit and nearly stripped the aluminum. Learned that lesson fast. Always use the right bit!
Step 4: Install Mounting Hardware
Now, attach your fasteners. If using screws:
- Insert a stainless steel self-tapping screw into each pilot hole.
- Leave about 1/4 inch of the screw exposed—just enough to hook the light strand.
- Use a screwdriver or drill with a clutch setting to avoid over-tightening.
If using adhesive hooks or clips:
- Clean the aluminum surface with rubbing alcohol (no soap—it leaves residue).
- Press the hook firmly for 30 seconds.
- Wait 24 hours before hanging lights (yes, really—this ensures maximum adhesion).
For zip ties:
- Loop the tie around the aluminum beam or rail.
- Pull tight and cut the excess.
- Use at least two ties per anchor point for stability.
This step is crucial for how to hang outdoor string lights patio on aluminum 2026—the hardware holds everything together, literally.
Step 5: Hang the Lights with Even Tension
Start at the power source. Unroll the string lights and gently drape them over the first fastener. Don’t pull too hard—LED strands can break internally.
Work your way across, hooking each socket (or loop) onto the fastener. Keep the tension even—too loose, and the lights sag; too tight, and you risk pulling the fasteners loose.
If your lights have built-in loops or S-hooks, use them. Otherwise, tie a simple loop with the cord or use small carabiners (outdoor-rated).
Pro Tip: Test the lights every 5–6 feet. If one goes out, you’ll catch it early instead of having to re-hang the whole strand.
Step 6: Secure the Cord and Manage Excess
Once the lights are up, deal with any extra cord. Don’t leave it dangling—it’s a tripping hazard and can pull on the fasteners.
- Use zip ties or cord clips to secure the cord to the aluminum beam.
- Loop excess cord and tuck it behind a beam or use a cord organizer.
- If using an extension cord, run it along the base of the patio and cover it with a cord cover or rubber mat.
For a clean look, hide the cord behind planters, furniture, or outdoor rugs.
Step 7: Seal and Protect (Especially for Screws)
If you drilled holes, seal them with a dab of outdoor silicone caulk. This prevents water from seeping in and causing corrosion—especially important in rainy climates.
Let the caulk cure for 24 hours before turning on the lights.
Also, check that all fasteners are snug. Give each one a gentle tug. If it wiggles, tighten it or add a second fastener nearby.
Why this matters: I skipped sealing once. Six months later, I noticed rust stains near the screws. A tiny dab of caulk could’ve saved me from that mess.
Step 8: Test, Adjust, and Enjoy
Turn on the lights at dusk. Step back and look at your work. Are there any dark spots? Sags? Gaps?
- If lights are sagging, add more fasteners or tighten existing ones.
- If the pattern looks uneven, adjust the spacing.
- If a bulb is out, replace it or check the fuse in the plug.
Once you’re happy, grab a drink and enjoy your handiwork. You’ve just mastered how to hang outdoor string lights patio on aluminum 2026—and it’s going to look amazing all year.
Pro Tips & Common Mistakes to Avoid
Pro Tip #1: Use a light strand with replaceable bulbs. Cheaper strings often have sealed sockets. If one bulb dies, the whole strand might go out. Look for models with individual bulb replacements.
Pro Tip #2: Install a timer or smart plug. You’ll save energy and never forget to turn them off. I use a sunset-to-sunrise timer—my lights come on automatically every night.
Pro Tip #3: Go for warm white or amber LEDs. Cool white can feel clinical. Warm tones mimic candlelight and make your patio feel inviting.
Common Mistake #1: Using indoor lights. Outdoor-rated lights have thicker insulation, UV-resistant coatings, and sealed sockets. Indoor lights will fail in weeks.
Common Mistake #2: Overloading circuits. Check your outlet’s amperage. Most can handle 15 amps. If you’re daisy-chaining 5+ strands, use a power strip with overload protection.
Common Mistake #3: Ignoring wind and weather. Aluminum can flex in strong winds. Use extra fasteners on the windward side. Also, angle the lights slightly downward to shed rain.
Common Mistake #4: Forgetting about maintenance. Clean your lights every 6 months. Dust and pollen can dim the bulbs. Wipe them with a damp cloth (when off and cool).
FAQs About How to Hang Outdoor String Lights Patio on Aluminum 2026
Can I hang string lights on aluminum without drilling?
Yes! Use high-tack adhesive hooks, aluminum clips, or magnetic hooks (if your structure allows). Just make sure the surface is clean and dry before applying. For renters or temporary setups, this is the way to go. Just don’t overload the hooks—stick to one strand per hook.
Will screws damage my aluminum patio?
Not if you do it right. Use stainless steel self-tapping screws and drill pilot holes. Avoid over-tightening. The small holes are barely visible and can be sealed with caulk. The result? A secure, long-lasting installation that won’t damage the structural integrity.
What if my aluminum is painted or anodized?
Be extra careful. Painted surfaces can chip if you use the wrong tools. Clean the area thoroughly, use a drill bit designed for soft metals, and go slowly. Adhesive hooks are a great no-damage option here.
How do I prevent the lights from sagging?
Use more fasteners! Space them every 18–24 inches. Also, avoid long unsupported runs. If you’re spanning a wide area, add a central anchor point—like a hook on a support beam or a decorative pole.
Can I connect multiple strands?
Yes, but check the manufacturer’s guidelines. Most LED strands can connect up to 4–5 in a series. Never exceed the max wattage or amp rating. Use outdoor-rated extension cords and keep connections off the ground (use a drip loop).
Are solar-powered lights a good option for aluminum patios?
They can be, but they’re not ideal for shaded areas. Solar lights need direct sunlight to charge. If your patio is under an overhang or tree cover, stick with plug-in models. If you do go solar, mount the panel in a sunny spot and run the cord to the lights.
How long will my lights last on aluminum?
With proper installation, outdoor-rated LED lights can last 5–10 years. The key is using the right fasteners, sealing drill holes, and protecting the cord. I’ve had mine up for 7 years with no issues.
Final Thoughts
Hanging outdoor string lights on an aluminum patio isn’t just possible—it’s one of the best ways to transform your outdoor space. Whether you’re hosting a BBQ, enjoying a quiet night, or just want to impress your neighbors, those soft glows make all the difference.
Remember, how to hang outdoor string lights patio on aluminum 2026 comes down to planning, using the right tools, and taking your time. Don’t rush the layout. Don’t skip the sealing step. And for goodness’ sake, use the right drill bit.
Start small if you’re nervous—maybe just one side of the patio. Once you see how easy and satisfying it is, you’ll be ready for the full setup. And when you finally flip that switch and see your aluminum patio bathed in warm light? That’s the magic moment.
So grab your tools, sketch your plan, and get to work. Your dream patio is just a few fasteners away.
One last thing: Take a photo when you’re done. You’ll want to remember this project—and maybe even post it online. You’ve earned it.
“`

