Featured image for how to hang patio light strings
Image source: outdoorspaceaccents.com
Hang patio light strings securely and stylishly by planning your layout and using the right hardware for your surface type. Whether mounting on wood, stucco, or metal, always use eye hooks, zip ties, or specialized clips to prevent sagging and ensure a professional, long-lasting look.
“`html
How to Hang Patio Light Strings Like a Pro in 2026
Key Takeaways
- Plan spacing first: Measure and mark hook locations for even, balanced light distribution.
- Use sturdy anchors: Install hooks or eye screws into structural supports, not weak materials.
- Test lights before hanging: Ensure all bulbs work and wiring is safe pre-installation.
- Maintain slack between hooks: Allow slight droop for wind resistance and visual appeal.
- Weatherproof connections: Seal plugs and use outdoor-rated extension cords for safety.
- Hide cords strategically: Use clips or conduit to keep wires neat and hazard-free.
Why This Matters / Understanding the Problem
Let’s be honest—nothing ruins a cozy evening on the patio faster than a tangled mess of lights or, worse, a string dangling precariously from a tree branch. I learned this the hard way last summer when my “quick” setup turned into a two-hour battle with knots and a near-miss ladder fall. That’s when I realized: how to hang patio light strings like a pro in 2026 isn’t just about aesthetics—it’s about safety, longevity, and creating a space that feels inviting, not chaotic.
Whether you’re setting up for a party, holiday, or just to enjoy summer nights, proper installation keeps your lights shining bright without the hassle. And the best part? It’s easier than you think. With the right approach, you can transform your outdoor space into a warm, glowing retreat—no electrician required.
Pro Insight: The secret to pro-level lighting? Planning and patience. Rushing leads to sagging wires, broken sockets, and a look that screams “DIY disaster.”
What You Need
Before you start, gather these tools and materials. Trust me, skipping any of these is a shortcut to frustration.
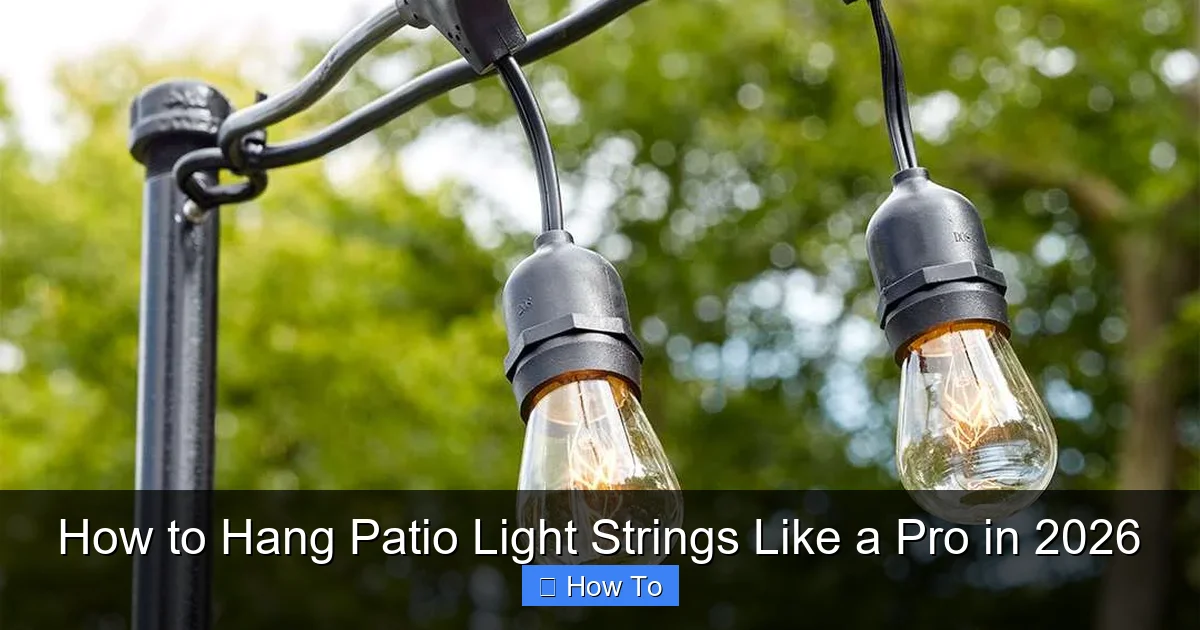
Visual guide about how to hang patio light strings
Image source: bhg.com
- String lights: Choose weatherproof LED bulbs (they last longer and use less power).
- Measuring tape: To plan spacing and avoid buying too much (or too little).
- Sturdy anchors: Options include screw-in hooks, eye hooks, zip ties, or specialized light clips (more on those below).
- Drill or hammer: For installing hooks in wood, masonry, or vinyl.
- Extension cords: Outdoor-rated, with GFCI protection (critical for safety).
- Zip ties or cable clips: For securing loose wires and avoiding tripping hazards.
- Ladder (if needed): A stable, non-slip one—safety first!
- Smart timer (optional): Automate on/off times to save energy and avoid forgetting to turn them off.
Pro Insight: Buy 10–15% more lights than you think you need. You’ll thank me when you hit an awkward corner or need to loop around a pillar.
Step-by-Step Guide to How to Hang Patio Light Strings Like a Pro in 2026
Step 1: Plan Your Layout (The Key to Pro Results)
Grab your measuring tape and walk around your patio. Decide where you want the lights—overhead, along railings, around trees, or framing a pergola. Sketch a quick diagram or mark spots with painter’s tape.
Ask yourself: Where will the power source be? Avoid long, daisy-chained extension cords. Instead, plan for multiple outlets or use a power strip with built-in GFCI near the patio. This reduces voltage drop and tripping risks.
For overhead lighting, measure the distance between anchor points. Most string lights have bulbs every 6–12 inches. If your span is 20 feet, you’ll need at least two anchor points to prevent sagging.
Pro Insight: Overhead lights work best in a “catenary” (sag) pattern. A slight dip adds charm—just don’t let them touch the ground. Aim for a 12–18 inch sag at the center.
Step 2: Choose the Right Anchors for Your Surface
Your patio’s material matters. Here’s the lowdown:
- Wood (deck, fence, pergola): Use screw-in hooks or eye bolts. Drill pilot holes first to prevent splitting.
- Concrete or masonry: Tapcon screws or masonry anchors. A hammer drill makes this faster, but a regular drill + masonry bit works in a pinch.
- Vinyl or aluminum (railings): Use non-marring clips or zip ties. Avoid drilling—it can crack the material.
- Trees: Use tree-friendly straps (not nails or screws). Wrap the strap loosely around the trunk to allow growth.
Pro tip: Test each anchor by tugging it firmly. If it wiggles, add a dab of outdoor-rated silicone caulk for extra hold.
Warning: Never use nails in trees—they damage bark and invite disease. And please, no staples on vinyl railings. They’ll leave permanent scars.
Step 3: Install Anchors and Test Spacing
Mark anchor spots with chalk or tape. For overhead lights, space anchors 6–10 feet apart (closer for heavy bulbs). For railings or trees, place anchors every 3–5 feet.
Drill holes (if needed) and install anchors. For hooks, tighten them until snug—but don’t overtorque. You want them secure, not stripped.
Now, test the layout. Hang a temporary string (like rope or twine) between anchors to visualize the path. Adjust spacing if the sag is too much or too little. This step saves you from re-drilling holes later.
Step 4: Hang the Lights (Slow and Steady Wins)
Start at the power source and work outward. Uncoil the light string and plug it into an extension cord (never leave it plugged in while hanging). This prevents accidental shorts.
For overhead lights:
- Attach the first bulb or socket to the anchor. Most lights have a loop or hook—use it!
- Walk the string to the next anchor, letting it hang naturally. Don’t pull it tight yet.
- Once all bulbs are in place, gently tension the string. Aim for a slight sag (12–18 inches in the center).
- Secure each bulb/socket to its anchor. For sockets, use a zip tie or clip. For bulbs, loop the wire around the hook.
For railings or trees:
- Wrap the string around the anchor (don’t knot it). Let the wire loop through the hook or clip.
- Keep bulbs facing downward to avoid water pooling in sockets.
Pro Insight: If a bulb is loose, twist it gently into the socket. If it still wobbles, wrap the base with electrical tape for a snug fit.
Step 5: Secure Loose Wires and Cords
Excess wire is a tripping hazard. Use zip ties or cable clips to bundle loose cords along railings, posts, or trees. Leave a little slack near outlets to allow for movement.
For overhead spans, use light clips every 12–18 inches to prevent wind damage. These clips grip the wire without puncturing it—perfect for preserving insulation.
Hide extension cords under furniture or planters. If visible, use outdoor cord covers to blend them in.
Step 6: Test and Adjust
Plug in the lights and check for:
- Flickering bulbs: Tighten loose bulbs or replace faulty ones.
- Sagging wires: Add more anchors or redistribute weight.
- Water exposure: Ensure sockets are sealed and cords aren’t lying in puddles.
If a section goes out, check the connections first. Often, a loose bulb or frayed wire is the culprit.
Pro Insight: Use a smart timer to automate on/off times. I set mine for dusk to midnight—saves energy and avoids midnight light pollution.
Step 7: Maintain for Longevity
Pro-level setups last for years with basic care:
- Inspect monthly: Check for loose bulbs, frayed wires, or anchor wear.
- Clean bulbs: Wipe with a damp cloth (unplug first!). Dust reduces brightness.
- Winterize: In cold climates, remove lights and store them coiled in a dry place. Or, use commercial-grade lights rated for year-round use.
Replace bulbs as needed. LED bulbs last 25,000+ hours, but older incandescent ones burn out faster.
Pro Tips & Common Mistakes to Avoid
After years of trial and error (and a few ladder mishaps), here’s what I wish I’d known:
- Don’t daisy-chain too many strings: Most outdoor lights support 2–3 strings max. Overloading causes dimming or blown fuses. Use a multi-outlet adapter instead.
- Skip the staples: They pierce wires and create fire risks. Use clips or zip ties.
- Plan for wind: In breezy areas, use wind-resistant bulbs and extra anchors. I learned this when a gust sent my lights into a tree—twice.
- Use the right clips: Not all clips work with all surfaces. For vinyl, use UV-resistant clips. For wood, stainless steel hooks won’t rust.
- Label your cords: Use masking tape to mark which extension cord powers which section. Saves time during troubleshooting.
Warning: Never hang lights on power lines, metal roofs, or near gas lines. If in doubt, call a pro. Your safety isn’t worth a shortcut.
For a pro-level finish, mix light types: Combine string lights with path lights or lanterns for layered lighting. It adds depth and makes your patio feel like a resort.
FAQs About How to Hang Patio Light Strings Like a Pro in 2026
Q: Can I leave my patio lights up year-round?
A: Only if they’re rated for all-weather use (look for “IP65” or higher). Most string lights need winter removal to prevent moisture damage. Store them coiled in a breathable bag—no plastic bins!
Q: How do I hang lights on a pergola with no hooks?
A: Use pergola clips (they grip the beams without drilling) or wrap the string around the beams. For a cleaner look, attach a thin wire or cable between beams and hang the lights from it.
Q: What if my patio has no overhead structure?
A: No problem! Use light poles (freestanding or stake-mounted) or hang lights from trees. For railings, use zip-tie clips or wrap the string around posts. I’ve even used shepherd’s hooks in planters for a bistro vibe.
Q: Are LED string lights worth the cost?
A: Absolutely. They use 80% less energy, last 25x longer, and generate less heat (safer for kids/pets). Plus, many have color-changing or smart app features. I saved $40 on my electric bill last year by switching.
Q: How do I fix a section of lights that won’t turn on?
A: Check the connections first. Unplug the string, wiggle each bulb, and reinsert it. If a bulb is loose, wrap the base with electrical tape. If the whole section fails, replace the fuses (in the plug) or the string.
Q: Can I use regular indoor extension cords?
A: No. Indoor cords aren’t waterproof and can overheat. Always use outdoor-rated cords with GFCI protection (it cuts power if it detects moisture). Look for the “W” rating on the cord.
Q: How do I make my lights look less “tacky”?
A: Avoid straight lines—sag the wires slightly for a relaxed look. Use warm white bulbs (2700K–3000K) for a cozy glow. And hide cords! I use potted plants or furniture to disguise mine.
Final Thoughts
Learning how to hang patio light strings like a pro in 2026 is about more than just hanging lights—it’s about creating a space that feels like home. With a little planning, the right tools, and these steps, you can avoid the common pitfalls and enjoy a setup that’s safe, stylish, and built to last.
Start small. Test one section first. Adjust as needed. And remember: the best lighting isn’t the brightest—it’s the one that makes you want to linger outside a little longer. So grab your tools, sketch a plan, and turn your patio into the retreat you’ve always wanted. Your future self (and your guests) will thank you.
Actionable Advice: This weekend, measure your patio, buy the right anchors, and tackle Step 1. Even 30 minutes of planning will save you hours later. You’ve got this!
“`

