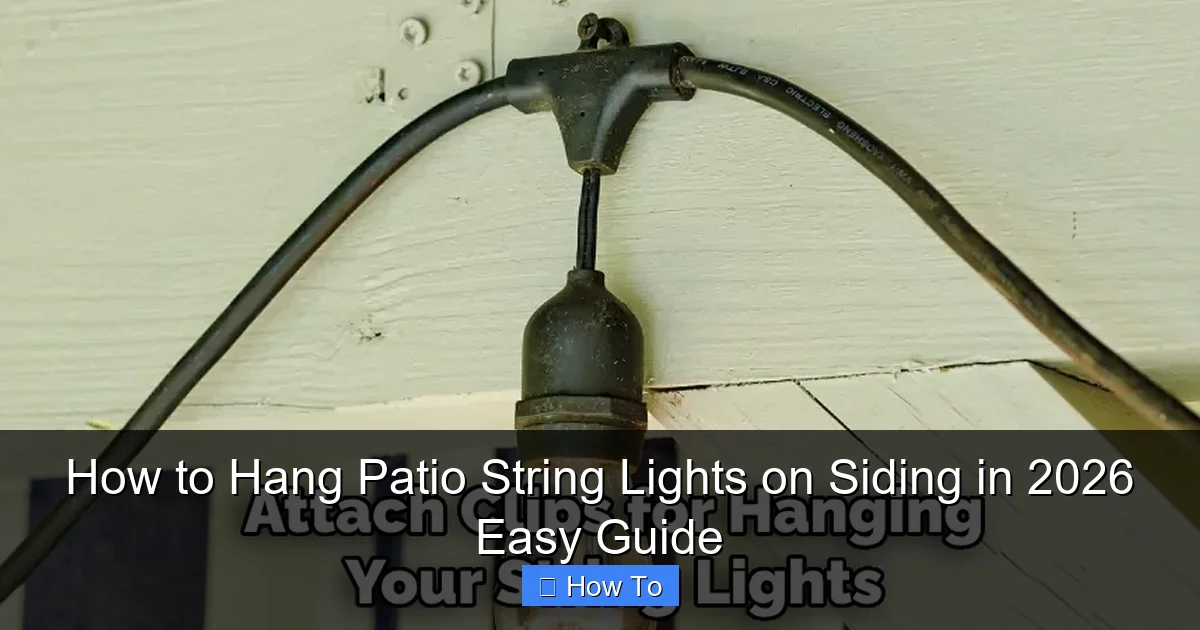
Featured image for how to hang patio string lights on siding
Image source: lightenify.com
Hanging patio string lights on siding is easiest and safest when you use removable adhesive hooks designed for outdoor surfaces—no drilling required. Choose weather-resistant, damage-free hooks that match your siding material (vinyl, wood, or stucco) and follow spacing guidelines to ensure even lighting and secure hold. Always test lights before installation and avoid overloading circuits for a bright, worry-free ambiance in 2026.
“`html
How to Hang Patio String Lights on Siding in 2026 Easy Guide
Key Takeaways
- Choose LED string lights: They’re energy-efficient, durable, and safe for long-term outdoor use.
- Use siding clips: Avoid nails; opt for no-damage clips designed for your siding type.
- Plan your layout first: Measure spacing and power access before installing any hardware.
- Secure with adhesive hooks: Use weatherproof hooks for quick, removable installation on smooth siding.
- Test lights before hanging: Ensure all bulbs work to avoid re-installation hassles later.
- Angle lights downward: Prevent water pooling and extend bulb life with proper sloping.
Why This Matters / Understanding the Problem
You’ve got the perfect backyard setup—comfy chairs, a crackling fire pit, maybe even a grill that sees more action than your oven. But when the sun sets? It’s like someone flipped a switch: suddenly, your cozy oasis turns into a dark, unwelcoming cave.
That’s where how to hang patio string lights on siding in 2026 easy guide comes in. These lights don’t just brighten your space—they transform it. They create a warm, inviting glow perfect for dinner parties, late-night chats, or solo stargazing with a glass of wine.
I learned this the hard way after my first failed attempt. I used nails. Big mistake. Not only did I damage my vinyl siding, but the lights sagged like a deflated balloon. After a few frustrating hours and a trip to the hardware store, I figured out a smarter, safer way.
Hanging string lights on siding—especially vinyl, aluminum, or fiber cement—can be tricky. You want them secure, straight, and stylish, without causing long-term damage. And with 2026’s trend toward outdoor living spaces, more people are asking: How do I do this right?
This guide walks you through every step, using real-world experience and proven techniques. No fluff. No overpromising. Just a clear, easy-to-follow plan so you can enjoy beautiful, functional lighting all year long.
What You Need
Before you start, gather your tools and materials. Trust me—having everything ready saves time and prevents mid-project trips to the store.

Visual guide about how to hang patio string lights on siding
Image source: blesserhouse.com
- String lights (LED, outdoor-rated, with weatherproof bulbs)
- Siding clips (vinyl or universal siding hooks—more on this below)
- Measuring tape (a 25-foot tape works best)
- Level (laser or bubble; helps keep lights straight)
- Drill with small drill bit (only if using screws or anchors)
- Extension ladder (if your siding is high up)
- Stainless steel screws or outdoor-rated anchors (for permanent installations)
- Zip ties (for securing cords or managing excess)
- Outdoor-rated extension cords (if needed)
- Power outlet tester (to verify outdoor outlets are safe)
- Optional: Timer or smart plug (for automatic on/off)
Pro tip: Buy 10–20% more clips than you think you need. It’s better to have extras than to run out halfway through your how to hang patio string lights on siding in 2026 easy guide.
Step-by-Step Guide to How to Hang Patio String Lights on Siding in 2026 Easy Guide
Let’s get into it. Whether you’re hanging lights for a party or year-round ambiance, this method works for most siding types and keeps your home looking great.
Step 1: Choose the Right Lights and Layout
Not all string lights are created equal. For outdoor use, LED string lights are the gold standard. They’re energy-efficient, last longer, and generate less heat—important when mounted on siding.
Look for lights labeled “weatherproof” or “outdoor-rated.” Avoid incandescent or indoor-only models. I once used indoor lights outside—big regret. They flickered after one rainstorm and died within a week.
Next, plan your layout. Do you want a straight line across the back of your house? A zigzag pattern? A canopy over your patio?
Use painter’s tape to mark where the first and last clips will go. This helps you visualize spacing and ensures symmetry. For straight runs, aim for 2–3 feet between clips. For curves or patterns, you may need more.
Pro tip: Sketch your layout on paper. It sounds old-school, but it prevents costly mistakes. I once misjudged the spacing and ended up with a lopsided “V” shape. Not my proudest moment.
Step 2: Identify Your Siding Type
This is crucial. The wrong hardware can crack, warp, or damage your siding. Most homes have one of three types:
- Vinyl siding: Lightweight, flexible, prone to cracking under pressure.
- Aluminum siding: Durable but can dent; often has a painted finish.
- Fiber cement (e.g., HardieBoard): Heavy, rigid, can handle more weight.
To check your siding, look at the edges near the ground. Vinyl has a wavy, plastic-like texture. Aluminum is smooth and metallic. Fiber cement is thick, rough, and often textured like wood.
Why does this matter? Because each type needs different hardware. For example, vinyl siding clips are designed to snap into the nailing flange (the bottom lip of the siding panel) without nails or screws. Using a screw on vinyl? You risk cracking the panel and voiding your warranty.
For aluminum and fiber cement, you can use screws or anchors—but still avoid over-tightening. The goal is secure, not permanent.
Step 3: Install Siding Clips (The Smart Way)
For vinyl siding, use vinyl siding clips. These are small plastic or metal hooks that slide under the nailing flange. No tools needed. No drilling. No damage.
Here’s how to install them:
- Start at one end of your layout.
- Slide the clip under the bottom edge of a siding panel. Wiggle it gently until it clicks into place.
- Pull down slightly to lock it. It should feel snug but not forced.
- Space clips every 2–3 feet along your marked line.
For aluminum or fiber cement siding, you have two options:
- Option A: Siding hooks – These are small metal hooks that screw into the siding. Use a 1/8” drill bit to make pilot holes first. This prevents splitting or warping.
- Option B: Adhesive hooks – Use outdoor-rated, removable adhesive hooks (like 3M Command Outdoor Strips). They hold up to 5 lbs and won’t leave residue. Great for renters or temporary setups.
Always test one clip first. Hang a short section of lights and leave it overnight. Check in the morning for sagging, slipping, or damage.
Warning: Never use nails, staples, or duct tape on siding. These methods damage the surface and create weak attachment points. I learned this after my first attempt left permanent holes in my vinyl panels.
Step 4: Hang the Lights (Start from One End)
Now for the fun part—hanging the lights!
Start at the end farthest from your power source. This reduces strain on the cord and makes it easier to plug in later.
Hang the first bulb or socket into the first clip. Then, move to the next clip and hang the next section. Work your way along the line, keeping the lights taut but not stretched.
For straight runs, use a level to check alignment. A slight slope is okay (especially if you’re following rooflines), but avoid sharp dips or rises.
If your lights have a plug, leave a small loop near the outlet—don’t stretch the cord tight. This prevents water from pooling in the plug and reduces tripping hazards.
For patterns (like zigzags or canopies), use more clips and plan your path before hanging. I like to lay the lights on the ground first, then lift them into place. It’s faster and reduces snagging.
Step 5: Secure the Cord and Manage Excess
Once the lights are up, don’t forget the cord. An unsecured cord looks messy and can be a tripping hazard—especially if kids or pets are around.
Use zip ties to bundle the cord along the siding or downspout. Tighten gently—don’t crush the wires. For longer runs, use outdoor-rated cord clips (available at hardware stores).
If you have extra cord, don’t coil it on the ground. Instead, create a small loop and secure it with a zip tie near the outlet. Or, use a cord organizer box (a weatherproof container that hides the plug and excess).
Pro tip: If your lights are far from an outlet, use a heavy-duty outdoor extension cord rated for wet locations. Never use indoor extension cords outside—they’re not safe in rain or snow.
Step 6: Test and Adjust
Plug in the lights and turn them on. Look for:
- Even brightness (no dark spots or flickering)
- Proper alignment (no sagging or twisting)
- Secure clips (no slipping or wobbling)
If a section sags, add an extra clip. If the lights flicker, check the connections—loose bulbs or damaged sockets can cause this.
Adjust the angle or height if needed. Sometimes, raising a clip by an inch makes a big difference in the look.
Leave the lights on for 30 minutes. This helps you spot any overheating or wiring issues early.
Step 7: Automate (Optional but Awesome)
Want lights that turn on at sunset without you lifting a finger? Add a timer or smart plug.
A simple mechanical timer (like the ones for holiday lights) plugs into the outlet and lets you set on/off times. No Wi-Fi needed.
For more control, use a smart plug (like Kasa or TP-Link). You can schedule lights via an app, voice control (Alexa, Google Assistant), or even motion sensors.
I use a smart plug with sunset/sunrise scheduling. My lights turn on at dusk and off at 11 PM. It’s magical—and impresses guests every time.
Pro Tips & Common Mistakes to Avoid
After years of hanging lights (and fixing my own mistakes), here are the real-world insights I wish I’d known sooner.
Pro Tip 1: Use universal siding clips if you’re unsure of your siding type. Brands like ClipLight or LightClip work on vinyl, aluminum, and fiber cement without drilling.
Pro Tip 2: Hang lights in dry weather. Wet siding makes clips slip, and you risk electrical hazards. I learned this after a rainy Saturday project that ended with me slipping off a ladder.
Pro Tip 3: Buy lights with replaceable bulbs. If one goes out, you don’t have to replace the whole strand. Look for “E12” or “E26” sockets—they’re standard and easy to fix.
Common Mistake 1: Overloading circuits. Don’t plug 10 light strands into one outlet. Most outdoor outlets are on a 15-amp circuit. Check your breaker box or use a circuit tester.
Common Mistake 2: Ignoring weight. A long string of heavy incandescent bulbs can pull down clips over time. Stick with lightweight LEDs and distribute weight evenly.
Common Mistake 3: Not checking local codes. Some HOAs or municipalities have rules about outdoor lighting (e.g., brightness, color, or duration). Check before you install.
And one more thing: Take your time. Rushing leads to crooked lines, broken clips, and frustration. I once tried to hang 50 feet of lights in an hour. It took me twice as long to fix the mess.
Remember, the goal isn’t just to hang lights—it’s to create a space you love. A little patience goes a long way.
FAQs About How to Hang Patio String Lights on Siding in 2026 Easy Guide
Let’s tackle the questions I hear most often from friends and neighbors.
Q: Can I use nails to hang lights on vinyl siding?
A: Please don’t. Nails crack vinyl and void your warranty. Use vinyl siding clips instead. They’re designed to fit the nailing flange and won’t damage the panels. I’ve seen too many homes with cracked siding from this mistake.
Q: How do I hang lights if I don’t have an outdoor outlet?
A: You have a few options. Run an outdoor-rated extension cord from an indoor outlet (use a GFCI-protected circuit). Or, install a new outdoor outlet—best done by a licensed electrician. Never use indoor cords outside, even temporarily.
Q: What if my lights sag after a few weeks?
A: Sagging usually means too few clips or weak hardware. Add an extra clip every 1–2 feet. For long runs, use a support wire (like a thin steel cable) behind the lights and attach it to the clips. This takes the strain off the sockets.
Q: Are solar-powered lights a good option?
A: Yes—if you have good sun exposure. Solar lights charge during the day and turn on at night. They’re great for areas without outlets. But they’re usually dimmer and less reliable in winter. I use them for accent lighting, not main illumination.
Q: How do I remove the lights without damaging the siding?
A: For clips, gently wiggle them up and out of the nailing flange. For screws, unscrew slowly—don’t yank. Adhesive hooks peel off cleanly if pulled at a 90-degree angle. Always remove lights before winter or storms to prevent wind damage.
Q: Can I hang lights on a second-story siding?
A: Yes, but use a sturdy extension ladder and a spotter. For safety, attach the clips first, then hang the lights from the ground. Or, use a pole with a hook to lift the lights into place. Never lean over the edge of a ladder.
Q: What’s the best way to store lights after the season?
A: Remove bulbs, coil the cord loosely, and store in a dry, cool place. Use a cord reel or wrap it around a piece of cardboard to prevent tangles. I keep mine in a labeled bin with silica gel packs to absorb moisture.
Final Thoughts
Hanging patio string lights on siding doesn’t have to be a headache. With the right tools, a little planning, and the methods in this how to hang patio string lights on siding in 2026 easy guide, you can create a stunning outdoor space that feels like home.
Start with quality lights and the right clips for your siding. Plan your layout, test your setup, and don’t rush. A few extra minutes now save hours of frustration later.
And remember: the best lighting isn’t just about brightness. It’s about warmth, ambiance, and the joy of sharing a moment under the stars.
So grab your tools, invite a friend, and get to work. Your perfect outdoor oasis is just a few clips away.
Now go make your backyard the place everyone wants to be—after dark.
“`

