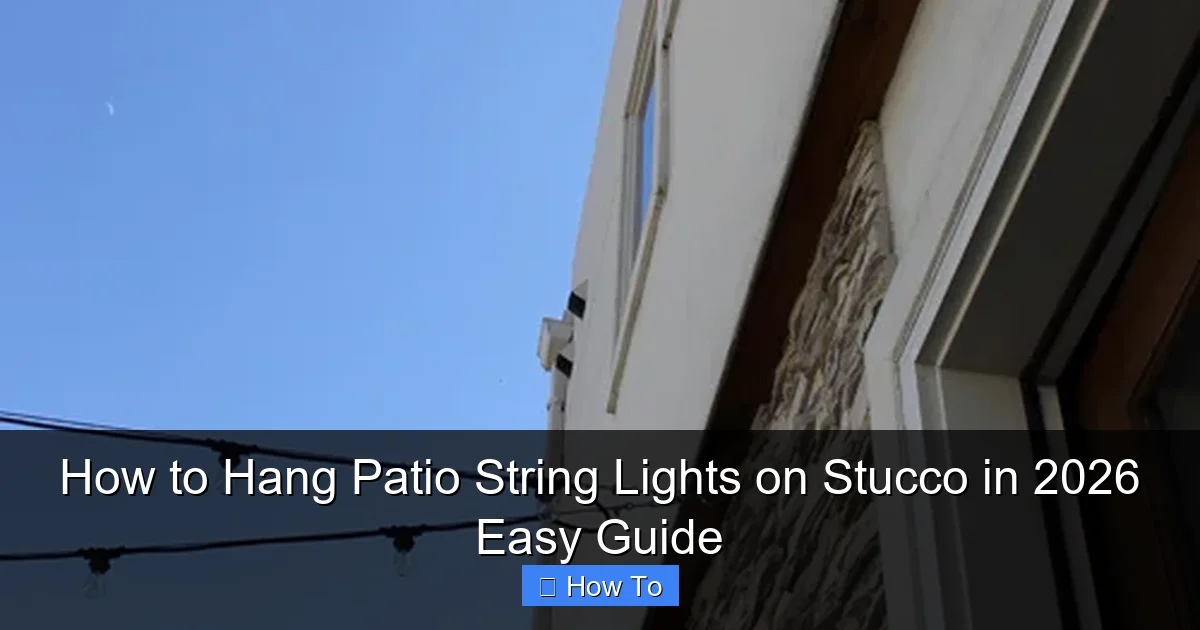
Featured image for how to hang patio string lights on stucco
Image source: blueistyleblog.com
Hanging patio string lights on stucco is simple and damage-free when you use adhesive-backed mounting clips or stucco-compatible hooks designed for textured surfaces. Avoid drilling by choosing high-quality, weather-resistant clips that securely grip stucco without cracking or chipping. This 2026 guide walks you through a fast, reliable method to create a stunning outdoor ambiance in minutes.
“`html
How to Hang Patio String Lights on Stucco in 2026 Easy Guide
Key Takeaways
- Use stucco-friendly anchors: Choose plastic or metal anchors designed for stucco to prevent cracks.
- Drill pilot holes first: Always pre-drill to avoid damaging stucco and ensure secure mounting.
- Opt for removable hooks: Use damage-free adhesive hooks for renters or temporary setups.
- Plan layout carefully: Measure spacing and power sources before installation to avoid rework.
- Seal holes properly: Apply exterior caulk to drilled holes to prevent moisture damage.
- Check local codes: Verify electrical safety rules for outdoor lighting installations.
Why This Matters / Understanding the Problem
Picture this: It’s a warm summer evening, the sun is setting, and you’ve got the perfect playlist going. You want to set the mood with some twinkling patio string lights—only to realize your house is covered in stucco. No smooth siding, no easy nail spots. Just that rough, textured surface that laughs at standard hooks.
You’re not alone. Most people hit the same wall: How do I hang patio string lights on stucco without cracking the finish, pulling out chunks, or making a mess? The good news? It’s totally doable. With the right approach, you can create a magical outdoor ambiance without damaging your home.
This How to Hang Patio String Lights on Stucco in 2026 Easy Guide walks you through every step—from prep to final twinkle—with real-world tips, tools that actually work, and zero unnecessary fluff.
Whether you’re lighting up a small balcony or a sprawling backyard, this guide ensures your lights stay put, look great, and last through the seasons. And yes, we’ll cover what to do if you’re renting, too.
What You Need
Before you start drilling or hammering, let’s gather your supplies. The right tools make all the difference—especially when working with stucco, which is tougher than it looks.
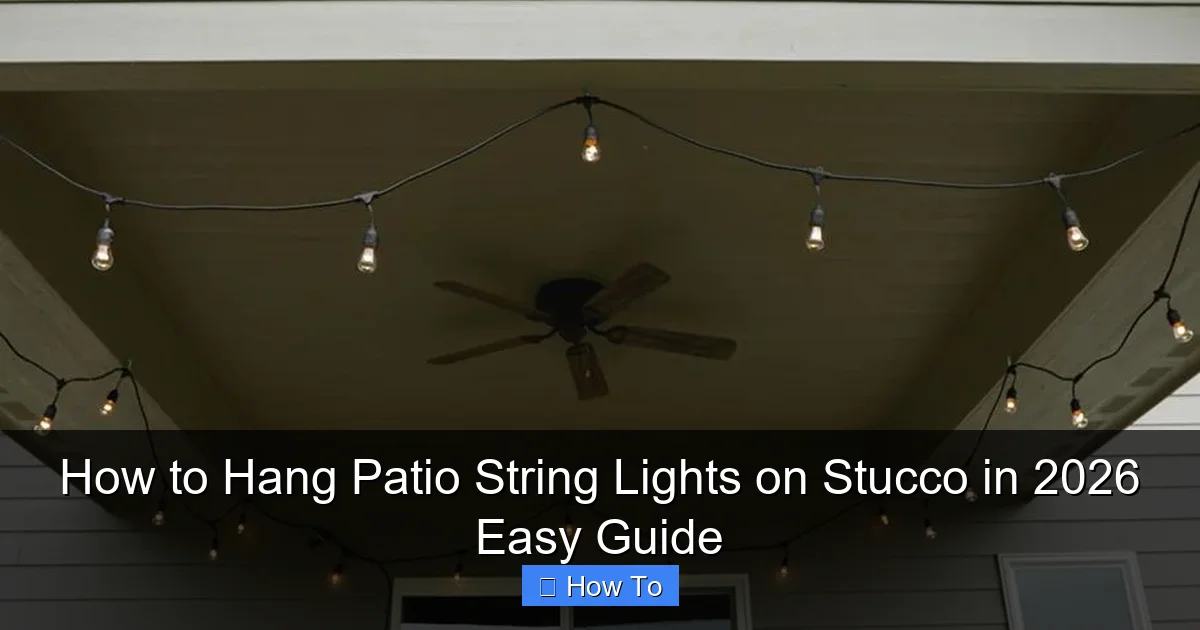
Visual guide about how to hang patio string lights on stucco
Image source: static.onecms.io
- Measuring tape – For spacing lights evenly
- Stucco-compatible anchors (plastic or metal toggle bolts, or stucco anchors like Tapcon screws)
- Drill with masonry bit – Match the bit size to your anchor
- Hammer (optional) – For tapping in anchors if needed
- Level – Keeps lines straight and avoids a sloppy look
- Outdoor-rated hooks or clips – Look for UV-resistant, weatherproof options
- Patio string lights – Choose weatherproof, LED, and ideally with a plug that can be tucked or hidden
- Extension cord (if needed) – Use an outdoor-rated, grounded cord
- Wire clips or zip ties – For managing excess cord and securing lights along the path
- Pencil or chalk – For marking anchor points
- Rubber mallet (optional) – For gentle tapping without cracking
- Protective goggles and gloves – Safety first!
Pro tip: Skip the cheap plastic hooks from the dollar store. They’ll melt in the sun or break in the wind. Invest in outdoor-rated hardware—it’s worth it.
This How to Hang Patio String Lights on Stucco in 2026 Easy Guide assumes you’re using permanent or semi-permanent mounting. If you’re renting, we’ll cover damage-free alternatives later.
Step-by-Step Guide to How to Hang Patio String Lights on Stucco in 2026 Easy Guide
Step 1: Plan Your Light Path
Before touching a drill, sketch out where your lights will go. Walk around your patio and visualize the layout.
- Will the lights run from wall to wall, across a pergola, or in a zigzag pattern?
- Measure the distance between anchor points. Most string lights need support every 3–4 feet to avoid sagging.
- Mark where each hook or anchor will go with a pencil. Use a level to ensure straight lines—especially important for long runs.
For example, if you’re running lights from your house to a tree, use a laser level or a string line to keep the path aligned. Misalignment is one of the top reasons people redo their setup.
Bonus: Use painter’s tape to temporarily mark spots. You can adjust before drilling. This step is key in our How to Hang Patio String Lights on Stucco in 2026 Easy Guide—don’t skip it!
Step 2: Choose the Right Anchors for Stucco
Stucco isn’t solid concrete. It’s a layered system: base coat, scratch coat, and finish coat. Hitting the right layer matters.
- Plastic stucco anchors: Great for lighter loads. They expand behind the stucco layer when you screw in a hook. Ideal for small LED strings.
- Tapcon screws: These are concrete screws that grip into the stucco’s base layer. Super secure for heavier lights or windy areas.
- Toggle bolts: Best for heavy-duty setups. The wings open behind the stucco, creating a strong hold.
Rule of thumb: If your lights are under 5 lbs per 10 feet, plastic anchors work. For heavier strands (especially with bulbs), go with Tapcons.
Warning: Avoid regular drywall anchors—they’ll pull right out of stucco. I learned this the hard way when my lights fell during a storm. Oops.
In this How to Hang Patio String Lights on Stucco in 2026 Easy Guide, we recommend Tapcon screws for most homeowners. They’re reliable, reusable, and hold up for years.
Step 3: Drill Pilot Holes (The Right Way)
Now it’s time to drill. But don’t just go full speed—stucco can crack if you’re too aggressive.
- Use a carbide-tipped masonry bit that matches your anchor size (e.g., 3/16″ for most Tapcons).
- Set your drill to hammer mode if it has one. This helps break through the stucco layers.
- Start slow. Apply gentle pressure—let the drill do the work. Pushing too hard can crack the surface.
- Drill to the depth of your anchor (usually 1–1.5 inches).
- Blow out the dust with your mouth or a can of compressed air. Clean holes = better grip.
Pro tip: Drill at a 90-degree angle. Angled holes weaken the hold and can cause anchors to loosen over time.
Tip: If you hit a hard layer (like lath or metal mesh), stop and reposition slightly. Never force it—this can damage the stucco and create a bigger hole than needed.
Step 4: Insert Anchors and Secure Hooks
Once your holes are drilled, it’s time to set the anchors.
- For plastic stucco anchors: Tap them in gently with a hammer until flush with the surface.
- For Tapcon screws: Insert the screw through your hook, then drive it into the hole with a drill or screwdriver. Tighten until snug—don’t over-tighten, or you’ll crack the stucco.
- For toggle bolts: Insert the bolt, push the wings through the hole, then tighten until secure.
After installing each anchor, give it a gentle tug. It should feel solid, not wobbly. If it moves, remove and try a larger anchor or reposition slightly.
Use a level to check that hooks are aligned. Even a small tilt can make your lights look crooked.
This step is crucial in our How to Hang Patio String Lights on Stucco in 2026 Easy Guide—take your time. A secure anchor means no mid-summer light dropouts.
Step 5: Hang the String Lights
Now for the fun part: hanging the lights.
- Start at the plug end. Plug it in temporarily to test the circuit.
- Clip the first socket onto the first hook. Use the built-in hanging loop or a small S-hook.
- Work your way along the path, clipping each bulb or socket into the next hook.
- Keep the cord taut but not stretched. Slight tension prevents sagging, but too much can damage the wires.
If your lights don’t have built-in hooks, use outdoor-rated light clips. These attach to the wire and hook into your anchors. Brands like Command Outdoor or VELCRO ONE-WRAP work well.
Tip: For long runs, hang the lights from the middle first, then work outward. This prevents uneven tension.
Pro tip: Use zip ties or wire clips to secure loose cords to the anchor points. This keeps things tidy and prevents tripping hazards.
Step 6: Manage the Power Cord
The power cord is often the weakest link. If it dangles or gets pulled, it can disconnect or damage the lights.
- Run the cord along a wall or railing using outdoor cable clips or adhesive cord organizers.
- If the plug is visible, tuck it behind a planter, under a step, or into a weatherproof outlet cover.
- Use a ground-fault circuit interrupter (GFCI) outlet—it’s a must for outdoor electrical safety.
- Never run cords across walkways without protection. Use a cord cover or route it overhead.
For a clean look, consider a recessed outlet box installed by an electrician. Or use a smart plug to control lights remotely.
This step is often overlooked, but it’s essential for both safety and aesthetics in our How to Hang Patio String Lights on Stucco in 2026 Easy Guide.
Step 7: Test and Adjust
Before you celebrate, test the lights.
- Plug them in. Check every bulb. Replace any that don’t light up.
- Walk the path. Look for sagging, loose clips, or exposed wires.
- Adjust tension or add extra clips if needed.
- Observe at night. Do the lights cast the right glow? Are there dark spots?
It’s easier to fix issues now than after guests arrive. I once skipped this step and realized one section wasn’t lit—embarrassing, but fixable.
Take a photo. This helps you remember the setup for future seasons.
Pro Tips & Common Mistakes to Avoid
After hanging lights on stucco for over a decade (and making plenty of mistakes), here’s what I’ve learned.
Pro Tips
- Use LED lights: They’re cooler, more efficient, and last longer. Plus, they put less strain on anchors.
- Install in dry weather: Wet stucco is softer and more likely to crack. Wait for a sunny day.
- Go vertical first: If your stucco is high, use a ladder with a helper. Safety first!
- Use a template: Cut a cardboard strip with holes spaced 3 feet apart. It’s a reusable guide for marking anchor points.
- Label your anchors: If you remove lights seasonally, mark which anchor is which with a small sticker. Saves time next year.
Common Mistakes
- Drilling too deep: You’ll hit the wood lath or metal mesh behind the stucco. This weakens the hold. Stick to 1.5 inches max.
- Using indoor hardware: Indoor clips and screws corrode in sun and rain. Always choose outdoor-rated gear.
- Ignoring wind load: In windy areas, add extra anchors. A 10 mph breeze can create significant force on a long string.
- Over-tightening screws: This cracks stucco and strips anchors. Snug is enough.
- Forgetting the plug: A dangling plug looks messy and is a tripping hazard. Plan the power path early.
Personal Insight: I once used regular screws instead of Tapcons. Two weeks later, half the lights were on the ground. Learned my lesson: invest in the right anchor.
This How to Hang Patio String Lights on Stucco in 2026 Easy Guide is built on real experience—not theory. Avoid these pitfalls, and your setup will last for years.
FAQs About How to Hang Patio String Lights on Stucco in 2026 Easy Guide
Can I hang string lights on stucco without drilling?
Yes—but it’s not ideal for long-term setups. For rentals or temporary use, try:
- Command Outdoor Strips: These heavy-duty adhesive hooks hold up to 7.5 lbs. Great for short runs.
- Stucco-friendly adhesive clips: Brands like 3M make UV-resistant clips that stick to rough surfaces.
- Freestanding poles or shepherd’s hooks: Set them in planters or ground sleeves. No wall damage.
Just know: adhesive options may fail in extreme heat or rain. For a permanent look, drilling is more reliable.
What if I hit metal mesh or wood lath behind the stucco?
Stop drilling. Reposition the hole slightly. If you hit metal, you’ll damage your drill bit and weaken the hold. Use a stud finder with a metal detection mode to avoid this.
Alternatively, switch to a larger anchor (like a toggle bolt) that can grip the mesh or lath.
Are solar string lights a good option for stucco patios?
They can be—if you get enough sun. Solar lights need direct sunlight for 6–8 hours a day to charge fully. If your patio is shaded, stick with plug-in lights.
Also, solar lights are usually lighter, so you can use smaller anchors. But they may not shine as brightly or as long.
How do I remove anchors without damaging stucco?
Unscrew Tapcon or toggle bolts gently. For plastic anchors, use a flathead screwdriver to pry them out. Fill the hole with stucco patch (available at hardware stores) and paint to match.
Or leave the anchors in—they’re small and won’t hurt. Many people reuse them year after year.
Can I run string lights across a pergola to stucco?
Absolutely! Use the same anchors on the stucco side. On the pergola, screw in eye hooks or use heavy-duty zip ties. Keep the line taut with turnbuckles or tensioners.
Just ensure the pergola can support the weight, especially in wind or rain.
What’s the best spacing for anchors?
Every 3–4 feet is ideal. Closer spacing (every 2 feet) is better for heavy lights or windy areas. Wider spacing can cause sagging.
For curves, go every 2 feet to maintain shape.
How do I hide the power cord?
Route it along a wall, under a deck rail, or through a conduit. Use cord covers, paint the cord to match the wall, or run it through a planter.
For a high-end look, hire an electrician to install a recessed outlet.
Final Thoughts
Hanging patio string lights on stucco doesn’t have to be stressful. With the right tools, a little planning, and the steps in this How to Hang Patio String Lights on Stucco in 2026 Easy Guide, you can transform your outdoor space into a cozy, inviting retreat.
Remember: measure twice, drill once. Use the right anchors, test your setup, and don’t rush. The effort pays off when you’re sipping wine under a canopy of soft, twinkling light.
Whether you’re hosting a party, enjoying a quiet evening, or just want to boost your home’s curb appeal, these lights add magic—without breaking the bank or damaging your stucco.
So grab your drill, pick up some Tapcon screws, and get started. Your perfect patio glow is just a few steps away.
And if you’re still unsure? Try a small section first. You’ve got this.
“`

