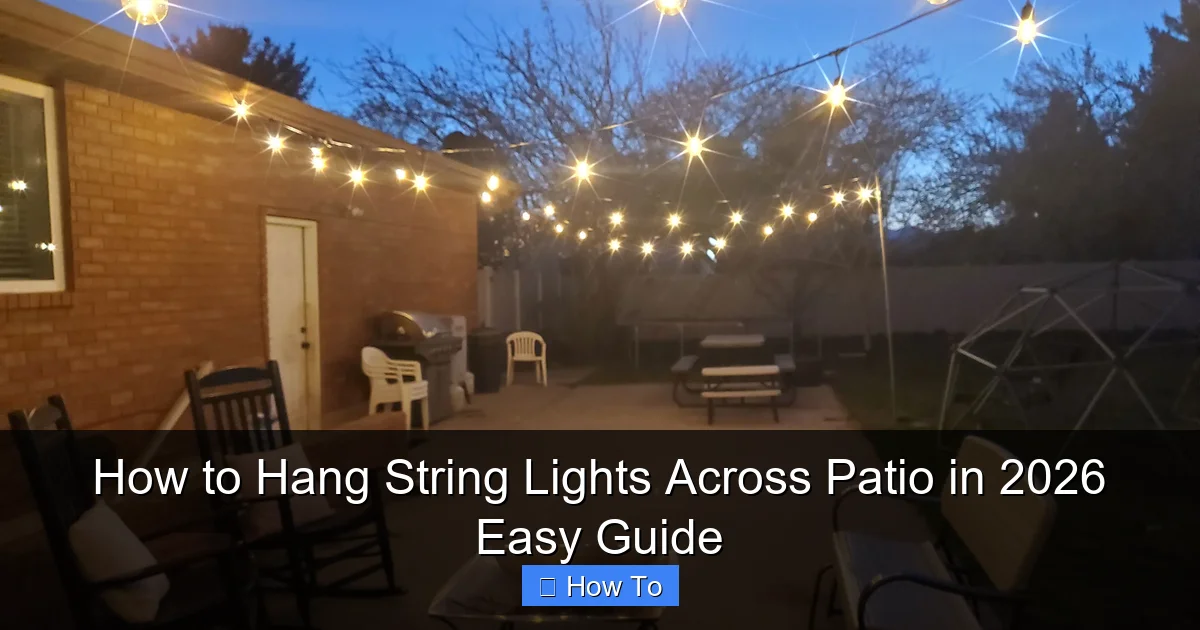
Featured image for how to hang string lights across patio
Image source: mysillysquirts.com
Transform your patio into a stunning nighttime oasis by securely mounting string lights using weather-resistant hooks or tension cables for a clean, professional look. This 2026 guide walks you through measuring, spacing, and power planning to ensure even illumination and safe installation—no electrician needed. Whether you’re hanging lights across open space or between posts, the right technique ensures a durable, dazzling display all year round.
“`html
How to Hang String Lights Across Patio in 2026 Easy Guide
Key Takeaways
- Plan layout first: Sketch your design to ensure proper spacing and coverage.
- Measure accurately: Use a tape measure to calculate string light length needed.
- Secure anchors properly: Install eye hooks or tension wires for sturdy support.
- Use outdoor-rated lights: Choose weatherproof, UL-listed lights for safety and durability.
- Test before finalizing: Power on lights to check placement and connections early.
- Hide cords neatly: Use cord covers or clips to keep wires tidy and safe.
Why This Matters / Understanding the Problem
Let’s be real: a patio without string lights feels like a party without music. You’ve got the furniture, the grill’s hot, and the drinks are cold—but something’s missing. That “something” is ambiance. And in 2026, outdoor lighting isn’t just decorative; it’s essential for creating a cozy, inviting space that feels like an extension of your home.
Whether you’re hosting a summer BBQ, enjoying a quiet evening with a book, or just want to make your backyard feel more welcoming, knowing how to hang string lights across patio in 2026 easy guide can transform your outdoor experience. But here’s the catch: if you hang them wrong, they can sag, fall, or look like a DIY disaster. I’ve been there—twice. Once, a gust of wind sent my lights into the neighbor’s yard. Another time, I over-tensioned them and snapped a hook clean off.
The good news? With the right tools and a little planning, hanging string lights is simpler than it looks. No electrical degree required. Just a clear plan, a few smart choices, and a touch of creativity. This guide walks you through every step—so you can skip the mistakes I made and go straight to that magical glow.
What You Need
Before you start, let’s gather everything you’ll need. Don’t worry—most of this is easy to find at your local hardware store or online. Think of it as your “string light survival kit.”
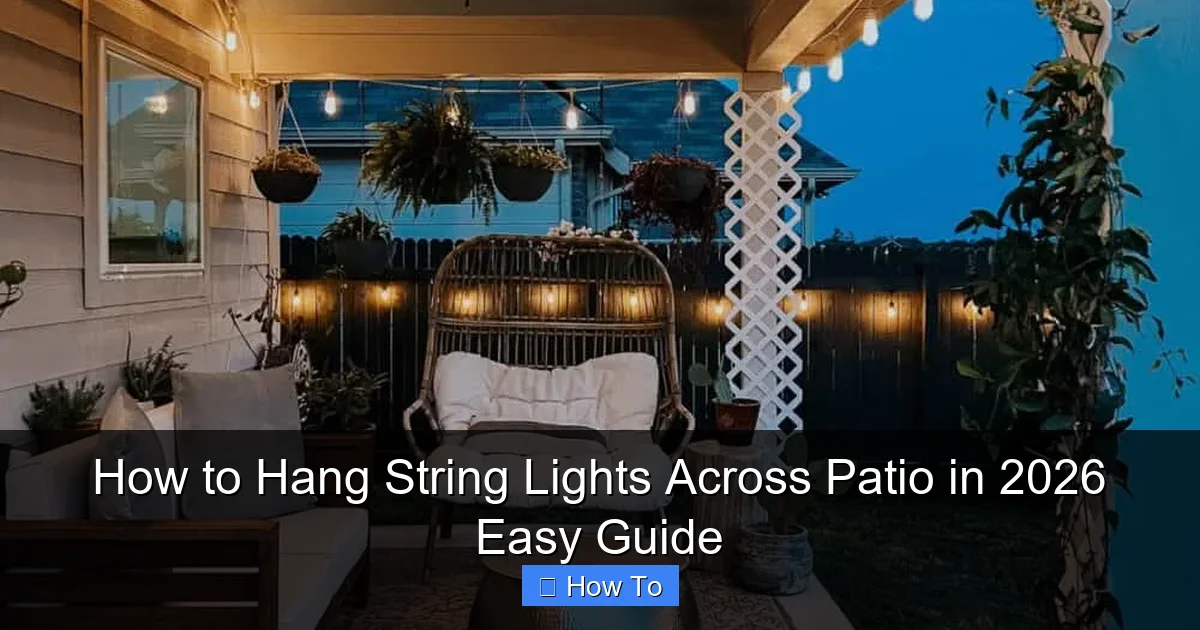
Visual guide about how to hang string lights across patio
Image source: loveandrenovations.com
- String lights (outdoor-rated): Look for LED, weatherproof, and shatter-resistant bulbs. Solar-powered options are great for eco-friendly vibes.
- Measuring tape: You’ll use this more than you think. Trust me.
- Drill and drill bits: For installing hooks or anchors into wood, stucco, or brick.
- Screw-in hooks or eye screws: Stainless steel or rust-proof is best. Avoid flimsy plastic.
- Toggle bolts or wall anchors (for masonry): If you’re hanging on brick, stucco, or concrete, these are your best friends.
- Zip ties or light clips: For securing lights along railings, beams, or fences.
- Extension cords (outdoor-rated): Make sure they’re long enough and GFCI-protected.
- Ladder or step stool: Safety first—use a stable, non-slip one.
- Marker or pencil: For marking drill points.
- Optional: Smart plugs or timers: For automated on/off control. Handy for forgetful folks like me.
Pro tip: Buy 10–15% more lights than you think you need. It’s better to have a little extra than to run short mid-hang.
Step-by-Step Guide to How to Hang String Lights Across Patio in 2026 Easy Guide
Step 1: Plan Your Layout (Before You Drill a Single Hole)
First rule: don’t wing it. Grab a pen, paper, or even your phone’s drawing app and sketch your patio. Mark where your lights will go. Are you going from house to tree? Fence to pergola? Across the ceiling of a covered patio?
Think about the path of the lights. You want them to feel natural—not like they’re zigzagging randomly. A common mistake? Hanging them too high or too low. For a standard 8-foot ceiling or pergola, aim for 7–7.5 feet. For open areas, 8–9 feet works well. This keeps them visible but out of head-knocking range.
Also, consider power access. Where’s the outlet? Can you run an extension cord discreetly? In 2026, many people use solar string lights or battery-powered ones with timers to avoid cord clutter. But if you’re using plug-in lights, map the shortest, safest path for your cord.
Warning: Avoid running cords across high-traffic areas. Tripping over a light cord is not the ambiance you’re going for.
Step 2: Measure and Mark Mounting Points
Now, measure the distance between your mounting points. Let’s say your patio is 12 feet wide, and you’re going from the house to a pergola beam. That’s 12 feet.
But here’s the secret: don’t hang the lights taut like a clothesline. You want a gentle “catenary” curve—like a soft smile. This prevents sagging later and gives a more elegant look. For every 10 feet of span, allow about 6–8 inches of sag in the middle.
So, if your span is 12 feet, your lights should be about 13 feet long (including the extra for the curve). Mark your anchor points with a pencil or marker. Use a level if you’re going straight across. If you’re hanging diagonally, make sure both ends are at the same height.
Pro tip: Use painter’s tape on the mounting surfaces to mark your spots. It’s removable and won’t leave marks.
Step 3: Choose the Right Mounting Method (Based on Surface Type)
Not all patios are the same. Your mounting method depends on what you’re attaching to. Here’s how to handle the most common surfaces:
- Wood (beams, eaves, pergolas): Use stainless steel eye screws. Drill a pilot hole first to prevent splitting. Screw them in by hand or with a drill on low torque.
- Brick or stucco: Use plastic wall anchors or toggle bolts. Drill a hole slightly smaller than the anchor, insert it, then screw in the hook. For stucco, go slow—it’s brittle.
- Concrete or cinder block: Use masonry screws or expansion anchors. These grip tight and won’t pull out in wind.
- Metal (railings, fences): Use zip ties, magnetic hooks (for thin metal), or U-shaped clips. Avoid drilling into metal railings unless you’re sure it’s allowed.
- No-drill option: Use heavy-duty adhesive hooks (like 3M Command Outdoor). Great for renters or temporary setups.
Personal insight: I once used regular screws on a stucco wall. They held for two weeks, then one pulled out during a storm. Lesson learned: always use anchors for masonry.
Step 4: Install the Mounting Hardware
Time to drill. Put on safety goggles and secure your ladder. For each mounting point:
- Drill a pilot hole (if needed) at your marked spot.
- Insert the anchor (if using one).
- Twist the hook or screw into place. Don’t over-tighten—snug is enough.
- Repeat for all anchor points.
If you’re using adhesive hooks, clean the surface with rubbing alcohol first. Let it dry, then press the hook firmly for 30 seconds. Wait 24 hours before hanging lights—yes, really. I skipped this once and lost a hook mid-party.
For zip ties on railings, loop them through and pull tight. Use black or brown ties to blend in. Trim the ends with wire cutters.
Step 5: Hang the Lights (The Fun Part!)
Now, the moment you’ve been waiting for. Unpack your string lights and lay them out. Plug them in to test them first—don’t hang a dud.
Start at one end. Hook the first light’s loop (or S-hook, if included) onto your anchor. If your lights don’t have loops, use a zip tie to create one at the end.
Walk the lights to the next anchor, letting them hang loosely. Don’t pull them tight. At the second anchor, hook them on. Adjust the sag by moving the hook slightly up or down.
If you’re going across multiple spans (like house to pergola to tree), work one section at a time. Use a second person to hold the lights if possible. Or, drape them over a ladder temporarily.
Pro tip: If your lights have a plug on one end, hang that end closest to the outlet. This minimizes cord length and reduces tripping risk.
Step 6: Secure and Neaten the Cord
Even the best-hung lights look messy if the cord is a tangled mess. Use zip ties, cord clips, or adhesive cable raceways to keep the power cord tidy.
For a covered patio, you can run the cord along beams or eaves. For open areas, hide it under furniture, planters, or along a fence. Use outdoor-rated cord covers if it crosses a walkway.
If you’re using a timer or smart plug, plug it in near the outlet and tuck it under a bench or in a waterproof box. In 2026, many people use smart string lights that sync with apps or voice assistants. If you have these, follow the app’s setup guide for scheduling or color changes.
Step 7: Test and Adjust
Plug in the lights. Walk around and look at them from different angles. Is the sag even? Are any bulbs out? Does the cord look messy?
If a section sags too much, slightly tighten it—but don’t go overboard. If it’s too tight, it can strain the hooks. Adjust until it looks balanced.
Check for shadows. Are the lights casting weird shadows on your seating area? Try shifting a hook by an inch. Small tweaks make a big difference.
Pro Tips & Common Mistakes to Avoid
After hanging string lights for 10+ years (and fixing more than a few), here’s what I wish I knew sooner:
- Don’t use indoor lights outdoors. They’ll short out in rain. Always look for “outdoor-rated” or “weatherproof” labels.
- Buy lights with replaceable bulbs. If one bulb burns out, you don’t have to replace the whole strand.
- Use LED, not incandescent. LEDs use less power, last longer, and don’t get hot.
- Check local codes. Some areas restrict outdoor lighting brightness or color (e.g., no flashing lights in residential zones).
- Think about light temperature. Warm white (2700K–3000K) feels cozy. Cool white (4000K+) feels clinical. I prefer warm for patios.
- Use a dimmer or smart control. Not every night needs full brightness. A dim setting is perfect for quiet evenings.
Biggest mistake? Hanging lights in the rain. I did this once—wet hands, slippery ladder, and a near fall. Do it on a dry, calm day. Wind is the enemy.
Another common issue: overloading circuits. If you’re using multiple strands, check the wattage. Most outdoor circuits can handle 1,800 watts. A typical string uses 20–50 watts. If you’re unsure, use a power strip with overload protection.
And finally: don’t forget the “off” switch. I once left my lights on for three days straight. Not only did it waste power, but it also shortened the bulb life. Use a timer or smart plug to automate shutdown.
FAQs About How to Hang String Lights Across Patio in 2026 Easy Guide
Can I hang string lights without drilling holes?
Absolutely! Use adhesive hooks (like 3M Command Outdoor), zip ties on railings, or freestanding posts. For a no-drill look, try tension rods in a covered patio or weighted bases for poles. Just make sure they’re secure enough to handle wind.
How long do outdoor string lights last?
Quality LED outdoor lights can last 15–25 years. Incandescents last 1–3 years. Look for brands with good warranties (2+ years). I’ve had my current set for 7 years and they’re still going strong.
What if my patio has no nearby outlet?
Solar-powered string lights are a great solution. They charge during the day and glow at night. Or, use a long extension cord (outdoor-rated, 12-gauge) from a nearby indoor outlet. Just make sure it’s GFCI-protected.
Can I leave string lights up year-round?
Yes, if they’re rated for year-round outdoor use. But I recommend removing them in extreme weather—like heavy snow or hurricanes. Also, clean them occasionally to prevent dirt buildup. A soft brush and mild soap work well.
How do I hang lights on a sloped roof or uneven surface?
Use adjustable hooks or zip ties. For sloped roofs, hang the lights parallel to the slope, not straight across. This keeps them level. For uneven surfaces, use longer screws or spacers to adjust height.
Are there smart string lights I can control with my phone?
Yes! In 2026, many brands offer Wi-Fi or Bluetooth-enabled lights. You can change colors, set schedules, or sync with music. Brands like Philips Hue, Nanoleaf, and LIFX are popular. Just make sure your patio has Wi-Fi coverage.
What’s the best way to store string lights when not in use?
Coil them loosely around a cardboard tube or a light reel. Avoid sharp bends—they can damage the wires. Store in a dry, cool place. I keep mine in a labeled bin with silica gel packets to prevent moisture.
Final Thoughts
Hanging string lights isn’t just about lighting up your patio—it’s about creating a mood, a vibe, a place where memories happen. And with this how to hang string lights across patio in 2026 easy guide, you’re not just following steps; you’re building a space that feels like home.
Start small. One section at a time. Test as you go. And don’t stress about perfection. Some of my favorite setups were “imperfect”—a little sag here, a slight tilt there—but they felt alive, not sterile.
So grab your tools, pick a dry day, and give it a try. When the sun sets and those lights come on, you’ll see what I mean. It’s magic. And it’s yours.
One last thing: share the glow. Invite a friend over. Fire up the grill. Turn on the music. That’s what patios are for. And now, yours will shine.
“`

