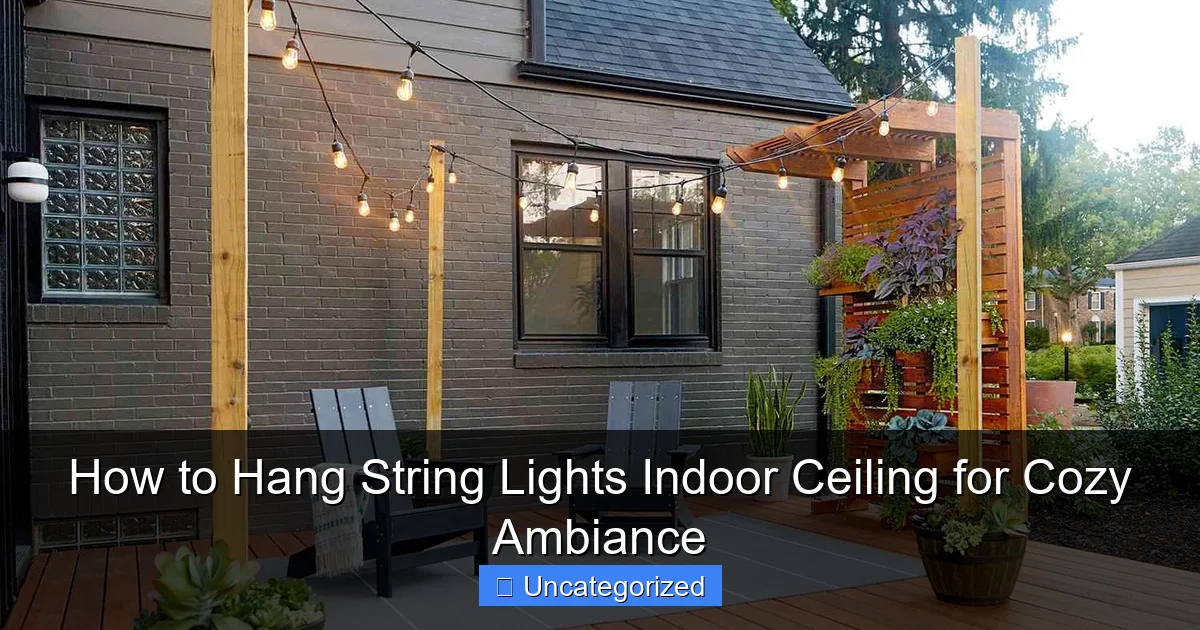
Featured image for how to hang string lights indoor ceiling
Image source: bhg.com
Transform your indoor space into a cozy retreat by securely mounting string lights to your ceiling using adhesive hooks, nails, or tension rods—no drilling required. Choose a layout that complements your room’s design, such as zigzags, canopies, or straight lines, and always measure spacing for balanced illumination. Prioritize safety by using LED bulbs and checking electrical cords for damage before installation.
Key Takeaways
- Plan your layout: Sketch light placement before installing for balanced coverage.
- Use adhesive hooks: Secure lights without damaging ceilings or walls.
- Measure twice, hang once: Ensure proper spacing and avoid mid-project adjustments.
- Prioritize low-voltage LEDs: Save energy and reduce heat for indoor safety.
- Drape creatively: Weave lights around beams or decor for visual interest.
- Test before finalizing: Check brightness and connections early to fix issues fast.
📑 Table of Contents
How to Hang String Lights Indoor Ceiling for Cozy Ambiance
There’s something undeniably magical about the soft, warm glow of string lights. Whether you’re transforming your bedroom into a dreamy sanctuary, adding a romantic touch to your living room, or creating a festive vibe for a dinner party, string lights have the power to elevate any space. Unlike harsh overhead lighting, string lights offer a gentle, diffused illumination that instantly makes a room feel more inviting and intimate. But achieving that perfect cozy ambiance isn’t just about plugging them in—it’s about how you hang them.
Hanging string lights on your indoor ceiling can seem straightforward, but doing it right requires planning, the right tools, and a touch of creativity. Poorly placed or drooping lights can look messy, create shadows, or even pose a tripping hazard. On the other hand, well-hung lights can define zones, highlight architectural features, and add layers of light that enhance your decor. Whether you’re going for a minimalist Scandinavian look, a bohemian retreat, or a modern industrial feel, the way you install your string lights makes all the difference. In this guide, we’ll walk you through every step—from choosing the right lights to securing them safely and stylishly on your ceiling—so you can create a warm, inviting atmosphere in any room of your home.
Choosing the Right String Lights for Your Space
Before you start drilling holes or measuring distances, it’s essential to select the right type of string lights for your indoor ceiling. With so many options available—LED, incandescent, warm white, multicolor, battery-powered, plug-in, dimmable—the choices can be overwhelming. But making the right decision upfront will save you time, money, and frustration down the line.
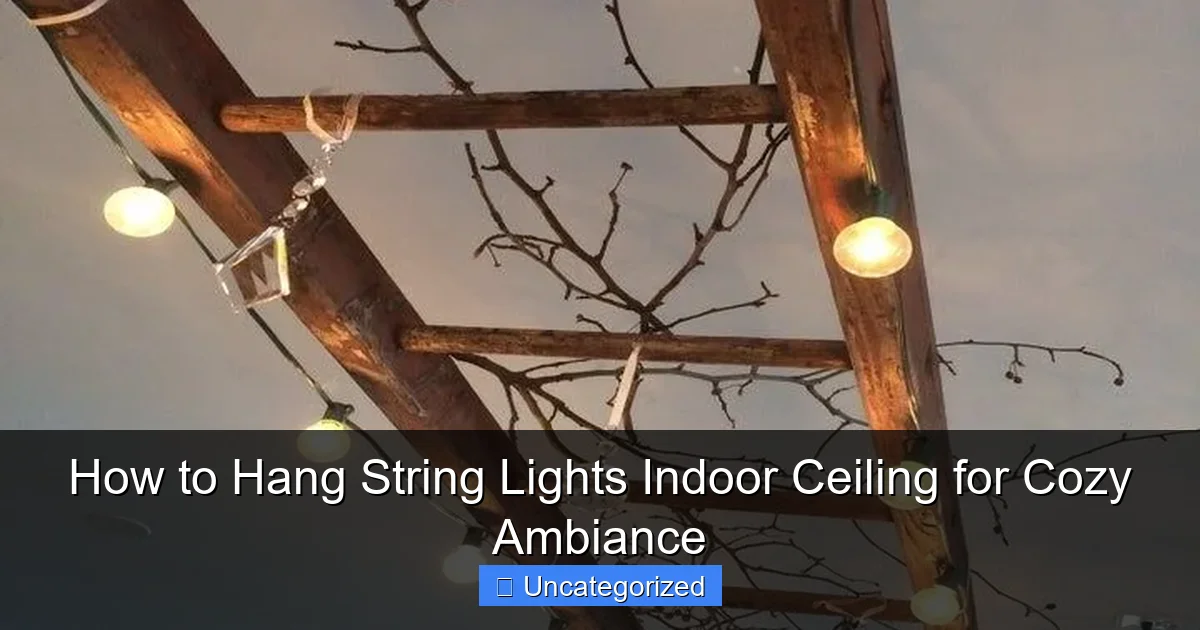
Visual guide about how to hang string lights indoor ceiling
Image source: i.pinimg.com
LED vs. Incandescent: Which Is Better?
LED string lights are the most popular choice for indoor use, and for good reason. They’re energy-efficient, generate less heat, and last up to 25,000 hours—far longer than traditional incandescent bulbs. LEDs are also cooler to the touch, making them safer to use near fabrics, curtains, or paper decorations. While incandescent lights offer a slightly warmer, vintage glow, they consume more power and burn out faster. For most indoor ceiling applications, especially in bedrooms and living rooms, LED is the clear winner.
For example, if you’re installing lights in a child’s room or above a bed, LED is safer and more practical. In a dining room where you want a soft, candle-like ambiance, consider warm white LEDs (around 2700K–3000K color temperature) to mimic the glow of incandescent bulbs without the drawbacks.
Plug-In vs. Battery-Powered: Power and Placement
Plug-in string lights are ideal when you have accessible outlets and want continuous use. They typically offer more brightness and longer runs. However, if your ceiling is far from an outlet or you’re decorating a room with limited access (like a sunroom or attic), battery-powered string lights are a great alternative. They’re portable, easy to install, and often come with remote controls for on/off and timer functions.
Tip: If using battery-powered lights, choose ones with rechargeable batteries to reduce waste and long-term costs. Also, ensure the battery pack is lightweight and can be discreetly hidden—perhaps tucked behind a curtain or mounted with adhesive hooks.
Color and Bulb Style: Setting the Mood
The color and bulb style play a major role in the ambiance:
- Warm white (2700K–3000K): Perfect for cozy, relaxing spaces like bedrooms and living rooms. It creates a soft, inviting glow.
- Cool white (4000K–5000K): Better for task lighting or modern, minimalist interiors. Avoid for intimate settings.
- Multicolor or RGB: Great for parties, kids’ rooms, or seasonal decor. Many come with app or remote control for color-changing effects.
- Bulb shape: Edison-style bulbs give a vintage, industrial look. Mini lights are subtle and elegant. Globe or fairy lights add a whimsical, fairy-tale feel.
For a bedroom, warm white Edison bulbs create a romantic, rustic vibe. In a living room, mini fairy lights strung across the ceiling can mimic stars. In a kitchen, globe lights above a breakfast nook add charm without being overwhelming.
Planning Your Layout and Design
Once you’ve chosen your lights, it’s time to plan how and where to hang them. A well-thought-out layout ensures even illumination, avoids dark spots, and enhances the room’s architecture. Rushing this step often leads to lights that are too sparse, too tight, or awkwardly placed.
Measure Your Ceiling and Lights
Start by measuring the length of your ceiling or the area you want to cover. Use a tape measure to get precise dimensions. Then, check the length of your string lights (usually listed in feet or meters on the packaging). Most indoor string lights range from 10 to 50 feet. If your space is larger, you may need to connect multiple strands—but never exceed the manufacturer’s maximum recommended number of connected lights (typically 3–5 strands) to avoid overloading the circuit.
Example: If your living room ceiling is 15 feet long and you’re using 25-foot lights, you can run them in a zigzag pattern or loop them across the width for a fuller look. If using 10-foot strands, you’ll need at least two, possibly three, to cover the space adequately.
Choose a Hanging Pattern
The way you arrange the lights dramatically affects the ambiance. Here are popular indoor ceiling patterns:
- Straight Line: Run lights from one wall to another in a single, straight line. Best for narrow spaces or minimalist decor.
- Zigzag or Crisscross: Create a web-like effect by running lights diagonally across the ceiling. Ideal for large rooms and adds visual interest.
- Grid or Square Pattern: Divide the ceiling into squares or rectangles and run lights along the edges. Great for modern or geometric interiors.
- Canopy or Starburst: Hang lights from a central point (like a ceiling hook) and fan them outward like rays. Perfect for bedrooms or above a bed.
- Perimeter or Border: Run lights along the edges of the ceiling, just below the crown molding. Creates a soft, ambient glow around the room.
For a bedroom, a canopy pattern above the bed adds intimacy. In a living room, a crisscross design over the seating area defines the space and draws attention to the focal point (like a fireplace or TV).
Sketch It Out or Use Tape
Before making any holes, sketch your layout on paper or use painter’s tape to mark the path on the ceiling. This helps you visualize spacing, avoid obstacles (like ceiling fans or light fixtures), and ensure symmetry. Use a laser level or chalk line for straight lines, especially in zigzag or grid patterns.
Tip: Leave a few extra feet of lights at the start and end for plug-in access and flexibility. Also, plan where the plug will go—ideally near an outlet or where you can hide the cord behind furniture or molding.
Tools and Materials You’ll Need
Having the right tools and materials on hand makes installation faster, safer, and more professional-looking. Here’s a comprehensive list of what you’ll need for most indoor ceiling string light projects.
Basic Installation Kit
- Measuring tape: For precise measurements.
- Pencil or chalk: To mark drill or hook locations.
- Laser level or spirit level: Ensures straight lines and even spacing.
- Drill and drill bits: For wood or drywall (use a 1/8-inch pilot bit for most hooks).
- Screwdriver: For tightening hooks or anchors.
- Stud finder: Helps locate ceiling joists for secure mounting.
- Extension ladder or step stool: For safe access to the ceiling.
Mounting Hardware Options
Choosing the right hardware depends on your ceiling type and how permanent you want the installation to be:
- Adhesive hooks or clips: Ideal for renters or temporary setups. Use 3M Command Strips or similar products rated for ceiling use. Great for drywall or plaster.
- Screw-in hooks or eye hooks: More permanent and secure. Best for wood beams or joists. Use 1–1.5 inch brass or stainless steel hooks.
- Ceiling hooks with anchors: For drywall without joist access. Toggle bolts or self-drilling anchors provide strong support.
- Clips or wire clips: Designed specifically for string lights. Often come with adhesive backing or can be nailed/screwed in.
- Zip ties or cable management clips: For securing cords along baseboards or molding.
Example: In a drywall ceiling without joists, use adhesive hooks for a non-damaging option. In a wooden ceiling (like in an attic or cabin), screw-in hooks provide maximum stability.
Optional but Helpful Tools
- Wire cutters: For trimming excess zip ties or wire.
- Extension cord (if needed): Choose a heavy-duty, indoor-rated cord that matches your lights’ plug type.
- Timer or smart plug: Automate on/off times to save energy and enhance convenience.
- Remote control (for battery lights): Allows easy operation from bed or couch.
Tip: Always check the weight of your lights and the load capacity of your hardware. A typical 25-foot string light weighs 1–2 pounds. Most adhesive hooks hold up to 2–5 lbs, while screw-in hooks support 10+ lbs.
Step-by-Step Installation Guide
Now that you’ve planned your layout and gathered your tools, it’s time to hang your string lights. Follow these step-by-step instructions for a secure, professional-looking installation.
Step 1: Prepare the Ceiling
Clear the room of furniture or move it to the center. Cover the floor with a drop cloth to catch dust or debris. Turn off the power to the room if you’re drilling near electrical fixtures (just to be safe). Use your measuring tape and level to mark the first hook location based on your layout plan.
Step 2: Install the Mounting Hardware
For adhesive hooks:
- Clean the ceiling surface with rubbing alcohol to remove dust and oil.
- Press the hook firmly in place for 30 seconds. Wait 24 hours before hanging lights (if the product recommends it).
For screw-in or anchor hooks:
- Use the stud finder to locate joists. If no joist is available, use a drywall anchor.
- Drill a pilot hole (slightly smaller than the hook’s screw).
- Insert the anchor (if using) and screw in the hook tightly.
- Repeat for all hook locations, spacing them 12–24 inches apart depending on your pattern.
Tip: For a crisscross pattern, install hooks in a grid (e.g., 3×3) and run lights diagonally between them.
Step 3: Hang the String Lights
Start at the plug end and work your way across. Loop the wire over each hook, ensuring the bulbs face downward for maximum light spread. Don’t pull the lights too tight—leave a slight sag (about 1–2 inches) to prevent strain on the wire and hooks. For battery-powered lights, hang the battery pack first, then run the lights.
Example: If using a canopy pattern, hang the central hook first, then attach the lights and fan them outward to the perimeter hooks.
Step 4: Secure the Cords
Use adhesive cord clips or zip ties to secure excess cords along baseboards, door frames, or furniture. Avoid running cords across walkways to prevent tripping. For a cleaner look, tuck cords behind molding or use cord raceways.
Step 5: Test and Adjust
Plug in the lights (or turn on battery-powered ones) and step back to assess the look. Check for:
- Uneven spacing or sagging
- Dark spots or overly bright areas
- Cords that are too visible
Make small adjustments as needed. If lights are too dim, consider adding another strand or using a dimmer switch.
Creative Ideas and Styling Tips
String lights are incredibly versatile. With a little creativity, you can turn them into a stunning focal point or a subtle accent that enhances your decor.
Highlight Architectural Features
Draw attention to ceiling beams, vaulted ceilings, or crown molding by running lights along their edges. In a living room with exposed beams, string lights can emphasize the rustic charm. In a modern space, lights along the perimeter create a floating effect.
Create Zones in Open-Plan Spaces
In open-concept living rooms, use string lights to define areas—like a dining zone, reading nook, or conversation area. A zigzag pattern over the dining table sets it apart, while a canopy above a reading chair creates a cozy retreat.
Layer with Other Lighting
String lights work best when layered with other light sources:
- Overhead lights: Use string lights to supplement, not replace, ambient lighting.
- Floor and table lamps: Add depth and dimension.
- Wall sconces: Balance the light distribution.
Example: In a bedroom, combine string lights with a dimmable floor lamp and bedside sconces for a multi-level lighting scheme.
Seasonal and Themed Decor
Swap out string lights to match the season:
- Winter: White or blue lights for a snowy effect.
- Spring: Pastel or floral-shaped lights.
- Holidays: Red and green for Christmas, orange for Halloween.
Use with Decorative Elements
Hang string lights behind sheer curtains, through a macramé hanger, or around a canopy bed frame. Drape them over a bookshelf or around a mirror for a magical reflection.
Maintenance, Safety, and Longevity
To keep your string lights glowing safely and beautifully for years, follow these maintenance and safety tips.
Regular Inspection
Check your lights every few months for:
- Frayed wires or exposed metal
- Burnt-out bulbs (replace promptly)
- Loose hooks or adhesive strips
Replace damaged strands to prevent fire hazards.
Safe Usage Practices
- Never leave lights on unattended for long periods.
- Use a surge protector or smart plug to prevent power surges.
- Keep lights away from water sources (sinks, showers).
- Don’t overload outlets or extension cords.
Storage Tips
When not in use, store string lights properly to avoid tangles and damage:
- Wrap lights around a cardboard tube or cord winder.
- Store in a cool, dry place.
- Keep batteries removed from battery-powered lights.
Data: Average Lifespan and Energy Use of String Lights
| Light Type | Average Lifespan | Power Consumption (per 25ft strand) | Best Use Case |
|---|---|---|---|
| LED (warm white) | 25,000 hours | 4–6 watts | Bedrooms, living rooms, year-round use |
| LED (multicolor/RGB) | 15,000–20,000 hours | 6–8 watts | Parties, kids’ rooms, seasonal decor |
| Incandescent | 1,000–2,000 hours | 25–40 watts | Short-term events, vintage look |
| Battery-powered LED | 10,000 hours | 2–4 watts (battery) | Remote areas, renters, temporary setups |
By choosing energy-efficient LEDs and following safe installation practices, you can enjoy your indoor ceiling string lights for years while keeping energy costs low.
Transforming your indoor ceiling with string lights is more than just a decor upgrade—it’s a way to create emotional warmth, define spaces, and express your personal style. From selecting the right lights to planning a layout that complements your room, every step contributes to a cozy, inviting ambiance. Whether you’re going for a soft, dreamy glow in the bedroom or a lively, festive atmosphere in the living room, the key is thoughtful design and careful execution.
Remember, the best installations blend functionality with aesthetics. Use the right tools, follow safety guidelines, and don’t be afraid to experiment with patterns and placements. String lights are forgiving—you can always adjust, add, or remove strands to get the perfect look. And with proper care, your lights will continue to bring joy and comfort for many seasons to come. So grab your ladder, plug in your lights, and let your ceiling shine.
Frequently Asked Questions
How do I hang string lights on an indoor ceiling without damaging it?
Use removable adhesive hooks, tension rods, or ceiling-mounted clips designed for lightweight decor. These options provide secure hold while leaving minimal to no damage when removed, making them ideal for renters or delicate surfaces.
What’s the best way to hang string lights indoor ceiling for even spacing?
Plan your layout by measuring the ceiling area and marking hook positions with painter’s tape before installation. Space hooks 12–18 inches apart to ensure the lights drape evenly without sagging or bunching.
Can I hang string lights on a textured or popcorn ceiling?
Yes, but avoid adhesive hooks—opt for small finishing nails, removable ceiling anchors, or a curtain rod with hooks. Test a small area first to ensure the texture won’t crumble under pressure.
How do I hide the wires when hanging string lights on an indoor ceiling?
Route cords along crown molding, baseboards, or ceiling seams using cord clips or raceways. For a seamless look, choose lights with matching-colored wires or tuck excess behind furniture.
Are there battery-powered string lights for ceiling use?
Absolutely! Battery-powered string lights offer flexibility for ceiling installations without nearby outlets. Just ensure the batteries are easily accessible for replacements or recharging.
How do I hang string lights indoor ceiling in a room with high ceilings?
Use a ladder or extendable pole to install hooks safely, and consider tiered installations with multiple light strands. For vaulted ceilings, anchor lights to beams or use a pulley system for adjustable height.

