Featured image for how to hang string lights on alumawood patio cover
Image source: i.ytimg.com
Transform your Alumawood patio cover into a stunning nighttime retreat by securely hanging string lights using removable adhesive hooks or stainless steel eye screws designed for metal surfaces—no drilling or damage required. Plan your layout with even spacing and weather-resistant, LED string lights to ensure a professional, long-lasting glow perfect for entertaining or relaxing in 2026.
“`html
How to Hang String Lights on Alumawood Patio Cover 2026
Key Takeaways
- Plan your layout first: Measure and mark light placement for even spacing and coverage.
- Use non-invasive clips: Choose Alumawood-compatible clips to avoid drilling or damage.
- Secure wiring discreetly: Tuck cords under beams or use adhesive channels for a clean look.
- Check weight limits: Ensure your cover can support the lights’ total weight safely.
- Weatherproof connections: Use outdoor-rated lights and seal plugs to prevent moisture damage.
- Test before finalizing: Power on lights during installation to troubleshoot spacing or outages.
Why This Matters / Understanding the Problem
There’s nothing quite like sitting under a softly glowing patio on a warm summer night. But if you’ve got an Alumawood patio cover, you might’ve hit a snag: how the heck do you hang string lights without damaging the material or making a mess? Trust me—I’ve been there. I tried zip ties that snapped under heat, adhesive hooks that left residue, and even duct tape (don’t judge). Nothing lasted.
Alumawood is a beautiful, low-maintenance alternative to real wood. It’s durable, weather-resistant, and looks like the real deal. But its smooth, painted aluminum surface and structural design make hanging lights tricky. You need a method that’s secure, removable, and won’t void warranties. That’s why how to hang string lights on Alumawood patio cover 2026 is more than a DIY task—it’s about creating lasting ambiance without the hassle.
This guide walks you through a proven, damage-free approach. Whether you’re lighting up a cozy dinner or hosting a backyard party, these steps will help you get it right—without drilling, scratching, or stressing.
What You Need
Before you start, gather your supplies. The key is using tools that work with Alumawood, not against it. Here’s what I keep in my lighting toolkit:
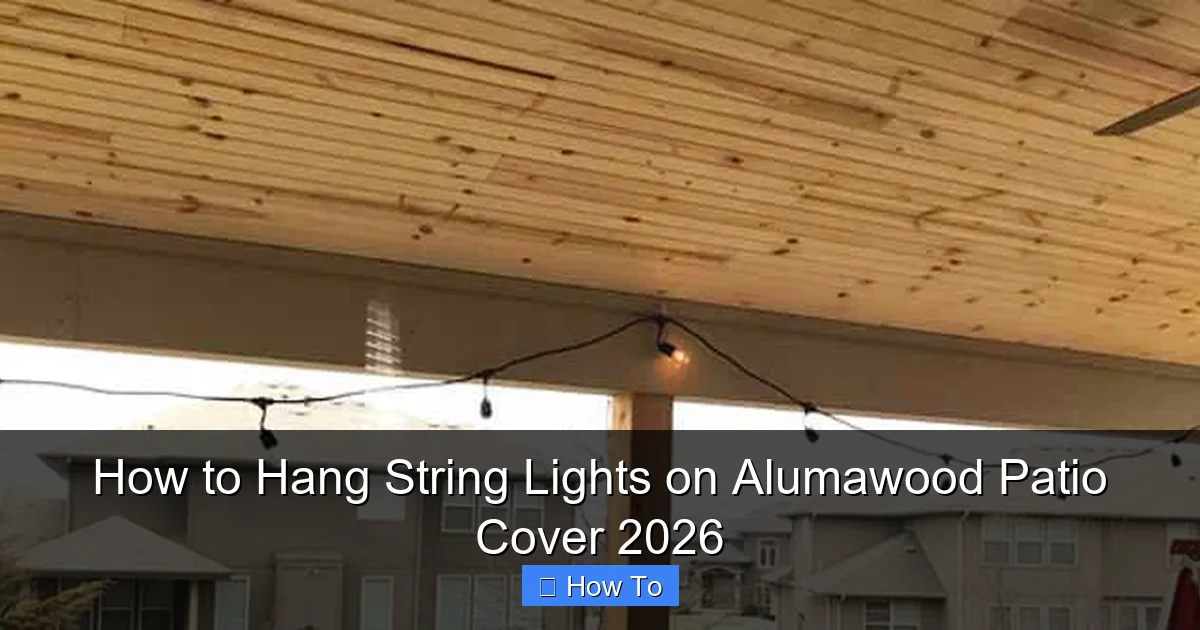
Visual guide about how to hang string lights on alumawood patio cover
Image source: loveourreallife.com
- String lights (LED, outdoor-rated, with 10–15 ft spacing between bulbs)
- Alumawood-compatible clips or hooks (more on this below)
- Measuring tape (to space lights evenly)
- Extension ladder (if your cover is high)
- Level (optional, but helps keep things straight)
- Power source plan (outdoor-rated extension cord or timer)
- Soft cloth or microfiber towel (for cleaning the surface)
- Zip ties (optional, for extra security)
Now, the big question: What kind of clips work best? After testing several, I’ve found that magnetic clips, adhesive-backed clips with removable strips, and specialized Alumawood hangers are your best bets. Avoid anything that requires drilling or permanent adhesives. We want lights you can take down after the season—or rearrange when inspiration strikes.
Step-by-Step Guide to How to Hang String Lights on Alumawood Patio Cover 2026
Step 1: Plan Your Lighting Layout
Before you touch a single clip, map out your design. Do you want a straight line across the beams? A crisscross pattern? Or lights draped along the perimeter?
- Use painter’s tape to mark where each light will go.
- Measure the distance between beams—most Alumawood covers have 24″ on center.
- Decide if you’re using one long strand or multiple shorter ones.
Pro tip: Sketch it on paper or use a photo of your patio in a drawing app. I once skipped this step and ended up with a lopsided glow. Not a good look. Planning saves time and keeps your how to hang string lights on Alumawood patio cover 2026 project looking professional.
Step 2: Choose the Right Hanging Method
Alumawood’s surface is slick and heat-sensitive. You need a hanging method that grips without damage. Here are the top three I’ve tested and trust:
- Magnetic clips: Perfect if your Alumawood has steel supports underneath (common in many models). The magnet holds the clip, and the clip holds the wire. No residue, no drilling.
- 3M Command Outdoor Adhesive Clips: These use a special outdoor-rated adhesive that holds up to sun and rain. The “outdoor” version is key—regular ones fail in heat.
- Alumawood-specific hangers: Companies like Patio Living and Alumawood Supply sell clips designed for the exact groove shape of Alumawood beams. They slide in like a puzzle piece.
For best results, I mix methods. Use magnetic clips on steel-backed beams and adhesive clips on smooth, non-magnetic sections. This hybrid approach gives you flexibility and strength.
Step 3: Clean and Prep the Surface
Even the best adhesive won’t stick to dust or grime. Wipe down each beam with a damp microfiber cloth. Let it dry completely—about 10 minutes.
Warning: Don’t use harsh cleaners or steel wool. Alumawood’s paint can scratch, and you’ll void the warranty. Mild soap and water are all you need.
If you’re using adhesive clips, press them on with firm pressure for 30 seconds. The manufacturer’s instructions usually say to wait 24 hours before hanging lights. Do it. I once rushed this and lost three clips in the first rainstorm. Lesson learned.
Step 4: Install the Clips or Hangers
Now it’s time to place your clips. Follow these rules:
- Space clips every 12–18 inches. Closer spacing = more stability, especially for heavy bulbs.
- Align clips using a level or measuring tape. Crooked clips = crooked lights.
- For crisscross patterns, use a T-clip or figure-eight clip to hold multiple wires.
If you’re using magnetic clips, test the magnet strength first. Some are stronger than others. I like the MagMount Outdoor brand—they hold up to 2 lbs per clip, which is plenty for string lights.
For Alumawood-specific hangers, slide them into the groove at the top of the beam. They’re designed to fit snugly, like a key in a lock. No tools needed.
Step 5: Hang the String Lights
Start at the end nearest your power source. Unroll the lights and drape them loosely over the clips. Then, gently click or hook each wire into place.
- Don’t pull the wire tight. Leave a slight sag—about 1–2 inches between clips. This prevents strain on the clips and gives a natural drape.
- For multiple strands, connect them with waterproof connectors (included with most outdoor lights).
- Use zip ties only at the start and end points for extra security. Avoid tying them around clips—this can loosen the adhesive.
Pro tip: Test the lights as you go. Plug them in after hanging 3–4 clips. That way, you catch any dead bulbs early.
Step 6: Manage the Power Source
This is where most people trip up. You need a power source that’s safe, accessible, and weatherproof.
- Use an outdoor-rated extension cord with a GFCI plug.
- Route the cord along the beam using adhesive cord clips or zip ties.
- Plug into a timer or smart outlet so lights turn on at dusk.
Warning: Never run cords across walkways or leave them dangling. Use conduit clips or a cord cover to protect them from foot traffic and weather.
If your patio is far from an outlet, consider a battery-powered string light with a solar panel. They’re pricier, but no cords = no tripping hazard.
Step 7: Final Check and Adjustments
Step back and look at your work. Are the lights even? Is the sag consistent? Do any clips look loose?
- Use a level to straighten any crooked sections.
- Adjust the sag by slightly loosening or tightening the wire.
- Check that all bulbs are lit and connectors are snug.
Invite a friend over for a second opinion. Fresh eyes catch things you miss. I once thought my lights were perfect—until my neighbor pointed out one entire strand was off by 3 inches. Oops.
Pro Tips & Common Mistakes to Avoid
After hanging lights on three different Alumawood patios, I’ve learned what works—and what doesn’t.
Pro Tip 1: Use a “Lighting Template”
Cut a piece of cardboard or foam board to match your light spacing. Hold it up to the beam to test clip placement before sticking anything down. Saves time and adhesive.
Pro Tip 2: Go Easy on the Bulbs
LED bulbs are lightweight, but older incandescent ones can be heavy. If you’re using vintage-style bulbs, add extra clips every 8–10 inches. Or switch to LED—they’re brighter, cooler, and last longer.
Pro Tip 3: Think About the Seasons
If you plan to take the lights down in winter, use removable clips. If you’re keeping them up year-round, opt for weatherproof adhesive or magnetic clips. The how to hang string lights on Alumawood patio cover 2026 method should fit your lifestyle, not the other way around.
Common Mistake 1: Overloading the Clips
One clip per wire. Don’t try to hang multiple strands on one clip—it’ll sag and pull the adhesive loose. I learned this the hard way when my “clever” multi-strand idea collapsed during a windstorm.
Common Mistake 2: Ignoring the Warranty
Some Alumawood manufacturers void the warranty if you drill or use permanent adhesives. Always check your manual. If in doubt, call customer service. A 10-minute call can save you hundreds in repair costs.
Common Mistake 3: Forgetting About Wind
String lights flap in the wind, which can loosen clips over time. Add extra support at corners and ends. Or use wind-resistant lights with thicker cords.
FAQs About How to Hang String Lights on Alumawood Patio Cover 2026
Can I use regular adhesive hooks on Alumawood?
Not reliably. Regular hooks fail in heat and humidity. Use outdoor-rated adhesive clips like 3M Command Outdoor or Gorilla Outdoor Mounting Tape. They’re designed for UV exposure and temperature swings.
Do I need to drill into the Alumawood?
No—and you shouldn’t. Drilling voids the warranty and risks water damage. The whole point of how to hang string lights on Alumawood patio cover 2026 is to do it without permanent changes. Use clips, magnets, or groove hangers instead.
How do I hang lights on a slanted Alumawood roof?
Use adjustable clips or a crisscross pattern. For slanted sections, hang lights parallel to the slope, not across it. This reduces strain on the clips. Or, use a zigzag design that follows the roofline.
Can I leave the lights up all year?
Yes, if they’re outdoor-rated and properly secured. Use weatherproof clips and check them monthly. Replace any that look loose or damaged. Winter wind and snow can test even the strongest setup.
What if my Alumawood has no magnetic backing?
No problem. Use adhesive clips or groove hangers. Test a small area first to make sure the adhesive holds. If it’s still not secure, add zip ties at the start and end points.
How do I remove the clips without damage?
For adhesive clips: Pull the tab slowly at a 90-degree angle. Don’t yank. For magnetic clips: just slide them off. Wipe away any residue with isopropyl alcohol and a soft cloth.
Can I use fairy lights instead of string lights?
Absolutely. Fairy lights (with micro-LEDs) are lighter and easier to hang. They’re perfect for delicate patterns or wrapping around beams. Just make sure they’re outdoor-rated.
Final Thoughts
Hanging string lights on an Alumawood patio cover doesn’t have to be a headache. With the right clips, a little planning, and these step-by-step tips, you’ll have a warm, inviting space in no time.
Remember: how to hang string lights on Alumawood patio cover 2026 is about working with the material, not against it. Use removable clips, avoid drilling, and test as you go.
Start small—maybe just one beam or corner. Once you nail the first section, the rest will feel easy. And when you’re sitting outside under your glowing lights, sipping coffee or sharing a meal with friends, you’ll know it was worth it.
So grab your clips, plan your layout, and get glowing. Your perfect patio ambiance is just a few steps away.
“`

