Featured image for how to hang string lights on metal patio
Image source: bhg.com
Transform your metal patio into a glowing oasis in 2026 with simple, damage-free string light hangers designed for sleek, secure mounting. Use magnetic clips or adhesive-backed cable hooks to suspend lights without drilling, ensuring a clean look and easy seasonal adjustments. This quick, tool-free method works on any metal surface and withstands wind and weather all year.
“`html
How to Hang String Lights on Metal Patio in 2026 Easy Guide
Key Takeaways
- Use magnetic hooks: Securely attach lights to metal surfaces without drilling.
- Measure spacing first: Plan light placement for even, professional-looking coverage.
- Choose weatherproof lights: Ensure durability against rain, wind, and sun exposure.
- Anchor with zip ties: Reinforce connections on railings or poles for stability.
- Opt for adhesive clips: Ideal for temporary setups or delicate metal finishes.
- Check power source: Use outdoor-rated extension cords and GFCI outlets for safety.
Why This Matters / Understanding the Problem
You’ve got this gorgeous metal patio—maybe it’s a sleek pergola, a modern awning, or even a corrugated metal roof over your deck—and you’re ready to transform it into a cozy, inviting space with string lights. But here’s the catch: metal doesn’t play nice with nails, screws, or adhesive hooks. I learned this the hard way when my first attempt ended in a dangling strand of lights and a chipped finish.
That’s why I’m sharing this How to Hang String Lights on Metal Patio in 2026 Easy Guide. It’s not just about aesthetics—it’s about doing it right, safely, and without damaging your metal structure. Whether you’re hosting summer barbecues or enjoying quiet nights under the stars, proper lighting sets the mood. And with the right approach, you can do it in under an hour, with no drilling or permanent changes.
This guide walks you through the best methods, tools, and tricks—tested on my own patio—so you can avoid the pitfalls and enjoy a beautifully lit space all year round. Let’s make your metal patio shine—literally.
What You Need
Before you start, gather these tools and materials. Most are easy to find at hardware stores, online, or even in your garage. The key is choosing non-damaging, metal-friendly options that hold up to wind, rain, and temperature changes.
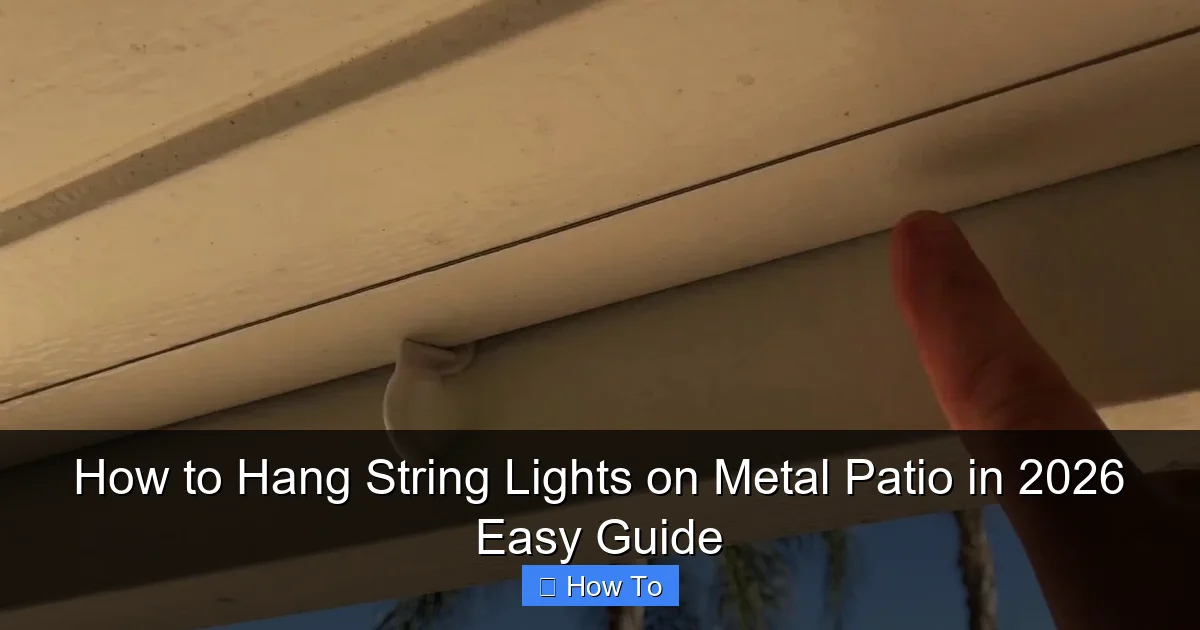
Visual guide about how to hang string lights on metal patio
Image source: i.ytimg.com
- String lights (LED, weatherproof, and preferably with a warm white glow)
- Magnetic hooks or clips (rated for outdoor use—look for neodymium magnets)
- Clamp-style light clips (rubber-padded to protect metal)
- Adhesive-backed metal mounting strips (if you need anchor points)
- Zip ties or outdoor-rated wire ties (great for temporary setups)
- Extension cords with outdoor GFCI protection
- Tape measure (to space lights evenly)
- Soft cloth or microfiber towel (to clean the metal surface)
- Step ladder (if your patio is elevated)
- Optional: Smart plug or timer (for automatic on/off)
Pro tip: Buy 10–15% more lights than you think you need. It’s easier to cut excess than to realize you’re short mid-installation. And always check the weight rating of your clips—especially if you’re using heavier Edison-style bulbs.
Step-by-Step Guide to How to Hang String Lights on Metal Patio in 2026 Easy Guide
Step 1: Plan Your Layout (Before You Buy or Hang)
Don’t just start clipping lights randomly. A little planning saves time and avoids awkward gaps or overcrowding. I once hung lights in a zigzag pattern—only to realize they blocked my sliding door. Not ideal.
Start by measuring the perimeter of your metal patio. Use a tape measure to get the total length of the area you want to light. Then, sketch a quick layout: will the lights go in a straight line, a crisscross, or a canopy-style grid?
For a canopy effect, plan for multiple anchor points across the ceiling or beams. For a border look, focus on the edges. And if you’re using a pergola, consider running lights along the beams and then down the columns for depth.
Pro tip: Use painter’s tape to mark anchor points. This lets you “test” your design before committing. It’s like a lighting dress rehearsal.
Step 2: Clean and Prep the Metal Surface
Metal can be slick, dusty, or coated with a protective finish. If your clips don’t have a clean surface to grip, they’ll slip—especially in wind or rain. I learned this after my lights fell during a light breeze. Not fun.
Use a soft cloth and mild soapy water to wipe down the areas where you’ll attach clips or magnets. Dry thoroughly. For painted or powder-coated metal, avoid abrasive cleaners that could scratch the finish.
If you’re using adhesive strips (like metal mounting bases), clean with isopropyl alcohol to remove oils and residue. This boosts adhesion and prevents peeling.
Warning: Never use glue, epoxy, or permanent adhesives on metal patios. They’re hard to remove, can damage the finish, and aren’t worth the risk.
Step 3: Choose the Right Attachment Method
This is where the How to Hang String Lights on Metal Patio in 2026 Easy Guide gets personal. The best method depends on your metal type, structure, and how permanent you want the setup to be.
- For flat or slightly curved metal (like awnings or roofs): Use magnetic clips. They’re strong, removable, and won’t scratch. I use 20-lb pull-force magnets—they hold my 20-foot strand with no issues.
- For beams, rails, or corrugated metal: Use clamp-style clips with rubber padding. These grip edges and ridges without slipping. They’re my go-to for pergolas.
- For tricky spots or non-magnetic metal (like aluminum): Use adhesive-backed metal strips as anchor points. Stick them to the metal, then attach clips to the strip. I used this on my aluminum gazebo—worked perfectly.
- For temporary or seasonal use: Zip ties are quick and easy. Just loop them around metal bars or beams. Use UV-resistant outdoor ties so they don’t degrade in sun.
<
Pro tip: Mix and match! I use magnets for the main runs and clamps for corners. Flexibility is key.
Step 4: Install Anchor Points (Clips, Magnets, or Strips)
Now it’s time to attach your clips. Start at one end and work your way around. Space clips every 12–18 inches for even support. Too far apart, and the lights sag; too close, and it looks cluttered.
For magnetic clips, simply place them on the metal. Test the hold by gently tugging. If it moves, upgrade to a stronger magnet.
For clamp clips, open the jaws and snap them onto the edge of a beam or rail. Make sure the rubber pad is flush against the metal. I once skipped this step—the clip slipped and scratched the finish. Oops.
For adhesive strips, peel off the backing and press firmly for 30 seconds. Let them cure for 1–2 hours before hanging lights.
Pro tip: Use a level (or your phone’s level app) to keep clips aligned. It makes a big difference in how polished the final look feels.
Step 5: Hang the String Lights (Start from the Power Source)
Always start at the power source. This ensures you don’t run out of cord before reaching the end. I made this mistake once and had to rehang half the strand.
Unroll your lights and plug them in to test. Nothing worse than hanging a dead strand. Then, gently attach the first light bulb or socket to the first clip. Work your way along, securing each section as you go.
Don’t pull the lights tight—leave a slight sag (about 6–12 inches between clips). This prevents strain on the sockets and looks more natural, like a gentle curve.
If you’re creating a grid or canopy, use zip ties to connect strands at intersections. Just loop the tie around both cords and snip the excess.
For longer runs, use outdoor-rated extension cords with GFCI protection. Never daisy-chain more than three strands unless the manufacturer allows it.
Step 6: Secure the Power Cord and Manage Cables
A messy power cord ruins the vibe. I’ve seen beautiful light displays ruined by tangled, dangling cords. Don’t be that person.
Use zip ties or cable clips to run the cord along the metal frame, keeping it out of walkways. If the cord must cross a door, use a cord cover or run it along the top edge.
For a cleaner look, use a smart plug with a timer. Set it to turn on at sunset and off at 11 p.m. No more remembering to flip the switch.
And if your outlet is far away, consider a solar-powered string light set for the far end. I use these for accent areas—no cords at all.
Step 7: Test, Adjust, and Enjoy
Once everything’s up, plug it in and step back. Look for:
- Uneven sagging
- Overly bright or dark spots
- Clips that look loose
- Cords in high-traffic areas
Make adjustments as needed. I usually tweak the sag and spacing after the first night—it’s easier to see the flaws in the dark.
Then, grab a drink, sit back, and enjoy your handiwork. That’s the best part of the How to Hang String Lights on Metal Patio in 2026 Easy Guide: seeing your space transformed with minimal effort.
Pro Tips & Common Mistakes to Avoid
After years of trial and error (and a few late-night fixes), here’s what I’ve learned:
Pro Tip 1: Use warm white LED lights. They’re energy-efficient, last longer, and create a cozy glow. Cool white feels clinical—like a parking lot. Not the vibe.
Pro Tip 2: Buy weatherproof lights with a high IP rating (IP65 or higher). Rain, snow, and humidity are real threats. I lost a set to a spring storm because I skipped this.
Pro Tip 3: Label your clips with painter’s tape if you plan to remove them seasonally. It saves time next year. I use “A1, A2, B1…” for each row.
Common Mistake 1: Using cheap plastic clips that crack in sun. I’ve had them shatter mid-summer. Invest in UV-resistant, outdoor-rated clips—they’re worth the extra $5.
Common Mistake 2: Ignoring wind load. If your patio is exposed, use double clips or extra zip ties at high-wind points. I added them after a gust sent my lights flying.
Common Mistake 3: Hanging lights too high. You want to feel immersed, not like you’re under a distant starfield. Aim for 7–9 feet above the ground for most patios.
Bonus Tip: If you have a metal roof, avoid attaching lights directly to it—especially if it’s a rain catchment. Use a freestanding frame or ground poles instead.
FAQs About How to Hang String Lights on Metal Patio in 2026 Easy Guide
Can I use regular hooks or nails on a metal patio?
Nope. Nails and screws damage the metal, create rust points, and can void warranties. Plus, most metal patios have protective coatings—piercing them invites corrosion. Stick to non-invasive methods like magnets, clamps, or adhesive strips. It’s safer and reversible.
Will magnetic clips work on aluminum?
No. Aluminum isn’t magnetic, so regular magnets won’t stick. But you’re not out of luck. Use adhesive-backed metal strips as anchor points, then attach clips to the strip. Or use clamp clips on edges. I’ve used this trick on my aluminum gazebo with great results.
How do I prevent lights from sagging?
Sagging happens when clips are too far apart or the strand is too long. Space clips every 12–18 inches. For long runs, use support poles or extra anchor points in the middle. And don’t overstretch the cord—let it hang with a gentle curve, not a straight line.
Can I leave string lights up year-round?
Yes, but only if they’re weatherproof and your clips are UV-resistant. Check the manufacturer’s rating. I leave mine up from April to November, but take them down in winter to avoid snow load and ice damage. If you’re in a mild climate, go for it—just inspect them monthly.
What if my metal patio has a curved or corrugated surface?
No problem. Use flexible clamp clips that grip the ridges. For curves, magnetic strips (like those used for car signs) can conform to the shape. I used them on a curved metal awning—held strong for two seasons.
How do I hide extension cords?
Use cable clips to run cords along the metal frame, out of sight. For ground cords, use a cord cover or bury it in a protective conduit. Or, go wireless: use solar-powered lights for accent areas. I use these for side paths—no cords at all.
Are there smart options for metal patios?
Absolutely! Use smart string lights with app control, voice commands, or timers. Pair them with a smart plug for automatic on/off. I set mine to turn on at sunset and off at 11 p.m.—no effort, maximum ambiance.
Final Thoughts
Hanging string lights on a metal patio doesn’t have to be a headache. With the right tools and a little planning, you can create a stunning, safe, and long-lasting display—no drilling, no damage, no regrets.
This How to Hang String Lights on Metal Patio in 2026 Easy Guide is all about working with your metal structure, not against it. Whether you use magnets, clamps, or adhesive strips, the goal is a setup that’s easy to install, easy to maintain, and easy to love.
So grab your lights, pick your favorite method, and give it a try. Start small—maybe just one side—and build from there. And if you run into trouble? Don’t stress. Every patio has quirks. The best lighting setup is the one that works for your space and your lifestyle.
Now go make your metal patio shine. The stars are waiting.
“`

