Featured image for how to hang string lights on patio without drilling
Image source: jugglingactmama.com
Hang string lights on your patio without drilling using heavy-duty adhesive hooks, tension rods, or freestanding poles designed for outdoor use. These no-damage solutions are easy to install, weather-resistant, and perfect for renters or anyone avoiding permanent changes. Transform your outdoor space in minutes with minimal effort!
“`html
How to Hang String Lights on Patio Without Drilling 2026 Guide
Key Takeaways
- Use adhesive hooks: Securely mount lights without damaging surfaces.
- Try tension rods: Ideal for creating instant support between walls.
- Opt for freestanding poles: No installation needed, perfect for rentals.
- Utilize existing structures: Hang lights on fences, railings, or trees.
- Choose weather-resistant lights: Ensure durability for year-round outdoor use.
- Plan spacing carefully: Avoid sagging by measuring distances between anchors.
- Test stability first: Always check weight limits before hanging lights.
Why This Matters / Understanding the Problem
Let’s be real: nobody wants to spend a Saturday afternoon drilling holes into their beautiful patio or rental-friendly deck. You want that cozy, twinkly glow—like a scene from a rom-com—but without the landlord knocking on your door with a repair bill. I’ve been there. I once tried to hang lights with nails on a rental balcony and ended up with a $75 “damage fee.” Not cool.
That’s why how to hang string lights on patio without drilling 2026 guide is more than just a DIY hack—it’s a lifestyle upgrade. Whether you’re renting, protecting your wood, or just avoiding power tools, there are smart, damage-free ways to get that magical ambiance. And the best part? You don’t need to be a handyman (or woman, or person—no labels here) to pull it off.
This method isn’t just about aesthetics. It’s about creating a space where you actually want to live—where you can sip wine under the stars without stressing over permanent marks. So let’s dive into the real-world, no-nonsense solutions that actually work.
What You Need
Before you start, gather these tools. Nothing fancy—most of this you might already have lying around. The goal is simplicity, affordability, and zero damage.
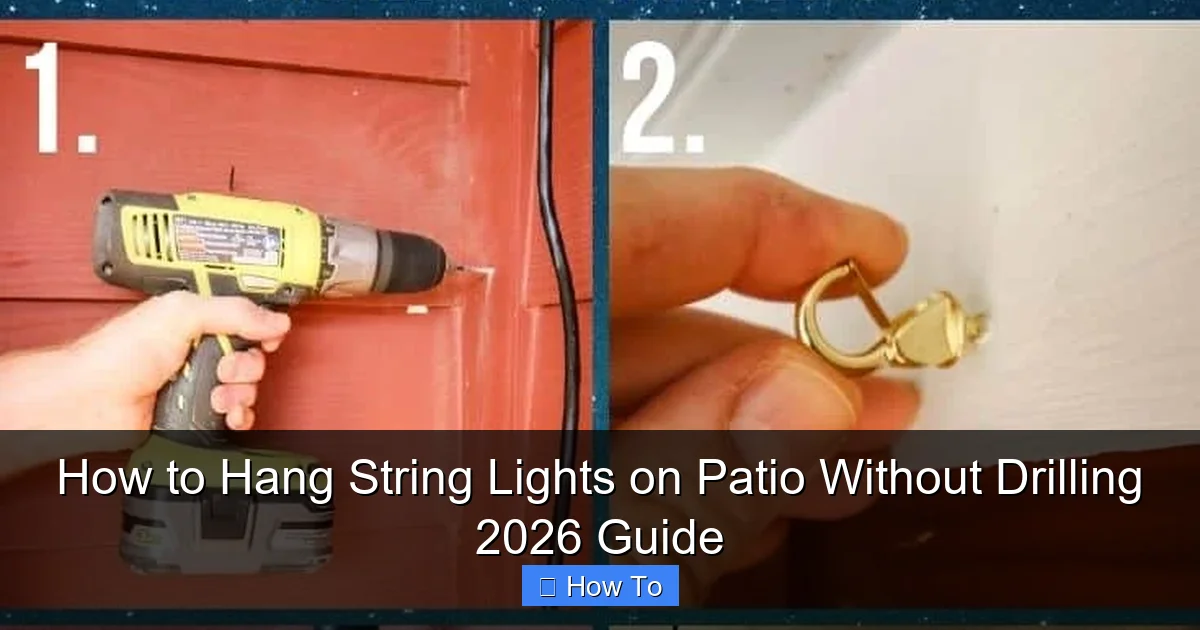
Visual guide about how to hang string lights on patio without drilling
Image source: charlestoncrafted.com
- String lights (LED is best—cool to touch, energy-efficient, and long-lasting)
- Adhesive hooks (3M Command™ or similar—rated for outdoor use and weight)
- Zip ties (UV-resistant, 8” or 12”—great for wrapping around railings or poles)
- Outdoor-rated tension rods (for creating anchor points between walls or railings)
- Weatherproof clips (plastic or silicone—designed for outdoor cables)
- Extension cord (outdoor-rated) (with GFCI protection—safety first!)
- Measuring tape (to map your layout)
- Level or phone app (optional, but helpful for even hanging)
- Scissors or wire cutters (for trimming zip ties)
Pro tip: Check your string lights’ weight and length. Heavier Edison-style bulbs need stronger hooks. LED fairy lights? Lighter clips work fine. Always overestimate—better safe than sagging.
Step-by-Step Guide to How to Hang String Lights on Patio Without Drilling 2026 Guide
Step 1: Plan Your Layout (Measure & Map)
Grab your measuring tape and walk around your patio. Visualize where the lights will go. Do you want a canopy effect? A perimeter border? A zig-zag pattern? This is the fun part—like decorating a room.
Measure the distances between anchor points (railings, walls, posts). Add 10% extra to your string light length to account for drape and slack. You don’t want to pull it too tight—wind will stress the connections.
Sketch a quick diagram on paper or use your phone. Note where power outlets are. You’ll want to minimize extension cord runs. For how to hang string lights on patio without drilling 2026 guide, planning saves you from mid-project frustration.
Step 2: Choose Your Anchor System
No drilling means we need smart alternatives. Here are your best options, based on patio setup:
- For railings or fences: Use zip ties or outdoor clips. Wrap zip ties around the railing every 12–18 inches. Trim the ends with scissors. Clips snap directly onto the railing edge.
- For flat walls or eaves: Use outdoor-rated adhesive hooks. 3M Command™ Outdoor Hooks (rated for 3 lbs each) work great. Clean the surface first with rubbing alcohol—dirt kills adhesion.
- For open spaces (no walls or rails): Use tension rods between two walls, posts, or even heavy planters. Insert them between railings or against walls at the desired height. They create instant anchor points.
- For trees or columns: Wrap bungee cords or fabric straps around the trunk. Avoid wire—it can damage bark.
Test each anchor by gently pulling. If it wobbles, add another hook or tighten the zip tie.
Step 3: Install the Anchor Points (Without Drilling)
Now, install your hooks, clips, or rods. Let’s break it down:
- Adhesive hooks: Press firmly for 30 seconds. Wait 1 hour before hanging lights (yes, really—patience pays). For extra hold, use two hooks per point and loop the light wire through both.
- Zip ties on railings: Start at one end. Wrap the tie around the railing, thread the end through the head, and pull tight. Don’t overtighten—it can crack plastic railings. Trim the excess.
- Tension rods: Extend the rod between two stable surfaces (e.g., patio posts or walls). Twist to tighten. Use rubber caps to protect surfaces. Hang lights from the rod’s hooks or wrap them around the bar.
- Outdoor clips: Snap them onto railings, gutters, or eaves. They’re designed to grip without scratching.
Space anchor points every 12–18 inches. Closer spacing = less sag. Farther = more droop (which can look intentional if you like a “romantic drape”).
Step 4: Hang the Lights (Start at the Power Source)
Here’s a golden rule: always start at the power source. Unplug the lights. Plug them into the extension cord, then run the cord to the first anchor point.
Loop the light wire over the hook, clip, or zip tie. Don’t just hang it by the bulb—that’s a recipe for broken sockets. Use the wire itself.
Move to the next anchor. Drape the lights gently—don’t stretch. Let them form a slight “U” shape between points. This absorbs wind movement and prevents tension.
For corners or angles, use a zip tie to secure the wire at a 45-degree turn. This keeps the shape clean.
When you reach the end, plug in the lights. Test them. If one section doesn’t light up, check for loose connections or pinched wires.
Step 5: Secure the Cord (Hide & Protect)
Extension cords are ugly and trip hazards. Tame them:
- Use outdoor-rated cord clips to attach the cord to railings or walls (with adhesive).
- Run the cord behind furniture or planters.
- For floor runs, use a cord cover (rubber or plastic) to protect it from foot traffic and weather.
- Elevate the cord with small hooks or clips to avoid puddles.
Never leave the plug on the ground. Elevate it with a hook or tuck it under a planter. Water + electricity = bad news.
Step 6: Weatherproof & Final Check
Even “outdoor” lights need protection:
- Ensure all plugs and connections are above ground and under cover (e.g., under eaves or a roof).
- Use waterproof electrical tape on any exposed wire joints.
- Check that adhesive hooks are rated for your climate (e.g., 3M Outdoor Hooks work in rain, snow, and heat up to 158°F).
- Trim all zip tie ends to avoid snagging.
Give the lights a gentle shake. If anything wiggles, reinforce it. Wind is the real enemy here.
Pro Tips & Common Mistakes to Avoid
Warning: Don’t use regular indoor adhesive hooks. They’ll fall off in rain or heat. Only use outdoor-rated products. I learned this the hard way when my lights crashed during a thunderstorm. Heartbreaking.
- Overhang is your friend: Let lights drape 12–24 inches below the anchor point. It looks intentional and reduces wind stress.
- Layer for drama: Hang two rows of lights—one high, one low. Or mix globe and fairy lights for texture.
- Use a timer: Set lights to turn on at dusk and off at bedtime. Saves energy and prevents burnout.
- Check bulb types: LED bulbs last 25,000+ hours. Incandescent? Maybe 1,000. Stick with LED for long-term use.
- Test in daylight: Hang a section during the day. You’ll spot sags or misalignments easier.
- Seasonal storage: Take down lights in winter (if in a snowy climate). Store in a dry place. Adhesive hooks can be removed cleanly with dental floss or fishing line.
Common mistake: Hanging lights too tight. It looks neat at first, but wind will pull hooks off or snap wires. Loose = durable.
Pro insight: If you have a pergola, wrap lights around the beams with zip ties. No hooks needed. Just weave them in like a vine. Looks rustic and magical.
FAQs About How to Hang String Lights on Patio Without Drilling 2026 Guide
Q: Will adhesive hooks really hold in the rain?
A: Yes—if you use outdoor-rated hooks like 3M Command™ Outdoor. They’re tested for rain, snow, and UV exposure. Just clean the surface first. I’ve had mine up for 3 years with zero issues.
Q: What if my patio has no railings or walls?
A: Use tension rods between posts, or anchor to heavy planters, trees, or even a freestanding umbrella stand. I once hung lights between two large potted trees—looked like a fairy garden. Get creative!
Q: Can I use nails or screws if I’m careful?
A: Not recommended for this guide. The whole point of how to hang string lights on patio without drilling 2026 guide is to avoid damage. Even small holes can lead to rot, leaks, or landlord drama. Save the screws for permanent setups.
Q: How do I hide the power cord?
A: Run it along the ground with cord covers, or clip it to a railing behind a planter. For a sleek look, use a white cord on white railings. Or, go wireless with solar-powered string lights (though they’re dimmer).
Q: What if my lights sag in the middle?
A: Add more anchor points. Every 12 inches is ideal for heavy bulbs. Or, use a center pole (like a garden stake) to lift the middle. Zip tie the wire to the pole.
Q: Are zip ties safe for wooden railings?
A: Yes—use plastic zip ties, not metal. They won’t scratch or rust. Trim the ends so they don’t snag clothes.
Q: Can I leave these lights up year-round?
A: Only if your area has mild weather. In snowy or stormy regions, take them down in winter. Adhesive hooks can degrade after 12–18 months. Reassess each spring.
Final Thoughts
There you have it: a no-drill, no-drama way to transform your patio into a dreamy retreat. The how to hang string lights on patio without drilling 2026 guide isn’t just about lights—it’s about creating a space that feels like you.
Start small. Try one section. Once you see how easy it is, you’ll want to light up your entire yard. And remember: imperfection is part of the charm. A little droop? It’s romantic. A zip tie peeking out? Call it “rustic.”
So grab your lights, a few hooks, and that glass of wine. Your cozy, twinkling oasis is just an evening away. No drills. No damage. Just pure, simple magic.
Now go make your patio the place everyone wants to hang out. You’ve got this.
“`

