Featured image for how to hang string lights on pergola without nails
Image source: oillampman.com
Hang string lights on your pergola without nails in 2026 using heavy-duty adhesive hooks, tension rods, or zip ties—no damage, no hassle. These innovative, weather-resistant solutions securely hold lights while preserving your pergola’s structure and finish. Perfect for renters or quick setups, these methods take minutes and deliver a stunning glow all season long.
Key Takeaways
- Use adhesive hooks: Strong, removable hooks secure lights without nails or damage.
- Opt for tension rods: Stretch rods between beams for a no-drill lighting setup.
- Try magnetic clips: Ideal for metal pergolas—quick, sturdy, and nail-free.
- Wrap around beams: Drape lights directly on pergola edges for simple, tool-free hanging.
- Choose battery-powered: Skip outlets and wires for cleaner, flexible installation.
- Use zip ties: Heavy-duty ties attach lights securely to pergola structures.
- Check weight limits: Ensure your method supports the lights’ weight safely.
📑 Table of Contents
- Why Hanging String Lights on a Pergola Without Nails Makes Sense
- Understanding Your Pergola: The First Step to a Damage-Free Setup
- Top 5 Nail-Free Methods to Hang String Lights on a Pergola
- Creative Layouts and Design Tips for a Stunning Light Display
- Tools, Materials, and Where to Buy: A Practical Guide
- Common Mistakes to Avoid and Pro Tips for Longevity
- Final Thoughts: Light Up Your Pergola the Smart, Safe Way
Why Hanging String Lights on a Pergola Without Nails Makes Sense
Picture this: golden hour is slipping behind the trees, and your backyard pergola is glowing with soft, warm string lights. You’ve created the perfect outdoor oasis—no power tools, no holes in your wood, and no landlord frowning at you. That’s the magic of hanging string lights on a pergola without nails in 2026. Whether you rent, own a delicate wood structure, or just hate the idea of drilling into your beautiful pergola beams, going nail-free is not only possible—it’s often better.
String lights aren’t just for holidays anymore. In 2026, they’re a year-round staple in outdoor design, adding charm, warmth, and ambiance to patios, decks, and pergolas. But drilling holes can weaken wood, void warranties, or leave unsightly marks. The good news? You don’t need nails, screws, or even a hammer. From tension rods to magnetic clips, the tools and techniques have evolved. This guide walks you through the best, most effective, and safest ways to hang string lights on a pergola without nails—so you can enjoy that cozy glow without the damage or hassle.
Understanding Your Pergola: The First Step to a Damage-Free Setup
Assess Your Pergola’s Structure and Materials
Before you start hanging anything, take a good look at your pergola. Is it made of wood, vinyl, aluminum, or composite? Each material reacts differently to weight, tension, and adhesives. For example, vinyl and aluminum are smooth and non-porous, making adhesive hooks less reliable unless you prep the surface. Wood is more forgiving but still sensitive to moisture and long-term stress.
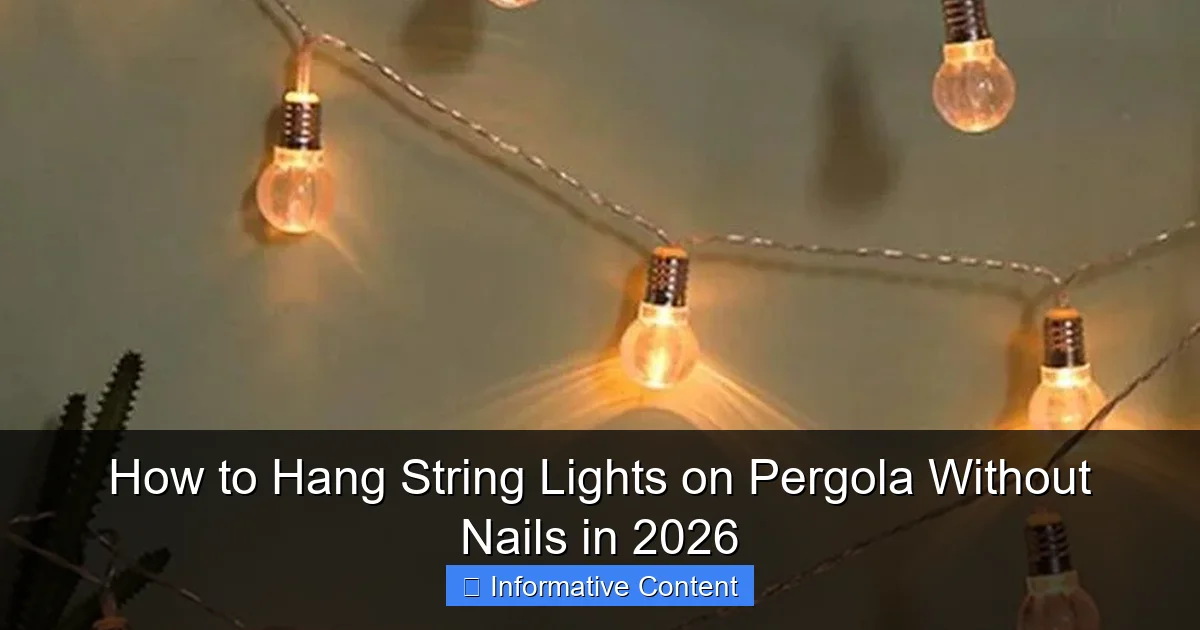
Visual guide about how to hang string lights on pergola without nails
Image source: oillampman.com
Also, check the beam thickness and spacing. Most pergolas have cross beams spaced 12–24 inches apart. If your beams are thin or warped, avoid methods that pull too hard on one spot. And don’t forget: your pergola might be attached to a house, freestanding, or part of a covered patio. Each setup changes your options.
Know Your String Light Weight and Type
Not all string lights are equal. A 25-foot LED set with 50 bulbs might weigh just 2–3 pounds, while a vintage Edison-style strand with glass bulbs can weigh twice as much. Heavy lights need stronger support. Also, consider whether your lights are plug-in or battery-powered. Plug-in sets need a power source nearby, while battery packs give you more flexibility but may need recharging or replacements every few weeks.
Pro tip: Weigh your lights at home using a kitchen scale. Wrap the entire strand in a bag, hang it from the scale, and subtract the bag’s weight. This helps you choose the right hanging method—no surprises halfway through installation.
Consider Weather and Long-Term Use
Are you hanging lights for a one-time party or year-round ambiance? If it’s permanent, you’ll want a solution that withstands wind, rain, and UV exposure. Adhesive hooks may fail after months in direct sun. Tension rods can rust. Choose materials rated for outdoor use—look for UV-resistant, rust-proof, or waterproof labels.
Also, think about how easy it is to take down and rehang. If you want to switch styles seasonally (e.g., warm white for fall, cool white for summer), pick methods that let you remove and reattach quickly.
Top 5 Nail-Free Methods to Hang String Lights on a Pergola
1. Tension Rods and Curtain Rods (Best for Open Pergolas)
Tension rods are a game-changer for pergolas without side walls. They work like shower curtain rods—twist to expand and grip between two opposite beams. You can hang lights directly from the rod or attach clips to it. This method is especially great for open pergolas where you want to create a “ceiling” of lights.
Choose a rod that’s slightly shorter than the distance between your beams. For example, if your beams are 10 feet apart, use a 9.5-foot adjustable tension rod. Look for models with rubber ends to prevent slipping and protect your wood. I once used a 12-foot rod in a 10-foot span—it sagged under the weight and pulled loose after a windy night. Learn from my mistake: always go slightly shorter, not longer.
How to install:
- Measure the distance between two opposite pergola beams.
- Buy a tension rod 6–12 inches shorter than that measurement.
- Twist the rod to expand it and place it horizontally between the beams.
- Attach S-hooks, carabiners, or zip ties to the rod, then hang your lights.
- For extra security, use bungee cords to anchor the rod ends to the beams.
2. Adhesive Hooks and Outdoor-Grade Command Strips (Great for Lightweight Lights)
3M Command Outdoor Hooks and similar products are perfect for lightweight LED string lights (under 5 lbs total). They use a special adhesive that bonds to wood, vinyl, and metal—even in rain and sun. I’ve used them on my vinyl pergola for over a year, and they’re still rock-solid.
But here’s the catch: prep is key. Clean the surface with rubbing alcohol to remove dust, grease, or pollen. Wait 15 minutes after cleaning, then press the hook firmly for 30 seconds. Let it cure for 1 hour before hanging anything. Don’t skip this—I once rushed and lost three hooks in a thunderstorm.
Best for:
- LED string lights with plastic or silicone bulbs.
- Short runs (20–30 feet max).
- Smooth, clean pergola surfaces.
Tip: Use mini S-hooks with the adhesive hooks to make it easier to hang and remove lights without damaging the hook.
3. Magnetic Hooks and Magnetic Rods (Ideal for Metal or Aluminum Pergolas)
If your pergola has metal or aluminum beams, magnetic hooks are your best friend. They attach instantly, hold up to 10–20 lbs (depending on size), and come off cleanly. I used them on a friend’s aluminum pergola and was amazed—no tools, no residue, no stress.
For a full “ceiling” effect, use a magnetic rod (a metal bar with magnets on each end). It spans between beams and gives you a sturdy rail to hang lights from. Just make sure the magnets are strong enough to hold the rod’s weight plus the lights.
Limitations: Doesn’t work on wood or vinyl unless you add a metal strip (e.g., a thin aluminum bar glued or clamped to the beam).
4. Zip Ties and Reusable Cable Clips (Budget-Friendly and Secure)
Zip ties (also called cable ties) are cheap, strong, and easy to use. Wrap them around the pergola beams and attach your lights to the tie’s head. For a cleaner look, use reusable zip ties with a release tab—they’re more eco-friendly and let you reposition lights easily.
I like to use black or brown zip ties to blend into the wood. For a more decorative touch, try spiral cable wraps or fabric-covered zip ties. They look like part of the design, not an afterthought.
Pro tip: Don’t pull the zip tie too tight—it can cut into the wood over time. Leave a tiny gap so it can flex with the beam in wind.
Bonus idea: Use zip ties to create a “ladder” effect—tie them vertically between two horizontal beams, then hang lights along the rungs.
5. Bungee Cords and Adjustable Tension Cables (For Heavy Lights or Windy Areas)
If you’re hanging heavy Edison bulbs or live in a windy area, bungee cords or tension cables add extra security. They stretch slightly in the wind, reducing stress on your pergola. I used bungee cords on my pergola during a coastal storm, and my lights stayed up while my neighbor’s (nailed-in) ones came crashing down.
Use S-hooks to connect the bungee cords to the pergola beams. Then, hang your lights from the bungee’s center or attach them with small carabiners. The slight bounce also gives your lights a gentle sway—perfect for a romantic vibe.
Caution: Bungee cords can degrade in UV light. Replace them every 2–3 years, or use UV-protected versions.
Creative Layouts and Design Tips for a Stunning Light Display
Classic “Canopy” or “Ceiling” Effect
The most popular layout—string lights crisscrossing between beams to create a glowing ceiling. Use tension rods or adhesive hooks to create parallel lines, then connect them with short diagonal runs. For a tighter canopy, space lines every 12–18 inches. For a looser, more romantic look, go 24–36 inches apart.
I once used 10 parallel lines with 15-inch spacing on a 10×10 ft pergola. It felt magical—like dining under a starry sky. But don’t overdo it: too many lines can look cluttered. Less is often more.
“Swag” or “Drape” Pattern (For a Relaxed, Bohemian Vibe)
Instead of straight lines, let your lights drape in gentle curves between beams. This works best with longer strands (40+ feet). Use adhesive hooks or zip ties to anchor the ends, then let the middle sag slightly. The key is even tension—don’t let any one hook carry too much weight.
Tip: Use a level or laser measure to keep the drape height consistent. A 2–3 inch sag in the middle looks natural; a 6-inch sag looks like a mistake.
“Ladder” or “Grid” Design (For Modern, Geometric Appeal)
Create a grid by running lights horizontally and vertically. Use zip ties or adhesive hooks to attach vertical strands to horizontal ones. This works great over dining tables or fire pits. It’s also easy to customize—add more verticals for a denser look.
I used this on my pergola over a dining table. Guests loved it—they could see each other clearly, and the light was flattering, not harsh.
Accent Lighting: Highlighting Specific Areas
Not all lights need to cover the whole pergola. Use shorter strands to highlight a seating area, dining table, or outdoor kitchen. Hang them in a U-shape around a conversation pit or in a circle above a fire table.
Bonus: Use battery-powered lights for accent areas. No extension cords, no outlets, no fuss.
Tools, Materials, and Where to Buy: A Practical Guide
Essential Tools and Materials (With Real-World Recommendations)
Here’s what I keep in my outdoor lighting kit—tried, tested, and trusted:
| Item | Recommended Brands/Models | Best For | Price Range |
|---|---|---|---|
| Tension Rods | Kenney 120″ Adjustable Curtain Rod, RoomDividersNow | Open pergolas, heavy lights | $25–$40 |
| Adhesive Hooks | 3M Command Outdoor Hooks, Gorilla Mounting Squares | Lightweight LED lights, smooth surfaces | $8–$15 (pack of 4–6) |
| Magnetic Hooks | Magcraft, Master Magnetics | Metal pergolas, quick setup | $10–$20 (pack of 4) |
| Reusable Zip Ties | VELCRO Brand ONE-WRAP, Cable Matters | Budget-friendly, eco-conscious | $10–$15 (pack of 50) |
| Bungee Cords | Keeper, Rhino USA (UV-protected) | Windy areas, heavy lights | $12–$20 (set of 4–6) |
| String Lights | Brightech, Luminoodle, GE | All methods (check weight) | $20–$60 (25–50 ft) |
Where to Buy and What to Look For
You can find most of these at Home Depot, Lowe’s, Target, or Amazon. But here’s what I look for:
- Weather resistance: Look for “outdoor-rated” or “UV-resistant” labels.
- Weight capacity: Check the max load (e.g., 5 lbs per hook).
- Reusability: Can you take it down and use it again?
- Ease of use: Can you install it alone, or do you need a helper?
I avoid cheap adhesive hooks from no-name brands—they fail fast. Invest in quality; it saves you time and frustration.
Common Mistakes to Avoid and Pro Tips for Longevity
Overloading a Single Point
One of the biggest mistakes? Hanging all the lights from one hook or rod. This puts too much stress on one spot and can pull the whole thing down. Always distribute the weight. Use multiple hooks, rods, or zip ties—even for short strands.
Ignoring Weatherproofing
Even if your lights are “outdoor-rated,” the connections and power cords might not be. Use outdoor-rated extension cords, and cover plug connections with waterproof caps (like these from Weatherproof Plug Covers). I learned this the hard way when a storm shorted my entire setup.
Using Indoor Adhesives Outdoors
Regular Command Strips fail in rain and sun. Always use outdoor versions. And if you’re in a humid climate, consider adding a dab of outdoor silicone sealant around the hook’s base for extra security.
Forgetting About Access
Hang your lights so you can reach them for maintenance. If you need a ladder to change a bulb, you’ll probably never do it. Use methods that let you reach the lights easily—like zip ties at eye level or magnetic hooks you can pull down with a pole.
Pro Tips for Long-Term Success
- Label your strands: Use colored zip ties to mark different zones (e.g., red for dining, blue for lounge).
- Use timers: Automate your lights with a smart timer or app. Saves energy and adds convenience.
- Store properly: At the end of the season, coil lights loosely and store in a dry place. Avoid tangles.
- Inspect yearly: Check for frayed wires, loose hooks, or rust. Replace as needed.
Final Thoughts: Light Up Your Pergola the Smart, Safe Way
Hanging string lights on a pergola without nails in 2026 is not just possible—it’s smarter, safer, and often more stylish than the old nail-and-drill approach. Whether you choose tension rods for a grand canopy, adhesive hooks for a minimalist look, or bungee cords for storm-ready security, you’ve got options that protect your pergola and your peace of mind.
Remember: the best setup is one that works for your space, your lights, and your lifestyle. Test one method on a small section first. Adjust as needed. And don’t be afraid to mix and match—I use zip ties for the main lines and adhesive hooks for accent strands. It’s all about creating a space that feels like home.
So grab your lights, pick a method, and get glowing. Your backyard oasis is waiting—no nails required.
Frequently Asked Questions
How can I hang string lights on a pergola without nails in 2026?
Use adhesive hooks, zip ties, or magnetic clips designed for outdoor use—they’re strong enough to hold lights without damaging your pergola. These no-nail methods are easy to install and remove, making them ideal for renters or temporary setups.
What are the best no-damage options to hang string lights on pergola beams?
Try removable outdoor-rated adhesive strips, tension rods, or wrap-around hooks that grip the wood without screws. These solutions keep your pergola intact while securely holding the weight of string lights.
Can I use zip ties to hang string lights on a pergola without nails?
Yes! UV-resistant zip ties are a durable, no-nail option for attaching lights to pergola beams or rafters. For a cleaner look, use black or brown ties that blend with the wood.
How do I hang string lights on a metal pergola without nails or drilling?
Magnetic hooks or adhesive-backed metal mounting squares work perfectly for metal pergolas. Ensure the magnets are heavy-duty and rated for outdoor use to withstand wind and weather.
Are there temporary ways to hang string lights on a pergola for events?
Absolutely—use removable hooks, bungee cords, or clip-on light hangers that can be installed and taken down quickly. These methods are perfect for weddings, parties, or seasonal decor without leaving marks.
How do I prevent sagging when hanging string lights on pergola without nails?
Space your adhesive hooks or clips no more than 12–18 inches apart to evenly distribute weight. For longer spans, add a clear fishing line or thin wire as hidden support between anchor points.

