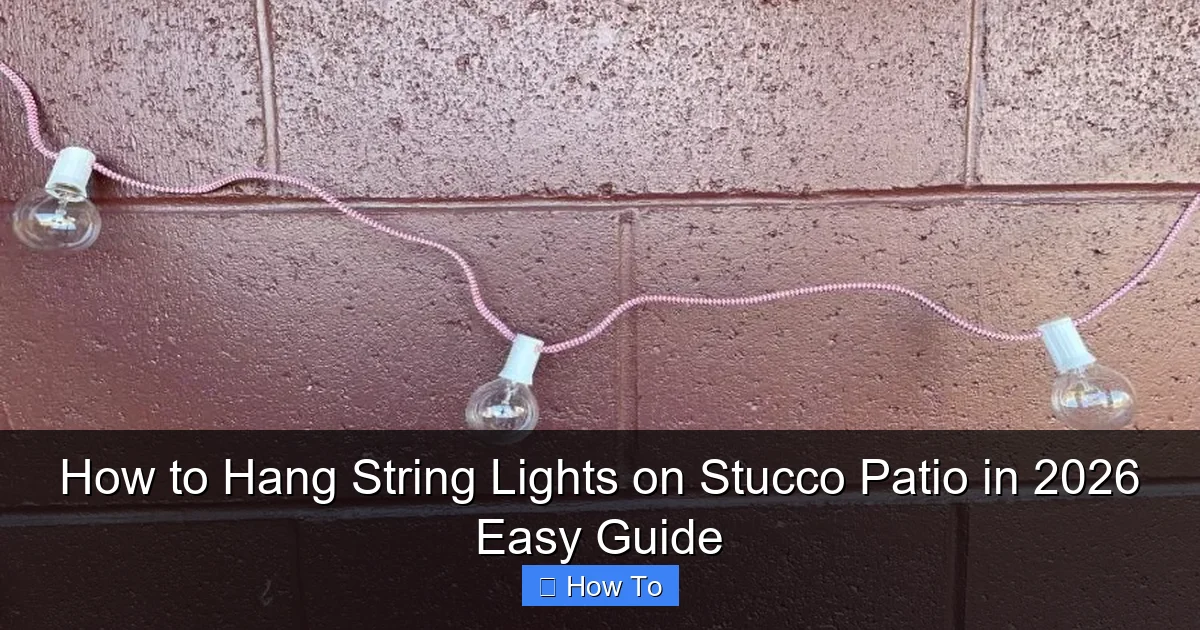
Featured image for how to hang string lights on stucco patio
Image source: i2.wp.com
Hanging string lights on a stucco patio is easiest and safest using adhesive-backed mounting clips or removable hooks designed for textured surfaces—no drilling required. Clean the stucco, plan your layout, and secure the lights at even intervals for a professional, weather-resistant glow. This method preserves your patio’s finish while creating a stunning outdoor ambiance in minutes.
“`html
How to Hang String Lights on Stucco Patio in 2026 Easy Guide
Key Takeaways
- Plan your layout first: Measure and mark light positions for even spacing.
- Use stucco-friendly anchors: Choose plastic anchors to avoid cracking the surface.
- Opt for removable clips: Install adhesive-backed clips for damage-free removal.
- Pre-drill holes carefully: Use a masonry bit to prevent stucco damage.
- Check for wiring safety: Keep cords away from high-traffic areas to avoid tripping.
- Weatherproof connections: Use outdoor-rated lights and seal plugs from moisture.
Why This Matters / Understanding the Problem
Let’s be honest—nothing transforms a patio like a soft glow of string lights. Whether you’re hosting a summer BBQ, enjoying a quiet evening with wine, or just want to make your backyard feel cozier, how to hang string lights on stucco patio in 2026 easy guide is one of the most searched DIY projects this year.
But here’s the catch: stucco is tough. It’s rough, textured, and not friendly to most adhesives. Nail it wrong, and you’ll chip the surface, leave unsightly holes, or worse—your lights fall after a week. I learned this the hard way when my first attempt looked like a spiderweb disaster.
The good news? With the right tools and a little patience, you can hang string lights on stucco without damaging your home or spending a fortune. This guide walks you through the entire process—safely, cleanly, and beautifully—so your patio shines all year round.
Whether you’re upgrading your outdoor space for entertaining or just want that Instagram-worthy vibe, this 2026 easy guide is built for real people, not contractors. No fancy jargon. No overpriced solutions. Just practical, tested steps that work.
What You Need
Before you start, gather your supplies. Trust me—rushing to the store mid-project kills momentum. Here’s what you’ll need to successfully tackle how to hang string lights on stucco patio in 2026 easy guide:
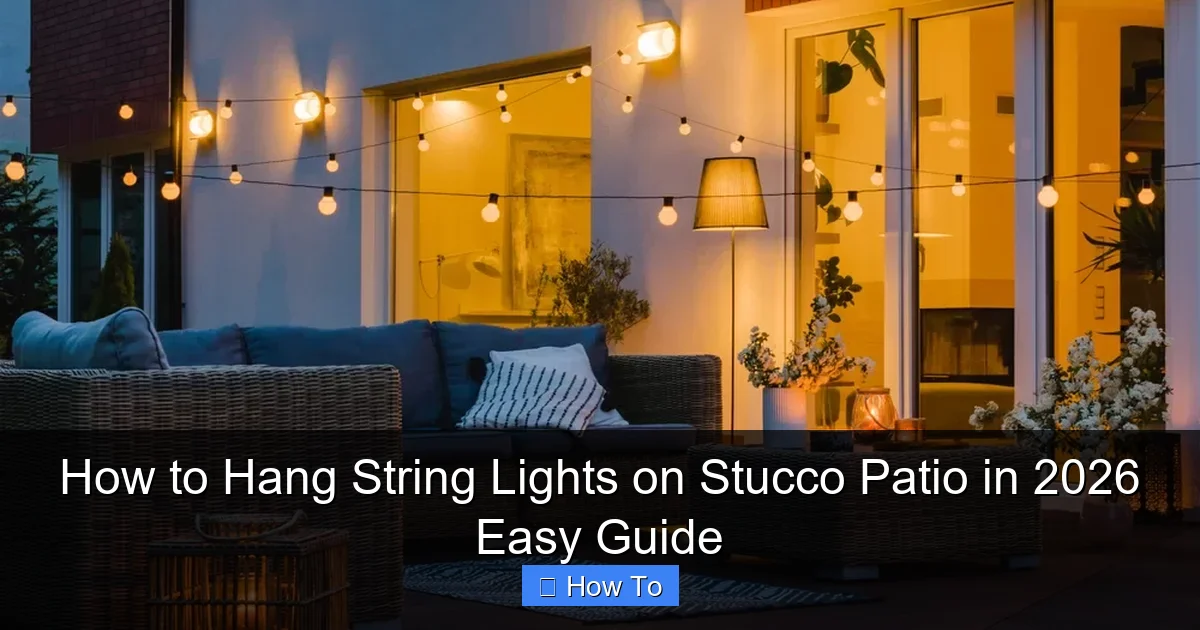
Visual guide about how to hang string lights on stucco patio
Image source: patioguidance.com
- String lights (LED, weatherproof, with a plug-in or battery option)
- Stucco-friendly mounting hardware (plastic anchors, stucco screws, or adhesive hooks rated for masonry)
- Drill with masonry bit (or a hammer drill if you have one)
- Measuring tape (to space lights evenly)
- Level (optional but helpful for symmetry)
- Outdoor-rated extension cord (if lights don’t reach an outlet)
- Wire clips or cable ties (to manage excess cord)
- Pencil or washable marker (for marking drill spots)
- Rubber mallet (optional, for tapping anchors in gently)
- Protective gloves and safety glasses (safety first!)
Bonus: A friend to help with holding lights and checking alignment. Two sets of eyes > one when you’re working at height.
Pro tip: Choose lights with a built-in timer or smart plug. You’ll thank yourself when you don’t have to go outside in the rain to turn them on.
Step-by-Step Guide to How to Hang String Lights on Stucco Patio in 2026 Easy Guide
Step 1: Plan Your Layout (Don’t Skip This!)
Before drilling a single hole, map out where your lights will go. This is the most important step—especially on stucco, where mistakes are harder to fix.
- Decide on the pattern: straight lines, zigzag, or canopy (hanging from a pergola or roofline).
- Measure the length of your patio and the string lights. Most outdoor lights are 25–50 feet long.
- Sketch a quick diagram on paper or use a free app like MagicPlan to visualize spacing.
For a clean look, I recommend spacing mounting points every 3–4 feet. That gives enough support without overloading the stucco. If you’re hanging from a roof or pergola, anchor points should be at the corners and every 4 feet in between.
💡 Pro Tip: Use painter’s tape to temporarily mark spots. Step back 10 feet and check the layout. If it looks off, adjust before drilling. Trust me—this saved me from a lopsided mess last summer.
Step 2: Choose the Right Mounting Method
Stucco isn’t like wood or brick. It’s a layered material—cement, wire mesh, and a textured finish—so not all hooks work. Here are your best options for how to hang string lights on stucco patio in 2026 easy guide:
- Plastic anchors + screws: Best for long-term, secure mounting. They expand inside the stucco and hold up to 15–20 lbs per anchor.
- Adhesive hooks (rated for masonry): Great for lightweight lights or renters. Look for 3M or Gorilla Glue outdoor hooks labeled “stucco-safe.”
- Stucco clips (screw-in type): Specialized clips designed to grip the stucco texture without deep drilling. A solid middle ground.
Avoid: Command strips (they fail in heat/humidity), regular nails (they crack stucco), and zip ties directly into the wall (they loosen over time).
I’ve used plastic anchors for my own patio for 3 years—zero issues. But if you’re renting or want a no-drill option, go for high-tack adhesive hooks and test one first.
Step 3: Drill Pilot Holes (If Using Anchors)
If you’re going the anchor route, start by drilling pilot holes. This prevents cracking and ensures clean, precise placement.
- Put on safety glasses and gloves.
- Use a masonry bit (usually 5/32″ or 3/16″ for plastic anchors).
- Set your drill to hammer mode if available—it’s designed for stucco and concrete.
- Drill slowly. Let the tool do the work. Apply steady pressure, but don’t force it.
- Go only 1–1.5 inches deep. Stucco is usually 3/4″ to 1″ thick over the lath.
Pro tip: Drill at a slight downward angle (10–15 degrees) to help shed water and reduce pooling around the anchor.
⚠️ Warning: Don’t drill too deep! Hitting the wire mesh or wood behind can cause cracks or weak spots. If you feel sudden resistance, stop and reassess.
Step 4: Insert Anchors and Screws
Now it’s time to secure the anchors and attach the screws.
- Tap the plastic anchor into the hole with a rubber mallet or gently tap with the drill handle.
- Make sure it sits flush with the stucco surface.
- Insert a stainless steel or coated screw (to resist rust) and tighten until snug—don’t over-tighten.
- For a clean look, use eye hooks or J-hooks instead of flat screws. They make stringing easier and look more intentional.
I prefer eye hooks because they’re easy to loop the light cord through. Just make sure they’re rated for outdoor use and at least 1.5 inches long.
For adhesive hooks: Clean the stucco with rubbing alcohol, let it dry, then press the hook firmly for 30 seconds. Wait 24 hours before hanging lights.
Step 5: Hang the Lights (Start from One End)
Now for the fun part—hanging the lights!
- Start at the power source (plug-in or outlet).
- Loop the light cord through each hook or anchor point. Don’t pull tight—leave a slight sag for a “draped” look.
- Use zip ties or wire clips to secure excess cord behind the lights (tuck it between stucco ridges).
- If your lights have bulbs, face them downward for a soft, ambient glow.
For a zigzag or canopy pattern: Run one end from a corner anchor to the opposite side, then back again, creating a “V” shape. Use a ladder if needed, but always have someone spot you.
💡 Pro Tip: Test the lights as you go. Plug them in after every 2–3 hooks. If a section doesn’t light up, you can fix it before the whole string is up.
Step 6: Manage Cords and Power (Safety First!)
Messy cords are a tripping hazard and ruin the vibe. Here’s how to keep things tidy:
- Use outdoor-rated extension cords. Look for “SJTW” or “weatherproof” labels.
- Run cords along the edge of the patio or under furniture (not across walkways).
- Use cable clips or adhesive cord holders to secure cords to stucco or railings.
- For battery-powered lights: Place the battery pack in a waterproof box or zip-top bag, then tuck it behind a planter or under a bench.
Bonus: Use a GFCI outlet or outdoor-rated surge protector. It protects against moisture and power surges.
I learned this the hard way when a storm shorted my old extension cord. Now I use a smart plug with a built-in timer—set it once, and the lights turn on at sunset.
Step 7: Final Adjustments and Aesthetics
Once all lights are up, step back and assess.
- Adjust any sagging sections by tightening or adding a hook.
- Use black or brown zip ties to blend into the stucco.
- Hide plugs behind potted plants or furniture.
- For a “floating” effect, use transparent fishing line to tie bulbs slightly below the main cord (great for canopy setups).
Take a photo at night. If the glow is uneven, add a few extra lights or adjust bulb spacing. Sometimes less is more—don’t overdo it.
Pro Tips & Common Mistakes to Avoid
After years of hanging lights on stucco, I’ve learned a few things the hard way. Here are my top insights to make your project smoother:
- Don’t rush the layout: A 10-minute sketch saves hours of frustration. I once hung lights without measuring—ended up with one side twice as long as the other. Oops.
- Use LED lights: They run cooler, last longer, and are safer on stucco. Incandescent bulbs can overheat and damage the surface.
- Check weather forecasts: Avoid hanging lights before a storm. Wet stucco makes adhesives fail and drilling messy.
- Test anchors with weight: Before hanging lights, hang a 5–10 lb bag from each anchor for 24 hours. If it holds, you’re good to go.
- Use a laser level: For straight lines, a $20 laser level ensures perfect alignment. My patio looks way more professional now.
- Label your lights: If you have multiple strings, label each end with tape. Makes troubleshooting way easier.
⚠️ Common Mistake: Using regular drywall anchors. They won’t grip stucco and will pull out in a week. Always use plastic anchors rated for masonry.
💡 Insider Hack: If you’re renting and can’t drill, use stucco clips with rubber pads. They grip the texture without screws and remove cleanly.
One more thing: Don’t hang lights directly on stucco with tape or glue. Heat, sun, and rain will weaken it. I’ve seen entire strings fall in a summer storm because someone used Command strips.
For renters or short-term setups, consider freestanding light poles or hanging from trees or fences instead. It’s just as beautiful—and no holes to patch.
FAQs About How to Hang String Lights on Stucco Patio in 2026 Easy Guide
Can I hang string lights on stucco without drilling?
Yes! Use adhesive hooks rated for masonry (like 3M Outdoor Hooks). Make sure the stucco is clean and dry before applying. Wait 24 hours before hanging. They work great for lightweight lights (under 5 lbs total). Just don’t overload them.
I used these for my friend’s patio, and they’ve held for 8 months—even through a rainy winter. Just avoid direct sun exposure if possible.
What’s the best type of string lights for stucco?
Go for LED, weatherproof, and shatterproof lights. Look for IP44 or higher rating (means it resists rain and dust). Bulb types: G40 (classic round) or LED Edison (vintage look). Avoid incandescent—they get hot and shorten the life of your stucco anchors.
How do I remove anchors or hooks without damaging stucco?
For plastic anchors: Unscrew the hook, then use needle-nose pliers to pull the anchor out. Fill the hole with stucco patch (available at hardware stores) and smooth with a putty knife. Let dry, then paint to match if needed.
For adhesive hooks: Gently heat with a hairdryer, then peel off. Clean residue with rubbing alcohol.
Can I hang lights from the roof or eaves?
Absolutely! Use roof hangers or eave clips designed for gutters or shingles. Run the cord down the stucco wall using the same anchors or clips. Just make sure the roof attachment is secure—don’t hang lights from loose gutters.
I did this on my own house and it looks like a resort. Just use a ladder with a stabilizer for safety.
How far apart should I space the lights?
For most patios: 3–4 feet between anchor points is ideal. Closer spacing (2–3 ft) works for heavy lights or windy areas. Farther apart (5+ ft) is fine for lightweight strings.
Remember: The goal is even tension, not a rigid straight line. A little sag is okay—it adds charm.
Are solar-powered string lights a good option?
They can be, but with caveats. Solar lights need 6+ hours of direct sun to charge. On a shaded patio, they may not glow all night. Also, the solar panel must be placed in sunlight—usually on the roof or a nearby wall.
I tried solar once. The first night was great. The second? Dim and flickering. Now I stick with plug-in or battery with a timer.
How do I fix lights that keep falling?
Most failures are due to weak anchors or over-tightening. Check that anchors are fully seated and screws aren’t stripped. Re-insert or replace them. For adhesive hooks, ensure the surface was clean and you waited 24 hours before hanging.
If lights still fall, add extra support with zip ties or a second anchor point.
Final Thoughts
Hanging string lights on stucco doesn’t have to be stressful. With the right tools and a little planning, you can create a magical outdoor space that’s safe, durable, and beautiful.
This how to hang string lights on stucco patio in 2026 easy guide is all about working with the material, not against it. Use stucco-friendly hardware, plan your layout, and take your time. The result? A patio that feels like a retreat—night after night.
My final piece of advice: Don’t aim for perfection. Aim for joy. A few extra hooks? No problem. A slight curve in the line? Adds character. What matters is that you’re outside, under the lights, with people you love.
So grab your drill, call a friend, and get started. Your dream patio is just a few steps away. And when the sun sets and the lights come on—you’ll know it was worth every minute.
Happy lighting! ✨
“`

