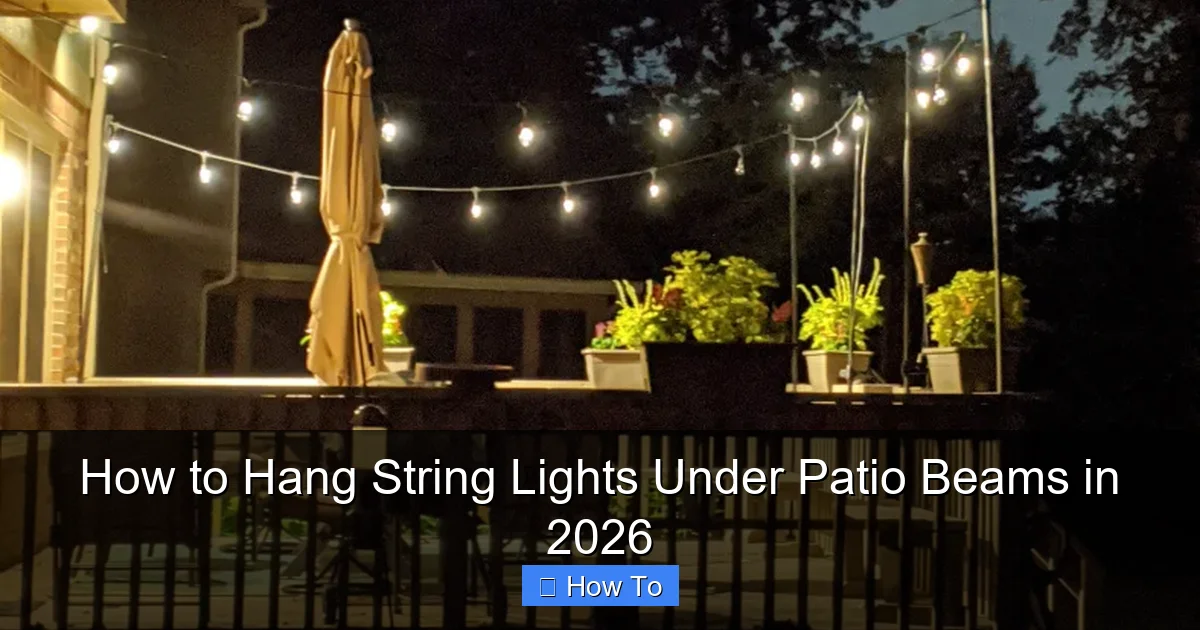
Featured image for how to hang string lights under patio beams
Image source: chaosisbliss.com
Transform your outdoor space in 2026 by securely mounting string lights under patio beams using heavy-duty hooks or adhesive clips designed for long-term weather resistance. Ensure even spacing and a clean, professional look by measuring beam distances and using a level before installation. This simple upgrade adds ambiance and functionality, turning your patio into a nighttime retreat with minimal effort.
“`html
How to Hang String Lights Under Patio Beams in 2026
Key Takeaways
- Plan spacing first: Measure beams to evenly space lights for balanced illumination.
- Use weatherproof hooks: Install rust-resistant hooks to secure lights safely and durably.
- Check bulb ratings: Choose LED or UL-listed bulbs for outdoor safety and efficiency.
- Anchor tightly: Secure strands at both ends to prevent sagging in windy conditions.
- Hide cords smartly: Tuck wires along beams or use clips for a clean look.
- Test before finalizing: Power lights during setup to catch issues early.
Why This Matters / Understanding the Problem
There’s something magical about stepping onto your patio at dusk, only to be greeted by a soft, warm glow strung neatly beneath the beams. Whether you’re hosting a backyard BBQ or enjoying a quiet night with a book, how to hang string lights under patio beams in 2026 is more than just a DIY task—it’s about crafting an atmosphere.
But here’s the catch: it’s easy to end up with sagging wires, tangled cords, or lights that look like they were installed in a hurry. I learned this the hard way after my first attempt—lights drooping like sad spaghetti, and one bulb dangling precariously over the grill. Not ideal.
The good news? With the right approach, you can achieve a clean, professional look that lasts all season (and beyond). This guide walks you through the entire process, from planning to plugging in, so your outdoor space feels inviting, intentional, and Instagram-ready.
We’ll focus on how to hang string lights under patio beams in 2026 using modern techniques, durable materials, and smart spacing—no guesswork, no frustration. Just a cozy ambiance done right.
What You Need
Before you start drilling or climbing ladders, let’s gather everything. Trust me, skipping this step leads to mid-project trips to the hardware store—annoying and avoidable.
- String lights: LED outdoor-rated bulbs (Edison-style or globe are popular). Look for UL-listed for safety and weather-resistant for longevity.
- Measuring tape: Essential for spacing and avoiding uneven lines.
- Drill & drill bits: For pilot holes (especially if working with wood or composite beams).
- Stainless steel eye hooks or screw-in hooks: Rust-proof and strong enough to hold weight.
- Zip ties or outdoor-rated cable clips: For securing wires along beams or posts.
- Extension cord (outdoor-rated, GFCI-protected): Safety first—never use indoor cords outside.
- Ladder: Sturdy, with someone to spot you if needed.
- Level: To keep your lines straight and avoid a “drunken spiderweb” effect.
- Marker or pencil: For marking hook positions.
- Optional but helpful:
- Light tester (to check bulbs before installing)
- Wireless timer or smart plug (for automatic on/off)
- Weatherproof sealant (to protect screw holes from moisture)
Pro tip: Buy 10–20% extra lights and hooks. It’s better to have spares than to run short mid-install.
Step-by-Step Guide to How to Hang String Lights Under Patio Beams in 2026
Let’s get into the nitty-gritty. This isn’t just about hanging lights—it’s about creating a seamless, durable setup that survives summer storms and winter chills. Follow these steps for a flawless result.
Step 1: Plan Your Layout and Measure the Space
Before you touch a hook, sketch your patio. I use a notepad or even a napkin—whatever works. Map out:
- Beam locations (front to back, side to side)
- Distance between beams
- Where your power source is (outlet or GFCI box)
- Desired light pattern: crisscross, parallel, zigzag, or single strand?
For most patios, a crisscross pattern (also called a “cat’s cradle”) creates depth and coverage. But if your beams are far apart, parallel lines may work better.
Measure the total length of your layout. For example: if you’re going 12 feet across and 8 feet deep with diagonal lines, each strand might be 15–18 feet long. Always add 2–3 feet for slack near the plug and to allow for gentle curves.
Pro insight: Avoid overloading circuits. Most outdoor outlets support up to 150–200 watts. A 100-bulb LED strand uses ~10–20 watts. Check your bulb specs. If you’re running multiple strands, use a power strip with surge protection.
Step 2: Choose the Right Hooks and Install Them
Not all hooks are created equal. For how to hang string lights under patio beams in 2026, you want something that won’t rust, slip, or damage your beams.
- Wood beams: Use stainless steel screw-in eye hooks (1.5–2 inches long). They grip tight and last years.
- Composite or vinyl beams: Use plastic-coated hooks or adhesive-backed outdoor clips. Drilling into composite can cause cracking.
- Metal beams: Use magnetic hooks (if compatible) or drill with a metal bit and install small eye bolts.
Now, mark your hook positions:
- For parallel lines: Place hooks every 2–3 feet along each beam.
- For crisscross: Mark diagonal anchor points. I recommend 12–18 inches between crossing points for a balanced look.
Drill pilot holes first—especially in hardwood. This prevents splitting and makes screwing in hooks easier. Then twist each hook in by hand, then use pliers for the last few turns. Don’t overtighten; you want snug, not stripped.
Warning: Never hang lights from gutters, downspouts, or flimsy overhangs. They’re not designed to hold weight. Stick to solid beams or structural supports.
Step 3: Test Your Lights Before Hanging
You’d be surprised how many people skip this. I did once—and spent an hour hanging a strand only to find three dead bulbs. Frustrating.
Unpack your string lights and plug them in. Check:
- All bulbs light up
- No flickering
- No loose sockets
- Plug and cord are intact (no fraying)
If you find a bad bulb, replace it now. Some LED strands have replaceable bulbs; others require cutting and splicing (not recommended unless you’re experienced).
Also, test the plug end near your power source. You don’t want to hang lights only to realize the cord is too short.
Pro tip: Use a light tester pen (~$10) to quickly identify bad bulbs without plugging in. Just touch the base—it beeps if the bulb works.
Step 4: Hang the Lights—Start at the Power Source
This is the golden rule: always start at the plug end. Why? So the plug reaches your outlet without stretching or coiling.
- Hang the plug-end hook first. Secure the cord to the hook using a zip tie or built-in clip.
- Unroll the strand as you go, keeping it taut but not stretched.
- Work from one beam to the next, hooking the cord at each anchor point.
For crisscross patterns:
- Start at the front-left beam, go to back-right.
- Then front-right to back-left.
- Repeat until the grid is complete.
Keep the lines slightly loose—like a gentle curve—to prevent tension. But don’t let them sag. If a section droops, add a temporary hook in the middle to support it.
Personal story: I once hung my lights too tight and they pulled out a hook during a windstorm. Lesson learned: leave a little wiggle room. Nature isn’t perfect, and neither should your lights be.
Step 5: Secure the Cord Along Beams (If Needed)
Sometimes, the cord runs along a beam between anchor points. Don’t just let it dangle—this can cause wear and look messy.
- Use outdoor-rated cable clips or zip ties every 12–18 inches.
- Attach clips to the beam, not the cord. Let the cord rest inside.
- For wood, screw in small hooks or use adhesive clips (if you don’t want to drill).
If your lights have a thicker cord (like commercial-grade), consider using wire loom or flexible conduit to protect it from UV and abrasion.
Step 6: Plug In and Adjust for Even Glow
Now the moment of truth. Plug in your lights and step back.
- Check for dark spots or overly bright areas.
- Adjust hook positions slightly if needed (loosen, reposition, re-tighten).
- Use a level to ensure straight lines. A crooked strand is hard to unsee.
If you’re using multiple strands, connect them with outdoor-rated extension cords or interconnectable light sets (if compatible). Avoid daisy-chaining more than 2–3 strands unless the manufacturer approves it.
Smart move: Plug into a timer or smart plug so lights turn on at sunset and off at bedtime. No more remembering to flip the switch.
Step 7: Weatherproof and Maintain for Longevity
This step is what separates a 1-season setup from a 5-year investment. For how to hang string lights under patio beams in 2026, durability matters.
- Seal screw holes in wood beams with clear silicone or outdoor sealant.
- Wrap plug connections with electrical tape or use waterproof connector covers.
- Trim any nearby branches that could rub against the lights.
- Check monthly for loose hooks or frayed cords.
When winter hits, consider removing lights if your area gets heavy snow or ice. Or, if they’re rated for all seasons, just do a quick inspection after storms.
Insider tip: Store lights in a cool, dry place when not in use. Wrap them loosely around a cardboard tube or storage reel—never in a tangled ball.
Pro Tips & Common Mistakes to Avoid
After hanging lights on three patios (and one porch that ended up looking like a haunted house), here’s what I wish I knew from day one.
Pro Tips
- Use a template: Make a cardboard guide to mark hook positions consistently. Saves time and keeps spacing even.
- Go for warm white: 2200K–2700K LEDs feel cozy, not clinical. Avoid cool white unless you’re going for a modern, stark look.
- Mix bulb styles: Combine Edison bulbs with globe bulbs for visual interest. Just keep the color temperature the same.
- Hide the cord: Run excess cord behind beams or along the roofline using clips. Or, use a cord cover painted to match your trim.
- Think about shadows: Lights under beams cast beautiful shadows on the ceiling. Use this to your advantage—position strands to create patterns.
Common Mistakes
- Ignoring beam material: Screwing into vinyl without a pilot hole can crack it. Always check what your beams are made of.
- Overloading the circuit: Running 10 strands on one outlet? Risky. Use a dedicated outdoor circuit if possible.
- Hanging too tight: Tension can damage cords and pull out hooks. A slight curve is better than a straight line.
- Skipping the level: A crooked strand looks unprofessional. Take 30 seconds to check.
- Forgetting the end: Don’t leave the last plug dangling. Tuck it into a weatherproof box or secure it to a beam.
Real talk: I once used regular zip ties that cracked after six months in the sun. Switch to UV-resistant ties—they last 3x longer.
FAQs About How to Hang String Lights Under Patio Beams in 2026
Can I hang string lights without drilling into beams?
Absolutely. Use adhesive outdoor clips (like 3M VHB tape) or magnetic hooks (if beams are metal). Just make sure they’re rated for outdoor use and can hold the weight. I’ve used them on vinyl beams—no damage, no holes.
How far apart should I space the hooks?
For most setups, 2–3 feet works well. Closer spacing (18 inches) gives a denser look; farther (3 feet) feels more minimalist. For crisscross patterns, keep crossing points 12–18 inches apart.
What if my patio doesn’t have beams?
No problem. Use outdoor poles, pergolas, or even tree branches (with proper anchors). You can also install a freestanding frame or use tension cables between posts.
Are LED string lights safe for outdoor use?
Yes—but only if they’re outdoor-rated and UL-listed. Indoor lights aren’t sealed against moisture and can short out. Look for an IP44 or higher rating.
How do I prevent lights from sagging?
Three things: 1) Don’t hang them too tight. 2) Use extra hooks in long spans. 3) Choose heavier-duty cords (like commercial-grade) for large patios. And never use flimsy hooks.
Can I leave string lights up year-round?
It depends. If your lights are rated for all seasons and you live in a mild climate, yes. But in areas with heavy snow, ice, or extreme UV, remove them in winter. Or, use commercial-grade lights designed for permanent outdoor use.
What’s the best way to store lights when not in use?
Coil them loosely around a storage reel or cardboard tube. Avoid tight knots. Store in a dry, temperature-stable place (like a garage or basement). I use labeled bins—one for each season.
Final Thoughts
Hanging string lights under patio beams isn’t just about adding light—it’s about transforming your outdoor space into a place you actually want to spend time in. And now, with this guide, you know how to hang string lights under patio beams in 2026 with confidence, style, and longevity.
Remember: plan first, test before you hang, secure the cord, and protect your setup from the elements. It’s not about perfection—it’s about creating a vibe. A little warmth, a little sparkle, and a lot of joy.
So grab your hooks, plug in your lights, and enjoy your patio after dark. You’ve earned it. And hey—if you mess up the first time? That’s okay. I did. But now you know better. That’s what counts.
Now go make your backyard glow—literally.
“`

