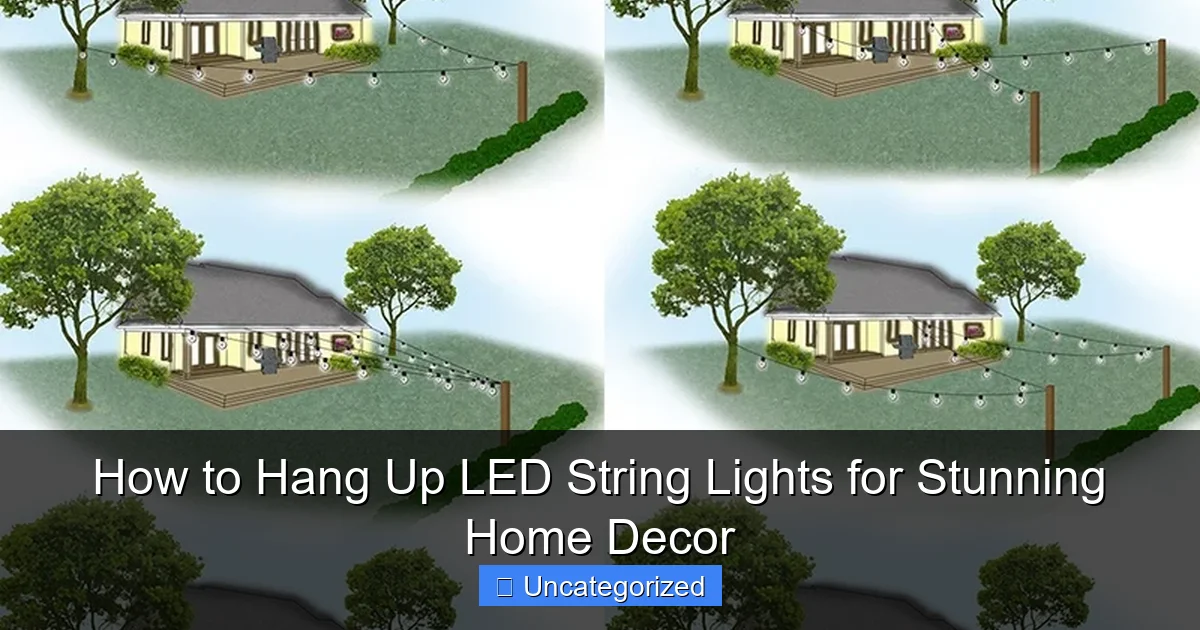
Featured image for how to hang up led string lights
Image source: cdn.christmaslightsetc.com
Transform your space instantly by securely mounting LED string lights with adhesive hooks, nails, or clips—ensuring a safe, seamless setup. Choose a power source nearby and drape or zigzag lights along walls, ceilings, or furniture for maximum visual impact with minimal effort. Perfect for cozy corners or festive vibes, this simple upgrade delivers stunning ambiance year-round.
How to Hang Up LED String Lights for Stunning Home Decor
Key Takeaways
- Plan your layout: Sketch the design before hanging to ensure even spacing and coverage.
- Use proper hardware: Choose hooks, clips, or adhesive strips that match your surface type.
- Measure carefully: Account for extra length when wrapping poles or covering large areas.
- Test before installing: Verify light functionality and battery life before final placement.
- Secure loose wires: Use zip ties or clips to keep cords tidy and safe.
- Highlight focal points: Position lights to accentuate architectural features or decor elements.
Why This Matters / Understanding the Problem
Imagine walking into a backyard at dusk and seeing a soft, warm glow weaving through the trees, draping over a pergola, or lining your patio. That’s the magic of how to hang up LED string lights for stunning home decor. These lights aren’t just for holidays—they’re a year-round mood booster, transforming ordinary spaces into cozy, Instagram-worthy retreats.
But here’s the catch: many people either give up halfway or end up with droopy, tangled, or unsafe setups. Whether it’s lights sagging between trees, cords tripping guests, or bulbs flickering after one rainy night, the wrong approach ruins the effect. The good news? With the right plan, tools, and a little patience, you can achieve a flawless, professional look—no electrician needed.
From patios to bedrooms, pergolas to stair railings, LED string lights add charm and warmth. And unlike old incandescent bulbs, they’re energy-efficient, long-lasting, and safe for indoor and outdoor use. This guide walks you through how to hang up LED string lights for stunning home decor the right way—so your space shines, safely and beautifully.
What You Need
Before you start, gather everything to avoid mid-project runs to the store. Here’s your must-have toolkit:
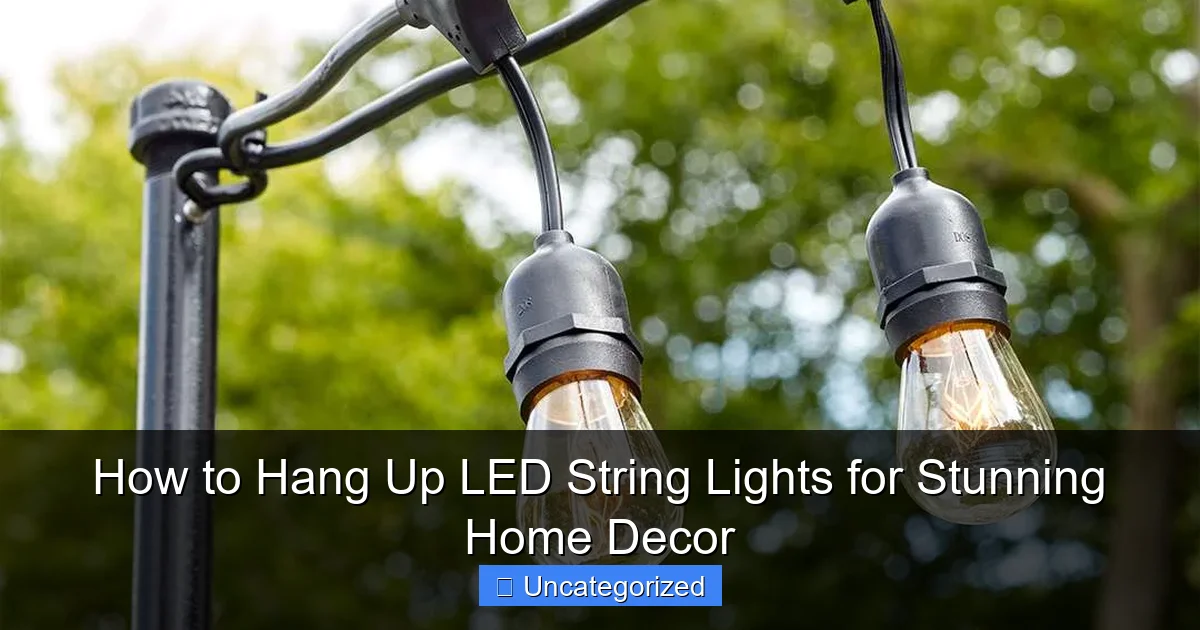
Visual guide about how to hang up led string lights
Image source: bhg.com
- LED string lights (indoor/outdoor rated, with weatherproof bulbs)
- Measuring tape (to plan spacing and length)
- Drill and drill bits (for wood, stucco, or brick)
- Eye hooks, cup hooks, or screw-in anchors (stainless steel for outdoor use)
- Zip ties or cable clips (for temporary or semi-permanent mounting)
- Extension cords (rated for outdoor use if needed)
- Timer or smart plug (to automate on/off times)
- Step ladder or extension pole (for high areas)
- Scissors or wire cutters (to trim zip ties)
- Weatherproof sealant (for sealing holes in exterior walls)
Optional but helpful: a friend to hold lights, a level (for straight lines), and a stud finder (for secure mounting on walls).
Pro Tip: Always check the maximum wattage or string length on your lights. Most LED strings can be connected end-to-end up to 210 feet, but check the manufacturer’s label to avoid overloading.
Step-by-Step Guide to How to Hang Up LED String Lights for Stunning Home Decor
Step 1: Choose the Right Location and Layout
Start by deciding where you want the magic to happen. Popular spots include patios, porches, pergolas, trees, fences, stair railings, and even bedroom walls.
Ask yourself: What’s the purpose? Is it for ambiance, task lighting, or accent decor? For example, wrapping lights around a tree trunk creates a fairy-tale effect, while a straight line over a dining table sets a romantic mood.
Sketch a quick layout on paper or use painter’s tape to mark where the lights will go. This helps you visualize spacing and avoid awkward gaps or overcrowding.
Pro Tip: For a “floating canopy” effect (like in a backyard), create a grid or zigzag pattern between two anchor points—trees, posts, or eaves. This spreads light evenly and hides the structure.
When planning how to hang up LED string lights for stunning home decor, consider natural focal points—like a fire pit, dining area, or garden pathway. Let the lights highlight what you love most.
Step 2: Measure and Buy the Right Length
Grab your measuring tape. Measure the distance between your anchor points (e.g., two trees, wall to pergola, or railing ends). Add 10–15% extra length for draping, loops, or slack.
Example: If your patio is 20 feet wide and you want a slight dip in the middle, get at least 23 feet of lights. For a zigzag pattern, double or triple the straight-line distance.
Buy lights in segments that match your layout. Most LED strings come in 20–50 foot lengths. You can connect multiple strings, but don’t exceed the manufacturer’s limit (usually 3–5 strings max).
Choose bulbs that match your vibe: warm white for cozy, cool white for modern, multicolor for fun, or vintage Edison-style for rustic charm.
Warning: Don’t daisy-chain more than recommended. Overloading can cause flickering, overheating, or blown fuses. When in doubt, use a separate extension cord for each string.
Step 3: Install Anchor Points Securely
Anchor points are where the lights attach—think of them as the “skeleton” of your design. They must hold the weight and tension without pulling out.
For wood surfaces (fences, pergolas, decks): Use stainless steel cup hooks or eye hooks. Pre-drill a small hole, then screw in the hook. This prevents wood from splitting.
For brick or stucco walls: Use plastic anchors and screws or masonry screws. Drill a pilot hole, insert the anchor, then screw in the hook. Wipe away dust with a damp cloth.
For trees: Use tree-friendly zip ties or flexible cord clips. Avoid nails or screws—they damage bark and invite pests. Wrap ties loosely so the tree can grow.
For railings or posts: Use adhesive cable clips or zip ties. No drilling needed, and they’re easy to remove.
Pro Tip: Install anchors before hanging lights. This lets you adjust spacing and ensures symmetry. Use a level for straight lines—especially important for modern, minimalist designs.
Step 4: Hang the Lights with Proper Tension
Now the fun part: putting up the lights! Start at the power source (usually an outlet or extension cord) and work outward.
For a straight line: Clip or hook one end, then stretch the string to the next anchor. Keep it taut but not tight—LED strings can stretch slightly. Use zip ties or clips every 2–3 feet to prevent sagging.
For a draped or zigzag pattern: Let the lights hang 6–12 inches between anchors. This creates a soft, romantic look. Use clips or ties to secure the “dip” points.
For wrapping trees or railings: Start at the bottom and spiral upward. Use zip ties every 8–10 inches to keep the pattern even. For trees, go clockwise or counterclockwise—don’t zigzag.
For canopy or grid designs: Attach lights to a central beam (like a pergola) and drape them down to lower points. Use clips to secure the “X” or “grid” intersections.
Warning: Don’t pull lights too tight. Over-tensioning can damage wires or pull anchors loose. Test each section by gently tugging—it should move slightly but stay secure.
Step 5: Manage Cords and Power Sources
Messy cords ruin the look. Keep them hidden and safe with smart cable management.
Use zip ties or adhesive clips to bundle cords along railings, beams, or walls. For outdoor setups, run cords behind furniture or under planters.
Use an extension cord with a built-in timer or a smart plug to automate on/off times. Set it to turn on at sunset and off at bedtime—no more forgetting to unplug.
If the outlet is far away, use a heavy-duty outdoor extension cord. Avoid cheap indoor cords—they’re not weatherproof and can overheat.
For permanent installations, consider in-wall wiring (hired pro only). But for most DIYers, a discreet cord path works fine.
Pro Tip: Use clear zip ties or paintable clips to blend into wood or walls. For a seamless look, run cords under eaves or along gutters (with proper drip loops).
Step 6: Test, Adjust, and Secure
Plug in the lights and step back. Look for:
- Flickering or dim bulbs (replace faulty sections)
- Sagging or uneven lines (tighten clips or add supports)
- Exposed cords (re-route or cover)
- Bright spots or dark gaps (reposition bulbs or add more strings)
Adjust as needed. It’s easier to tweak now than after guests arrive.
For outdoor lights, seal all holes (e.g., where hooks go through walls) with weatherproof silicone sealant. This keeps water out and prevents rot.
For trees, check zip ties every few months. Loosen them as the tree grows to avoid girdling.
Warning: Never leave lights on during storms or high winds. Unplug during bad weather to avoid damage or fire risk.
Step 7: Add Finishing Touches for Extra Wow
Now elevate your setup with small details:
- Layer lighting: Add lanterns, candles, or spotlights to create depth.
- Use dimmers: Some LED strings have built-in dimmers—great for setting the mood.
- Integrate with decor: Hang lights around mirrors, frames, or plants for a curated look.
- Go smart: Use a smart hub to sync lights with music, voice commands, or holiday themes.
For example, pair string lights with a hanging plant basket for a boho vibe, or frame a window with lights for a modern twist.
When mastering how to hang up LED string lights for stunning home decor, these little extras make all the difference.
Pro Tips & Common Mistakes to Avoid
Pro Tip #1: Use battery-operated LED strings for areas without outlets—like tree canopies or balconies. Just remember to change batteries!
Pro Tip #2: For a “floating” effect, hang lights between two tall poles or trees. Add a central mast to create a tent-like canopy.
Pro Tip #3: Choose connectable LED strings with male/female ends. This lets you customize length without cutting or splicing.
Common Mistake #1: Ignoring weather ratings. Indoor lights can’t handle rain. Always check the label: “IP44” or “IP65” means waterproof.
Common Mistake #2: Overloading circuits. Plug lights into a GFCI outlet (with a “test” button). This shuts off power if there’s a short—saving you from shocks or fires.
Common Mistake #3: Using nails or staples. They damage wires and create fire hazards. Always use hooks, clips, or ties.
Common Mistake #4: Hanging lights too low. Keep them at least 7 feet high to avoid head bumps (or use a “dip” design that clears walkways).
Bonus: Store lights properly. Wrap them around a piece of cardboard or use a reel to prevent tangles. Label them “indoor” or “outdoor” for next year.
FAQs About How to Hang Up LED String Lights for Stunning Home Decor
Q: Can I leave LED string lights outside all year?
A: Yes—if they’re rated for outdoor use. Look for “weather-resistant” or “IP44” on the box. Store them in a dry place during winter to extend lifespan.
Q: How do I hang lights on a concrete wall without drilling?
A: Use adhesive hooks or clips (like 3M Command strips). For heavy strings, use removable putty or magnetic hooks (on metal surfaces). Avoid tape—it leaves residue.
Q: What’s the safest way to hang lights from a tree?
A: Use soft zip ties or fabric strips. Wrap loosely so the tree can grow. Avoid metal wires or nails—they harm the tree and can conduct electricity.
Q: How do I fix a section that’s not lighting up?
A: Check connections first—wiggle the plugs. If one section is out, the whole string might be dead. Test with a multimeter or replace the section (if it’s modular).
Q: Can I cut LED string lights to fit?
A: Only if they’re cuttable (check the manual). Most aren’t—cutting damages wires. Instead, buy shorter strings or use connectors to skip gaps.
Q: How do I prevent sagging between anchor points?
A: Add extra clips or zip ties every 2–3 feet. For long spans, use a support wire (like fishing line) to hold the string up.
Q: Are smart LED string lights worth it?
A: Absolutely! They let you change colors, set schedules, and control with your phone or voice. Great for parties or mood lighting—and they’re not much more expensive than regular LEDs.
Final Thoughts
Hanging LED string lights isn’t just a chore—it’s a chance to create magic in your home. Whether you’re lighting up a cozy nook or transforming a backyard into a dreamy oasis, the right approach makes all the difference.
Remember: plan your layout, choose quality lights, secure anchors properly, and manage cords neatly. With these steps, you’ll master how to hang up LED string lights for stunning home decor—and enjoy the glow for years.
So grab your hooks, turn on your favorite playlist, and get started. Your space deserves to shine. And when guests say, “Wow, this is amazing!”—you’ll know it was worth every minute.
Now go light up your life—safely, beautifully, and with style.

