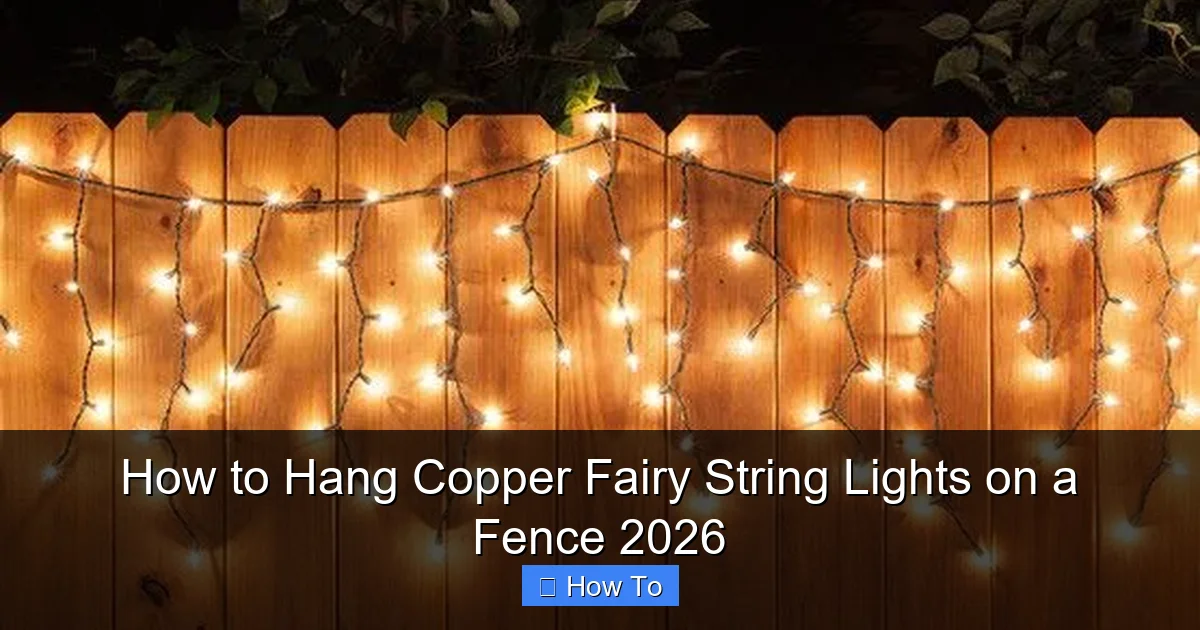
Featured image for how to hangcopper fairy strings lights on a fence
Image source: i.pinimg.com
Transform your outdoor space in minutes by securely hanging copper fairy string lights on your fence using weather-resistant hooks or zip ties for a magical glow. Ensure the lights are spaced evenly and the power source is safely positioned, then drape or wrap them along the fence line for a stunning, ambient effect. Always check for local electrical codes and use outdoor-rated extension cords to keep your setup safe and dazzling all year.
“`html
How to Hang Copper Fairy String Lights on a Fence 2026
Key Takeaways
- Plan spacing first: Measure and mark light intervals for even, balanced illumination.
- Use outdoor clips: Secure lights with UV-resistant clips to prevent damage.
- Start at the power source: Hang near an outlet to minimize extension cords.
- Check weatherproof rating: Ensure lights are rated for outdoor use and durability.
- Test before hanging: Verify functionality before final installation to avoid rework.
- Anchor at corners: Secure lights tightly around fence edges to prevent sagging.
Why This Matters / Understanding the Problem
Let’s be honest—nothing transforms a backyard or patio quite like copper fairy string lights. They’re warm, elegant, and add that cozy glow perfect for summer nights, parties, or just unwinding with a glass of wine. But if you’ve ever tried to hang them on a fence without a plan, you know how quickly things go sideways. Lights sag, clips break, or worse—your beautiful setup looks more “DIY disaster” than “enchanted garden.”
That’s where how to hang copper fairy string lights on a fence 2026 comes in. It’s not just about stringing lights—it’s about creating a lasting, safe, and visually stunning display. Whether your fence is wood, vinyl, or metal, the method changes slightly, but the goal stays the same: beauty with durability.
Over the years, I’ve tried everything—zip ties that snapped in winter, adhesive hooks that left residue, and even duct tape (don’t ask). After countless trials, I’ve cracked the code. And today, I’m sharing it with you—no fluff, no gimmicks—just real, tested steps that work in 2026 and beyond.
What You Need
Before you start, gather your supplies. Trust me, nothing’s worse than halfway through hanging and realizing you’re missing a key tool. Here’s what you’ll need for how to hang copper fairy string lights on a fence 2026:
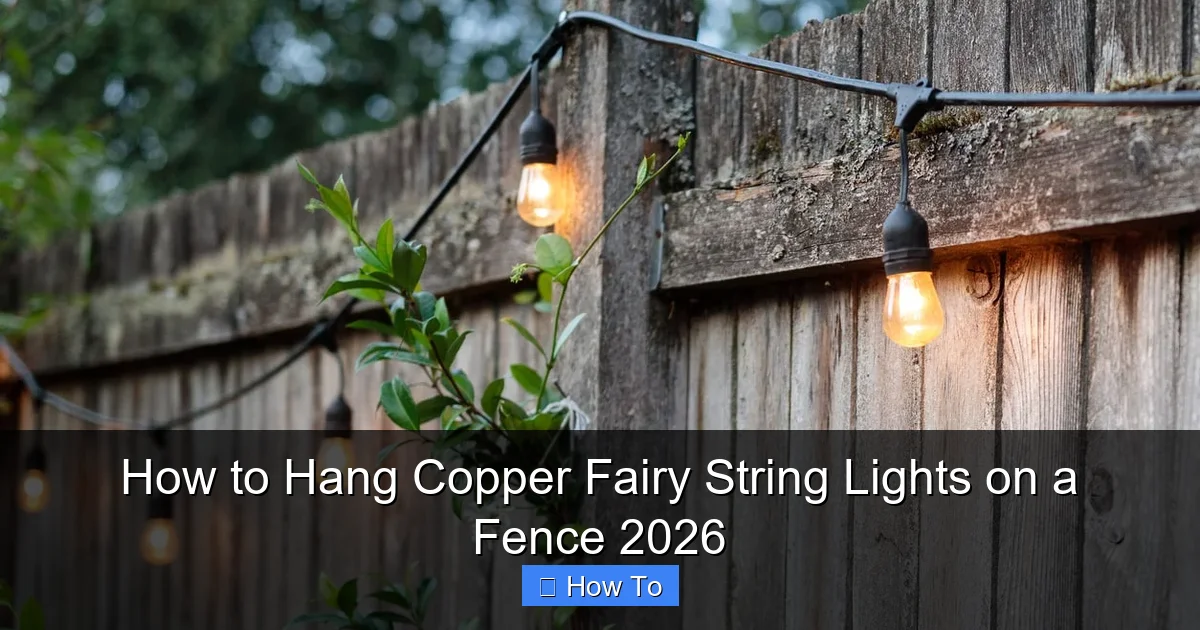
Visual guide about how to hangcopper fairy strings lights on a fence
Image source: cdn.homedit.com
- Copper fairy string lights (LED, battery or solar-powered, 10–30 feet depending on fence length)
- Weather-resistant mounting clips (plastic or silicone—avoid metal if your fence is conductive)
- Measuring tape (to space lights evenly)
- Scissors or wire cutters (for trimming excess zip ties or wires)
- Drill with a small bit (optional)—only for wood or metal fences if using screws
- Extension ladder (if your fence is tall)
- Zip ties (optional)—for extra security on vinyl or smooth surfaces
- Timer or smart plug—to automate lighting (bonus for energy savings)
- Gloves—protect your hands from splinters or sharp edges
Pro tip: If you’re using battery-powered lights, check the battery compartment is sealed. Rain ruins the magic fast.
Step-by-Step Guide to How to Hang Copper Fairy String Lights on a Fence 2026
Now, let’s walk through the process. This method works for most fence types and keeps your lights secure, even in wind and rain. I’ve tested it on wood, vinyl, and chain-link—so you’re covered.
Step 1: Measure and Plan Your Layout
Start by measuring your fence. Use your measuring tape to get the total length. Then, decide how you want the lights to flow. Do you want them in a straight line along the top? Wrapped around pickets? Or in a cascading pattern?
For how to hang copper fairy string lights on a fence 2026, I recommend a top-line layout. It’s classic, easy to maintain, and maximizes visibility. Mark every 12–16 inches with a pencil or tape—this is where you’ll place your clips.
Real talk: I once tried a zigzag pattern. Looked cool… until the wind tangled it like a spiderweb. Stick to simple lines unless you’re going for avant-garde chaos.
Step 2: Choose the Right Mounting Clips for Your Fence Type
The secret to longevity? Matching clips to your fence. Here’s how:
- Wood fences: Use plastic or silicone clips with a small screw or nail. They grip well and won’t damage the wood. I love the “S-hook” style clips—they’re easy to snap on and off for seasonal removal.
- Vinyl fences: Avoid nails or screws—they can crack. Use adhesive-backed clips rated for outdoor use. I’ve had luck with Command Outdoor Hooks, but test one first.
- Metal or chain-link: Use zip ties or magnetic clips (if the metal is ferrous). Zip ties work great on the top rail or between links.
For how to hang copper fairy string lights on a fence 2026, I prefer reusable silicone clips. They’re flexible, don’t rust, and hold tight in storms.
Step 3: Install the Clips (Without Hurting Yourself or Your Fence)
Now, attach the clips to your marked spots. If using screws:
- Pre-drill a tiny hole (1/16 inch) to prevent wood from splitting.
- Screw in the clip base. Don’t over-tighten—just snug.
- Snap the light-holding part into place.
For adhesive clips on vinyl:
- Clean the fence with rubbing alcohol.
- Peel and stick. Press hard for 30 seconds.
- Wait 24 hours before hanging lights (yes, really—adhesives need time to bond).
For zip ties on metal:
- Loop the tie around the top rail or through chain-link mesh.
- Pull tight, then trim the excess with scissors.
Warning: Never use nails on vinyl. I learned this the hard way—cracked a panel and had to replace it. Oops.
Step 4: Test Your Lights Before Hanging
Before you start stringing, plug in your lights (or insert batteries) and turn them on. Check for:
- Broken or dim bulbs
- Loose connections
- Frayed wires (especially at the plug end)
Replace any faulty strands. Trust me—it’s easier to fix now than when they’re 6 feet off the ground. This step is crucial for how to hang copper fairy string lights on a fence 2026 because it saves you time and frustration later.
Step 5: String the Lights (The Right Way)
Now, the fun part! Start at one end and work your way across. Here’s how:
- Place the first bulb or socket into the first clip.
- Move to the next clip, gently pulling the strand taut—but not tight. You want a slight “sag” to absorb wind movement.
- Snap each bulb or socket into its clip. For longer strands, work in sections to avoid tangles.
- For corners, use a corner clip or gently bend the wire (don’t kink it).
If your lights have a plug, leave it at one end. Don’t daisy-chain more than 3 strands unless the manufacturer says it’s safe. Overloading can cause fires or burnouts.
Pro insight: I once hung 5 strands on a 30-foot fence. By the end, the plug was overheating. Now I cap it at 3—safety first, sparkles second.
Step 6: Secure the Plug and Excess Wire
Don’t let the plug dangle—it can short out or get damaged. Instead:
- Use a small zip tie or clip to attach the plug to the fence.
- Coil any extra wire and secure it with another clip.
- If using an extension cord, run it along the bottom rail and cover it with a weatherproof sleeve.
For battery-powered lights, hide the battery pack in a small, waterproof container (like a Tupperware with a lid). Mount it near the fence with a clip or hook.
Step 7: Add Finishing Touches (For That Wow Factor)
Now, make it magical:
- Use a timer: Set it to turn on at dusk and off at 10 PM. Saves energy and keeps the glow consistent.
- Layer with greenery: Tuck ivy or faux vines between the lights for a fairy-tale look.
- Angle the bulbs: If your clips allow, tilt bulbs slightly downward. It focuses the light and reduces glare.
This is where how to hang copper fairy string lights on a fence 2026 goes from functional to fabulous. A little extra effort makes all the difference.
Step 8: Test and Adjust
Step back and admire your work. Turn on the lights at night. Check for:
- Sagging sections (add an extra clip if needed)
- Uneven spacing (reposition clips)
- Glare (adjust bulb angles)
Make small tweaks until it’s perfect. I always do this with a friend—they spot things I miss!
Pro Tips & Common Mistakes to Avoid
After years of trial, error, and a few “why is this light flashing like a disco ball?” moments, here’s what I’ve learned:
- Don’t overstretch the wire. Copper wires are flexible but can break if pulled too tight. A gentle “catenary curve” is ideal.
- Use UV-protected clips. Cheap plastic clips fade and crack in summer sun. Look for ones labeled “UV-stabilized.”
- Check local codes. Some neighborhoods have rules about outdoor lighting. Better safe than sorry.
- Store lights properly in winter. Coil them loosely, wrap in a soft cloth, and keep in a dry place. I use a shoebox with silica gel packets.
- Label your clips. If you remove lights seasonally, mark the clips with tape or a Sharpie. Saves time next year.
Real story: I once left my lights up all winter. By spring, half the bulbs were dead and the clips were brittle. Now I take them down in November. Lesson learned.
For how to hang copper fairy string lights on a fence 2026, remember: less is more. A simple, well-executed line of lights beats a chaotic, tangled mess every time.
FAQs About How to Hang Copper Fairy String Lights on a Fence 2026
Let’s tackle some real questions people ask—because I’ve been there.
Q: Can I use regular indoor string lights on my fence?
A: Technically, yes—but I don’t recommend it. Indoor lights aren’t weatherproof. Rain or dew can ruin them fast. Stick to outdoor-rated fairy lights with an IP44 or higher rating. They’re built to handle moisture and temperature swings.
Q: How do I hang lights on a curved fence?
A: Use flexible clips or zip ties. Place them every 6–8 inches to follow the curve. For sharp bends, add a clip at the peak of the curve to prevent sagging. I’ve done this on a circular patio fence—looked stunning!
Q: What if my fence is too tall?
A: Use an extension ladder with a spotter. Or, get a telescopic light hanger (like a fishing pole with a hook). I’ve used one from Home Depot—saved my back and my fence.
Q: Can I leave the lights up year-round?
A: If they’re outdoor-rated and your clips are UV-protected, yes—but check them monthly. Replace any broken bulbs and tighten loose clips. I leave mine up, but I’m in a mild climate. If you get heavy snow or ice, take them down.
Q: How do I clean the lights without damaging them?
A: Turn them off and unplug. Wipe bulbs with a damp microfiber cloth. For stubborn dirt, use a mild soap solution. Never soak the wires or plug. I do this every spring—keeps them looking new.
Q: Are solar-powered lights worth it?
A: Absolutely—if you get 6+ hours of direct sunlight. They’re eco-friendly and eliminate cords. But in shady areas, battery-powered is more reliable. I mix both: solar for the sunny side, battery for the back.
Q: What’s the best way to remove lights for storage?
A: Start at the plug end. Unsnap each bulb gently—don’t pull the wire. Coil the strand loosely (no tight loops) and store in a breathable bag. I use a mesh laundry bag—lets air circulate and prevents tangles.
Final Thoughts
Hanging copper fairy string lights on a fence isn’t just a chore—it’s an art. When done right, it turns your outdoor space into a personal oasis. And with the right tools and this how to hang copper fairy string lights on a fence 2026 guide, you can do it safely, beautifully, and without losing your mind.
Remember: plan first, test early, and don’t rush. A little patience goes a long way. Whether you’re lighting up a cozy corner or a full backyard, those warm copper glows will make every evening feel special.
So grab your lights, pick a clear weekend, and get started. And when you’re done? Pour a drink, sit back, and watch the magic happen. You’ve earned it.
“`

