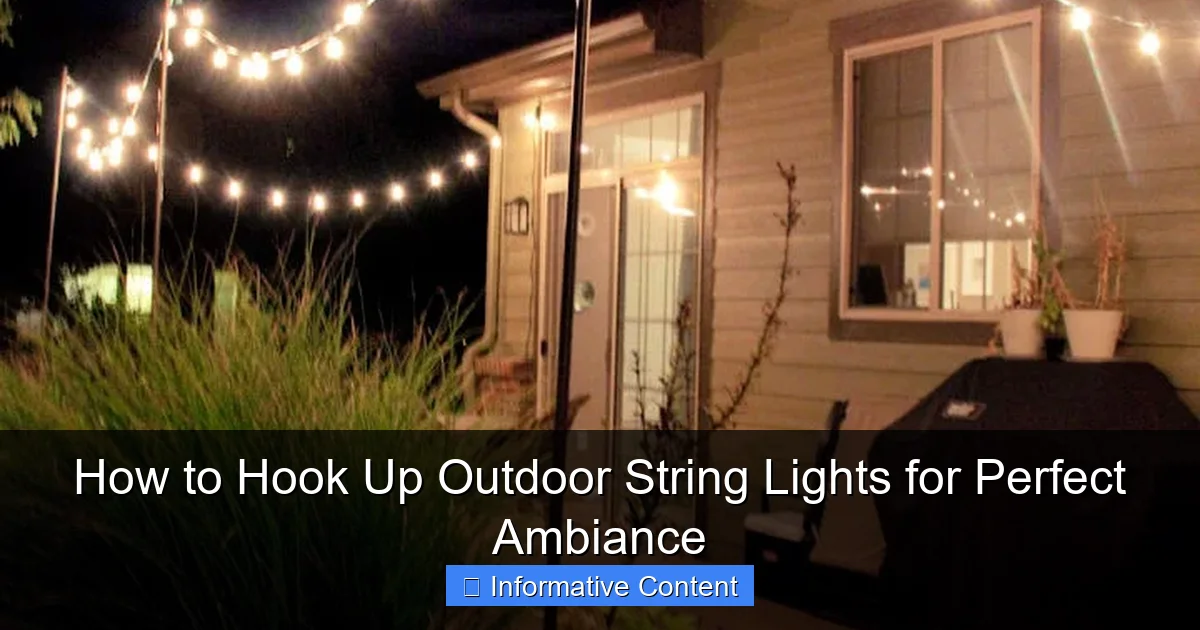
Featured image for how to hook up outdoor string lights
Image source: blitsy.com
Transform your outdoor space instantly by securely mounting string lights along sturdy anchor points like eaves, fences, or trees using hooks or zip ties. Ensure a safe, seamless setup by using outdoor-rated extension cords, checking bulb spacing, and avoiding overloaded circuits for a hassle-free, magazine-worthy glow all season long.
Key Takeaways
- Plan your layout first: Measure space and mark anchor points for even light distribution.
- Use weatherproof fixtures: Ensure lights and connections are rated for outdoor use.
- Secure with proper hardware: Use hooks, clips, or zip ties designed for outdoor tension.
- Test before finalizing: Check bulbs and connections before permanent installation.
- Hide cords safely: Tuck wires along fences or under trim to avoid tripping.
- Use a timer: Automate on/off times for effortless ambiance and energy savings.
📑 Table of Contents
How to Hook Up Outdoor String Lights for Perfect Ambiance
There’s something magical about stepping outside on a warm summer evening and being greeted by the soft, golden glow of outdoor string lights. Whether it’s a cozy backyard dinner, a late-night chat with friends, or just unwinding with a book on the porch, those little bulbs can transform any outdoor space into a dreamy retreat. I remember the first time I tried to install string lights in my backyard. I had grand visions of a fairy-tale canopy, but halfway through, I found myself tangled in wires, struggling with sagging lines, and wondering if I’d ever get it right. Sound familiar?
Hooking up outdoor string lights isn’t just about hanging a few bulbs and calling it a day. It’s about creating an ambiance that’s both functional and inviting. But with so many options, tools, and techniques out there, it’s easy to feel overwhelmed. The good news? With the right approach, you can set up a stunning lighting display that’s safe, durable, and perfectly suited to your space. In this guide, I’ll walk you through every step—from choosing the right lights to troubleshooting common pitfalls—so you can skip the frustration and get straight to enjoying your beautifully lit oasis.
1. Planning Your Outdoor String Light Layout
Before you even unbox your lights, take a moment to plan. A little prep now can save you hours of frustration later. Think of it like sketching a blueprint for your outdoor lighting masterpiece.
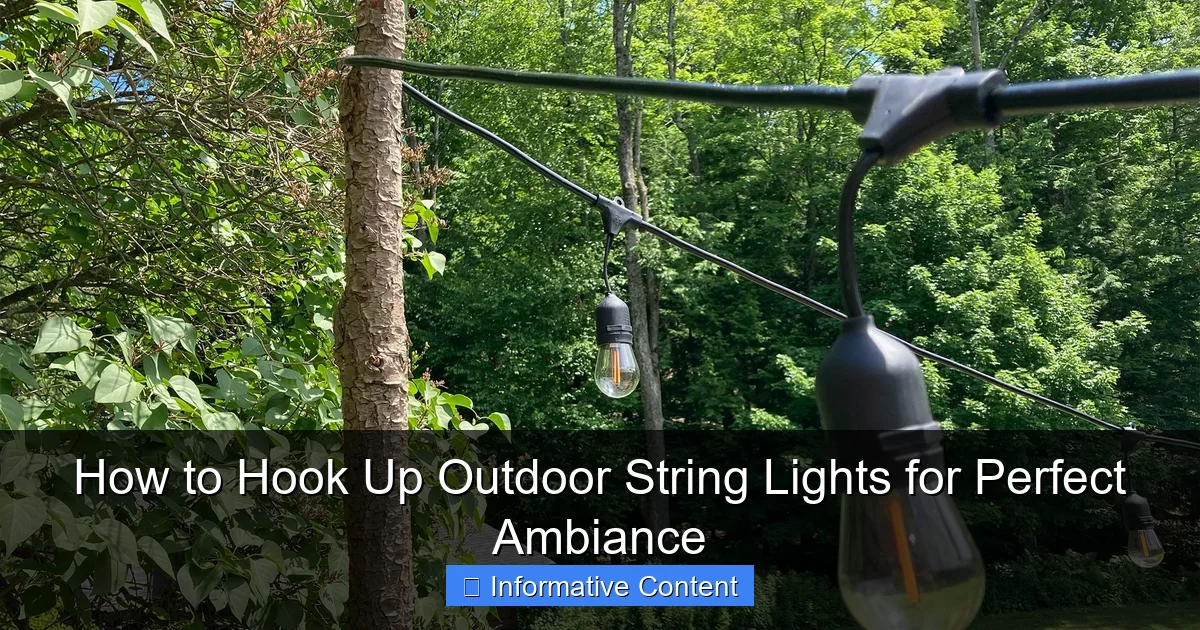
Visual guide about how to hook up outdoor string lights
Image source: cdn.thewirecutter.com
Assess Your Space and Lighting Needs
Start by asking yourself: *What do I want these lights to do?* Are you looking to illuminate a dining area, highlight a garden path, or create a romantic canopy over a seating zone? Your goal will influence the type of lights, placement, and even the spacing between bulbs.
- Dining area: Use warm white or soft yellow lights (2700K-3000K color temperature) spaced closely for even illumination.
- Path lighting: Opt for lower-wattage, directional lights or spaced-out bulbs to guide the way.
- Canopy effect: Hang lights in a crisscross or “X” pattern for a starry-night vibe.
Pro tip: Use masking tape or chalk to mark where you’ll hang hooks or poles. This lets you “test” the layout before committing.
Measure and Map Your Installation Area
Grab a tape measure and jot down the distances between anchor points (trees, posts, eaves, etc.). This helps you buy the right number of lights and avoid mid-installation surprises.
For example, if you’re spanning a 20-foot patio, you might need:
- One 24-foot string (with extra for slack).
- Or two 12-foot strings connected with a waterproof extension cord.
Real-world example: I once tried to span a 15-foot gap with a 10-foot string light—cue the frantic trip to the hardware store for an extension cord that looked out of place. Measure twice, buy once!
Consider Power Source and Extension Cords
Most outdoor string lights require an outdoor-rated power outlet. If you don’t have one nearby:
- Use a weatherproof extension cord (look for “SJTW” or “W” rating).
- Hide cords with cord covers or bury them shallowly (but never under heavy foot traffic).
- For off-grid areas, consider solar-powered string lights (though they’re often dimmer and less reliable in winter).
2. Choosing the Right Outdoor String Lights
Not all string lights are created equal. The market is flooded with options, but the best choice depends on your space, budget, and lighting goals.
Types of Outdoor String Lights
- Incandescent: Warm, classic glow. Less energy-efficient, shorter lifespan (1,000-2,000 hours). Best for occasional use.
- LED: Energy-efficient (up to 25,000 hours), cooler to the touch, and available in various colors/temperatures. Ideal for permanent setups.
- Solar-powered: No wiring needed, but performance varies with sunlight. Great for renters or temporary setups.
- Commercial-grade: Heavy-duty, weatherproof, and designed for year-round use. Often used in patios or restaurants.
My take: I use LED Edison-style bulbs in my backyard—they’re bright enough for dining but still have that cozy, vintage vibe.
Key Features to Look For
- Weather resistance: Look for “IP65” or “IP67” ratings (protection against dust and water jets).
- Bulb spacing: Closer spacing (4-6 inches) for ambiance, wider (12+ inches) for accent lighting.
- Connectable strings: Allows you to link multiple sets (e.g., “end-to-end” connectors).
- Dimmer/timer compatibility: Handy for adjusting brightness or automating on/off times.
Watch out for “budget” lights with flimsy cords or plastic bulbs—they might save you $10 now but cost you in replacements later.
Color Temperature and Style
Color temperature (measured in Kelvin) sets the mood:
- 2700K-3000K: Warm white (cozy, inviting).
- 3500K-4100K: Neutral white (bright, functional).
- 5000K+: Cool white (sterile, not ideal for outdoor ambiance).
Style-wise, choose bulbs that complement your decor. For example:
- Edison bulbs for rustic charm.
- Globe bulbs for modern minimalism.
- Fairy lights for whimsical, twinkling effects.
3. Tools and Materials You’ll Need
You don’t need a workshop full of tools, but having the right gear makes the job easier and safer.
Essential Tools
- Measuring tape: For accurate spacing.
- Drill and drill bits: For installing hooks or anchors.
- Stud finder (for wood surfaces): Locates beams for secure mounting.
- Ladder (if needed): Use a stable, non-slip model—safety first!
- Wire cutters/strippers: For trimming cords or repairing damaged wires.
Mounting Hardware
- Outdoor-rated hooks or eye screws: Stainless steel or galvanized to resist rust.
- Turnbuckles: Tighten sagging lines (like a mini winch).
- Zip ties (UV-resistant): For securing loose cords or attaching to fences.
- Light clips or gutter hooks: For attaching lights to eaves or gutters without drilling.
Pro tip: Buy 10-20% extra hooks/turnbuckles. You’ll always need more than you think.
Safety Gear
- Work gloves (to protect your hands).
- Safety goggles (when drilling).
- Non-slip shoes (especially on ladders).
4. Step-by-Step Installation Guide
Now for the fun part! Here’s how to hook up your outdoor string lights like a pro.
Step 1: Install Anchor Points
Start by mounting hooks or eye screws at your marked spots. For:
- Wood surfaces: Drill pilot holes, then twist in eye screws. Use a stud finder to hit solid wood.
- Masonry/concrete: Use masonry anchors and a hammer drill.
- Trees: Wrap hooks around branches (use tree-friendly rubber padding to avoid damage).
Example: I installed hooks in my backyard pergola by drilling into the support beams—no wobbling, no sagging.
Step 2: Hang the Lights
- Start at the power source and work outward.
- Attach the first end of the string to a hook, leaving 6-12 inches of slack for adjustments.
- For long spans, use a turnbuckle in the middle to prevent sagging.
- For canopy patterns, crisscross strings between hooks (see diagram below).
Pro tip: If your lights have built-in clips, use them! They’re designed to grip cords without damaging them.
Step 3: Connect Multiple Strings (If Needed)
- Plug connectable strings end-to-end.
- Use waterproof connectors for outdoor splices.
- Don’t exceed the manufacturer’s maximum wattage or string count (usually 2-3 sets for LEDs).
Step 4: Secure Loose Cords
- Use zip ties or clips to bundle excess cord.
- Keep cords away from foot traffic or pet play areas.
- For a clean look, tuck cords behind gutters or fence posts.
Step 5: Test and Adjust
Turn on the lights! Check for:
- Even spacing (no sagging or tight spots).
- Proper alignment with your planned layout.
- Bulbs that are securely seated in sockets.
Adjust turnbuckles or hooks as needed. It’s okay to tweak—perfection takes time!
5. Maintaining and Troubleshooting Your Lights
Even the best setups need occasional TLC. Here’s how to keep your lights shining.
Seasonal Maintenance
- Winter: Remove or cover lights to protect from ice/snow (unless they’re rated for year-round use).
- Spring/summer: Clean bulbs with a dry cloth to remove dust/debris.
- Fall: Check for frayed cords or loose connections after storms.
Common Issues and Fixes
- Sagging lines: Tighten turnbuckles or add more anchor points.
- Flickering bulbs: Check for loose bulbs, damaged sockets, or overloaded circuits.
- Water in sockets: Dry thoroughly, then seal with silicone caulk (if not waterproof).
- Dead sections: Use a light tester to pinpoint the issue (e.g., a single dead bulb can kill an entire string).
My fix: When one bulb died in my 20-foot string, I replaced it with a spare—and learned to always keep extras on hand.
Extending Lifespan
- Use a timer to limit runtime (e.g., 4-6 hours/night).
- Store lights in a dry, ventilated area when not in use.
- Replace bulbs with the same wattage/type to avoid circuit overload.
6. Creative Ideas and Pro Tips
Ready to take your lighting game to the next level? Here are some ideas to spark your creativity.
Unique Hanging Techniques
- Canopy with a twist: Hang lights in a “web” pattern using fishing line for a floating effect.
- Fence lighting: Wrap lights around fence posts or weave them through lattice.
- Tree wrap: Spiral lights up a tree trunk for a magical glow.
- Hanging baskets: Suspend lights in glass orbs for a bistro look.
Smart Lighting Upgrades
- Pair lights with a smart plug to control them via app or voice assistant.
- Use color-changing LEDs for seasonal themes (e.g., red/green for holidays).
- Add motion sensors for security lighting.
Pro Tips from the Trenches
- Label your strings: Use colored tags to identify which string controls which area.
- Test before hanging: Plug in lights indoors first to check for defects.
- Layer your lighting: Combine string lights with lanterns or path lights for depth.
- Embrace imperfection: Slight asymmetry can feel more organic and inviting.
Example: My neighbor hangs lights in a “messy” zigzag pattern—and it’s the most popular spot in the neighborhood!
| Light Type | Best For | Lifespan | Weather Resistance | Cost (per 25 ft) |
|---|---|---|---|---|
| LED Edison | Patios, dining areas | 25,000 hours | IP65 | $20-$40 |
| Incandescent | Occasional use | 1,500 hours | IP44 | $15-$25 |
| Solar-powered | Temporary setups | 10,000 hours | IP65 | $30-$50 |
| Commercial-grade | Year-round use | 50,000 hours | IP67 | $50-$100 |
Hooking up outdoor string lights is more than a DIY project—it’s an act of creating joy. Whether you’re lighting up a small balcony or a sprawling garden, the process is deeply personal. I’ve learned that the best setups aren’t about perfection but about capturing the feeling you want: warmth, safety, whimsy, or celebration. So take your time, experiment, and don’t be afraid to make it your own. The right lights won’t just brighten your space—they’ll brighten your moments, too. Now grab those hooks, string up some magic, and let your outdoor oasis shine.
Frequently Asked Questions
How do I choose the right outdoor string lights for my space?
Consider the bulb type (LED for energy efficiency), length, and weather resistance. Make sure the lights are rated for outdoor use and match your desired ambiance, whether warm white for cozy vibes or colorful for festive occasions.
How to hook up outdoor string lights without drilling holes?
Use adhesive hooks, tension rods, or attach lights to existing structures like fences, railings, or trees with zip ties or clips. These methods are renter-friendly and won’t damage surfaces.
Can I connect multiple outdoor string lights together?
Yes, but check the manufacturer’s guidelines for maximum connections—most sets allow 3–5 strands. Use outdoor-rated extension cords and ensure your outlet can handle the total wattage to avoid overloading.
How do I safely power outdoor string lights?
Always use a GFCI outlet or a weatherproof outdoor power strip to reduce the risk of shocks. Keep connections off the ground by using hooks or covers to protect plugs from moisture.
What’s the best way to hang outdoor string lights in a backyard?
Plan a layout using poles, trees, or your home’s eaves, spacing hooks or mounts 2–3 feet apart. Use a dimmer or smart plug to adjust brightness and create the perfect ambiance for gatherings.
How do I store outdoor string lights after use?
Coil lights loosely around a reel or cardboard to prevent tangling. Store them in a dry, cool place, and check for damage before reusing next season to extend their lifespan.

