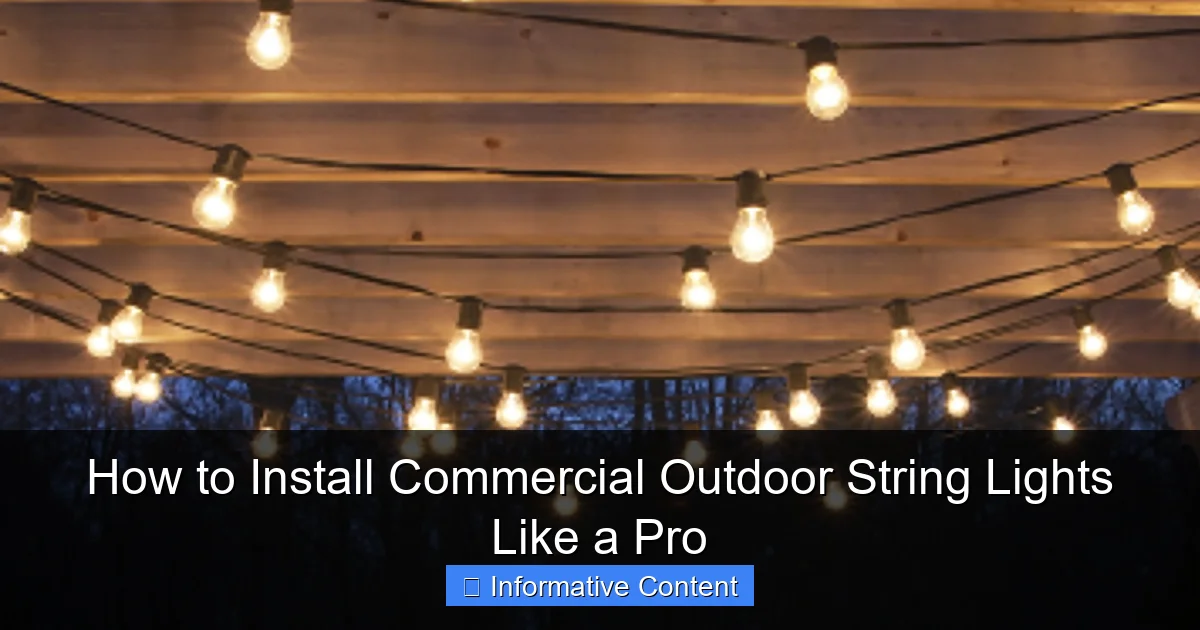
Featured image for how to install commercial outdoor string lights
Image source: randolphsunoco.com
Installing commercial outdoor string lights like a pro starts with meticulous planning and choosing weather-resistant, heavy-duty fixtures designed for long-term outdoor use. Ensure proper spacing, secure mounting with commercial-grade hardware, and a safe power source—ideally with a GFCI outlet and weatherproof connections—to maximize durability and safety. Following manufacturer guidelines and local electrical codes guarantees a stunning, professional-grade lighting setup that enhances any outdoor space.
Key Takeaways
- Plan your layout: Measure the area and mark anchor points before installation.
- Use durable hardware: Choose weather-resistant hooks, screws, and cables for longevity.
- Check bulb spacing: Ensure even light distribution by spacing bulbs correctly.
- Secure connections: Use waterproof connectors to prevent short circuits and damage.
- Test before finalizing: Power up lights to check function and adjust as needed.
- Follow local codes: Adhere to electrical and building regulations for safety compliance.
📑 Table of Contents
- How to Install Commercial Outdoor String Lights Like a Pro
- 1. Planning Your Layout: The Foundation of a Stunning Display
- 2. Choosing the Right Lights: Quality Matters
- 3. Gathering Your Tools and Materials: Don’t Wing It
- 4. The Installation Process: Step-by-Step
- 5. Troubleshooting Common Issues: Fix It Fast
- 6. Maintenance and Long-Term Care: Keep It Shining
- Data Table: Recommended Commercial Outdoor String Lights
- Conclusion: Light It Up Like a Pro
How to Install Commercial Outdoor String Lights Like a Pro
Picture this: it’s a warm summer evening, the air is buzzing with laughter, and your backyard, patio, or commercial space is glowing under a canopy of warm, twinkling lights. That’s the magic of commercial outdoor string lights. Whether you’re lighting up a restaurant patio, a wedding venue, or your own backyard for entertaining, these lights create an inviting, professional ambiance that’s hard to beat.
But here’s the thing—installing them isn’t as simple as just hanging some lights and calling it a day. If done wrong, you could end up with sagging wires, flickering bulbs, or even safety hazards. I learned this the hard way when I tried to DIY my first string light setup and ended up with a tangled mess that looked more like a spiderweb than a chic outdoor oasis. After a few trials (and a couple of ladder-related near-misses), I figured out the right way to do it. And now, I’m sharing those hard-won tips with you.
In this guide, we’ll walk through everything you need to know to install commercial outdoor string lights like a pro—from planning and choosing the right lights to the final touches that make your space shine. Whether you’re a business owner, event planner, or homeowner, this guide will help you create a stunning, safe, and long-lasting lighting display.
1. Planning Your Layout: The Foundation of a Stunning Display
Before you even buy a single bulb, you need a solid plan. A well-thought-out layout ensures your lights look intentional, not haphazard. Think of this step as the blueprint for your entire project.
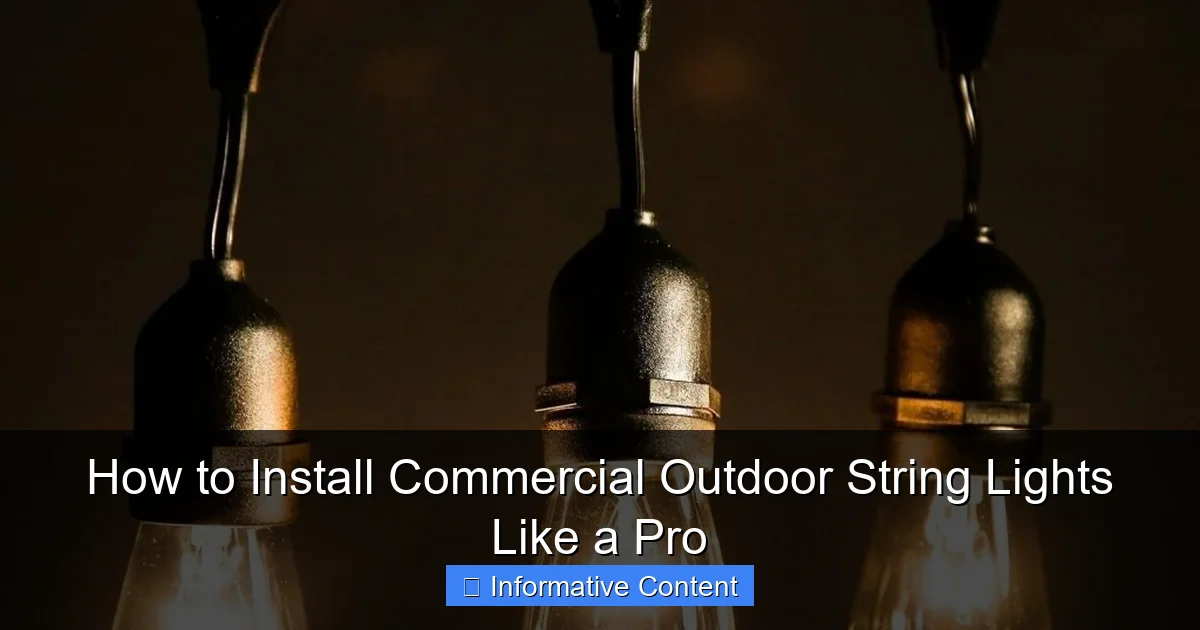
Visual guide about how to install commercial outdoor string lights
Image source: randolphsunoco.com
Measure Your Space Accurately
Grab a measuring tape and map out the area you want to light. Measure the distance between mounting points (like trees, poles, or building edges). Write down these numbers—they’ll help you determine how many light strands you need. For example, if you’re lighting a 30-foot patio with poles spaced 10 feet apart, you’ll need at least three 10-foot strands (but I’d recommend adding a little extra for flexibility).
Pro tip: Always buy 10-15% more lighting than you think you’ll need. It’s easier to have extra than to scramble for more mid-installation.
Decide on Your Lighting Pattern
There are a few popular layouts, each with its own vibe:
- Straight lines: Simple and modern. Great for patios, walkways, or between poles.
- Crisscross (or “catenary”): Creates a canopy effect. Perfect for large spaces like courtyards or event tents.
- Clusters or “cloud” lighting: For a whimsical, boho feel. Ideal for gardens or intimate seating areas.
For a commercial space, I usually recommend straight or crisscross patterns—they look polished and are easier to maintain.
Sketch It Out (Yes, Really)
Grab a piece of paper or use a digital tool like Canva to sketch your layout. Mark mounting points, light strand paths, and any obstacles (like trees or furniture). This visual guide will save you time and frustration later.
Real-life example: I once installed lights for a rooftop bar without sketching the layout. By the time I realized I’d miscalculated the spacing, half the lights were already up. A quick sketch would’ve saved me hours of rework.
2. Choosing the Right Lights: Quality Matters
Not all outdoor string lights are created equal. Cheap lights might save you money upfront, but they’ll cost you in durability, safety, and aesthetics. Here’s how to pick the best ones for your project.
Look for Commercial-Grade Specs
Commercial outdoor string lights are built to last. Here’s what to check:
- Bulb type: LED bulbs are the way to go. They’re energy-efficient, last longer (50,000+ hours!), and don’t get as hot as incandescent bulbs.
- Weather resistance: Look for an IP65 or higher rating. This means they’re dustproof and can handle rain, snow, and UV exposure.
- Wire gauge: Thicker wires (16-18 gauge) can handle longer runs without voltage drop (which causes dim lights).
- End-to-end connectivity: Many commercial lights let you connect multiple strands. This is a lifesaver for large installations.
Pick the Right Bulb Style and Color
Bulbs come in all shapes and sizes, and the choice sets the mood:
- Edison bulbs: Vintage charm. Great for rustic or industrial spaces.
- Mini lights: Subtle and modern. Ideal for a clean, minimalist look.
- Color temperature: Warm white (2700K-3000K) feels cozy. Cool white (4000K-5000K) is more clinical. For most outdoor spaces, I stick with warm white.
Pro tip: Buy a few extra bulbs. Even commercial-grade lights can burn out, and having spares on hand saves you from scrambling later.
Consider Smart Features (If It Fits Your Budget)
Some commercial lights come with smart features like dimmers, timers, or app control. These are great for restaurants or event venues where you need flexibility. But for a simple backyard setup, they might be overkill.
3. Gathering Your Tools and Materials: Don’t Wing It
Nothing’s worse than being halfway through an installation and realizing you’re missing a key tool. Here’s your checklist to avoid that headache.
Essential Tools
- Ladder: A sturdy, extendable ladder is a must. Make sure it’s tall enough for your highest mounting point.
- Measuring tape: For precise spacing.
- Drill and screws: If you’re mounting to wood or concrete.
- Wire cutters/strippers: For trimming or splicing wires (if needed).
- Zip ties or clips: To secure lights and prevent sagging.
- Gloves and safety goggles: Safety first, folks!
Mounting Hardware
Your mounting method depends on your surface:
- Wood: Use eye screws or hooks. They’re easy to install and hold weight well.
- Concrete or brick: Use masonry anchors or expansion bolts. These are sturdier but take more effort to install.
- Metal poles: Use hose clamps or metal brackets. Avoid drilling into metal if you can—it’s tough and can damage the pole.
- Trees: Use tree-friendly straps or cable ties. Never use nails—they can kill the tree or damage the bark.
Pro tip: If you’re unsure about your mounting surface, consult a local hardware store. They’ll help you pick the right hardware for the job.
Power Source and Extension Cords
Commercial lights need a reliable power source. Here’s what to consider:
- Outdoor-rated extension cords: Look for ones with thick, weather-resistant insulation.
- GFCI outlet: This is non-negotiable for outdoor installations. It protects against electrical shocks.
- Power strip: If you’re connecting multiple strands, a weatherproof power strip can help manage cords.
Real-life example: I once used a cheap indoor extension cord for an outdoor setup. It lasted one rainy night before shorting out. Lesson learned: always use outdoor-rated gear.
4. The Installation Process: Step-by-Step
Now for the fun part—putting it all together! Follow these steps for a smooth, professional installation.
Step 1: Install Mounting Points
Start by installing your mounting hardware. Here’s how:
- For eye screws or hooks: Drill a pilot hole, then screw them in. Make sure they’re level and secure.
- For masonry anchors: Drill a hole, insert the anchor, then screw in the hook.
- For trees: Wrap the strap around the trunk, then secure it with a buckle. Avoid overtightening.
Pro tip: Use a level to ensure your mounting points are straight. Crooked hooks make for uneven lights.
Step 2: Hang the Lights
Start at one end and work your way to the other. Here’s how to do it right:
- Attach one end: Loop the light strand’s hanging wire around the first hook, then secure it with a zip tie or knot.
- Unroll the strand: Gently unroll the lights as you move to the next mounting point.
- Leave some slack: Don’t pull the lights too tight. A little sag prevents tension that could damage the wires.
- Secure the other end: Loop and secure the last hook, just like the first.
Pro tip: For crisscross patterns, start with one diagonal line, then weave the other strand over and under it.
Step 3: Connect and Test
If you’re using multiple strands, connect them end-to-end. Then, plug in the lights and test them. Look for:
- Flickering or dim bulbs (could mean a loose connection or voltage drop).
- Hot spots (if any part feels unusually warm, unplug immediately).
Pro tip: Test before you secure all the lights. It’s easier to troubleshoot when the strands are still loose.
Step 4: Secure and Tidy
Once everything’s working, secure the lights with zip ties or clips every 2-3 feet. Tuck away excess cord with cord clips or a cord cover. This keeps your installation looking neat and prevents tripping hazards.
5. Troubleshooting Common Issues: Fix It Fast
Even with careful planning, things can go wrong. Here’s how to handle the most common issues.
Sagging Lights
Sagging is usually caused by:
- Too much slack.
- Weak mounting points.
- Long runs of lights (which add weight).
Solution: Add more mounting points or use a support wire (like aircraft cable) to bear the weight. You can run the wire along the lights and attach it to the hooks.
Flickering or Dim Bulbs
This is often due to:
- Loose connections.
- Voltage drop (common in long runs).
- Overloaded circuits.
Solution: Check all connections, shorten your runs (or add a second power source), and avoid connecting too many strands to one outlet.
Weather Damage
Even weather-resistant lights can fail if exposed to extreme conditions. Look for:
- Cracked or melted insulation.
- Corroded connections.
Solution: Replace damaged lights immediately. For added protection, use silicone sealant on connections (but avoid covering the bulb sockets).
6. Maintenance and Long-Term Care: Keep It Shining
A little maintenance goes a long way in keeping your lights looking great for years.
Regular Checks
- Inspect lights monthly for damage, loose connections, or sagging.
- Clean bulbs and wires with a damp cloth to remove dust and debris.
- Trim nearby branches to prevent abrasion from wind.
Seasonal Care
- Winter: If you live in a cold climate, consider taking down lights during extreme weather. If not, check for ice buildup.
- Summer: UV exposure can fade bulbs. Look for UV-resistant lights or cover them during peak sun hours.
Storage (If Removing Lights)
- Coil lights loosely and store them in a dry, temperature-controlled space.
- Use labeled bins or bags to keep strands organized.
Data Table: Recommended Commercial Outdoor String Lights
| Brand | Bulb Type | Weather Rating | Length Options | Best For |
|---|---|---|---|---|
| Brightech | LED Edison | IP65 | 24ft, 48ft, 72ft | Rustic patios, cafes |
| Sunlite | LED Mini | IP67 | 10ft, 25ft, 50ft | Minimalist spaces |
| GE | LED Globe | IP65 | 12ft, 24ft, 48ft | Event venues, weddings |
| Twinkle Star | LED Filament | IP65 | 15ft, 30ft, 50ft | Bohemian gardens |
Conclusion: Light It Up Like a Pro
Installing commercial outdoor string lights isn’t just about hanging some lights—it’s about creating a space that feels welcoming, safe, and beautiful. By planning carefully, choosing quality materials, and following the right steps, you can achieve a professional-looking setup that lasts for years.
Remember, the key is to take your time. Measure twice, install once. Don’t rush the process. And if you hit a snag, don’t stress—every installer has been there. The more you do it, the better you’ll get.
So go ahead, grab your tools, and light up your space. Whether it’s for business or pleasure, those twinkling lights will make every evening feel a little more magical. And when your guests or customers rave about the ambiance? That’s the real reward.
Frequently Asked Questions
How do I install commercial outdoor string lights safely?
Always turn off power sources and use insulated tools when handling electrical components. Follow local electrical codes and consider hiring a licensed electrician for permanent installations to ensure compliance and safety.
What’s the best way to hang commercial outdoor string lights without damaging walls?
Use removable hooks, adhesive mounts, or zip ties on non-porous surfaces to avoid drilling holes. For long-term setups, install eye hooks into studs or use tension rods for a damage-free solution.
Can I install commercial outdoor string lights on my own, or do I need a pro?
DIY installation is possible with basic tools and safety precautions, especially for temporary setups. However, complex or permanent installations—like wiring through ceilings—require a professional for code adherence and safety.
How far apart should I space the lights for even coverage?
Space bulbs 12–24 inches apart, depending on the brightness and ambiance you want. For commercial outdoor string lights, measure the area and plan spacing to avoid dark spots or over-lighting.
Do I need special hardware for installing commercial outdoor string lights in extreme weather?
Yes, use weatherproof mounting hardware (e.g., stainless steel hooks) and UL-rated lights for rain, snow, or wind. Ensure connections are sealed with silicone to prevent moisture damage.
How do I power my commercial outdoor string lights if there’s no nearby outlet?
Use outdoor-rated extension cords or install a weatherproof outlet closer to the setup. For large spaces, consider solar-powered lights or a portable power station as alternatives.

