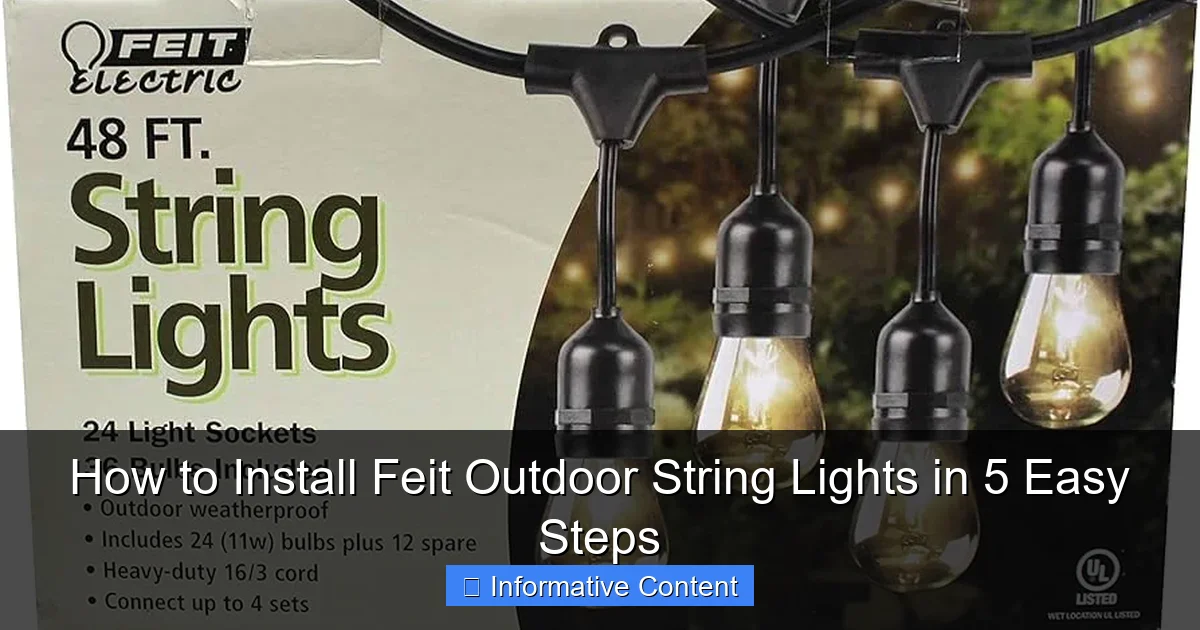
Featured image for how to install feit outdoor string lights
Image source: m.media-amazon.com
Installing Feit outdoor string lights is a quick, DIY-friendly project that instantly transforms your outdoor space. With just a few tools and our simple 5-step guide—measuring, mounting, connecting, securing, and testing—you’ll have weather-resistant, energy-efficient lighting up in under an hour. Perfect for patios, decks, or gardens, these lights offer both ambiance and reliability.
Key Takeaways
- Plan your layout first: Measure the area to ensure proper light coverage and spacing.
- Choose sturdy anchors: Use hooks, screws, or zip ties rated for outdoor use.
- Check power source proximity: Ensure the string lights are within reach of a GFCI outlet.
- Hang lights in sections: Install gradually to avoid tangling and ensure even tension.
- Test before finalizing: Turn on lights after each section to catch issues early.
- Weatherproof connections: Use electrical tape or covers to protect plugs from moisture.
📑 Table of Contents
- Why Outdoor String Lights Can Transform Your Backyard
- Step 1: Plan Your Layout and Choose the Right Feit Lights
- Step 2: Gather Tools and Safety Equipment
- Step 3: Install Support Points and Secure the Lights
- Step 4: Connect Multiple Strands and Manage Power
- Step 5: Final Adjustments and Maintenance Tips
- Real-World Examples and Pro Tips
- Final Thoughts: Enjoy Your Glow
Why Outdoor String Lights Can Transform Your Backyard
There’s something magical about stepping into a backyard that’s softly lit with glowing string lights. Whether you’re hosting a summer barbecue, enjoying a quiet evening with a book, or celebrating a special occasion, outdoor lighting sets the mood like nothing else. And when it comes to reliable, stylish, and energy-efficient options, Feit outdoor string lights have become a favorite among homeowners.
I remember the first time I strung up Feit lights in my own backyard. It was a warm spring evening, and I had just finished a long week of work. As the sun set, I flipped the switch, and suddenly, my patio transformed into a cozy, inviting space. My dog even seemed to enjoy the ambiance, curling up on his favorite rug beneath the warm glow. That’s the power of good lighting—it doesn’t just illuminate; it creates moments.
If you’re considering adding Feit outdoor string lights to your outdoor space, you’re making a smart choice. These lights are known for their durability, energy efficiency, and ease of use. But like any home project, proper installation makes all the difference. Done right, your lights will look professional, last longer, and require minimal maintenance. Done poorly? You might end up with tangled wires, flickering bulbs, or even a safety hazard.
The good news? Installing Feit outdoor string lights is easier than you think—especially when you break it down into simple, manageable steps. In this guide, I’ll walk you through the entire process, from planning to plugging in, with real-life tips and lessons learned from my own backyard projects. Whether you’re a DIY newbie or a seasoned pro, this 5-step guide will help you create a stunning outdoor lighting setup that you’ll love for years to come.
Step 1: Plan Your Layout and Choose the Right Feit Lights
Before you even open the box, take a moment to plan your layout. This step is crucial—it determines how your lights will look, where they’ll go, and whether they’ll work safely and efficiently. A little planning now saves a lot of frustration later.
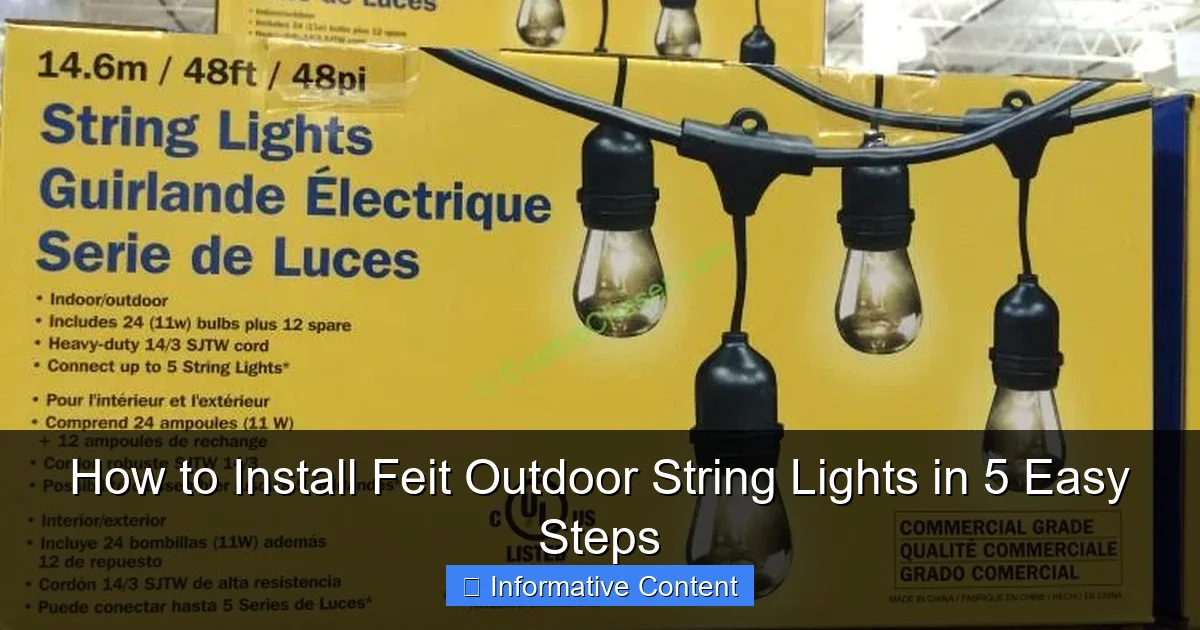
Visual guide about how to install feit outdoor string lights
Image source: cochaser.com
Assess Your Outdoor Space
Start by walking around your yard or patio. Look for natural anchor points like trees, fences, pergolas, railings, or eaves. These will be your support structures. Ask yourself:
- Where do I want the light to shine? (e.g., dining area, seating nook, walkway)
- Do I want a symmetrical or organic, free-flowing look?
- Are there any obstacles like bushes, furniture, or uneven terrain?
For example, in my backyard, I wanted to highlight the dining table and create a canopy effect over the seating area. I used my pergola as the main anchor and ran the lights diagonally to nearby trees. This created a starry-sky effect that felt intentional and elegant.
Choose the Right Type of Feit String Lights
Feit offers several types of outdoor string lights, so picking the right one matters. Here are the most common options:
- LED Edison Bulb String Lights: Classic, warm glow with vintage-style bulbs. Great for patios and pergolas.
- Shatterproof LED String Lights: Ideal for high-traffic areas or homes with kids and pets. Durable and weather-resistant.
- Smart String Lights: Wi-Fi enabled, app-controlled, with color-changing options. Perfect for tech lovers or holiday decor.
- Commercial-Grade String Lights: Longer runs, heavy-duty cords, and commercial sockets. Best for large yards or commercial use.
For most homeowners, the Feit LED Edison Bulb String Lights (24 or 48 feet) are a sweet spot—affordable, attractive, and easy to install. I’ve used the 48-foot version in my space, and it gives just the right amount of coverage without being overwhelming.
Measure and Calculate the Length You Need
Measure the distance between your anchor points using a tape measure or a long piece of string. Always add 10–15% extra to account for curves, overlaps, or slight miscalculations. For example, if the distance between two trees is 20 feet, plan for at least 23 feet of lighting.
Feit lights are often connectable—meaning you can plug multiple strands together. Check the product label: many models allow up to 24 strands in a single circuit. But don’t overload your outlet. Use a circuit checker to make sure your outdoor GFCI outlet can handle the load.
Step 2: Gather Tools and Safety Equipment
Now that you have a plan, it’s time to gather your tools. You don’t need a full workshop—just a few essentials to make the job smooth and safe.
Essential Tools and Materials
Here’s what you’ll need:
- Measuring tape – for accurate spacing and length
- Outdoor-rated extension cord – if your outlet isn’t nearby
- GFCI outlet or outdoor-rated power strip – for safety and weather protection
- Zip ties or outdoor light clips – to secure the string to supports
- Stainless steel hooks or eye screws – for permanent installations
- Step ladder or extension pole – for reaching high points
- Gloves – to protect your hands from sharp edges or rough surfaces
- Drill (if using screws) – for wooden or metal structures
I learned the hard way that using indoor zip ties on outdoor lights is a bad idea. They degrade in sunlight and snap within a few weeks. Now I always use UV-resistant zip ties or the Feit-branded light clips that come with some kits. They’re designed to last through rain, wind, and UV exposure.
Safety First: Protect Yourself and Your Home
Never install lights during rain or high winds. Wet surfaces increase the risk of slips, and wind can knock you off a ladder. Also, always plug into a GFCI (Ground Fault Circuit Interrupter) outlet. These outlets automatically shut off if they detect a current leak—critical for outdoor electrical safety.
If you’re using a ladder, place it on level ground and have someone spot you. I once tried to install lights solo and nearly tipped over when I leaned too far. Now, my partner holds the ladder and hands me tools. It’s safer and faster.
And please—don’t staple or nail directly into the light cord. This damages the wiring and creates a fire hazard. Use clips, hooks, or zip ties to secure the string to the support, not the cord itself.
Step 3: Install Support Points and Secure the Lights
Now comes the fun part—actually putting up the lights! This step is all about creating a stable, even layout that looks professional and lasts.
Install Hooks, Clips, or Eye Screws
Start by installing your anchor points. For wooden structures like pergolas, fences, or decks, use stainless steel eye screws. Pre-drill a small hole to prevent splitting, then twist the screw in with a screwdriver. Space them evenly—usually every 1.5 to 2 feet for a straight line, or more creatively for a zigzag or crisscross pattern.
For metal railings or posts, use magnetic light clips or adjustable zip ties. I used zip ties on my metal balcony railing, and they’ve held strong through two winters.
On trees, avoid damaging the bark. Use tree-friendly light clips or bungee cords with rubber padding. These stretch slightly as the tree grows and won’t girdle the trunk. Never use nails or staples on trees—it invites disease and decay.
String the Lights with Care
Unroll your Feit outdoor string lights and lay them out on the ground near your installation area. This helps you spot any kinks or damaged bulbs before hanging.
Start at the power source (outlet or transformer) and work outward. This ensures the plug end is accessible and the rest of the string flows naturally.
Attach the first bulb socket or loop to your starting anchor point. Use a zip tie or clip to secure it snugly—but not too tight. You want it to hold firm, but still allow slight movement in the wind.
Then, drape the string along your planned path. Use clips or zip ties every 1.5–2 feet to keep the line taut and prevent sagging. Sagging lights look sloppy and can put stress on the sockets.
For a more dynamic look, try a zigzag pattern between two points. I did this between my pergola and a nearby maple tree, and it created a dramatic, starry effect. Just make sure the bulbs are evenly spaced and the string isn’t twisted.
Test as You Go
Plug in the lights every few feet to make sure they’re working. This helps you catch any faulty sockets or wiring issues early. If a bulb isn’t lighting, it might just be loose—try wiggling it in the socket. If it still doesn’t work, replace it with a spare bulb (Feit includes extras).
I once installed an entire strand only to find a dead socket at the far end. It was frustrating, but replacing it was easy once I had the right spare on hand.
Step 4: Connect Multiple Strands and Manage Power
If your space requires more than one strand, connecting them properly is key to a seamless look and safe operation.
Use Feit’s Connectable Design
Many Feit outdoor string lights have end-to-end connectors. Simply plug the male end of one strand into the female end of the next. The connection is usually weather-resistant, but for extra protection, I like to wrap it with electrical tape or use a weatherproof connector cover (sold separately).
Keep the number of connected strands within the manufacturer’s limit—usually 24 strands or 720 watts for most Feit models. Exceeding this can trip your breaker or damage the lights.
Use a Timer or Smart Plug for Convenience
Instead of manually turning the lights on and off, plug your setup into a timer or smart plug. This saves energy and ensures your lights come on at the same time every evening.
I use a Feit Smart Plug connected to my Wi-Fi. I set it to turn on at sunset and off at 11 PM. I can also control it from my phone if I’m away and want to make it look like someone’s home.
For non-smart setups, a simple outdoor mechanical timer works great. Just set the dial and forget it.
Manage Cables and Prevent Tripping Hazards
If you need an extension cord, choose a heavy-duty, outdoor-rated cord with a weatherproof cover. Run it along a wall or under a deck to keep it out of foot traffic.
Use cable clips or conduit to keep cords tidy and protected. I ran my extension cord along the base of my fence and used black zip ties to blend it into the background. No one even notices it.
Step 5: Final Adjustments and Maintenance Tips
Once the lights are up and working, take a step back and admire your work. But don’t stop there—fine-tuning and maintenance will keep your setup looking great for years.
Adjust for Even Spacing and Tension
Walk around your space at night and look for:
- Sagging sections
- Uneven bulb spacing
- Twisted or tangled cords
Use additional clips or adjust zip ties to tighten loose areas. For trees, you may need to re-tension the string as the tree sways in wind. I check mine every few weeks during the first season.
Weatherproof Your Setup
Feit lights are designed for outdoor use, but extra protection helps. For connector points, apply dielectric grease to prevent corrosion. This is a silicone-based paste that keeps moisture out of electrical connections.
After heavy rain or snow, check the lights for pooling water or ice buildup. Gently shake the string to dislodge water, or use a soft brush to clear snow.
Seasonal Care and Storage
At the end of the season, unplug and inspect the lights. Look for:
- Cracked bulbs or sockets
- Frayed wires
- Corroded connectors
Replace any damaged parts before storing. Coil the string loosely around a cardboard tube or a dedicated light reel. Store in a cool, dry place—never in an attic or unheated garage where temperature swings can damage the wiring.
I keep my Feit lights in a labeled bin with spare bulbs, clips, and zip ties. It makes next year’s installation a breeze.
Real-World Examples and Pro Tips
Here’s a quick look at how different homeowners have used Feit outdoor string lights in real spaces:
| Setup | Anchor Points | Light Type | Pro Tip |
|---|---|---|---|
| Urban Balcony | Metal railing + corner post | Feit 24-ft Shatterproof LED | Use magnetic clips to avoid drilling |
| Suburban Patio | Pergola + fence | Feit 48-ft Edison Bulb | Create a crisscross pattern for drama |
| Backyard Garden | Trees + arbor | Feit Smart Color-Changing | Use app to sync with music or mood |
| Pool Deck | Pool fence + nearby shed | Feit Commercial-Grade | Use conduit to protect cords near water |
One of my favorite tricks? Use frosted or clear bulbs to match your outdoor decor. Feit offers both, and I switch between them depending on the season—clear for summer, frosted for cozy winter evenings.
Another tip: if you’re installing lights on a pergola, run them in parallel lines about 6 inches apart. This creates a “canopy” effect that’s both functional and beautiful.
And don’t forget the power source. If you don’t have an outdoor outlet, consider a solar-powered Feit light set. They charge during the day and glow at night—no wiring needed.
Final Thoughts: Enjoy Your Glow
Installing Feit outdoor string lights isn’t just a home improvement project—it’s a way to create more joyful moments outdoors. Whether you’re lighting up a small balcony or transforming a sprawling backyard, the process is simple, safe, and rewarding when you follow these five steps.
From planning your layout to fine-tuning the final glow, every decision you make shapes the atmosphere of your space. And the best part? Once the lights are up, the work is mostly done. All you have to do is sit back, relax, and enjoy the warmth of your new outdoor oasis.
I still smile every time I walk outside at night and see my Feit lights twinkling above. They’ve hosted countless dinners, late-night conversations, and quiet moments with a good book. They’re not just lights—they’re memories in the making.
So grab your tools, pick a clear evening, and get started. Your perfect outdoor lighting setup is just five steps away. And when you finally flip that switch? You’ll wonder why you didn’t do it sooner.
Frequently Asked Questions
How do I install Feit outdoor string lights safely?
To install Feit outdoor string lights safely, first turn off power sources and use insulated hooks or clips designed for outdoor use. Ensure all connections are weatherproofed and avoid overloading circuits by checking the product’s maximum wattage or string length limits.
Can I install Feit outdoor string lights on a patio without nails?
Yes! Use adhesive outdoor-rated mounting clips, tension rods, or zip ties to secure the lights to railings or pergolas without damaging surfaces. This method works well for renters or temporary setups.
What tools do I need for installing Feit outdoor string lights?
You’ll typically need a ladder, outdoor-rated extension cords, zip ties, or hooks, and a timer (optional). For permanent installations, a drill and screwdriver may be needed for mounting hardware.
How do I connect multiple Feit outdoor string lights together?
Feit string lights often feature end-to-end connectors—simply plug one set into another until you reach your desired length. Always verify the total wattage won’t exceed the circuit’s capacity to prevent tripping breakers.
Are Feit outdoor string lights weatherproof? How to protect connections?
Yes, Feit outdoor string lights are designed for weather resistance, but seal all plug connections with electrical tape or silicone covers. Use a GFCI outlet to enhance safety during rain or snow.
Where should I place Feit outdoor string lights for the best effect?
Hang them along fences, pergolas, or tree branches to create ambient lighting. For even coverage, space the bulbs 6–12 inches apart and use dimmers or smart plugs to adjust brightness as needed.

