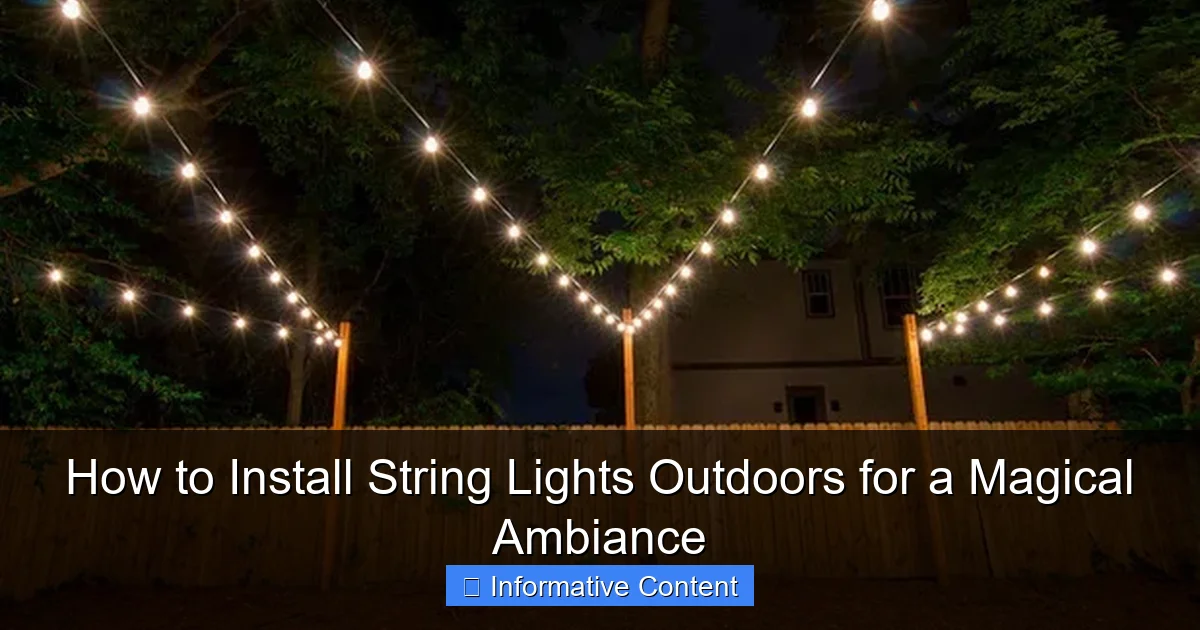
Featured image for how to install string lights outdoors
Image source: st.hzcdn.com
Transform your outdoor space into a magical retreat by securely installing string lights along sturdy anchor points like eaves, trees, or posts using weather-resistant hooks or zip ties. Ensure a professional look by spacing bulbs evenly, avoiding sagging, and using a timer or dimmer for effortless ambiance control. Always prioritize safety—use outdoor-rated lights, check for damaged cords, and plug into a GFCI outlet to prevent hazards.
Key Takeaways
- Plan your layout first: Sketch the area to ensure even spacing and optimal coverage.
- Use weatherproof fixtures: Choose UL-rated lights for safety in all outdoor conditions.
- Secure with sturdy hardware: Install hooks or clips every 12–16 inches for stability.
- Test before hanging: Check lights work properly to avoid rework after installation.
- Hide cords neatly: Run wires along edges or use covers for a polished look.
- Layer lighting for depth: Combine string lights with spotlights for dynamic ambiance.
- Timer or dimmer adds convenience: Automate brightness and timing for effortless control.
📑 Table of Contents
- The Magic of Outdoor String Lights
- Choosing the Right String Lights for Your Space
- Planning Your Layout: Mapping the Perfect Design
- Tools and Materials You’ll Need
- Step-by-Step Installation Guide
- Maintenance and Safety Tips
- Data Table: Recommended String Lights for Different Needs
- Final Thoughts: Creating Your Outdoor Oasis
The Magic of Outdoor String Lights
There’s something undeniably magical about string lights twinkling in the night. Whether you’re hosting a summer barbecue, enjoying a quiet evening on the porch, or just trying to make your backyard feel like a cozy retreat, outdoor string lights can transform any space into a dreamy oasis. I remember the first time I strung up lights in my backyard—it felt like I’d stepped into a scene from a movie. Suddenly, the ordinary became extraordinary, and the simple act of hanging lights turned my patio into a place where memories were made.
But let’s be real: installing string lights outdoors isn’t always as simple as it looks. From choosing the right lights to figuring out the best way to secure them, there are plenty of decisions to make. And if you’re not careful, you could end up with a tangled mess or lights that don’t last through the season. The good news? With a little planning and the right approach, you can create a stunning outdoor lighting setup that’s both functional and beautiful. In this guide, I’ll walk you through everything you need to know about how to install string lights outdoors, so you can achieve that perfect ambiance without the stress.
Choosing the Right String Lights for Your Space
Understanding Your Options
Before you start hammering nails or tying knots, it’s important to pick the right kind of string lights for your needs. Not all lights are created equal, and the type you choose will depend on your space, budget, and how you plan to use them.
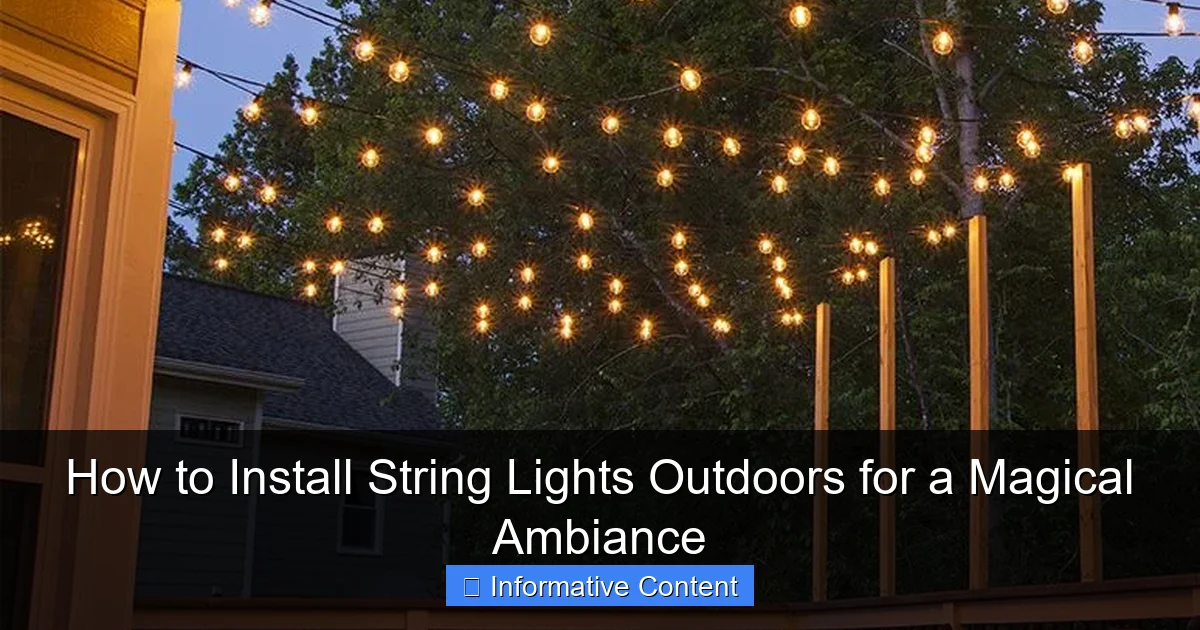
Visual guide about how to install string lights outdoors
Image source: i.pinimg.com
Incandescent vs. LED: Incandescent lights give off that classic warm glow, but they’re less energy-efficient and don’t last as long as LEDs. LEDs, on the other hand, use less power, last longer, and come in a variety of color temperatures—from warm white to cool white and even color-changing options. For most outdoor setups, I’d recommend LEDs for their durability and versatility.
Bulb Shape and Size: String lights come with different bulb shapes—Globe, Edison, and mini lights are the most common. Globe lights are great for a soft, even glow, while Edison bulbs give a vintage, industrial vibe. Mini lights are more delicate and work well for wrapping around trees or railings. Consider the look you’re going for and how much light you need.
Weather Resistance and Durability
Outdoor lights need to withstand rain, wind, and UV exposure. Look for lights with an IP rating of 44 or higher—this means they’re protected against splashes and dust. If you live in a particularly harsh climate (like near the ocean or in an area with heavy snowfall), opt for lights rated for extreme conditions.
Also, check the gauge of the wire. Thicker wires (like 18-gauge) are more durable and less likely to fray over time. And if you’re planning to leave your lights up year-round, consider investing in solar-powered lights—they’re eco-friendly and eliminate the need for outlets.
Length and Spacing
Measure your space carefully before buying lights. Most string lights come in 25-foot, 50-foot, or 100-foot lengths, but you can also find custom-length options. If you’re lighting a large area, you might need to connect multiple strands. Make sure your lights are connectable (check the product details), and never exceed the manufacturer’s recommended number of connected strands—usually 3-5, depending on the wattage.
For spacing, think about the density of the lights. If you want a subtle glow, go for lights with bulbs spaced 6-12 inches apart. For a more dramatic effect, choose lights with closer spacing (3-4 inches).
Planning Your Layout: Mapping the Perfect Design
Assess Your Space
Before you start installing, take a walk around your outdoor area and visualize where the lights will go. Ask yourself: Where do I spend the most time? What features do I want to highlight? For example, if you have a dining area, you might want to focus on the pergola or patio. If you love your garden, consider wrapping lights around trees or shrubs.
Sketch a rough diagram of your space, noting key features like trees, railings, posts, and architectural elements. This will help you decide where to anchor the lights and how to route them. I like to use a piece of string or rope to test different layouts before committing to a design—it’s a quick way to see how the lights will look without doing any permanent work.
Create a Balanced Look
When planning your layout, aim for symmetry or intentional asymmetry. For example, if you’re hanging lights over a rectangular patio, you could create a grid pattern by running lights parallel to each side. Or, for a more organic feel, drape lights in a zigzag or crisscross pattern.
Pro tip: If you’re hanging lights between two points (like a house and a tree), make sure they’re not too tight. Leave a slight sag—about 6-12 inches of slack—to allow for wind and temperature changes. This will prevent the lights from snapping or pulling loose over time.
Consider Power Access
Most outdoor string lights need to be plugged in, so think about how you’ll get power to your setup. If you have an outdoor outlet, that’s ideal. If not, you’ll need an extension cord or a long cable run from an indoor outlet. Just make sure any cords are rated for outdoor use and are protected from water.
Solar-powered lights are a great alternative if outlets are scarce, but keep in mind they need direct sunlight during the day to charge. Place them where they’ll get at least 6-8 hours of sunlight for the best performance.
Tools and Materials You’ll Need
Essential Tools
Here’s a quick checklist of what you’ll need to install your string lights:
- Measuring tape: For planning your layout and spacing.
- Drill and drill bits: For making holes in wood or masonry (if you’re using anchors or hooks).
- Screwdriver: For tightening screws or adjusting fixtures.
- Pliers or wire cutters: For cutting zip ties or adjusting wires.
- Ladder: For reaching high areas (always use a stable, secure ladder).
- Level: To ensure your lights are straight and even.
Anchoring Hardware
How you secure your lights will depend on your surface. Here are the most common options:
- Hooks and eye screws: Great for wood, stucco, or vinyl siding. Use stainless steel or coated hooks to prevent rust.
- Zip ties: Perfect for wrapping around trees, railings, or fences. Use UV-resistant ties for long-term durability.
- Clips and adhesive strips: For temporary installations or smooth surfaces like glass or metal. Just make sure they’re rated for outdoor use.
- Ground stakes: If you’re running lights along the ground (e.g., along a path), use stakes to keep them in place.
Safety Gear
Safety first! Always wear gloves when handling lights and hardware, and use goggles when drilling. If you’re working near electrical outlets, make sure the power is off before plugging in your lights.
Step-by-Step Installation Guide
Step 1: Install Anchors or Hooks
Start by installing your anchors or hooks. If you’re using screws, pre-drill holes to avoid splitting wood. For masonry, use a masonry bit and anchors designed for concrete or brick. Space your anchors 3-6 feet apart, depending on the weight of your lights.
Example: If you’re hanging lights across a 20-foot patio, you might place anchors at each end and every 4 feet in between. This will prevent the lights from sagging too much in the middle.
Step 2: Secure the Lights
Once your anchors are in place, it’s time to hang the lights. If you’re using hooks, gently loop the light cord over each hook. For zip ties, wrap them around trees or railings and tighten them just enough to hold the lights without cutting into the material.
For a more professional look, use light clips or cable ties designed for string lights. These make it easy to adjust the spacing and keep the lights neat.
Step 3: Connect and Test
If you’re using multiple strands, connect them according to the manufacturer’s instructions. Never exceed the recommended number of connected strands—this can cause overheating or fire hazards.
Once everything is connected, plug in the lights and test them. Check for dim or flickering bulbs, and make sure the entire setup looks balanced. If something looks off, adjust the spacing or sag before finalizing.
Step 4: Protect Cables and Outlets
To prevent tripping hazards, run extension cords along the ground and cover them with a cord protector or gutter channel. If you’re using an outdoor outlet, make sure it’s GFCI-protected (this shuts off power if it detects a fault).
For a cleaner look, consider burying cables under mulch or running them along a fence or wall.
Maintenance and Safety Tips
Regular Inspections
Outdoor lights take a beating from the elements, so it’s important to check them regularly. Look for:
- Frayed or damaged wires
- Loosened anchors or hooks
- Water damage or corrosion
Replace any damaged bulbs or cords immediately to avoid safety hazards.
Seasonal Care
If you live in an area with harsh winters, consider taking your lights down during the off-season. Store them in a dry, cool place to prevent damage. For year-round installations, invest in heavy-duty lights and check them every few months.
Fire and Electrical Safety
Never overload circuits or use indoor lights outdoors. Keep lights away from flammable materials like dry leaves or paper, and avoid running cords under rugs or furniture. If you notice any sparking, overheating, or strange smells, unplug the lights immediately and inspect them.
Data Table: Recommended String Lights for Different Needs
| Use Case | Recommended Type | Key Features | Price Range |
|---|---|---|---|
| Patio or Deck | LED Globe Lights | Weatherproof, warm white, 50-foot length | $20-$50 |
| Garden or Trees | LED Fairy Lights | Flexible wire, battery-powered, 33-foot length | $15-$40 |
| Permanent Installation | Commercial-Grade LED | 18-gauge wire, shatterproof bulbs, 100-foot length | $60-$100 |
| Budget-Friendly | Incandescent Mini Lights | Classic look, 25-foot length, connectable | $10-$25 |
| Eco-Friendly | Solar-Powered LEDs | Auto-on at dusk, 20-foot length, no wiring | $25-$60 |
Final Thoughts: Creating Your Outdoor Oasis
Installing outdoor string lights is one of the easiest ways to elevate your outdoor space, but it’s also a project that rewards patience and attention to detail. Whether you’re going for a romantic, boho vibe or a bright, festive look, the right lights can make all the difference. Remember: start with a clear plan, choose high-quality lights, and take the time to install them properly. The effort will pay off every time you step outside and see your space transformed.
And don’t be afraid to experiment! String lights are forgiving—if you don’t like the first layout, you can always adjust it. The goal isn’t perfection; it’s creating a space where you love to spend time. So grab your lights, gather your tools, and get ready to make some magic. Your backyard (or balcony, or patio) is waiting to shine.
Frequently Asked Questions
How do I install string lights outdoors without damaging my walls or roof?
Use removable adhesive hooks, gutter clips, or tension wires to hang string lights without nails or screws. These methods protect surfaces while providing secure support for your outdoor setup.
What’s the best way to install outdoor string lights for a permanent setup?
For a long-term installation, use weatherproof mounting hardware like screw-in hooks or eye bolts spaced 2–3 feet apart. Ensure the lights are rated for permanent outdoor use and follow local electrical codes.
Can I connect multiple string lights together for a larger area?
Yes, but check the manufacturer’s guidelines for maximum wattage or strand limits. Overloading circuits can cause overheating, so use a power strip with a built-in circuit breaker for safety.
How to install string lights outdoors on a patio or pergola?
Attach lights to beams, railings, or overhead structures using zip ties, S-hooks, or specialized pergola clips. Keep bulbs spaced evenly and run extension cords discreetly along edges to avoid tripping hazards.
What type of string lights are safest for outdoor use?
Choose lights labeled “UL-listed for outdoor use” with waterproof or weather-resistant ratings (IP65 or higher). LED string lights are ideal—they’re energy-efficient and stay cool to the touch.
How do I avoid tangles when installing outdoor string lights?
Unroll lights completely before hanging and use a reel or hanger to keep them organized during setup. Plan your layout first to minimize adjustments and reduce knotting risks.

