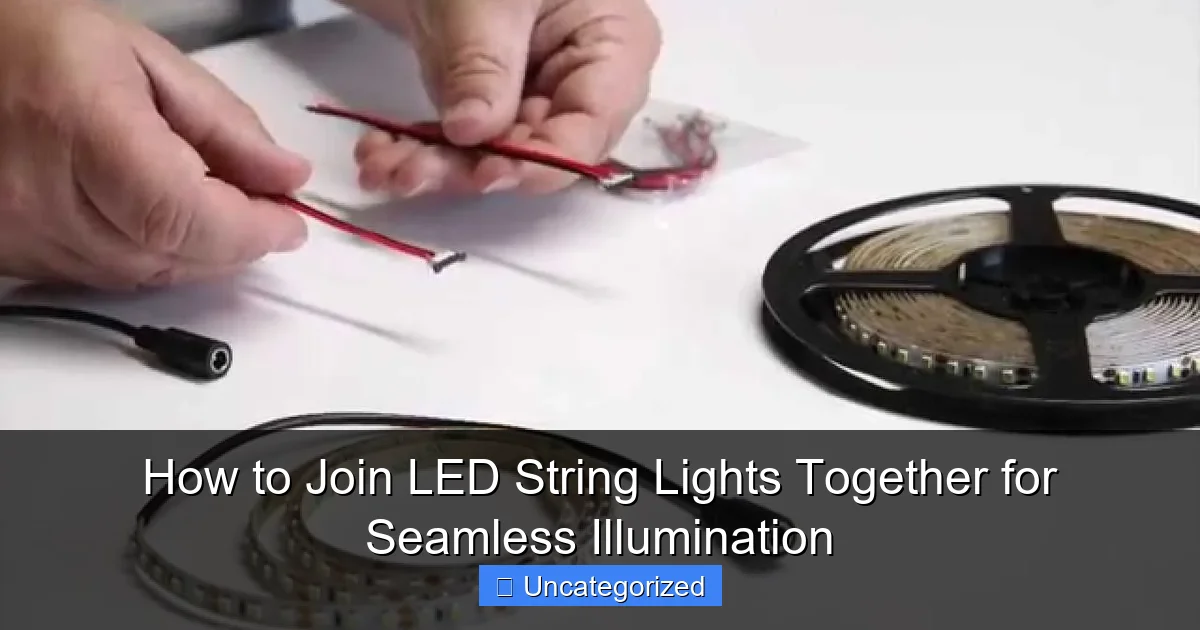
Featured image for how to join led string lights together
Image source: i.ytimg.com
Connecting LED string lights is simple and safe when you use compatible connectors and ensure power is off before starting. Match voltage and plug types, then use waterproof connectors or soldering for a secure, seamless link. Always test the circuit after joining to confirm uninterrupted illumination.
“`html
How to Join LED String Lights Together for Seamless Illumination
Key Takeaways
- Match voltage and type: Ensure compatibility to prevent damage or dim lighting.
- Use connectors: Securely join wires with waterproof or twist-on connectors.
- Cut carefully: Strip wires properly for clean, reliable connections.
- Seal connections: Apply heat shrink tubing to protect against moisture.
- Test before finalizing: Check lights work before securing or mounting.
- Limit length: Avoid overloading circuits by following manufacturer guidelines.
Why This Matters / Understanding the Problem
You’ve got a beautiful outdoor patio, a cozy bedroom nook, or a festive holiday display in mind—but your LED string lights just won’t reach far enough. The gaps between strands ruin the magic. That’s where knowing how to join LED string lights together for seamless illumination comes in.
Whether you’re decorating for a wedding, creating a year-round ambiance, or just trying to light up a long fence, connecting multiple strands without dimming, flickering, or overloading your power source is key. Many people assume you can just plug one into another and call it a day—but that’s not always safe or effective.
Some LED lights are designed to be linked end-to-end, while others require special connectors, power injection, or even smart hubs. Without the right approach, you risk blown fuses, uneven brightness, or even fire hazards. This guide walks you through every method, so you can achieve smooth, uninterrupted lighting that looks professional and lasts.
What You Need
Before diving in, gather the right tools and materials. The exact items depend on your LED type, but here’s a general checklist:
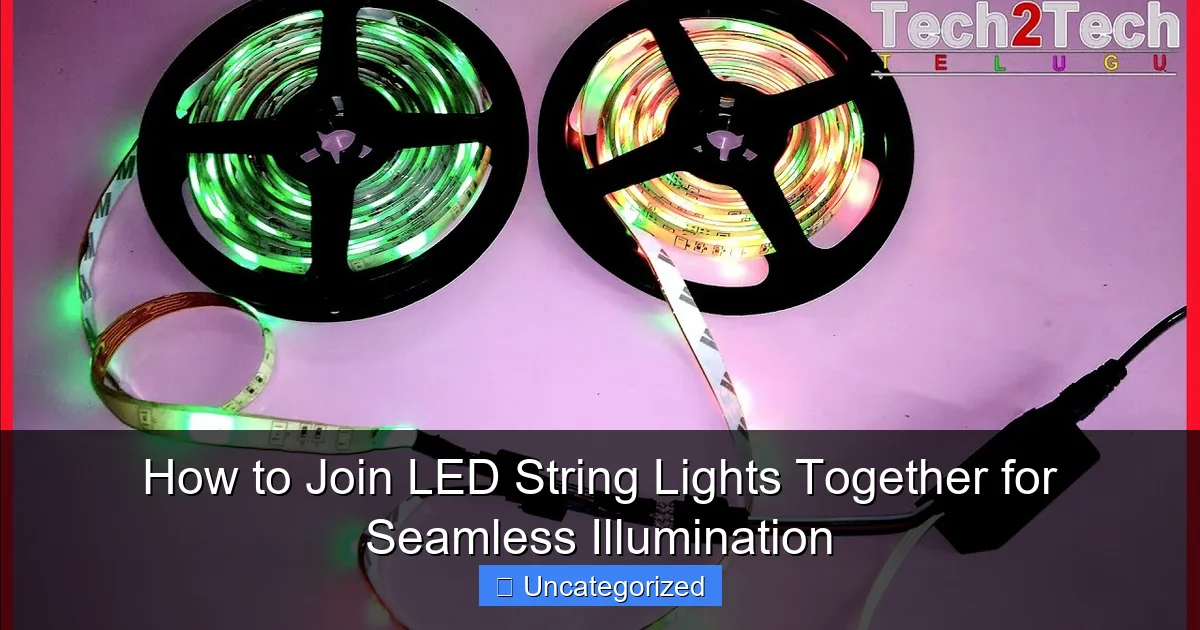
Visual guide about how to join led string lights together
Image source: i.ytimg.com
- LED string lights (compatible for linking—check packaging)
- Extension cords (outdoor-rated if used outside)
- Weatherproof connectors or couplers (for outdoor use)
- Power injection kits (for long runs of 25+ feet)
- Zip ties or mounting clips (to secure connections)
- Electrical tape (for sealing outdoor joints)
- Multimeter (optional) (to test voltage drop)
- Timer or smart plug (recommended) (for energy efficiency)
Pro Tip: Always check the manufacturer’s label on your lights. Look for “end-to-end connectable” or “max 3 strands” to avoid overloading.
Understanding your lights’ voltage, wattage, and maximum link count is crucial. Most 120V plug-in LED strands can handle 2–3 connections, but low-voltage (24V/12V) or addressable RGB lights may need power injection. This guide covers all scenarios so you can master how to join LED string lights together for seamless illumination—safely and beautifully.
Step-by-Step Guide to How to Join LED String Lights Together for Seamless Illumination
Step 1: Identify Your LED String Light Type
Not all LED lights are created equal. Start by determining what kind you have—this affects every step after.
- Plug-in (120V) non-addressable LEDs: Common for indoor/outdoor use. Often labeled “connectable” with male/female plugs.
- Low-voltage (12V/24V) LEDs: Used in landscaping or under cabinets. Require a transformer and may need power injection.
- Addressable RGB (e.g., WS2811, SK6812): Smart lights with individual control. Often used for color-changing displays.
- USB-powered LEDs: Great for small spaces. Can be chained via USB hubs or splitters.
Check the product manual or packaging for details. If it says “max 3 strands,” don’t connect a fourth. For how to join LED string lights together for seamless illumination, knowing your type prevents costly mistakes.
Warning: Never connect high-voltage (120V) and low-voltage (12V) lights. The mismatch can damage both and create safety risks.
Step 2: Check the Maximum Link Count and Wattage
Every string light has a maximum number of strands you can safely connect. Exceeding this causes voltage drop (dimming) or circuit overload (tripped breaker).
For example:
- Strand A: 50 LEDs, 12W, max 3 strands
- Strand B: 100 LEDs, 20W, max 2 strands
Add the wattage: 12W x 3 = 36W (safe under most 15-amp circuits). But 20W x 3 = 60W—still safe, but only if the manufacturer allows 3 links.
Use this formula:
Total wattage = (wattage per strand) × (number of strands)
Keep total under 80% of circuit capacity (e.g., 1440W for a 15A/120V circuit).
For low-voltage systems, check the amperage on your transformer. A 5A power supply can’t handle 10A of lights—even if they’re 12V.
This step is vital for how to join LED string lights together for seamless illumination without dimming or failure.
Step 3: Use Manufacturer-Designed Connectors (If Available)
The safest way to join lights is using the brand’s own connectors. Many companies like Philips Hue, GE, or Twinkly sell end-to-end couplers, T-connectors, or power injection ports.
For example:
- Philips Hue Lightstrip: Use the Hue Lightstrip Extender with a power-injector cable.
- GE Color Effects: Use the GE Link Coupler to connect up to 3 strands.
- Twinkly Strings: Use the Twinkly Link module for smart linking.
These connectors ensure:
- Proper voltage delivery
- Waterproofing (for outdoor models)
- Data continuity (for smart lights)
To install:
- Unplug all lights.
- Insert the male plug of Strand 1 into the female end of the coupler.
- Insert the male plug of Strand 2 into the other end.
- Secure with zip ties or clips to prevent pulling.
Manufacturer connectors are the gold standard for how to join LED string lights together for seamless illumination—especially for smart or outdoor setups.
Step 4: Use Universal Waterproof Connectors (For Outdoor or DIY Use)
No brand-specific connector? Use universal weatherproof LED couplers. These are great for DIYers or when mixing brands.
Look for:
- IP67-rated (dustproof and waterproof)
- 3-pin or 4-pin connectors (match your light’s pin count)
- Locking screw or snap-fit design
Installation steps:
- Cut the plug end off Strand 1 (if it’s not already bare).
- Strip 1/2 inch of insulation from the wires (usually black/white for 120V, red/black for 12V).
- Insert wires into the coupler’s terminals (match colors).
- Tighten the screws or snap the housing shut.
- Seal with electrical tape or silicone gel for extra protection.
Pro Tip: Use heat-shrink tubing over the connection before sealing for a professional, long-lasting joint.
Universal connectors work well for permanent outdoor installations. They’re a solid choice for how to join LED string lights together for seamless illumination in gardens, pergolas, or holiday displays.
Step 5: Add Power Injection for Long Runs (25+ Feet)
When you connect more than 25 feet of LED lights, the far end often gets dimmer. That’s voltage drop—caused by resistance in long wires.
Solution? Power injection. Instead of daisy-chaining, you feed power to multiple points along the line.
Best for:
- Long fence lines
- Large trees or arches
- Addressable RGB strips
How to do it:
- Use a Y-splitter or power injection kit (available for 12V/24V systems).
- Connect the main power supply to the first strand.
- At the 25-foot mark, add a second power cable from the same supply (or a second supply on the same circuit).
- Connect the second power cable directly to the +V and GND wires of the next strand.
- Keep data lines (if addressable) daisy-chained, but power lines split.
Example: For a 60-foot RGB strip, inject power at 0 ft, 30 ft, and 60 ft. This keeps brightness even across the whole run.
Power injection is essential for large-scale projects. It’s the secret to true how to join LED string lights together for seamless illumination without dimming.
Step 6: Use a Hub or Controller for Smart/Addressable Lights
If you’re using smart LEDs (like Philips Hue, Nanoleaf, or generic WS2812 strips), you need a central controller or hub to manage multiple strands.
Why?
- Smart lights use data signals (not just power).
- Each strand must be “seen” by the controller for color syncing.
- Too many strands can overload the data line.
Setup steps:
- Connect the first strand to the controller via data cable.
- Use a data amplifier if linking more than 2–3 strands.
- For long runs, use a repeater (like the WLED Repeater) to boost the signal.
- Power each strand locally (via power injection) to avoid voltage drop.
For brands like Twinkly, use the Twinkly Link module. For DIY, use an ESP32 or Arduino with WLED firmware.
Pro Tip: Label each strand (e.g., “Tree Left,” “Arch Right”) so you can control them individually in your app.
This method ensures your smart display is synchronized and vibrant—perfect for how to join LED string lights together for seamless illumination with full control.
Step 7: Secure and Weatherproof All Connections
A great connection is useless if it fails in the rain or wind. Protect every joint.
For outdoor use:
- Use silicone sealant around connectors (even IP-rated ones).
- Wrap with electrical tape in a “hose-wrap” pattern (overlap 50%).
- Elevate plugs off the ground using stakes or hooks.
- Use conduit for long wire runs near soil or water.
For indoor use:
- Use zip ties or clips to prevent tugs on plugs.
- Hide wires under baseboards or furniture.
- Use cord covers for a clean look.
Warning: Never bury connectors in mulch or soil unless they’re rated for direct burial. Moisture = short circuit.
Proper sealing ensures your lights last years, not months. This final step is crucial for how to join LED string lights together for seamless illumination that’s safe and durable.
Step 8: Test and Adjust for Uniform Brightness
After connecting, plug in and test.
What to look for:
- Even brightness from start to end.
- No flickering (sign of voltage drop or loose connection).
- All colors work (for RGB lights).
- No overheating (feel connectors after 10 minutes).
If lights dim at the end:
- Add power injection.
- Reduce the number of strands.
- Use a higher-gauge power supply cable (e.g., 14 AWG instead of 18 AWG).
Use a multimeter to check voltage at the far end. For 12V lights, it should read at least 11.5V. Below 10.5V? Add power.
Testing saves you from redoing the whole setup. It’s the key to flawless how to join LED string lights together for seamless illumination.
Pro Tips & Common Mistakes to Avoid
Pro Tip #1: Always unplug lights before connecting or cutting wires. Even low-voltage systems can spark.
Pro Tip #2: Use outdoor-rated extension cords with built-in GFCI for wet areas. They cut power if a short occurs.
Pro Tip #3: For trees or columns, use spiral wrapping instead of straight lines. It reduces strain on connections.
Common Mistake #1: Overloading circuits. A 15-amp circuit can handle 1,800W. But 30 strands at 10W each = 300W—safe, but add a heater and you’re over. Use a circuit checker.
Common Mistake #2: Ignoring voltage drop. A 10-foot strand may be bright, but 100 feet? Dim. Always plan for power injection on long runs.
Common Mistake #3: Using indoor connectors outdoors. They’ll corrode. Always use IP67-rated or sealed connectors.
Common Mistake #4: Mixing incompatible brands. A GE coupler won’t fit a Philips Hue strip. Stick to one ecosystem or use universal connectors.
Follow these tips, and your lighting will be safer, brighter, and longer-lasting. Mastering how to join LED string lights together for seamless illumination is all about planning and precision.
FAQs About How to Join LED String Lights Together for Seamless Illumination
Q: Can I connect LED string lights from different brands?
A: Only if they use the same voltage and connector type. For 120V plug-in lights, use universal waterproof couplers to join brands. For smart lights, mixing brands usually breaks app control. Stick to one ecosystem for best results.
Q: Why do my connected lights dim at the end?
A: Voltage drop from long wire runs. Fix it by: 1) Reducing the number of strands, 2) Using thicker power cables, 3) Adding power injection every 25 feet. This is a classic issue when learning how to join LED string lights together for seamless illumination.
Q: Can I cut and splice LED string lights?
A: Yes, but only at designated cut points (marked by scissors icon). Use weatherproof splices and seal with silicone. Never cut between LEDs—it breaks the circuit. Best for custom lengths, not linking.
Q: How many LED strands can I safely connect?
A: Check the label. Most 120V strands allow 2–3. For low-voltage, calculate total amps: (wattage per strand ÷ voltage) × strands ≤ power supply amps. Example: 12V, 5W strands on a 2A supply = max 4 strands.
Q: Do I need a special controller for RGB lights?
A: Yes. Addressable RGB lights need a data controller (e.g., WLED, Hue Bridge) to sync colors. Power alone won’t work. Use data amplifiers for more than 2–3 strands.
Q: Are there wireless ways to link LED lights?
A: Yes! Smart lights like Philips Hue or LIFX use Wi-Fi or Zigbee. They don’t need physical links. Just add each strand to the app. Great for renters or temporary setups.
Q: Can I leave connected LED lights outside all year?
A: Only if they’re weatherproof (IP65+) and connections are sealed. Use silicone, conduit, and GFCI cords. Remove in winter if not rated for freezing temps.
Final Thoughts
Mastering how to join LED string lights together for seamless illumination transforms your space—from a dim, patchy display to a glowing, professional setup. Whether you’re lighting a wedding arch, a backyard, or a holiday tree, the right connections make all the difference.
Remember: Know your light type, check max links, use proper connectors, inject power for long runs, and seal everything. Skip the shortcuts. Take the time to do it right.
Start small. Test one connection. Then scale up. And when you’re done, stand back and admire the smooth, even glow—no gaps, no dim spots, just pure ambiance.
Now go create something beautiful. Your perfect lighting setup is just a few connections away.
“`

