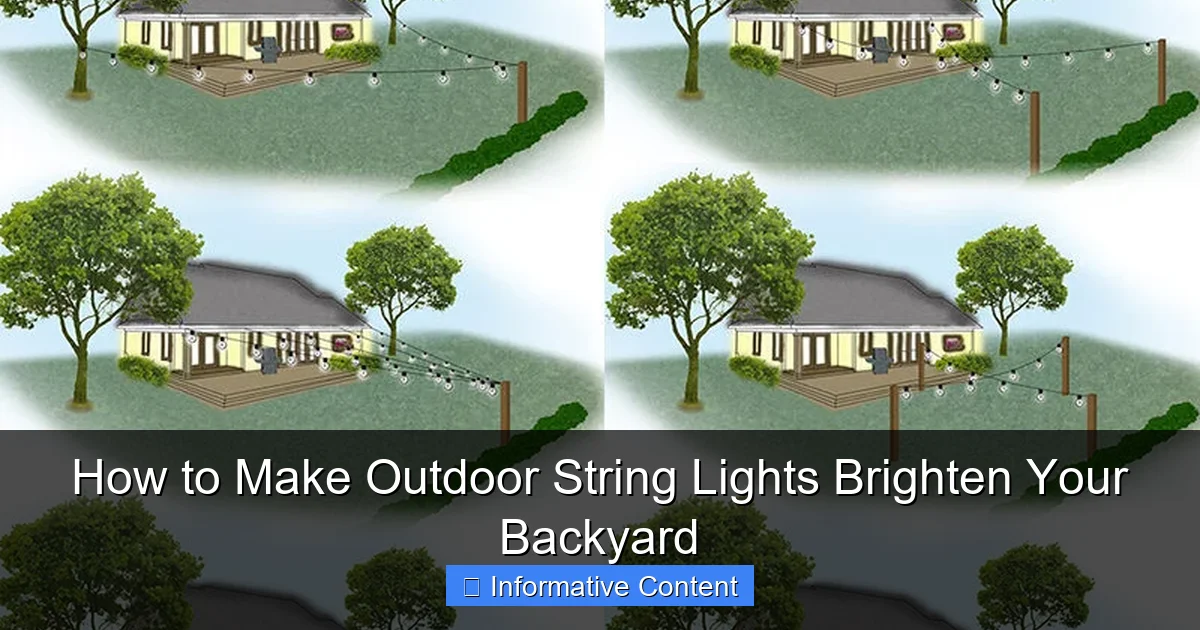
Featured image for how to make outdoor string lights
Image source: img.yardenvy.com
Transform your backyard into a glowing oasis by choosing high-lumen, weather-resistant string lights and positioning them strategically along fences, trees, or pergolas for maximum impact. Use dimmers, timers, or smart controls to adjust brightness and set the perfect mood, while layering lights at different heights creates depth and ambiance. Proper spacing and avoiding daisy-chaining too many strands ensures consistent, brilliant illumination all night long.
Key Takeaways
- Choose LED bulbs: Opt for energy-efficient, bright LEDs with high lumens for maximum impact.
- Measure your space: Plan layout and spacing to avoid gaps or overcrowded lighting.
- Use dimmers or timers: Control brightness and schedule for ambiance and energy savings.
- Install at varying heights: Add depth and dimension by layering lights across levels.
- Weatherproof connections: Protect wiring and plugs with covers for long-term durability.
- Mix string styles: Combine globe, vintage, or fairy lights for visual interest.
📑 Table of Contents
- How to Make Outdoor String Lights Brighten Your Backyard
- 1. Planning Your Outdoor String Light Design
- 2. Choosing the Right Materials and Tools
- 3. Step-by-Step Installation Guide
- 4. Creative Design Ideas to Elevate Your Lights
- 5. Maintenance and Safety Tips
- 6. Cost Breakdown and Budget-Friendly Tips
How to Make Outdoor String Lights Brighten Your Backyard
There’s something magical about stepping into a backyard after sunset, where soft, twinkling lights dance above your head like stars brought down to earth. I remember the first time I strung up my own outdoor lights—it was a warm summer evening, the air smelled of grilled burgers and fresh-cut grass, and as the sun dipped below the trees, I flipped the switch. Instantly, the yard transformed into a cozy, inviting haven. It wasn’t just the glow; it was the mood, the ambiance, the sense of celebration. That moment sparked my love for DIY outdoor lighting, and now, I want to share how you can create that same magic in your own space.
Making your own outdoor string lights isn’t just about saving money (though that’s a nice bonus). It’s about customization, creativity, and crafting an atmosphere that reflects your personal style. Whether you’re hosting a backyard barbecue, enjoying a quiet evening with a book, or throwing a birthday party under the stars, the right lighting sets the tone. And the best part? You don’t need to be an electrician or a DIY expert. With a few simple tools, some thoughtful planning, and a little elbow grease, you can make outdoor string lights that are safe, stylish, and perfectly suited to your space. Let’s dive into how you can bring that dream to life.
1. Planning Your Outdoor String Light Design
Before you start hammering in hooks or untangling wires, take a step back and plan. A little forethought goes a long way in making your outdoor string lights both beautiful and functional. Think of this as sketching the blueprint of your backyard ambiance.
Assess Your Space and Layout
Start by walking through your yard at night—yes, really. Use a flashlight or your phone’s light to map out where shadows fall, where people tend to gather, and where natural features like trees, pergolas, or fences can support lights. For example, in my backyard, I noticed the seating area near the patio was always too dark, while the path to the garden shed was poorly lit. That helped me decide where to focus the lighting.
Ask yourself:
- Do you want ambient lighting (soft, general glow) or task lighting (brighter, focused areas like dining tables)?
- Are there existing structures (trees, eaves, railings) you can use, or will you need to install poles?
- How far apart should the lights be spaced? (Most string lights are spaced 12–18 inches apart, but this depends on bulb size and brightness.)
Choose the Right Lighting Style
Not all string lights are created equal. Here are a few popular styles and when they work best:
- Edison bulbs: Warm, vintage vibe—great for bistros, patios, or rustic backyards. They’re larger and more expensive but add character.
- Mini LED lights: Energy-efficient, long-lasting, and subtle. Ideal for wrapping around trees or outlining pathways.
- Fairy lights: Delicate and whimsical—perfect for draping over bushes or weaving through pergolas.
- Bulb string lights (S14 or G40): The classic choice. These are the kind you see at outdoor weddings. They’re weather-resistant and come in warm or cool white.
Pro tip: If you’re unsure, buy a small test strand and hang it temporarily to see how it looks at night. I once bought 50 feet of cool white LEDs, only to realize they gave my yard a hospital-like glow. Switching to warm white (2700K) made all the difference.
Calculate the Length and Power Needs
Measure the total distance you want to cover. Add 10–15% extra for slack (draping, wrapping, or adjusting). For example, if your patio is 30 feet long, buy at least 35 feet of lights.
Also, check how many strands you can safely connect. Most outdoor string lights allow 2–5 strands in a chain, depending on wattage. Exceeding this can overload the circuit and create a fire hazard. Always check the manufacturer’s instructions.
2. Choosing the Right Materials and Tools
Now that you’ve got a vision, it’s time to gather your supplies. The right tools and materials ensure your outdoor string lights are safe, durable, and easy to install.
Essential Tools
You’ll need:
- Measuring tape: For precise placement.
- Drill and drill bits: For installing hooks or poles. A cordless drill is ideal.
- Hammer: For driving in ground stakes or nails.
- Staple gun (outdoor-rated): To secure wires to wooden surfaces. Use plastic staples—metal ones can damage wires.
- Extension cords (outdoor, grounded): Make sure they’re rated for outdoor use and have GFCI protection.
- Wire clips or zip ties: For managing slack and keeping cords tidy.
- Ladder: For reaching high areas (safely!).
Choosing Weather-Resistant Lights
Outdoor lights face sun, rain, wind, and temperature swings. Look for:
- IP65 or higher rating: This means the lights are dust-tight and protected against water jets.
- UV-resistant cords: Prevents yellowing or cracking from sun exposure.
- UL or ETL certification: Ensures the product meets safety standards.
- Low-voltage (12V) options: Safer and more energy-efficient, especially for long-term use.
My experience: I once bought cheap string lights from a discount store. After one rainy season, the bulbs started flickering, and the cord cracked near the plug. Lesson learned—invest in quality. Brands like GE, Philips, and Brightech are reliable for outdoor use.
Support Structures: Hooks, Poles, and Anchors
You’ll need something to hang the lights from. Options include:
- Eye hooks (stainless steel or galvanized): Screw into wood (fences, pergolas). Use a hook every 3–5 feet to prevent sagging.
- Ground poles (metal or PVC): Great for open areas. Use a post-hole digger to set them 1–2 feet deep, then fill with concrete for stability.
- Zip ties or cable clips: For attaching lights to trees or railings. Use UV-resistant ties so they don’t break down in the sun.
- Adhesive hooks (for smooth surfaces): Use outdoor-rated versions on stucco or vinyl siding.
Tip: Avoid using nails or screws on trees—they can damage bark and invite pests. Instead, use flexible straps or tree-friendly clips.
3. Step-by-Step Installation Guide
Now comes the fun part: putting it all together. Follow these steps to install your outdoor string lights safely and effectively.
Step 1: Install Support Points
Start with the end points (e.g., house to tree, pole to pole). Use a level to ensure hooks or poles are aligned. For wooden structures, pre-drill holes to prevent splitting. For metal poles, use a drill with a metal bit.
Example: In my backyard, I installed two metal poles (6 feet tall) on either side of the patio. I dug holes 18 inches deep, inserted the poles, and filled them with quick-setting concrete. After 24 hours, they were rock-solid.
Step 2: String the Lights
Unroll the lights and lay them out on the ground to check for damage. Plug them in to test each bulb. Now, start hanging:
- For hooks: Clip the light strand’s loops or S-hooks onto the eye hooks. Space them 3–5 feet apart.
- For poles: Attach the lights using zip ties or hooks at the top. Let the strand drape slightly for a relaxed look.
- For trees: Wrap lights gently around the trunk or branches. Use zip ties to secure the cord every 2–3 feet.
Pro tip: Leave a little slack between points so the lights don’t pull tight in the wind. A 10–15% sag is ideal.
Step 3: Manage Cords and Power
Route extension cords along the ground or up a wall, using outdoor-rated staples or clips. Avoid running cords across high-traffic areas (tripping hazard). Use a GFCI outlet or outlet cover to protect against moisture.
If you’re using multiple strands, connect them end-to-end (if the manufacturer allows). For longer runs, use a power distribution block to split the load safely.
Step 4: Secure and Test
Double-check all connections. Use wire clips to keep cords neat and prevent tripping. Turn on the lights at night to check for dark spots or flickering bulbs. Replace any faulty bulbs immediately.
My mistake: I once forgot to test a strand before hanging it—turns out, one bulb was dead. It was frustrating to take it down and fix it later. Now, I test everything first!
4. Creative Design Ideas to Elevate Your Lights
Your outdoor string lights don’t have to be a straight line. With a little creativity, you can turn them into a focal point.
Pattern Play: Zigzags, Canopies, and More
Instead of a single line, try:
- Zigzag pattern: Hang lights diagonally between two points for a dynamic look.
- Canopy effect: Create a grid of lights over a seating area (like a ceiling of stars).
- Layered lighting: Combine string lights with lanterns or path lights for depth.
Example: For a friend’s wedding, I strung lights in a crisscross pattern over the dance floor. It felt like a fairy-tale ballroom.
Wrap and Drape: Using Nature
Wrap lights around:
- Tree trunks: Use a spiral pattern from base to canopy.
- Bushes and shrubs: Weave lights through branches for a glowing effect.
- Pergolas or gazebos: Drape lights along the beams or hang them in clusters.
Tip: For a romantic touch, add sheer fabric (like tulle) between lights. It diffuses the glow and adds softness.
Themed Lighting
Match your lights to your backyard’s vibe:
- Tropical: Use colorful bulbs or paper lanterns with string lights.
- Farmhouse: Pair Edison bulbs with mason jars.
- Modern: Opt for sleek, minimalist LED strips under railings.
5. Maintenance and Safety Tips
Good lighting isn’t a one-and-done project. A little upkeep keeps your outdoor string lights shining bright for years.
Regular Cleaning and Inspection
At least twice a year:
- Turn off the power and unplug lights.
- Wipe bulbs and cords with a damp cloth to remove dust, pollen, or bird droppings.
- Check for frayed wires, loose connections, or cracked plugs. Replace damaged parts immediately.
- Inspect support points (hooks, poles) for rust or instability.
My routine: Every spring and fall, I spend 30 minutes checking my lights. It’s saved me from bigger issues down the road.
Weatherproofing and Winter Care
For areas with harsh winters:
- Remove lights: If they’re not rated for extreme cold, take them down before snow arrives.
- Store properly: Coil lights loosely and store in a dry, temperature-controlled space. Use a plastic bin to prevent tangling.
- Use covers: For permanent installations, install outlet covers or use weatherproof junction boxes.
Safety First: Avoiding Common Hazards
Never:
- Use indoor-rated lights outdoors.
- Overload circuits (check wattage limits).
- Run cords under rugs or through doorways.
- Hang lights near flammable materials (dry leaves, curtains).
Important: If you’re unsure about electrical work, consult a licensed electrician. Safety isn’t worth cutting corners.
6. Cost Breakdown and Budget-Friendly Tips
Let’s talk money. You don’t need to break the bank to create stunning outdoor lighting.
Here’s a sample cost breakdown for a 50-foot setup (patio to tree):
| Item | Quantity | Estimated Cost |
|---|---|---|
| Outdoor string lights (50 ft, LED, warm white) | 1 strand | $30–$60 |
| Stainless steel eye hooks | 10 | $10 |
| Extension cord (25 ft, outdoor-rated) | 1 | $15 |
| Wire clips or zip ties (UV-resistant) | 20 | $5 |
| Drill bits (for wood/metal) | 1 set | $10 (if not already owned) |
| Total | $70–$100 |
Budget-friendly tips:
- Buy lights off-season (after holidays) for discounts.
- Use existing structures (trees, fences) to avoid buying poles.
- Repurpose indoor string lights (if you’re careful about weatherproofing).
- Start small—add more lights later as your budget allows.
My hack: I found a set of used string lights at a garage sale for $10. They needed new bulbs, but the cord was in great shape. Saved me $40!
Creating your own outdoor string lights is more than a DIY project—it’s a way to shape your outdoor experience. From the first sketch of your design to the final test at night, every step brings you closer to a space that feels uniquely yours. Whether you’re lighting a cozy nook or a sprawling backyard, the glow of your handmade lights will turn ordinary evenings into something special. So grab your tools, trust your creativity, and let your backyard shine. After all, the best memories are made under the stars—or in this case, under your very own twinkling lights.
Frequently Asked Questions
How do I choose the right bulbs for DIY outdoor string lights?
Opt for weatherproof, shatter-resistant LED bulbs with an IP65 rating or higher for durability. Warm white (2700K-3000K) creates a cozy ambiance, while vintage Edison bulbs add rustic charm to your outdoor string lights.
Can I make outdoor string lights without electrical wiring skills?
Absolutely! Use plug-in-ready string light kits with pre-attached sockets and cords—just add bulbs and secure them to your space. Solar-powered options are also great for no-wiring setups.
What’s the best way to hang outdoor string lights safely?
Use sturdy anchor points like pergolas, trees with cable hooks, or tension wires between poles. Ensure lights hang 8–10 feet high to avoid hazards and maintain even spacing between bulbs.
How do I power my outdoor string lights without nearby outlets?
Solar-powered string lights are ideal for off-grid areas, or use a heavy-duty outdoor extension cord (16-gauge or lower) to reach distant outlets. Always check local electrical codes.
Can I customize the length of my outdoor string lights?
Yes! Modular LED string lights let you connect multiple strands end-to-end, or cut-to-length kits allow trimming to fit your space. Just follow the manufacturer’s instructions to avoid damage.
How do I weatherproof my DIY outdoor string lights?
Seal socket connections with silicone caulk and use UV-resistant cords. Store plugs in waterproof boxes, and unplug during extreme weather to prolong the life of your outdoor string lights.

