Featured image for how to make patio light strings
Image source: uplightrentals.com
Transform your outdoor space effortlessly by making custom patio light strings in 2026 with simple, affordable materials and smart LED technology. This easy guide walks you through selecting weather-resistant bulbs, spacing them evenly, and safely connecting strands using plug-and-play connectors or solar-powered options. With minimal tools and a creative touch, you’ll craft a dazzling, energy-efficient ambiance perfect for entertaining or relaxing.
How to Make Patio Light Strings in 2026 Easy Guide
Key Takeaways
- Plan your layout: Measure patio space first for perfect light string placement.
- Choose weatherproof lights: Opt for durable, outdoor-rated bulbs to ensure longevity.
- Use proper tools: Install hooks or clips every 12 inches for secure hanging.
- Layer lighting: Combine string lights with lanterns for ambiance and brightness.
- Test before hanging: Check all bulbs work to avoid mid-installation surprises.
- Time it right: Install during dry weather to prevent electrical hazards.
Why This Matters / Understanding the Problem
Let’s be honest: nothing beats the warm, cozy glow of patio light strings on a summer evening. Whether you’re hosting a backyard BBQ, enjoying a quiet night with a book, or just unwinding after a long day, those twinkling lights instantly transform your outdoor space into a personal sanctuary.
But here’s the thing—pre-made string lights are expensive, often limited in style, and sometimes don’t quite fit your patio’s layout. I learned this the hard way when I tried to hang store-bought lights across my 20-foot pergola and ended up with a tangled mess and a $150 bill.
That’s when I discovered the joy of how to make patio light strings in 2026 easy guide—a DIY approach that saves money, lets you customize the look, and actually lasts longer than most commercial options. And yes, it’s easier than it sounds.
The best part? You don’t need to be an electrician or a DIY pro. With a few smart choices and some basic tools, you can create a stunning, weather-resistant lighting setup that looks professional and feels personal. This guide walks you through every step—no fluff, just real, practical advice.
Whether you’re lighting up a small balcony, a sprawling backyard, or a cozy nook, this how to make patio light strings in 2026 easy guide gives you the tools, tips, and confidence to do it right.
What You Need
Before we dive in, let’s gather your supplies. Think of this like prepping for a fun weekend project—nothing too technical, just a few essentials to get started.
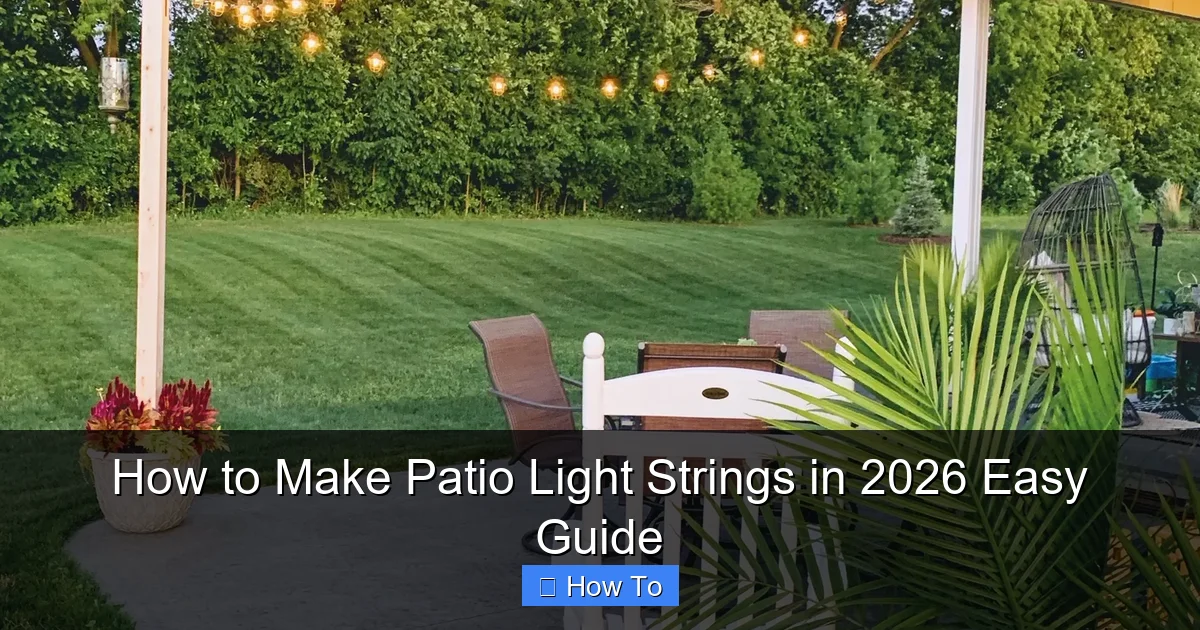
Visual guide about how to make patio light strings
Image source: i1.wp.com
- LED string lights (commercial-grade or outdoor-rated): Choose 24V or 12V low-voltage LEDs with waterproof connectors. I prefer S14 or G40 bulbs for a vintage look, but mini LEDs work great for subtle ambiance.
- Low-voltage transformer (12V or 24V, 30–60W): This is your power source. Match it to your total wattage needs (more on that later).
- Outdoor-rated extension cord (if needed): Use a GFCI-protected cord for safety, especially near water sources.
- Mounting hardware: Stainless steel eye screws, zip ties, or outdoor-rated adhesive clips. Avoid plastic clips in direct sun—they crack fast.
- Measuring tape and level: For spacing and straight lines. Trust me, crooked lights ruin the vibe.
- Wire cutters/strippers: For custom cable runs (if you’re extending or splicing).
- Weatherproof junction box (optional): If you’re splicing wires, use this to protect connections from rain.
- Timer or smart plug (optional): Set your lights to turn on at sunset and off at midnight. No more forgetting to unplug!
Pro Insight: I once used regular indoor string lights outside—big mistake. After one storm, the whole strand died. Always use outdoor-rated lights and components. It’s worth the small extra cost.
You don’t need fancy tools. A ladder, a drill (if installing into wood or concrete), and a helper (for long runs) are helpful, but not mandatory. This how to make patio light strings in 2026 easy guide is designed for beginners, so keep it simple.
Step-by-Step Guide to How to Make Patio Light Strings in 2026 Easy Guide
Step 1: Plan Your Layout and Measure Carefully
Start by sketching your patio or outdoor space. Where do you want the lights? Along the roofline? Over a pergola? In a zigzag pattern across the yard?
Measure the total distance you’ll cover. For example, if you’re going around a rectangular patio that’s 15 ft long and 10 ft wide, you’ll need at least 50 ft of light string (add 10% extra for curves and connections).
Use painter’s tape to mark anchor points on walls, beams, or posts. This helps you visualize the final look before drilling or installing.
Pro tip: Avoid running lights over high-traffic areas where people might bump into them. I once hung a strand too low and my dog knocked it down every time he ran by—lesson learned.
Step 2: Choose the Right Type of Light String
Not all string lights are created equal. For a durable, long-lasting setup, go with commercial-grade LED string lights designed for outdoor use.
- Bulb Type: S14 or G40 bulbs give that classic café vibe. Mini LEDs are great for a soft, starry-night effect.
- Voltage: 12V or 24V low-voltage systems are safer and more efficient than 120V. They’re also easier to install and use less energy.
- Connectors: Look for IP65 or higher waterproof rating. Sealed connectors prevent moisture damage—critical for longevity.
- Spacing: 6–12 inches between bulbs is ideal. Closer spacing = brighter; wider = more spread-out glow.
I recommend starting with a 25-ft strand and testing it. If you need more, you can connect multiple strands—just don’t exceed the transformer’s max wattage (check the label).
This step is key in any how to make patio light strings in 2026 easy guide: picking the right lights saves you time, money, and frustration down the road.
Step 3: Select and Install a Low-Voltage Transformer
Your transformer is the brain of the system. It converts 120V household power to 12V or 24V, making the lights safe and energy-efficient.
- Calculate total wattage: Multiply the number of bulbs by watts per bulb. Example: 30 bulbs × 0.5W = 15W total.
- Choose a transformer with 20–30% extra capacity. So for 15W, get a 30W model. This prevents overheating and extends lifespan.
- Install the transformer near an outdoor GFCI outlet. Use a weatherproof cover to protect it from rain.
Plug the transformer into the outlet, then connect the light string to the output terminal. Most transformers have screw-down terminals or quick-connect plugs—follow the manual.
Test the lights now. If they flicker or don’t turn on, double-check connections and ensure the transformer is rated for your total load.
Step 4: Mount Anchor Points for Your Lights
Now it’s time to secure your lights. The method depends on your surface:
- Wood or pergola: Use stainless steel eye screws. Pre-drill holes to prevent splitting. Space them every 3–5 ft for support.
- Masonry or stucco: Use masonry screws with anchors. A hammer drill makes this easier, but a regular drill with the right bit works too.
- Metal railings or fences: Use UV-resistant zip ties. They won’t rust or scratch the surface.
- No drilling? Try adhesive clips: 3M outdoor-rated clips hold up to 2 lbs per clip. Great for rentals or temporary setups.
Use a level to ensure your anchor points are even. A crooked line looks messy, even if the lights are beautiful.
For long runs, add intermediate support every 8–10 ft. Sagging lights not only look bad—they put strain on connectors and can short out.
Step 5: Hang the Light String Securely
Now comes the fun part: hanging the lights. Start at one end and work your way to the other.
- Attach the first bulb socket to the first anchor point. Don’t pull too tight—leave a little slack for expansion in heat.
- Work your way down, securing each socket or bulb to the next anchor. Use zip ties, hooks, or clips—whatever your anchors allow.
- For a draped or “catenary” look (popular in bistro lighting), create a gentle curve between anchor points. This adds visual interest and reduces wind stress.
- If connecting multiple strands, use waterproof end caps or junction boxes. Never leave open connectors exposed.
Take breaks and step back to check the spacing. Adjust as needed. I like to walk around and view the lights from different angles—sometimes a slight tweak makes all the difference.
Step 6: Test, Adjust, and Secure All Connections
Once everything is hung, plug in the transformer and turn on the lights.
- Check for flickering, dim spots, or dead bulbs. Replace any faulty bulbs or sockets.
- Inspect all connections—especially splices or junctions—for moisture exposure. If you see condensation, seal with silicone or use a junction box.
- Adjust the height or tension if lights are too low, too high, or sagging.
- Use cable clips or conduit (for exposed runs) to protect wires from UV damage and critters.
Let the lights run for 30 minutes. Feel the wires and transformer. They should be warm but not hot. If anything’s overheating, unplug and troubleshoot.
This is a crucial step in any how to make patio light strings in 2026 easy guide: testing ensures safety, performance, and longevity.
Step 7: Add Smart Controls (Optional but Recommended)
Want to make your lights even easier to use? Add automation.
- Timer: Plug the transformer into an outdoor mechanical timer. Set it to turn on at dusk and off at 10 PM. No more forgetting!
- Smart plug: Use a Wi-Fi-enabled smart plug (like Kasa or Meross). Control lights with your phone or voice assistant (“Hey Google, turn on patio lights”).
- Dusk-to-dawn sensor: Some transformers have built-in sensors. Lights turn on automatically when it gets dark.
I use a smart plug with a schedule. It turns on at sunset and off at midnight—perfect for evening relaxation. Plus, it helps save energy.
Bonus: Some smart plugs track energy usage. You’ll be surprised how little power LED string lights actually use.
Step 8: Maintain and Store (When Needed)
Even the best setup needs care. Here’s how to keep your lights in top shape:
- Seasonal check: Before each season, inspect for loose bulbs, frayed wires, or damaged connectors.
- Clean bulbs: Wipe with a dry microfiber cloth. Avoid water on sockets.
- Store properly: If you remove lights in winter, coil them loosely and store in a dry, dark place. Use a plastic bin with silica gel packs to prevent moisture.
- Replace bulbs promptly: A single dead bulb can affect the whole strand in some systems. Keep spares on hand.
I learned this the hard way when a squirrel chewed through my wire. Now I use conduit for exposed runs—problem solved.
Pro Tips & Common Mistakes to Avoid
After years of DIY lighting projects, I’ve picked up a few tricks—and made plenty of mistakes. Here’s what I wish I knew earlier:
Pro Tip 1: Use low-voltage (12V/24V) systems. They’re safer, more efficient, and easier to install than 120V lights. Plus, you can run longer strands without overloading the circuit.
Pro Tip 2: Buy extra bulbs and connectors. I keep a small kit with 5 spare bulbs, 2 end caps, and a few zip ties. Saves a midnight trip to the store.
Pro Tip 3: Plan for expansion. Install anchor points a little farther apart than you think you’ll need. If you want to add more lights later, you won’t have to drill new holes.
Pro Tip 4: Use a dimmer (if available). Some LED strings work with dimmable transformers. Lower the brightness for cozy nights or increase it for parties.
Common Mistake 1: Overloading the transformer. I once connected 50 bulbs to a 30W transformer—lights dimmed, transformer overheated. Always stay under max wattage.
Common Mistake 2: Ignoring wind and weather. Lights that flap in the wind wear out faster. Use extra support in windy areas. I add a second zip tie every 10 ft on my pergola.
Common Mistake 3: Using indoor lights outdoors. The plastic housing cracks, wires corrode, and bulbs fail. Always use outdoor-rated products—even for covered patios.
Common Mistake 4: Skipping the test run. I’ve hung lights, plugged them in, and realized a bulb was loose. Test before final installation. Saves time and frustration.
These tips are the backbone of a successful how to make patio light strings in 2026 easy guide. They’re not just about aesthetics—they’re about safety, durability, and enjoyment.
FAQs About How to Make Patio Light Strings in 2026 Easy Guide
Q: Can I use regular indoor string lights outside?
Short answer: No. Indoor lights aren’t weatherproof. Rain, UV rays, and temperature swings will damage them fast. Always use outdoor-rated lights. They’re built with thicker insulation, sealed connectors, and UV-resistant materials. Trust me—I’ve learned this the hard way.
Q: How many light strands can I connect together?
It depends on the transformer’s wattage. Most 30W transformers can handle 3–4 strands (about 60–80 bulbs). Always check the manufacturer’s max load. Exceeding it can cause overheating or fire risk. When in doubt, use a higher-wattage transformer or run multiple circuits.
Q: What’s the best way to hang lights on a rental property?
Use non-damaging methods: adhesive clips, tension rods, or freestanding poles. I love 3M outdoor-rated clips—they hold up to 2 lbs and leave no marks. For railings, zip ties work great and are easy to remove. Just avoid drilling into walls or railings unless you have permission.
Q: How do I fix a flickering light string?
First, check for loose bulbs or connections. Tighten any that are wobbly. If that doesn’t work, test each bulb by replacing it with a known-good one. Sometimes a single dead bulb disrupts the whole circuit. Also, ensure the transformer is properly grounded and not overloaded.
Q: Can I run lights from an indoor outlet?
Yes—but use a weatherproof extension cord rated for outdoor use. Plug it into a GFCI outlet (usually in your garage or near an outdoor access point). Never run cords under doors or through windows where they can be crushed. For a cleaner look, consider installing an outdoor outlet (hire an electrician if you’re not comfortable).
Q: How long do DIY patio light strings last?
With proper care, 5–10 years or more. LED bulbs last 25,000+ hours. The weak points are connectors and wiring. Use waterproof connectors, avoid sharp bends, and protect wires from UV and moisture. I’ve had my current setup for 7 years and it still works like new.
Q: Are solar-powered string lights a good option?
They’re great for small areas or temporary setups. But they’re not as bright or reliable as wired lights. Solar panels need direct sun to charge, and performance drops on cloudy days. For consistent, bright lighting, I prefer low-voltage wired systems. Solar is perfect for accent lighting or areas without power access.
Final Thoughts
Making your own patio light strings isn’t just about saving money—it’s about creating a space that feels yours. Whether you’re going for romantic bistro vibes, a festive party glow, or a simple ambient touch, this how to make patio light strings in 2026 easy guide gives you the tools to do it right.
Start small. Test a single strand. Learn as you go. The beauty of DIY is that you can adjust, expand, and refine your setup over time. And when your friends ask, “Where did you get those lights?” you can smile and say, “I made them.”
Remember: use outdoor-rated components, plan your layout, test everything, and don’t rush. Take your time. The result will be worth it.
So grab your tools, sketch your dream layout, and start building. Your perfect outdoor oasis is just a few light strings away. And hey—if you run into a hiccup? That’s part of the journey. I’ve been there. Just take a breath, troubleshoot, and keep going.
Happy lighting!

