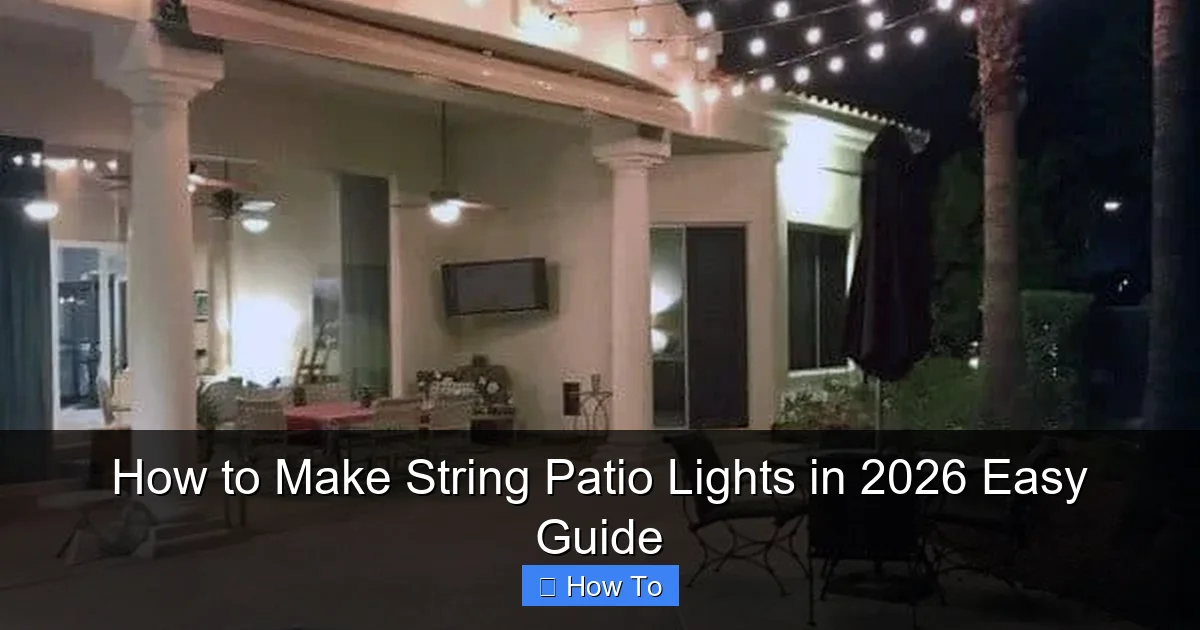
Featured image for how to make string patio lights
Image source: nextluxury.com
Transform your outdoor space in 2026 with DIY string patio lights using simple materials like weather-resistant bulbs, a dimmer switch, and a durable cord—perfect for beginners and pros alike. Follow our easy step-by-step guide to safely install, customize spacing, and elevate your patio ambiance with minimal effort and maximum style.
How to Make String Patio Lights in 2026 Easy Guide
Key Takeaways
- Choose weather-resistant bulbs: Ensure durability with LED or solar-powered lights for long-term outdoor use.
- Plan your layout first: Measure space and sketch design to avoid overbuying materials or uneven spacing.
- Use sturdy mounting hardware: Secure hooks, clips, or cables to prevent sagging and damage in wind.
- Test lights before installation: Check functionality to troubleshoot issues early and save time later.
- Add timers or smart controls: Automate lighting for convenience and energy efficiency with smart plugs or apps.
- Maintain seasonal upkeep: Clean bulbs and inspect wires yearly to extend lifespan and safety.
Why This Matters / Understanding the Problem
Let’s be honest—nothing ruins a perfect summer evening like realizing your backyard is too dark to enjoy. You’ve got the grill fired up, the playlist is on point, and the mosquitoes are *almost* under control. But without lighting? It’s like hosting a party in a cave.
That’s where how to make string patio lights in 2026 easy guide comes in. Not only does it solve the darkness dilemma, but it also adds charm, warmth, and that Instagram-worthy glow to your outdoor space. And the best part? You don’t need to be an electrician or spend a fortune. With a little planning and the right approach, you can create a magical atmosphere that lasts all night—and all season.
I learned this the hard way after my first “budget” lighting disaster: tangled cords, flickering bulbs, and one very sad-looking tomato plant that got zapped by an exposed wire. (RIP, Big Tony.) Since then, I’ve tested, tweaked, and refined my method—so you don’t have to.
This guide is built for real people with real backyards. Whether you’re lighting a cozy balcony, a sprawling deck, or a rustic garden nook, how to make string patio lights in 2026 easy guide will walk you through every step—safely, affordably, and beautifully.
What You Need
Before we dive in, let’s gather your supplies. Think of this like prepping for a fun DIY project with friends—nothing too technical, just the essentials. Here’s your checklist:
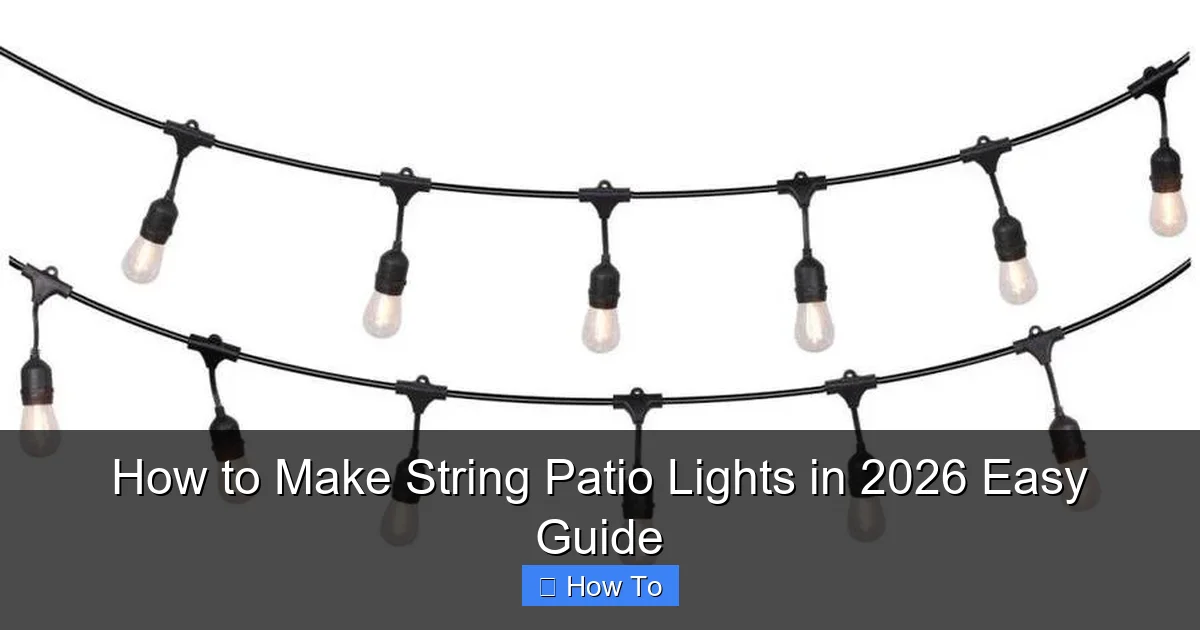
Visual guide about how to make string patio lights
Image source: forum.vectorworks.net
- String lights (LED, weather-resistant, 25–50 feet depending on space)
- Extension cords (outdoor-rated, GFCI-protected)
- Mounting hardware (S-hooks, zip ties, adhesive hooks, or eye screws)
- Measuring tape (your best friend for spacing and layout)
- Drill and drill bits (if installing permanent fixtures)
- Scissors or wire cutters (for zip ties or trimming)
- Timer or smart plug (optional, but highly recommended)
- Weatherproof electrical tape (for sealing connections)
- Ladder (if mounting high up)
- Stakes or poles (if no natural anchor points)
Pro tip: Buy 10–20% more string lights than you think you need. It’s better to have extra than to run short mid-installation. Trust me—I once had to stop at 10 PM because my lights didn’t reach the second tree. Not fun.
Also, always check that your lights are rated for outdoor use and have an IP rating of at least IP44 (meaning they’re splash-proof). This is crucial for longevity, especially if you live in a rainy or humid area.
Now, let’s get to the good part: how to make string patio lights in 2026 easy guide—step by step.
Step-by-Step Guide to How to Make String Patio Lights in 2026 Easy Guide
Step 1: Plan Your Layout (Before You Buy)
Don’t just start hanging lights and hope for the best. A little planning saves a lot of headaches later. I learned this after my first attempt—lights were too close, too far, or blocked by a rogue bird feeder.
Start by sketching your patio or yard on paper or using a simple app like SketchAndCalc or even Google Drawings. Mark:
- Where you want the lights to go (e.g., along railings, between trees, over a pergola)
- Where power sources are (outlets, extension cords)
- Obstacles (furniture, plants, walkways)
- Natural anchor points (trees, posts, eaves, railings)
Measure the distances between anchor points. This tells you how many feet of lights you need. For example:
- Distance from back door to first tree: 12 feet
- Tree to tree: 15 feet
- Tree to fence: 10 feet
- Total: 37 feet → buy 40–50 feet of lights
Consider the style of lighting:
- Linear: Straight lines (great for railings, eaves, or pergolas)
- Web: Crisscross pattern (ideal for open spaces or between trees)
- Hanging: Draped or “canopy” style (perfect for dining areas)
This step is the foundation of your how to make string patio lights in 2026 easy guide—get it right, and the rest flows smoothly.
Step 2: Choose the Right String Lights
Not all string lights are created equal. Here’s what to look for:
- LED bulbs: Energy-efficient, long-lasting, and cooler than incandescent
- Weatherproof rating: At least IP44 (IP65 is better for heavy rain)
- Bulb shape and spacing:
- Edison-style bulbs: Warm, vintage glow (1–2 inches apart)
- Mini lights: Subtle, twinkling effect (1–3 inches apart)
- Large globe lights: Dramatic, modern look (3–4 inches apart)
- Color temperature:
- Warm white (2700K–3000K): Cozy, inviting
- Cool white (4000K): Crisp, modern
- Multicolor: Fun for parties (but can clash with decor)
- Plug type:
- Standard plug: Needs outlet access
- Plug-in with timer: Set and forget
- Solar-powered: Eco-friendly, but less reliable in shade
My go-to? 40-foot warm white LED string lights with Edison bulbs and a built-in timer. They’re durable, easy to connect end-to-end, and cast that perfect golden glow.
Pro tip: Buy one extra set. If a bulb dies or a wire frays, you’ve got a backup. I keep a spare set in my garage—it’s saved me more than once during a sudden storm.
This is where how to make string patio lights in 2026 easy guide really shines—choosing the right lights sets the tone for your entire space.
Step 3: Prepare Your Anchor Points
Now, let’s get ready to hang. The key here is stability. You don’t want lights sagging or falling after one windy night.
For permanent structures (e.g., railings, eaves, pergolas):
- Use eye screws or adhesive hooks (for wood or vinyl)
- Drill pilot holes first to avoid cracking
- Space hooks 12–18 inches apart for even support
For trees or posts:
- Use S-hooks or zip ties (but avoid metal on bark—use tree-friendly rubber straps if needed)
- Loop around a strong branch or post, not a weak limb
- Leave a little slack so the tree can grow
For no natural anchors (e.g., open yard):
- Install stakes or freestanding poles (available at hardware stores)
- Drive them at least 12 inches into the ground
- Use guy wires for extra stability in windy areas
Warning: Never staple lights directly into wood or use nails. It damages the wires and creates a fire hazard. I’ve seen this mistake—don’t be that person.
Also, avoid hanging lights over pools, grills, or high-traffic areas where they could get bumped or wet.
This step is crucial for your how to make string patio lights in 2026 easy guide—secure anchor points mean safe, long-lasting lighting.
Step 4: Install the Lights (The Fun Part!)
Now for the magic. Start at the power source and work outward. This prevents tangles and makes troubleshooting easier.
- Plug in your first string light and test it. (Yes, test it! I’ve skipped this and spent an hour fixing a dead set.)
- Attach the first bulb or hook to your starting point (e.g., near the outlet).
- Hang the next hook 12–18 inches away, then drape the light between them. Keep it taut but not tight—like a guitar string, not a rubber band.
- Continue along your planned path. Use S-hooks to connect multiple strings if needed.
- If you’re doing a web pattern, start at the center and work outward, like tying a net.
- For draping, hang lights in gentle “U” shapes between anchor points. This creates depth and avoids a flat, boring look.
Pro tip: Use zip ties to secure loose wires to poles or railings. It keeps things tidy and prevents tripping.
And if you’re connecting multiple strings, don’t exceed the manufacturer’s limit (usually 2–3 sets). Overloading can cause overheating or fire. I once daisy-chained five sets—big mistake. The cord got hot, and the lights dimmed. Now I stick to three max.
For a seamless look, hide plugs and connections behind furniture or plants. Or use weatherproof electrical tape to seal them.
This is where your how to make string patio lights in 2026 easy guide comes to life—your space starts to glow, and you can already imagine the evening ahead.
Step 5: Connect to Power (Safely!)
Power is the lifeblood of your lights, but it’s also the biggest safety risk. Let’s do this right.
- Use an outdoor-rated extension cord with a GFCI (ground fault circuit interrupter). This shuts off power if it detects a short—like when my dog chewed through a cord last summer (don’t ask).
- Keep cords off the ground. Run them along railings, under furniture, or use cord covers.
- Never daisy-chain extension cords. It’s a fire hazard.
- Plug into a GFCI outlet (usually labeled “test” and “reset”). If you don’t have one, install a GFCI breaker or use a GFCI power strip.
- For permanent setups, consider hiring an electrician to install an outdoor outlet or low-voltage system.
Optional: Add a timer or smart plug. Set it to turn on at sunset and off at 10 PM. No more forgetting to turn off the lights (guilty as charged).
I use a smart plug with Alexa—I say, “Alexa, patio lights on,” and boom. Instant ambiance. It’s a game-changer for parties or late-night stargazing.
Safety first: Always turn off power before making connections. And if you’re unsure, call a pro. Better safe than sorry.
This step ensures your how to make string patio lights in 2026 easy guide is not just beautiful, but safe too.
Step 6: Test and Adjust
Turn on the lights and step back. How do they look?
- Are they evenly spaced?
- Is the glow warm and inviting, or harsh and glaring?
- Do any bulbs flicker or go out?
- Are cords visible or tripping hazards?
Make adjustments:
- Shift hooks for better spacing
- Replace dead bulbs (keep spares handy)
- Tighten or loosen sags
- Hide or reroute cords
I like to test during both day and night. During the day, you’ll spot cord issues. At night, you’ll see the true ambiance.
Pro tip: Use a light meter app (like Light Meter) to check brightness. Aim for 5–10 lux for cozy lighting. Too bright? Add a dimmer or use lower-wattage bulbs.
This final check ensures your how to make string patio lights in 2026 easy guide delivers the perfect glow.
Pro Tips & Common Mistakes to Avoid
After years of trial and error, here’s what I’ve learned:
Pro Tip: Use a light guide—a piece of string or fishing line—to map your layout before hanging lights. It’s like a dress rehearsal. Saved me from buying the wrong length twice.
Warning: Don’t use indoor lights outdoors. I did this once. One thunderstorm later, the set was toast. Always check the packaging for “outdoor use.”
Pro Tip: Mix bulb types. Pair Edison bulbs with mini lights for layered lighting. It adds depth and prevents a “Christmas tree” look.
Warning: Overloading circuits. Your outdoor outlet might only handle 15 amps. A space heater + lights + grill = overload. Use a separate circuit if possible.
Pro Tip: Store lights properly. Wrap them around a cardboard rectangle (like a DIY reel) or use a storage bag. No more tangled messes.
Warning: Ignoring local codes. Some areas require permits for permanent lighting. Check with your city or HOA.
Common mistakes I see:
- Hanging lights too high or too low (aim for 7–8 feet for dining areas)
- Using non-weatherproof lights (they’ll fail in rain)
- Forgetting to test before hanging (wasted effort)
- Not planning for power (running out of cord)
- Ignoring aesthetics (lights that clash with decor)
Your how to make string patio lights in 2026 easy guide isn’t just about function—it’s about creating a vibe. Avoid these pitfalls, and you’ll get it right.
FAQs About How to Make String Patio Lights in 2026 Easy Guide
Q: Can I use solar string lights?
A: Yes, but they’re less reliable. They need 6+ hours of direct sun to charge fully. I use them in sunny spots, but always have a backup set. Also, avoid shaded areas—they won’t charge well.
Q: How do I hide extension cords?
A: Run them under rugs, behind furniture, or use cord covers. I painted mine the same color as my deck—barely visible. Or use a planter with a hole to conceal the plug.
Q: Can I connect different brands of string lights?
A: Generally, no. Voltage and plug types vary. Stick to the same brand or check compatibility. I once mixed brands—lights flickered like a disco. Not the vibe I wanted.
Q: How do I fix a dead string light?
A: First, check the fuse (usually in the plug). Replace it if blown. Then, test each bulb. If one is out, the whole string might go dark (especially in series). Replace the bad bulb or use a repair kit.
Q: What’s the best spacing for lights?
A: 12–18 inches for most setups. Closer for cozy areas, farther for open spaces. I use 15 inches—it’s a sweet spot for my deck.
Q: How long do string lights last?
A: LED lights can last 20,000–50,000 hours (5–10 years with regular use). Incandescent? Maybe 1,000 hours. Go LED—it’s worth it.
Q: Can I leave lights up year-round?
A: If they’re weatherproof and securely mounted, yes. But I take mine down in winter to avoid snow damage. Store them in a dry place.
Final Thoughts
There you have it—your how to make string patio lights in 2026 easy guide. No fluff, no jargon, just real advice from someone who’s been there, tangled that cord, and fixed that dead bulb.
Remember: Start with a plan, choose the right lights, secure your anchors, install safely, and test thoroughly. Add a timer, and you’ll have hassle-free ambiance all season.
The best part? This isn’t just about lighting. It’s about creating a space where you can relax, entertain, and make memories. That first night with your new lights? Light a candle, pour a drink, and enjoy the glow. You’ve earned it.
Now go make your patio shine. And if you run into trouble, just think: “What would Big Tony do?” (Spoiler: He’d say, “Keep it simple, buddy.”)
Happy lighting!

