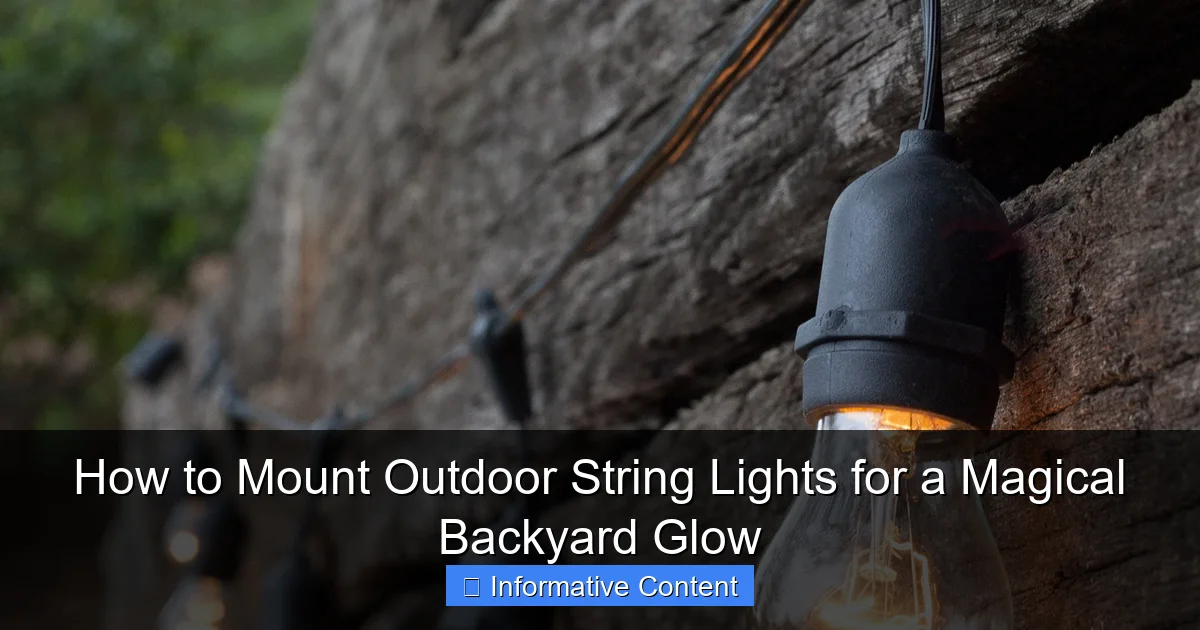
Featured image for how to mount outdoor string lights
Image source: warisanlighting.com
Transform your backyard into a glowing oasis by securely mounting outdoor string lights using durable hooks, eye screws, or specialized light clips designed for outdoor use. Choose a layout that highlights key areas—like patios, trees, or fences—and always use weather-resistant, commercial-grade lights for long-lasting brilliance. Plan spacing and power access in advance to ensure a seamless, magical ambiance all season long.
Key Takeaways
- Plan your layout first: Sketch light placement to ensure even coverage and avoid mid-installation changes.
- Use durable hardware: Choose weather-resistant hooks, anchors, or clips to secure lights safely.
- Measure twice, install once: Confirm spacing and tension to prevent sagging or overstretching the strands.
- Prioritize safety: Turn off power when using ladders and opt for LED lights for lower heat risk.
- Test before finalizing: Power up lights during installation to spot gaps or malfunctions early.
- Blend with your space: Conceal cords with natural elements like vines or discreet raceways for a polished look.
📑 Table of Contents
- How to Mount Outdoor String Lights for a Magical Backyard Glow
- 1. Choose the Right Type of Outdoor String Lights
- 2. Plan Your Layout and Measure Carefully
- 3. Gather the Right Tools and Materials
- 4. Install the Lights Step-by-Step
- 5. Maintain and Protect Your Lights
- 6. Creative Ideas and Pro Tips for Maximum Impact
How to Mount Outdoor String Lights for a Magical Backyard Glow
There’s something undeniably enchanting about the soft, golden glow of outdoor string lights. Whether you’re hosting a summer barbecue, enjoying a quiet evening with a book, or creating a romantic ambiance for a special occasion, string lights can transform your backyard into a cozy, magical retreat. I still remember the first time I strung up lights in my own yard—what started as a simple DIY project quickly became the centerpiece of our outdoor space. The kids loved it, our neighbors complimented it, and suddenly, our patio felt like a destination instead of just another part of the house.
But let’s be honest: mounting outdoor string lights isn’t always as simple as it looks. Without proper planning, you might end up with sagging wires, tangled cords, or lights that don’t quite reach where you want them. The good news? With the right tools, techniques, and a little bit of patience, anyone can create a stunning, safe, and functional lighting setup. In this guide, I’ll walk you through every step—from choosing the right lights to installing them securely and beautifully. Whether you’re a seasoned DIYer or a first-time decorator, you’ll walk away with practical tips and the confidence to light up your outdoor space like a pro.
1. Choose the Right Type of Outdoor String Lights
Before you even pick up a hammer or drill, it’s essential to select the right kind of string lights for your space. Not all lights are created equal, and picking the wrong type can lead to frustration—or worse, a safety hazard. Let’s break down the most common options and what to look for.
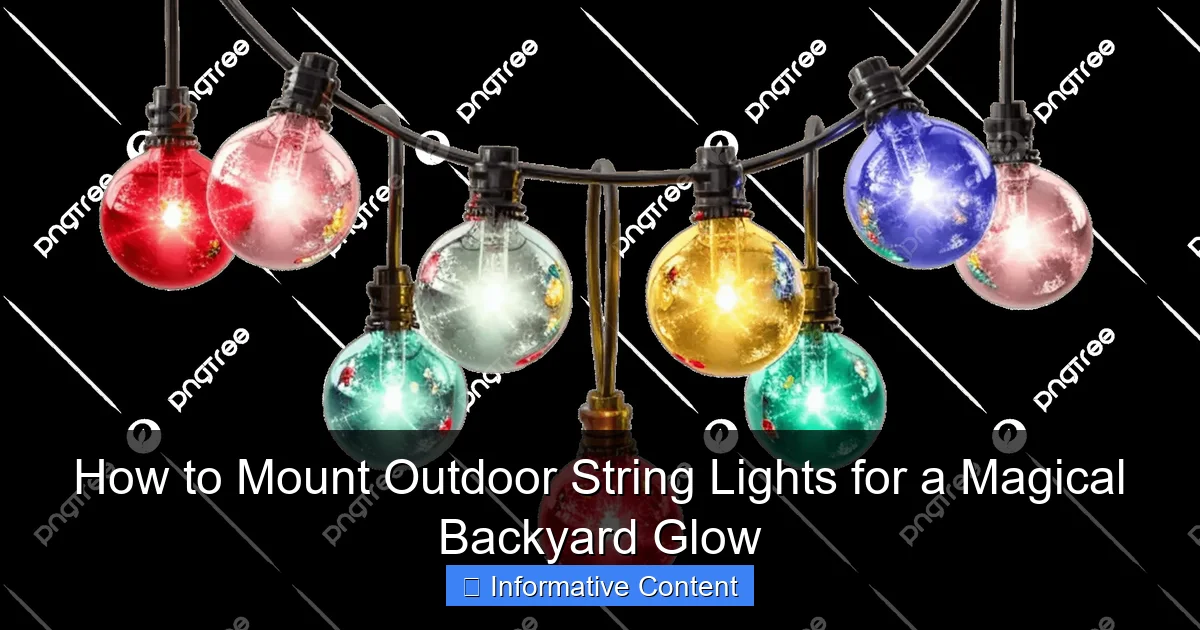
Visual guide about how to mount outdoor string lights
Image source: png.pngtree.com
LED vs. Incandescent: Which Is Better?
LED string lights are the clear winner for most outdoor setups. They use up to 80% less energy than traditional incandescent bulbs, last 25 times longer (often 25,000–50,000 hours), and generate less heat—making them safer and more eco-friendly. Plus, many LED sets come with dimmers, color-changing options, and remote controls. While they may cost a bit more upfront, the long-term savings on energy and replacements make them a smart investment.
Incandescent lights, while warm and nostalgic, are less efficient and burn out faster. They’re also more sensitive to outdoor conditions and can overheat if enclosed or used in high-temperature areas. I once used incandescent fairy lights under a pergola, and within a year, half the bulbs had failed. Lesson learned: go LED.
Weather-Resistant and Outdoor-Rated
Always check the packaging for outdoor-rated or weather-resistant labels. These lights are built with sealed sockets, UV-resistant wiring, and durable materials that can handle rain, snow, wind, and sun exposure. Indoor-only lights may short-circuit or degrade quickly when used outside. Look for an IP (Ingress Protection) rating of at least IP44, which means they’re protected against splashing water from any direction.
Bulb Shape and Spacing
Consider the mood you want to create:
- Edison bulbs (large, exposed filaments) offer a vintage, industrial look—perfect for patios or bistro-style seating.
- Globe bulbs (round, smooth) provide soft, diffused light ideal for ambient glow.
- Fairy lights (tiny LEDs on thin wire) are great for wrapping trees, railings, or delicate structures.
Spacing matters too. Standard spacing is 6–12 inches between bulbs. Closer spacing (6 inches) gives a denser, more luxurious feel, while wider spacing (12 inches) creates a more open, subtle effect.
Power Source: Plug-In vs. Solar
Most outdoor string lights are plug-in, requiring access to an outdoor GFCI outlet. Make sure your outlet is weatherproof and protected by a GFCI (Ground Fault Circuit Interrupter) to prevent shocks. For areas without outlets, solar-powered string lights are a great alternative. They charge during the day and turn on automatically at dusk. Just remember: solar lights need at least 6 hours of direct sunlight to work well. I’ve used solar lights along a garden path—they’re convenient, but not as bright or reliable in shady or winter conditions.
2. Plan Your Layout and Measure Carefully
One of the biggest mistakes people make? Jumping in without a plan. Trust me—I’ve done it. I once bought a 50-foot strand, only to realize it barely reached halfway across my patio. Planning saves time, money, and frustration.
Sketch Your Space
Grab a notebook or use a simple app like Google Drawings. Sketch your backyard, including:
- Structures (house, pergola, fence, trees)
- Furniture (dining table, lounge chairs, fire pit)
- Power sources (outlets, solar access)
Then, draw lines where you want the lights to go. Common layouts include:
- Canopy effect: Lights strung across the yard from house to tree, or between two trees, creating a “tent” of light.
- Rail or fence wrap: Lights draped along a deck railing or privacy fence.
- Tree wrap: Lights spiraled around the trunk and main branches of a large tree.
- Pergola or gazebo coverage: Lights crisscrossing the beams or outlining the structure.
Pro tip: Use painter’s tape to mark light paths on the ground or walls. This helps you visualize the final look before installing anything permanent.
Measure Twice, Buy Once
Measure each run of lights with a flexible measuring tape. Add 10–15% extra length for slack, curves, and connections. For example, if you need a 20-foot run, buy a 23-foot strand. Also, check how many strands you can connect end-to-end. Most manufacturers list a maximum number (e.g., “connect up to 45 strands”). Exceeding this can overload the circuit.
Think About Height and Visibility
Mount lights at least 7–8 feet above the ground to avoid head bumps and ensure even light distribution. For tree wraps, start at 6–8 feet and spiral upward. If you’re lighting a dining area, aim for 7–7.5 feet so people can see each other clearly without glare in their eyes.
3. Gather the Right Tools and Materials
Having the right tools makes the job faster, safer, and more professional-looking. Here’s what you’ll likely need—don’t skimp on quality.
Essential Tools
- Measuring tape – For accurate distances.
- Drill with masonry and wood bits – For drilling pilot holes into wood, stucco, or brick.
- Screwdriver or impact driver – For installing hooks or brackets.
- Level – Keeps your lights straight and even.
- Extension ladder – For high installations (use with a spotter).
- Wire cutters/strippers – For trimming excess cord or making custom connections.
- Stud finder – Helps locate secure mounting points on walls.
Mounting Hardware
Choose hardware that matches your mounting surface:
- Outdoor-rated hooks – S-hooks, J-hooks, or screw-in hooks. Look for stainless steel or zinc-plated steel to resist rust.
- Eye screws or lag hooks – For wood surfaces like pergolas or decks. Pre-drill to avoid splitting.
- Concrete anchors and masonry screws – For stucco, brick, or block. Use a hammer drill if needed.
- Zip ties or cable clips – For securing loose cords along railings or fences.
- Turnbuckles – For tensioning long runs and preventing sagging (more on this later).
Optional but Helpful
- Outdoor-rated extension cords – If your outlet is far from the lights.
- Timer or smart plug – Automatically turns lights on at sunset and off at bedtime.
- Weatherproof cord cover – Protects the plug connection from rain.
- String light clips – Plastic clips that snap onto gutters or shingles without nails.
One time, I used cheap plastic hooks on my wooden deck. After a rainy week, they rusted and snapped, dropping half the lights. Lesson: invest in stainless steel or coated metal hardware.
4. Install the Lights Step-by-Step
Now comes the fun part: putting it all together. Follow these steps for a safe, secure, and beautiful installation.
Step 1: Install Mounting Points
Start by marking and installing your hooks, screws, or anchors. For long runs (over 20 feet), place supports every 4–6 feet to prevent sagging. Use a level to ensure hooks are aligned. For trees, use tree-safe mounts like rubber-coated hooks or zip ties—never nails or screws, which can damage the tree.
Step 2: Test the Lights First
Plug in your lights before hanging them. This ensures they work and helps you spot any burnt-out bulbs or frayed wires. Replace any faulty strands now—it’s much easier on the ground than 8 feet up a ladder.
Step 3: Hang the Lights
Begin at the power source. Attach the first end to a hook, then work your way across. For long runs, consider using a turnbuckle in the middle to add tension. Here’s how:
- Attach one end of the turnbuckle to a hook.
- Attach the other end to the light strand.
- Tighten the turnbuckle to remove slack—this keeps the lights taut and prevents drooping.
For tree wraps, start at the base and spiral upward, securing every few feet with zip ties or tree-safe clips.
Step 4: Manage Cords and Connections
Keep cords tidy and safe:
- Use zip ties or cord clips to secure loose wires along railings or walls.
- Keep plug connections off the ground and under cover (use a cord cover or hang the plug on a hook).
- Never run cords across walkways—trip hazard!
- If using multiple strands, connect them end-to-end before hanging.
I once left a plug connection dangling near the grass. After a heavy dew, it shorted and tripped the breaker. Now I always elevate and cover connections.
Step 5: Adjust for Even Lighting
Step back and look at your setup. Are any areas too bright or too dim? Adjust spacing or add a second layer of lights if needed. For dining areas, aim for 30–50 lumens per square foot—enough to see, but not so bright it’s harsh.
5. Maintain and Protect Your Lights
Outdoor string lights can last for years with proper care. Here’s how to keep them shining bright.
Seasonal Maintenance
- Spring: Inspect for damage from winter weather. Replace burnt-out bulbs and tighten loose hooks.
- Summer: Wipe bulbs with a dry cloth to remove dust and pollen. Check cords for UV damage.
- Fall: Trim back overgrown branches that might rub against the lights.
- Winter: In snowy climates, consider removing lights or covering them with a tarp to reduce ice buildup.
Storage Tips
If you take lights down seasonally, store them properly:
- Unplug and let cool completely.
- Coil loosely (no tight kinks) and secure with a zip tie.
- Store in a dry, temperature-controlled place (like a closet or garage).
- Use original packaging or a labeled bin to avoid tangles.
I keep my lights in labeled bins with silica gel packets to prevent moisture damage.
When to Replace
Even the best lights eventually wear out. Replace your string lights if:
- More than 10% of bulbs are out and can’t be replaced.
- Cords are frayed, cracked, or discolored.
- Sockets are loose or corroded.
- The lights flicker or dim unexpectedly.
LEDs typically last 5–10 years outdoors. Incandescents may need replacement every 1–2 years.
6. Creative Ideas and Pro Tips for Maximum Impact
Once you’ve mastered the basics, it’s time to get creative. Here are some ideas and insider tips to elevate your setup.
Layer Your Lighting
Don’t rely on string lights alone. Combine them with:
- Path lights – For safety and ambiance.
- Uplights – Shine upward at trees or architectural features.
- Table lanterns or candles – For intimate dining areas.
This creates depth and avoids a “floating lights” look.
Use Color and Motion
Try color-changing LEDs for holidays or themed parties. Or use twinkle or flicker modes for a firefly effect. Just don’t overdo it—motion should enhance, not distract.
Highlight Focal Points
- Wrap lights around a water feature or fire pit.
- Create a lighted arch over a garden gate.
- Use lights to frame a photo backdrop for parties.
Pro Tips from Experience
- Use a timer—set it and forget it. No more running outside to turn lights on/off.
- Go dimmable—adjust brightness for different moods (romantic dinner vs. lively party).
- Mix bulb sizes—combine large and small bulbs for visual interest.
- Test in daylight—sometimes lights look great at night but messy during the day. Make sure cords and hardware are neat.
Data Table: Recommended String Light Spacing by Area
| Area | Recommended Spacing | Ideal Bulb Type | Notes |
|---|---|---|---|
| Dining Patio | 6–8 inches | Edison or globe | Ensure even coverage; use dimmable lights |
| Garden Path | 12–18 inches | Fairy or mini | Wrap around posts or low fences |
| Large Tree | 8–10 inches | LED fairy | Spiral from base to top; use tree-safe mounts |
| Pergola | 6–12 inches | Edison or globe | Crisscross beams for a canopy effect |
| Fence Line | 10–12 inches | Globe | Use zip ties or clips; avoid staples |
Mounting outdoor string lights isn’t just about illumination—it’s about creating a feeling. A place where memories are made, laughter echoes, and time slows down. Whether you’re stringing lights for the first time or upgrading your current setup, remember: the magic isn’t in the lights themselves, but in how they transform your space into something special.
Take your time. Plan carefully. Use quality materials. And don’t be afraid to experiment. Some of my favorite setups came from happy accidents—like the time I accidentally draped lights over a climbing vine and discovered a new focal point. The best part? Once they’re up, the hardest work is done. All that’s left is to sit back, pour a glass of wine, and enjoy the glow.
So go ahead—string those lights. Your backyard is waiting for its moment to shine.
Frequently Asked Questions
How do I mount outdoor string lights without drilling holes?
Use adhesive hooks, tension rods, or zip ties to secure lights to trees, fences, or railings without damaging surfaces. These methods work well for renters or temporary setups. Always check weight limits to ensure safety.
What’s the best way to hang outdoor string lights between trees?
Wrap lights around tree trunks or use sturdy hooks anchored into the wood for a secure hold. Maintain slight tension to prevent sagging, especially for longer spans. Consider using a guide wire for heavy-duty installations.
How far apart should I space the mounting points for outdoor string lights?
For standard LED string lights, place mounting points 8–10 feet apart to avoid drooping. If using heavier bulbs or longer runs, reduce spacing to 6 feet or add a support wire for stability.
Can I mount outdoor string lights on a pergola or roof?
Yes! Use screw-in hooks or eye bolts along the pergola beams or eaves for a clean, permanent look. Ensure your lights are rated for outdoor use and weather resistance to handle sun and rain.
How do I power outdoor string lights if outlets are far away?
Use an outdoor-rated extension cord or solar-powered string lights to eliminate cord clutter. For permanent setups, consider hiring an electrician to install weatherproof outlets near your mounting areas.
What type of hardware do I need to mount outdoor string lights safely?
Opt for stainless steel hooks, eye screws, or zip ties designed for outdoor use to prevent rust. Always match the hardware’s weight capacity to your lights, and use a level to keep strands straight.

