Featured image for how to put up led string lights
Image source: i.ytimg.com
Transform any space into a glowing oasis by securely mounting LED string lights with adhesive hooks, clips, or weatherproof fasteners—no nails needed. Plan your layout first, test lights before installation, and layer placements for depth and a truly magical ambiance.
“`html
How to Put Up LED String Lights for a Magical Glow
Key Takeaways
- Plan your layout first: Sketch where lights will hang to avoid mistakes.
- Use proper hooks or clips: Ensure secure, damage-free installation on walls or ceilings.
- Check power source proximity: Keep outlets nearby or use extension cords safely.
- Test lights before installing: Verify functionality to avoid rework later.
- Weatherproof for outdoors: Seal connections and use outdoor-rated lights and tools.
- Layer lights creatively: Combine heights and patterns for a dynamic glow.
- Secure loose wires: Use ties or channels to keep cords tidy and safe.
Why This Matters / Understanding the Problem
There’s something undeniably enchanting about a space softly illuminated by twinkling LED string lights. Whether it’s a cozy bedroom, a backyard patio, or a wedding reception, the how to put up LED string lights for a magical glow isn’t just about hanging decorations—it’s about transforming moods and moments.
But here’s the catch: poorly installed lights can sag, spark, or fall, ruining the magic. Worse, tangled cords, visible clips, or uneven spacing can make your space look more cluttered than cozy.
That’s why learning the right way to install LED string lights is essential. With a few smart tricks and the right tools, you can create a dreamy ambiance that feels professional—without spending a fortune. Whether you’re decorating for a holiday, date night, or everyday serenity, this guide will show you how to do it safely, beautifully, and with lasting results.
From choosing the perfect placement to avoiding electrical mishaps, we’ll walk you through every step to achieve that magical glow you’ve been dreaming of—indoors and outdoors.
What You Need
Before you start, gather these tools and materials. Having everything ready saves time and prevents mid-project frustration.
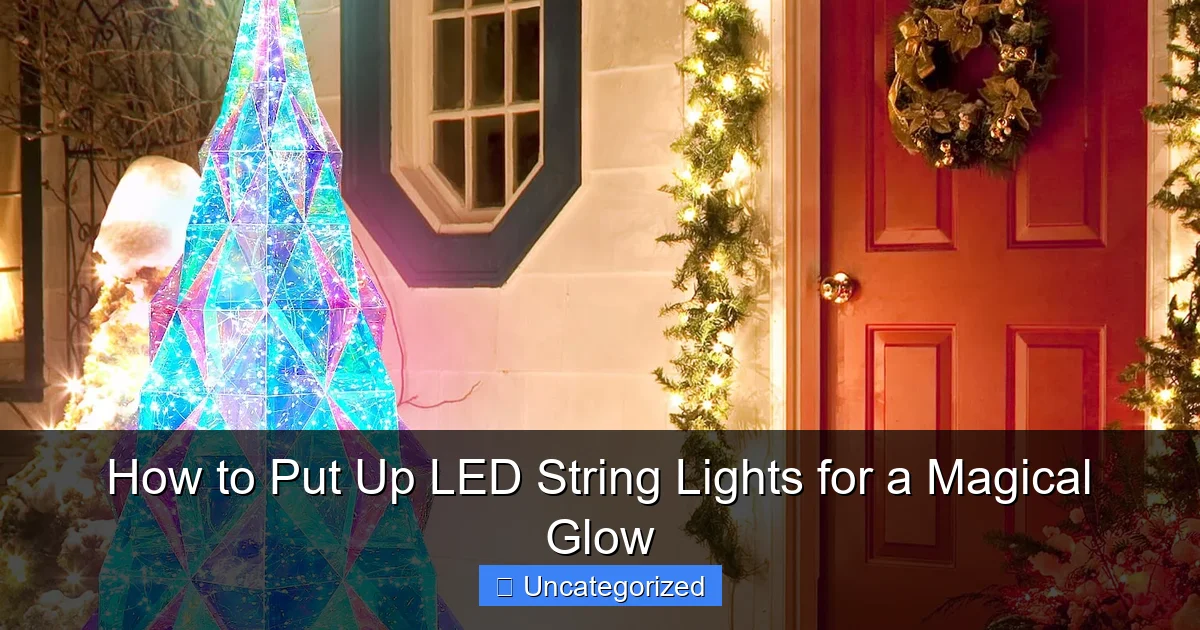
Visual guide about how to put up led string lights
Image source: m.media-amazon.com
- LED string lights (battery-powered, plug-in, or solar—choose based on location)
- Measuring tape (to plan spacing and avoid overbuying)
- Command hooks or outdoor-rated clips (removable and damage-free)
- Zip ties or twist ties (for securing cords and hiding excess)
- Scissors or wire cutters (for trimming zip ties or adjusting lengths)
- Extension cords (if needed)—use outdoor-rated ones for exterior setups
- Ladder (for high ceilings or walls)
- Level (optional)—helps keep lines straight for a polished look
- Timer or smart plug (to automate lighting for safety and convenience)
- Weatherproof sealant (for outdoor installations)—to protect connections from rain
Pro Tip: Test your lights before installing them. Plug them in and check for dead bulbs or flickering. It’s much easier to return or replace them while they’re still in your hands.
When shopping for LED string lights, look for features like:
- Energy efficiency (low wattage, long battery life)
- IP44 or higher waterproof rating (for outdoor use)
- Dimmable or color-changing options (for mood control)
- Connectable strands (so you can extend without extra outlets)
Remember: the how to put up LED string lights for a magical glow starts with choosing the right lights for your space and purpose.
Step-by-Step Guide to How to Put Up LED String Lights for a Magical Glow
Step 1: Plan Your Layout and Choose the Right Location
Before you hang a single light, decide where and how you want the glow to appear. The magic lies in thoughtful placement, not just coverage.
Ask yourself: Do you want ambient lighting (soft, all-over glow), accent lighting (highlighting a feature), or task lighting (for reading or cooking)?
Common locations include:
- Bedroom: Above the headboard, along the ceiling line, or around a mirror
- Patio: Across the ceiling, along railings, or wrapped around pergolas
- Living room: Around a window, along a mantel, or behind a TV
- Balcony: Draped from railing to railing or in a zigzag pattern
Use painter’s tape to mark where clips or hooks will go. This helps you visualize the final look without committing.
For a magical glow, aim for even spacing—usually 6 to 12 inches between bulbs. Closer spacing creates a dense sparkle; wider spacing gives a subtle twinkle.
Pro Tip: Sketch a quick diagram on paper or use a free room planner app to map your layout. This is especially helpful for large spaces or complex designs.
Step 2: Measure and Cut (If Needed)
Measure the distance between your anchor points (e.g., wall to wall, railing to post). Subtract 6–12 inches to allow for draping or looping—this adds softness and prevents a stiff, straight-line look.
If you’re using connectable strands, plug them together and test the total length. You don’t want to run out halfway through!
For non-connectable lights, buy a strand slightly longer than your measured distance. You can always hide excess with zip ties or tuck it behind furniture.
Never cut LED string lights unless they’re specifically labeled as “cuttable.” Doing so can damage the circuit and create a fire hazard.
Instead, use zip ties or twist ties to gather and hide extra cord. Wrap the excess in a neat coil and secure it behind a clip or under a table.
This step ensures your how to put up LED string lights for a magical glow includes a clean, intentional look—no messy cords.
Step 3: Install Hooks, Clips, or Mounting Hardware
Now it’s time to install the anchors. The key is using the right hardware for your surface.
For indoor walls (drywall, plaster):
- Use Command Outdoor Light Clips (rated for up to 1 lb each)
- Press firmly for 30 seconds, then wait 1 hour before hanging
- Ideal for renters—no holes, no damage
For outdoor surfaces (wood, brick, stucco):
- Use outdoor-rated adhesive hooks or stainless steel screw hooks
- For brick or concrete, use plastic anchors and screws (drill a pilot hole first)
- For wood, screw directly into beams or railings
For ceilings (drywall, wood, or pergolas):
- Use ceiling hooks or ceiling-mounted light tracks (for a permanent look)
- For high ceilings, use a ladder with a spotter for safety
Warning: Avoid nails or screws on rental properties unless you have permission. And never use duct tape or masking tape—it leaves residue and fails in heat or humidity.
Space hooks every 12–18 inches for straight runs, or every 6–8 inches for draped or zigzag patterns. This prevents sagging.
Use a level to keep lines straight—especially important for formal events or long spans.
Step 4: Hang the Lights with Intention
Now for the fun part: hanging the lights! But don’t just drape them—do it with purpose.
Start at the power source (plug or battery pack) and work outward. This keeps the plug accessible and reduces tension on the first bulb.
For straight lines:
- Loop the string over each hook
- Keep tension even—don’t pull too tight (can damage wires) or too loose (sags)
For draped or zigzag patterns:
- Use a “U” or “V” shape between hooks
- Adjust depth for softness: deeper dips = more romantic glow
- Secure the lowest point of each dip with a zip tie if needed
For wrapping (around trees, railings, or columns):
- Start at the top and spiral downward
- Keep spacing consistent (every 4–6 inches)
- Use zip ties every 12 inches to secure
For canopies or “floating” lights:
- Create a grid with horizontal and vertical strings
- Use corner hooks and cross-ties for stability
- Keep the grid tight enough to prevent sagging
As you go, check from multiple angles. A pattern that looks great up close might look uneven from below or across the room.
This step is where the how to put up LED string lights for a magical glow really comes alive—your attention to detail makes all the difference.
Step 5: Hide and Secure Cords
Visible cords kill the magic. No one wants to see a tangled mess behind their dreamy lights.
Use these tricks to hide and secure:
- Zip ties: Wrap around cords and anchor to hooks, railings, or furniture
- Twist ties: Great for temporary setups or battery packs
- Paintable cord covers: For baseboards or walls (match your paint color)
- Furniture: Tuck cords behind headboards, couches, or planters
- Plants or vines: Use greenery to naturally conceal wires
For outdoor setups, use weatherproof cord clips or conduit to protect cords from UV damage and animals.
Label the power source with a tag or colored tape—especially if using multiple strands. This makes troubleshooting easier.
Pro Tip: If using extension cords, place them under rugs (indoors) or use cord covers (outdoors). Never run cords under doors where they can be crushed.
Step 6: Test, Adjust, and Automate
Plug in your lights and turn them on. Walk around the space and look for:
- Uneven spacing
- Sagging strands
- Visible cords
- Flickering or dim bulbs
Adjust hooks, tighten zip ties, or reposition bulbs as needed. It’s easier to fix now than after guests arrive.
For a truly magical glow, add automation:
- Use a timer plug to turn lights on at sunset and off at bedtime
- Use a smart plug to control lights with your phone or voice (e.g., “Alexa, turn on patio lights”)
- Pair with a dimmer switch for mood lighting (perfect for date nights or movie time)
For outdoor setups, consider solar-powered lights with built-in timers. They charge during the day and turn on automatically at dusk.
This step ensures your how to put up LED string lights for a magical glow is not just beautiful—but convenient and energy-efficient.
Step 7: Protect for Longevity (Especially Outdoors)
If your lights are outdoors, they need extra care to survive the elements.
After hanging:
- Seal all plug connections with weatherproof electrical tape or a junction box cover
- Use UV-resistant zip ties (black or clear) to prevent brittleness
- Elevate power sources off the ground (use a plastic bin or shelf)
- Check monthly for loose hooks or frayed wires
For winter:
- Remove battery packs and store indoors (cold drains batteries)
- Cover plug-in lights with a weatherproof outlet cover
- Bring solar lights inside if temperatures drop below 20°F
For indoor lights, dust regularly with a microfiber cloth. Avoid water or cleaning sprays near electrical components.
With proper care, your lights can last 5–10 years—making the initial effort well worth it.
Pro Tips & Common Mistakes to Avoid
Even small mistakes can ruin the glow. Here’s what to watch for:
Pro Tip 1: Use a light meter app (like Lux Light Meter) to check brightness. Aim for 50–100 lux for ambient lighting—enough to see, not enough to glare.
Pro Tip 2: Mix warm white and soft white lights for depth. Warm white (2700K–3000K) feels cozy; soft white (3500K–4000K) feels clean. Use warm for bedrooms, soft for patios.
Common Mistake 1: Overloading circuits. Never connect more than 3–5 strands unless they’re low-wattage LEDs. Check the packaging for “max connectable” limits.
Common Mistake 2: Ignoring bulb spacing. If lights are too far apart, the glow looks sparse. Too close, and it’s blinding. Aim for 6–12 inches between bulbs.
Common Mistake 3: Using indoor lights outdoors. Indoor LEDs aren’t waterproof. Look for “IP44” or “weatherproof” ratings for exterior use.
Common Mistake 4: Forgetting the power source. Always plan where the plug or battery pack will go. No one wants a dangling cord in the middle of the room.
Pro Tip 3: Create “zones” in large spaces. For example, use one strand for dining, another for lounging. This adds layers to your magical glow without overwhelming the space.
FAQs About How to Put Up LED String Lights for a Magical Glow
Can I leave LED string lights on all night?
Yes, but use a timer. Most LEDs are safe to leave on, but a timer saves energy and prevents overheating. For outdoor lights, use a weatherproof timer.
How do I hang lights on a brick wall without drilling?
Use brick clips or magnetic hooks (if the brick is metal-reinforced). Alternatively, run lights along the mortar line and secure with outdoor adhesive strips.
What’s the best way to hang lights on a high ceiling?
Use a telescoping light hanger (like a paint roller pole) with a hook attachment. Or, hire a professional for very high spaces. Always use a sturdy ladder with a spotter.
How do I fix a broken LED string light?
Check the fuse (in the plug) first. If it’s blown, replace it with a 3A fuse. For dead bulbs, use a LED tester pen to find the faulty bulb and replace it. Or, cut out the bad section (if the strand allows it).
Can I connect different brands of LED lights?
Only if they have the same voltage (usually 120V for plug-in). Mixing brands can cause flickering or damage. Stick to one brand for best results.
How do I store LED lights to prevent tangles?
Wind them around a cardboard rectangle or light reel. Label the box with the length and color. Store in a cool, dry place.
Are solar-powered string lights bright enough for ambiance?
Yes! Modern solar LEDs are bright and efficient. Look for models with 200+ lumens and a 6–8 hour runtime. They’re perfect for patios, gardens, or balconies.
Final Thoughts
Learning the how to put up LED string lights for a magical glow isn’t just about following steps—it’s about creating moments. Whether it’s a quiet night at home, a festive party, or a romantic evening, the right lighting transforms the ordinary into the extraordinary.
Remember: plan your layout, choose the right tools, hang with care, and automate for ease. Avoid common pitfalls like overloading circuits or using indoor lights outdoors.
And most importantly—have fun with it! Experiment with patterns, colors, and placements. The best lighting setups are the ones that reflect your personality.
So grab your lights, invite a friend, and start creating your own magic. With this guide, you’re not just hanging lights—you’re crafting memories, one twinkle at a time.
Now go make your space glow.
“`

