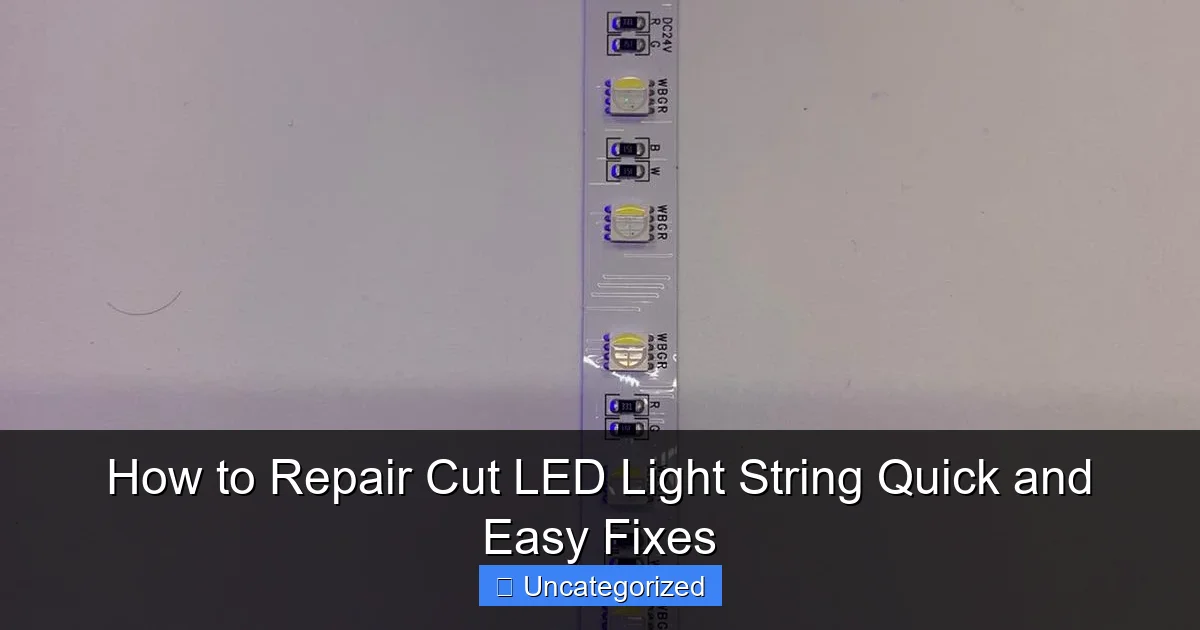
Featured image for how to repair cut led light string
Image source: instyleled.co.uk
Repairing a cut LED light string is quick and easy with basic tools and a little know-how. By identifying the break, stripping the wires, and securely reconnecting them with solder or a waterproof connector, you can restore full functionality in minutes. Always test the lights before finalizing the repair to ensure a safe, long-lasting fix.
How to Repair Cut LED Light String Quick and Easy Fixes
Key Takeaways
- Inspect the damage: Identify cut location and exposed wires before attempting repairs.
- Use heat-shrink tubing: Seal connections with tubing for a durable, insulated fix.
- Match wire colors: Connect same-colored wires to maintain circuit integrity.
- Solder carefully: Secure joints with solder and a low-heat iron to prevent damage.
- Test before sealing: Check functionality prior to finalizing insulation or enclosure.
- Waterproof if needed: Apply silicone sealant for outdoor string light repairs.
- Trim frayed ends: Clean cuts ensure better contact and longer-lasting results.
Why This Matters / Understanding the Problem
It’s the holiday season, or maybe you’re setting up mood lighting in your bedroom, and—uh-oh—your favorite LED string lights are cut. Maybe the dog chewed through them, or you accidentally snipped them while trimming a garland. Now they’re dark, and you’re wondering if it’s time to toss them and buy new ones.
The good news? You don’t have to. Learning how to repair cut LED light string quick and easy fixes can save you money, reduce waste, and get your lights shining again in under an hour. Unlike traditional incandescent bulbs, LED strings are often modular and easier to splice, especially if the cut is clean and the circuit isn’t damaged.
LEDs work in series or parallel circuits, and when one section is severed, the whole string may go dark—but that doesn’t mean it’s dead. With a few basic tools and a little know-how, you can restore your lights to full function. Whether it’s a frayed cord, a clean cut, or a damaged plug, this guide will walk you through how to repair cut LED light string quick and easy fixes without needing an electrical engineering degree.
And don’t worry—this isn’t just for holiday lights. The same principles apply to patio lights, bedroom fairy lights, and even decorative rope lights. So grab your toolkit and let’s get those lights glowing again.
What You Need
Before you start, gather the right tools and materials. Having everything on hand makes the repair faster and safer. Here’s your go-to checklist:
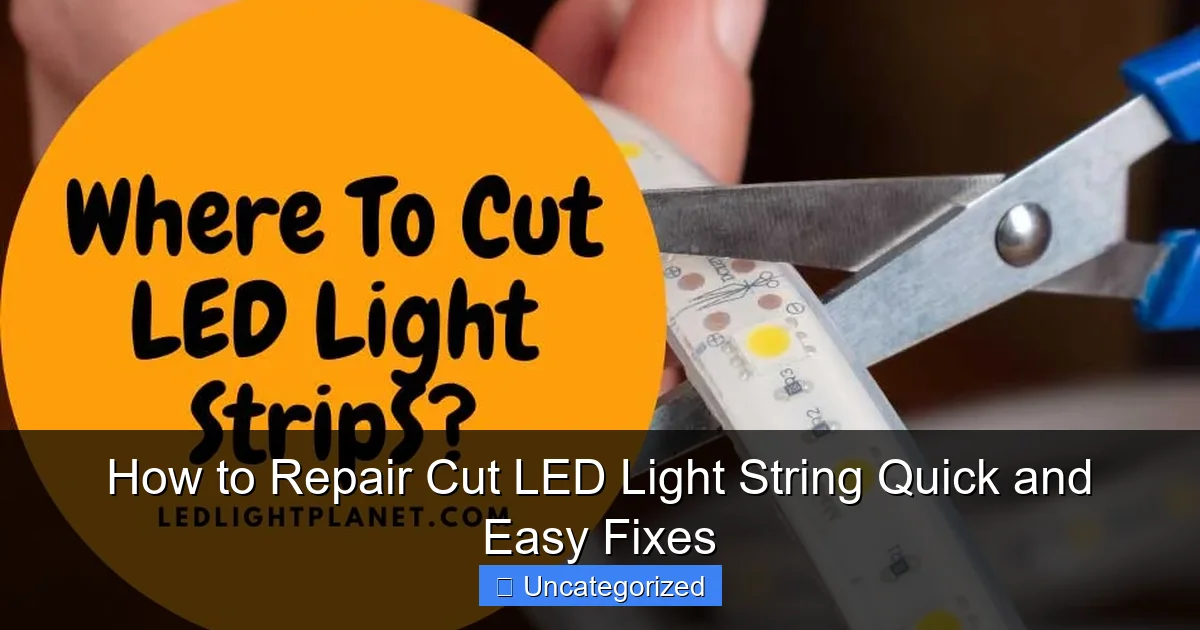
Visual guide about how to repair cut led light string
Image source: ledlightplanet.com
- Wire strippers – For cleanly removing insulation from cut wires.
- Wire cutters – To trim frayed or damaged ends.
- Electrical tape – For insulating connections (black or red is fine).
- Heat-shrink tubing (optional but recommended) – Provides a more durable, weatherproof seal than tape.
- Heat gun or lighter – To shrink the tubing (if using).
- Needle-nose pliers – Helpful for twisting wires together tightly.
- Multimeter (optional) – To test continuity and voltage if the lights still don’t work.
- Replacement plug or socket (if the plug is damaged) – Available at hardware or electronics stores.
- Soldering iron and solder (optional for stronger joints) – Ideal for permanent, long-term repairs.
- Scissors or utility knife – For cutting tape or tubing.
- Marker or label – To mark polarity (positive/negative) if needed.
For most basic repairs, you can get away with just wire strippers, cutters, pliers, and electrical tape. But if you plan to repair lights outdoors or want a more permanent fix, invest in heat-shrink tubing and a soldering iron. These upgrades ensure your how to repair cut LED light string quick and easy fixes last through multiple seasons.
Note: Always unplug the lights before starting. Safety first—no exceptions.
Step-by-Step Guide to How to Repair Cut LED Light String Quick and Easy Fixes
Step 1: Inspect the Damage and Identify the Cut
Start by laying out the entire string on a flat surface. Look for the cut—it might be obvious, or it could be hidden under tape or insulation. Run your fingers along the cord, feeling for nicks, frays, or broken sections.
If the lights are completely dead, the cut is likely in the main power cord. But if only a section is out, the break could be between bulb sockets or in a branch line (common in “icicle” or “net” style lights).
Use your eyes and hands to trace the path of the wires. Look for:
- Frayed insulation
- Exposed copper wires
- Discolored or melted areas (signs of overheating)
- Kinks or sharp bends that may have broken internal wires
Pro tip: If you’re unsure where the break is, plug in the lights and gently wiggle sections of the cord. If lights flicker, you’ve found the problem zone.
Warning: If you see burn marks, melted plastic, or a burning smell, stop immediately. This could indicate a short circuit. Unplug and consider replacing the string instead of repairing it.
Step 2: Cut Away Damaged Sections
Once you’ve located the cut, use your wire cutters to remove about 1–2 inches of damaged wire on both sides of the break. This ensures you’re working with clean, undamaged copper.
Why both sides? Because if the wire is nicked or corroded near the cut, even a small flaw can cause future failures. Removing a bit more material prevents weak spots.
For example, if the cut is in the middle of a 10-foot string, cut 1 inch from the left end and 1 inch from the right end, leaving two clean wire stubs.
Important: Most LED strings have two wires inside the cord—positive (usually marked with a stripe or ridge) and negative (smooth). Keep these separated and don’t let them touch during the repair.
Use your marker to label one wire “+” and the other “–” if the original markings are gone. This prevents reverse polarity, which can damage LEDs or prevent them from lighting.
Step 3: Strip the Wire Ends
Now, use your wire strippers to remove about ½ inch (1.2 cm) of insulation from each end of the two wires. This exposes the copper so you can make a connection.
Choose the correct gauge on your stripper (usually 18–22 AWG for LED strings). Too large a setting will cut the wire; too small won’t remove the insulation.
Gently twist the stripper and pull—don’t yank. You want clean, undamaged copper strands. If the wire frays, trim it again and restrip.
Real-life tip: If the wire is thin or brittle (common in older strings), use a utility knife to carefully score the insulation, then peel it back. This avoids crushing the copper.
Repeat this for both ends of the cut—so you have four exposed wires total: two from the “live” (plug) side and two from the “light” (bulb) side.
Step 4: Match Wires and Connect Them
Now it’s time to reconnect the wires. Match positive to positive and negative to negative. If you labeled them earlier, this is easy. If not, look for the stripe, ridge, or writing on one wire—that’s usually the positive.
Here are three ways to connect the wires, from simplest to most durable:
- Twist and tape: Twist the matching wires together tightly with pliers. Wrap each connection with 2–3 layers of electrical tape, extending ½ inch past the twist on both sides. Then wrap both connections together with a final layer of tape.
- Twist with wire nuts: Use small wire nuts (available at hardware stores) to cap each connection. Twist clockwise until tight, then tape over for extra security.
- Solder and heat-shrink: Twist the wires, apply solder to the joint, then slide a piece of heat-shrink tubing over the connection and heat it with a gun or lighter. This creates a waterproof, permanent seal.
For most indoor repairs, twist and tape is fine. But for outdoor or high-humidity areas (like patios or bathrooms), go with solder and heat-shrink. It’s a key step in how to repair cut LED light string quick and easy fixes that last.
Pro tip: After twisting, tug gently on the wires. If they come apart, twist tighter or use a drop of hot glue (not too much) to secure before taping.
Step 5: Insulate and Protect the Connection
No matter which connection method you use, insulation is critical. Exposed wires can cause short circuits, shocks, or fire hazards—especially if the lights are near water or children/pets.
If you used electrical tape, wrap each joint thoroughly, then cover both joints together with a wider wrap. Overlap each turn by 50% to prevent gaps. Finish by wrapping a few inches down the cord on each side.
If you used heat-shrink tubing, cut a piece slightly longer than the joint (about 1.5–2 inches). Slide it over before soldering, then move it over the joint and heat it evenly. It will shrink and seal the connection like a glove.
For extra protection, especially outdoors, wrap the entire repair area with self-fusing tape (also called “self-amalgamating” tape). It melts into itself and forms a waterproof, rubber-like seal.
Example: One user repaired a cut in their patio string lights using heat-shrink and self-fusing tape. After two winters and heavy rain, the repair still holds strong.
Step 6: Test the Lights
Now comes the moment of truth. Plug in the lights and see if they turn on.
If they light up—great! If only part of the string works, check for:
- Loose connections
- Reverse polarity (try swapping the wires if unsure)
- Another cut or break further down the line
If nothing lights up, use a multimeter to test for continuity. Set it to the continuity setting (usually a buzzer icon), touch one probe to the plug’s prong and the other to the corresponding wire on the other side of the repair. A beep means the circuit is complete.
If no beep, the connection failed. Recheck your twists, solder, or tape. Sometimes a single strand of wire can break during twisting—so inspect closely.
Bonus tip: Plug the lights into a surge protector or GFCI outlet. This adds an extra layer of safety, especially for outdoor use.
Step 7: Reinforce and Store Properly
Once the lights are working, reinforce the repair to prevent future damage.
- Use zip ties or cord clips to secure the repaired section to a wall, railing, or tree.
- Avoid hanging the repair point under tension—don’t let it be the weakest link in the chain.
- If storing, wrap the lights loosely around a cardboard tube or cord reel. Don’t kink the wires.
For long-term storage, place the lights in a plastic bin with silica gel packets to absorb moisture. This prevents corrosion and extends the life of your repair.
And remember: if you’ve used heat-shrink or soldering, the repair is likely good for years. But if you used only tape, check it every few months—especially if exposed to weather.
Pro Tips & Common Mistakes to Avoid
Repairing LED strings seems simple, but small mistakes can lead to big problems. Here’s what seasoned DIYers wish they knew:
Pro Tip 1: Always cut more wire than you think you need. It’s easier to trim excess than to stretch a short stub.
Pro Tip 2: Use color-coded electrical tape (red for positive, black for negative) to avoid mixing up wires in multi-string setups.
Pro Tip 3: For strings with multiple branches (like net or icicle lights), repair the main trunk first. Then test each branch individually.
Pro Tip 4: If the plug is damaged, replace it entirely. Cut the old plug off and splice in a new one using the same steps. Use a polarized plug for safety.
Pro Tip 5: For outdoor lights, use marine-grade heat-shrink tubing with adhesive lining. It seals out moisture better than standard tubing.
Now, the common mistakes that ruin repairs:
- Skipping wire stripping: Trying to twist insulated wires together won’t work. You need bare copper.
- Crossing positive and negative: This can damage the driver circuit or prevent lights from turning on. Always double-check polarity.
- Using duct tape: It’s not insulating and can melt or fall off. Stick to electrical tape or heat-shrink.
- Overheating with a lighter: If using a lighter to shrink tubing, keep it moving. Too much heat can burn the wire or melt the LED housing.
- Ignoring frayed strands: A single stray wire can cause a short. Trim or tuck any loose strands before insulating.
- Repairing near water without protection: Even a “weatherproof” LED string isn’t fully waterproof. Use sealed connectors for outdoor repairs.
One user tried to fix their cut lights with regular tape and left it hanging in the rain. Within a week, the tape peeled, wires touched, and the string shorted out. A $15 repair turned into a $40 replacement. Don’t be that person.
With the right tools and attention to detail, your how to repair cut LED light string quick and easy fixes will be safe, reliable, and long-lasting.
FAQs About How to Repair Cut LED Light String Quick and Easy Fixes
Let’s tackle the most common questions people have when fixing their LED lights.
Can I repair a cut LED string light with just tape?
Yes, but with limits. Electrical tape works for temporary or indoor repairs. However, it can loosen over time, especially in heat or humidity. For a long-term or outdoor fix, use heat-shrink tubing or solder. Tape is fine for a quick test, but upgrade for durability.
What if the cut is near the plug or socket?
You can still repair it! Cut the damaged section (including the plug or socket), strip the wires, and either:
- Solder in a replacement plug (available at hardware stores)
- Use a plug-in replacement end (like a “plug and play” connector)
Just make sure the new plug matches the voltage and polarity of your string. Most are 120V AC, but check the label on your lights.
Do I need to solder, or can I just twist and tape?
Twisting and taping is fine for indoor, low-stress use (like bedroom fairy lights). But for outdoor lights, high-traffic areas, or long-term use, soldering is better. It creates a stronger, more reliable connection that won’t loosen from vibration or temperature changes.
If you’ve never soldered, practice on scrap wire first. A basic soldering iron kit costs under $20 and pays for itself in repairs.
Why do only some LEDs light up after my repair?
This usually means:
- The connection is weak or intermittent (wiggle it and see if lights flicker)
- You have reverse polarity in one section
- There’s another break further down the line
- The driver circuit (usually in the plug) is damaged
Test the voltage with a multimeter. If the output is low or zero, the plug may be faulty. Try replacing it or testing the string on another known-good plug.
Can I repair a string with multiple cuts?
Yes, but it gets tricky. Each cut needs its own repair. For two cuts, you’ll have three sections to splice together. Use the same steps for each joint, and insulate each one separately before wrapping the whole area.
Example: One user repaired a string with cuts near the plug and middle. They made two separate splices, used heat-shrink on each, and bundled them with self-fusing tape. The lights worked for three years afterward.
Are LED string lights worth repairing?
Absolutely—if the bulbs and driver are still good. Most LED failures are due to wiring or plug issues, not the LEDs themselves. Repairing saves money (a new string costs $15–$50) and reduces electronic waste.
Just remember: if the lights are old, flickering, or have many broken bulbs, replacement might be better. But for a single cut? How to repair cut LED light string quick and easy fixes is 100% worth it.
Can I use this method on battery-powered LED strings?
Yes! Battery-powered strings have similar wiring—just with a lower voltage (usually 3–6V). The repair process is the same. Just be extra careful with polarity, as some battery packs have sensitive circuits.
And always remove batteries before starting the repair.
Final Thoughts
Cut LED light strings don’t have to be the end of the road. With a little patience and the right tools, you can bring them back to life—saving money, reducing waste, and keeping your favorite lights in rotation.
Whether it’s a holiday garland, a bedroom accent, or patio mood lighting, knowing how to repair cut LED light string quick and easy fixes empowers you to handle minor damage like a pro. You don’t need advanced skills—just basic tools, attention to detail, and a willingness to try.
Remember the key steps: inspect the cut, strip clean ends, match polarity, connect securely, insulate thoroughly, and test before use. And for outdoor or long-term repairs, invest in heat-shrink or soldering for a lasting fix.
Next time your lights go dark, don’t toss them. Grab your toolkit, follow this guide, and shine a light on the problem—literally.
Actionable advice: Keep a small LED repair kit in your home—wire strippers, electrical tape, heat-shrink tubing, and a soldering iron. That way, you’re ready for the next cut, chew, or snag. Because when it comes to how to repair cut LED light string quick and easy fixes, preparation is half the battle.
Now go fix those lights—and enjoy the glow.

