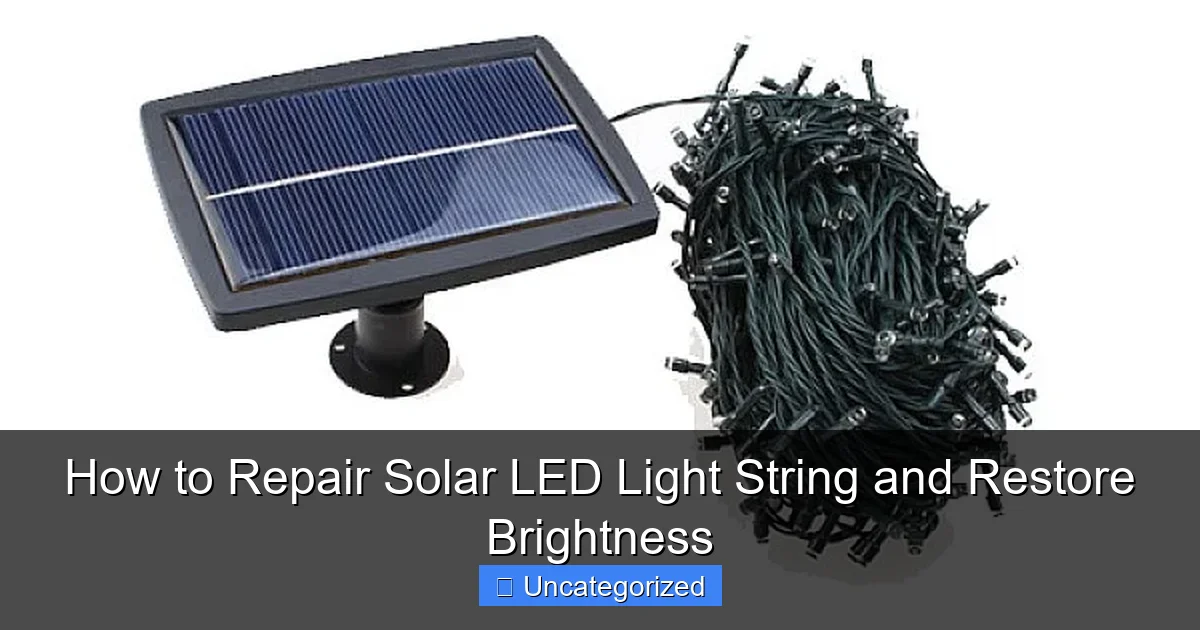
Featured image for how to repair solar led light string
Image source: cdn.ledbe.com
Revive your solar LED light string by first checking and cleaning the solar panel to ensure maximum sunlight absorption. Often, dim or non-functioning lights stem from dirt, shading, or battery failure—so replace old rechargeable batteries and inspect wiring for breaks or corrosion to restore full brightness. Quick fixes like these can extend your lights’ life without needing professional tools or costly replacements.
“`html
How to Repair Solar LED Light String and Restore Brightness
Key Takeaways
- Inspect connections first: Check for loose or corroded wires before replacing parts.
- Test the solar panel: Ensure it charges fully in direct sunlight for optimal performance.
- Replace faulty batteries: Swap old or damaged batteries to restore power and brightness.
- Clean LED lenses: Wipe dirt and debris to instantly improve light output.
- Check the controller: A malfunctioning controller often causes flickering or dimming issues.
- Use waterproof seals: Reapply silicone to protect repaired areas from weather damage.
Why This Matters / Understanding the Problem
You’ve invested in solar LED light strings to brighten up your garden, patio, or holiday décor—only to find them dim, flickering, or not lighting up at all. It’s frustrating, especially when you expected them to last for years with minimal maintenance. But don’t toss them out just yet! Most issues with solar LED light strings can be fixed with a little troubleshooting and basic tools.
Understanding how to repair solar LED light string and restore brightness not only saves you money but also reduces waste. These lights rely on solar energy, batteries, and small electronics—any of which can fail over time. Whether your lights are barely glowing after sunset or won’t turn on at all, the root cause is usually one of a few common problems. With the right approach, you can bring them back to life and enjoy their glow for many more seasons.
Common issues include dead batteries, dirty solar panels, corroded connections, or damaged LEDs. The good news? These are all fixable. In this guide, we’ll walk you through a clear, step-by-step process to diagnose and repair your solar light strings—no advanced skills required.
What You Need
Before diving into the repair process, gather these tools and materials. Most are likely already in your home or garage. Having everything ready will make the job faster and less frustrating.
Visual guide about how to repair solar led light string
Image source: device.report
- Screwdriver set (Phillips and flathead) – for opening the solar panel housing and battery compartment
- Multimeter (digital or analog) – to test voltage, continuity, and battery health
- Replacement NiMH or NiCd rechargeable batteries (typically 1.2V, AA or AAA size) – match the original specs
- Fine-grit sandpaper or a soft brush – for cleaning contacts and solar panel
- Isopropyl alcohol (70% or higher) and cotton swabs – for cleaning electrical contacts
- Electrical tape or heat-shrink tubing – for securing loose wires
- Needle-nose pliers and wire cutters – for handling small wires and removing damaged parts
- Small container – to hold screws and small parts during disassembly
- Sunlight or bright lamp – to test solar charging during troubleshooting
Pro Tip: Always work in a clean, well-lit area. Keep a notepad nearby to jot down observations—like which LED is out or if the battery reads low voltage. This helps track patterns and avoid repeating mistakes.
Now that you’re equipped, let’s begin the process of how to repair solar LED light string and restore brightness with a clear, logical approach.
Step-by-Step Guide to How to Repair Solar LED Light String and Restore Brightness
Step 1: Inspect the Solar Panel and Clean It Thoroughly
The solar panel is the power source. If it’s dirty, cracked, or shaded, it won’t charge the battery—even on sunny days. Start your repair by giving it a thorough inspection.
- Look for cracks, cloudiness, or physical damage on the panel surface.
- Check that the panel isn’t shaded by trees, fences, or other objects during daylight hours.
- Use a soft brush or microfiber cloth to remove dust, leaves, or bird droppings.
- For stubborn grime, lightly dampen a cloth with water and wipe gently. Avoid harsh chemicals or scrubbing.
If the panel is cracked or heavily damaged, you may need to replace it. But if it’s just dirty, cleaning can make a dramatic difference. A clean panel increases charging efficiency by up to 40%, which directly impacts how brightly and how long your lights will shine.
Warning: Never use abrasive cleaners or steel wool on the solar panel. These can scratch the surface and reduce light absorption. Stick to soft cloths and mild water.
After cleaning, place the panel in direct sunlight for 6–8 hours and check if the lights turn on at dusk. If not, move to the next step.
Step 2: Test and Replace the Rechargeable Battery
The battery is the heart of your solar light string. Over time, rechargeable batteries lose their ability to hold a charge—especially if the lights are left in shade or used infrequently.
- Locate the battery compartment (usually on the back of the solar panel or in a small box along the wire).
- Use a screwdriver to open the compartment. Remove the old battery and inspect it for bulging, corrosion, or leakage.
- Set your multimeter to DC voltage (2V range). Touch the probes to the battery terminals. A healthy NiMH battery should read 1.2–1.4 volts.
- If the reading is below 1.0V or “0,” the battery is dead and needs replacement.
Replace the battery with a new one of the same type, size, and voltage. Most solar light strings use AA or AAA NiMH batteries. Avoid using alkaline or lithium batteries—they’re not rechargeable and can damage the system.
Pro Tip: If the battery compartment has corrosion (white or green crust), clean it with a cotton swab dipped in isopropyl alcohol. Then lightly sand the contacts with fine-grit sandpaper to ensure a solid connection.
After installing the new battery, seal the compartment and place the panel in sunlight for a full day. Test at night. If the lights still don’t work, proceed to the next step.
Step 3: Check the On/Off Switch and Photocell Sensor
Many solar light strings have an on/off switch and a light sensor (photocell) that turns the lights on at dusk and off at dawn. A faulty switch or misaligned sensor can prevent the lights from turning on.
- Locate the switch—usually near the solar panel or battery compartment.
- Toggle it on and off several times. Listen for a “click” and watch for any response.
- If the switch feels loose or unresponsive, it may be damaged.
- Use the multimeter to test continuity. With the switch in “on” position, the multimeter should show a complete circuit (beep or low resistance).
The photocell sensor detects ambient light. If it’s dirty, covered, or pointing the wrong way, it may think it’s still daytime.
- Clean the sensor with a soft cloth.
- Ensure it’s not blocked by leaves, tape, or the light string itself.
- During testing, cover the sensor with your hand. If the lights turn on, the sensor is working. If not, it may be faulty.
If the switch or sensor is broken, you can replace it with a generic 3–6V solar switch or sensor from a hardware store. Soldering may be required, but many kits come with plug-and-play connectors.
Warning: Never force the switch or pry it open. Use gentle pressure. Forcing it can break internal contacts or damage the housing.
This step is crucial in the process of how to repair solar LED light string and restore brightness, as many “dead” lights are simply stuck in the “off” mode or misreading ambient light.
Step 4: Examine the LED Wires and Connections
The wire that runs from the solar panel to the LEDs can fray, kink, or break—especially if the string is exposed to wind, rain, or physical stress. Even a tiny break in the wire can cut power to the entire string.
- Unroll the entire light string and lay it flat on a table or the ground.
- Inspect the wire closely for cuts, kinks, or discoloration (a sign of overheating).
- Use the multimeter in continuity mode. Touch one probe to the positive wire at the solar panel end, and the other to the same wire at the LED end. Repeat for the negative wire.
- If there’s no continuity (no beep), the wire is broken.
To fix a broken wire:
- Cut out the damaged section with wire cutters.
- Strip about 1/4 inch of insulation from both ends.
- Twist the exposed wires together (positive to positive, negative to negative).
- Secure with electrical tape or heat-shrink tubing.
- Use a lighter to shrink the tubing if using it.
For multiple breaks, consider replacing the entire wire. You can buy 22-gauge insulated wire at hardware stores. Solder connections for a stronger, longer-lasting repair.
Pro Tip: If you’re repairing a long string, label the wires with masking tape before cutting. This prevents confusion when reconnecting.
After repair, plug the solar panel back in and test the lights. If they flicker or only some LEDs work, move to the next step.
Step 5: Identify and Replace Dead or Flickering LEDs
LEDs themselves can fail. Unlike traditional bulbs, they don’t always “burn out” suddenly—they may dim, flicker, or go completely dark. A single dead LED can affect the entire string if it’s in a series circuit.
- Turn on the lights at night. Look for LEDs that are dim, flickering, or off.
- Use the multimeter in diode test mode. Touch the probes to the LED’s metal legs (anode and cathode).
- A working LED will light up dimly and show a voltage drop (1.8–3.3V, depending on color). A dead LED shows “OL” or no reading.
To replace a bad LED:
- Use a soldering iron to heat the solder points on the LED’s legs.
- Gently pull the LED out with needle-nose pliers.
- Insert a new LED of the same color and size (e.g., 5mm white LED).
- Solder the legs to the circuit board, ensuring correct polarity (longer leg = positive).
- Trim excess wire with wire cutters.
Warning: Soldering requires care. Overheating can damage the circuit board or nearby LEDs. Use a low-wattage iron (15–30W) and work quickly.
If you don’t have soldering tools, you can bypass the dead LED by connecting the wires directly (jumpering). This works only if the string is in parallel. For series circuits, replacement is the only fix.
This step is often the final key to how to repair solar LED light string and restore brightness—especially for older strings with multiple failing LEDs.
Step 6: Reassemble, Recharge, and Test
Once all repairs are complete, it’s time to put everything back together and test your work.
- Secure all connections with tape or heat-shrink tubing.
- Reattach any covers, screws, or housing parts.
- Place the solar panel in direct sunlight for 8–12 hours. Avoid partial shade.
- At dusk, check if the lights turn on automatically.
- Observe brightness, color consistency, and duration (should last 6–10 hours on a full charge).
If the lights still don’t work, double-check:
- Battery voltage (should be 1.2V+)
- Solar panel output (should be 4–6V in sunlight)
- Wire continuity
- LED function
Use the multimeter to trace the flow of electricity from panel to battery to LEDs. This systematic approach ensures you don’t miss hidden issues.
Pro Tip: If the lights turn on but are dim, the battery may need 2–3 full charge cycles to reach peak performance. Recharge daily for a few days.
Pro Tips & Common Mistakes to Avoid
Repairing solar LED light strings isn’t hard, but small mistakes can ruin your progress. Here’s what seasoned DIYers know:
- Don’t skip the multimeter. Guessing wastes time. Testing each component saves effort and parts.
- Use the right battery. Never mix old and new batteries. Always match voltage and chemistry (NiMH, not alkaline).
- Clean contacts regularly. Even if the lights work, corrosion builds up over time. Wipe contacts every 3–6 months.
- Store properly in winter. If you live in a cold climate, bring lights indoors during freezing months. Cold drains batteries and cracks plastics.
- Label your repairs. Write the date and what you fixed with a waterproof marker. This helps if issues return.
Warning: Never leave a damaged light string plugged in overnight. A short circuit can cause overheating or fire risk, even with low voltage.
A common mistake is assuming the entire string is broken when only one LED or the battery is faulty. Always isolate the problem. Start with the solar panel, then battery, then wiring, then LEDs. This methodical approach is central to how to repair solar LED light string and restore brightness effectively.
Another pitfall? Over-tightening screws or forcing plastic casings. These are often brittle. Use the right screwdriver size and gentle pressure.
Finally, avoid using cheap replacement parts. A $2 battery might seem like a deal, but it won’t last. Invest in quality NiMH batteries (like Panasonic Eneloop or Tenergy) for longer life.
FAQs About How to Repair Solar LED Light String and Restore Brightness
Q: Can I use regular batteries instead of rechargeable ones?
No. Solar light strings are designed for rechargeable batteries (usually NiMH). Regular alkaline batteries can leak, overheat, or damage the charging circuit. Always use rechargeable batteries that match the original specs.
Q: My solar panel is cracked. Can I still use it?
It depends. Small cracks that don’t expose the internal cells may still work. But if the panel is shattered or water can get in, replace it. A damaged panel won’t charge efficiently and can short-circuit.
Q: The lights turn on but go off after 1–2 hours. Why?
This usually means the battery isn’t holding a full charge. It could be old, undercharged, or damaged. Test the battery voltage after a full day in sunlight. If it’s below 1.2V, replace it. Also, ensure the solar panel gets 6+ hours of direct sun.
Q: Can I repair a light string with water damage?
Possibly. If water got into the battery compartment or circuit board, dry it completely (use a fan or silica gel for 24–48 hours). Clean corrosion with alcohol. Test all components. If the circuit board is corroded or cracked, replacement may be needed.
Q: Why do only some LEDs work?
This could be due to:
- A dead LED in a series circuit
- A broken wire between LEDs
- Corroded contacts on the circuit board
Use the multimeter to test each LED and check continuity in the wire. Replace or repair as needed.
Q: How long should solar LED light strings last?
With proper care, 3–5 years. Batteries typically last 1–2 years. LEDs can last 50,000+ hours, but environmental stress (sun, rain, cold) reduces lifespan. Regular maintenance extends their life significantly.
Q: Can I connect two solar light strings together?
Not directly. Each string has its own solar panel and battery. Connecting them can overload the system or cause uneven charging. If you want more lights, use a separate solar string or a larger solar setup with a central battery.
Final Thoughts
Learning how to repair solar LED light string and restore brightness is a practical, eco-friendly skill that pays off. Instead of replacing $20–$40 strings every year, you can fix them for a few dollars and a little time. The process isn’t just about saving money—it’s about understanding how these small devices work and giving them a second life.
Remember: start with the solar panel, then the battery, then the wiring, and finally the LEDs. Use a multimeter to confirm each step. Keep your workspace clean and your tools ready. And don’t rush—take your time to avoid mistakes.
With this guide, you’re equipped to handle most common issues. Whether it’s a dim string, a flickering LED, or a completely dead set, you now know the path to recovery. So next time your garden lights go dark, don’t despair. Grab your tools, follow these steps, and bring back the glow.
Brighten your space—naturally and sustainably.
“`

