Featured image for how to replace led bulbs for felt string lights
Image source: giftygadgety.com
Replacing LED bulbs in felt string lights is a quick, DIY-friendly task that requires no special tools—just a steady hand and compatible LED bulbs. Carefully remove the old bulb by gently pulling it from its socket, then insert the new one, ensuring proper alignment for consistent brightness. Always double-check voltage and size compatibility to avoid damage and keep your cozy glow shining.
How to Replace LED Bulbs for Felt String Lights Easily
Key Takeaways
- Power off first: Always disconnect lights before replacing bulbs to avoid electrical hazards.
- Match bulb type: Use identical LED bulbs to ensure proper fit and brightness.
- Inspect sockets: Check for damage or debris before installing new bulbs.
- Handle gently: Avoid touching LED chips to prevent premature failure.
- Test immediately: Verify bulb function after replacement to catch issues early.
- Secure connections: Ensure bulbs are fully seated to prevent flickering or shorts.
Why This Matters / Understanding the Problem
Felt string lights add a warm, cozy glow to bedrooms, nurseries, patios, and even holiday displays. But over time, even the best LED bulbs can burn out—especially if they’re used frequently or exposed to moisture. When one or more bulbs stop working, the whole strand can feel like it’s lost its magic.
Replacing LED bulbs for felt string lights isn’t as simple as swapping a regular incandescent. These lights often use tiny, integrated LEDs or specialty bulbs that aren’t always easy to find. Many people panic, thinking they need to replace the entire set. But here’s the good news: you can fix it yourself. Learning how to replace LED bulbs for felt string lights easily saves money, reduces waste, and keeps your favorite decor shining bright.
Whether your lights are flickering, dim, or completely dark, this guide walks you through every step—no electrician needed. We’ll cover everything from identifying the right bulbs to safely installing them without damaging the felt casing. This isn’t just about repair—it’s about preserving the charm of your space.
And if you’ve ever tried searching online for “how to fix LED string lights,” you know how confusing it can be. Some guides assume you’re rewiring the whole circuit. Others skip crucial safety steps. Our approach focuses on easy, practical, and repeatable solutions—perfect for DIY beginners and seasoned decorators alike.
What You Need
Before diving in, gather the right tools and materials. Having everything ready saves time and frustration. Here’s what you’ll need to replace LED bulbs for felt string lights:
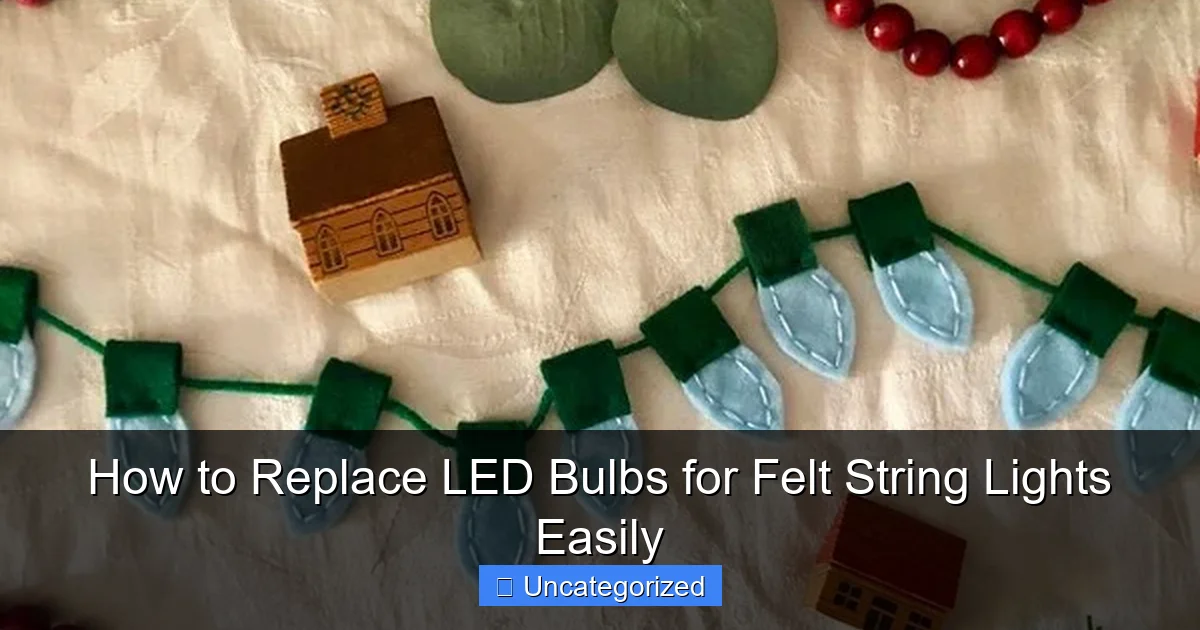
Visual guide about how to replace led bulbs for felt string lights
Image source: i.etsystatic.com
- Replacement LED bulbs – Match the original size, voltage (usually 3V or 5V), and base type (E10, E12, or integrated SMD). Check the label on the plug or measure the bulb if unsure.
- Small flathead or precision screwdriver – For prying open bulb sockets or removing covers.
- Needle-nose pliers – Helpful for gripping small bulbs and wires.
- Multimeter (optional but recommended) – To test voltage and continuity before and after replacement.
- Wire cutters/strippers – Only if cutting and splicing wires (rare, but sometimes needed).
- Heat-shrink tubing or electrical tape – For insulating any exposed wires.
- Magnifying glass or phone camera – Helps spot tiny bulb numbers or model codes.
- Soft cloth or microfiber towel – Protects the felt while working.
- Replacement felt covers (if damaged) – Available in craft stores or online; match color and texture.
Pro Tip: Take a photo of the working and non-working bulbs before starting. This helps you identify the exact model later—especially useful when shopping for replacements online.
Most importantly, always unplug the lights before beginning. Safety first. Even low-voltage LEDs can pose a risk if mishandled. Also, work on a clean, well-lit surface. A cluttered desk leads to lost bulbs and frustration.
Now, let’s get into the actual process of how to replace LED bulbs for felt string lights easily.
Step-by-Step Guide to How to Replace LED Bulbs for Felt String Lights Easily
Step 1: Identify the Type of LED Bulb and Socket
The first step is figuring out what kind of LED bulb you’re dealing with. Not all LED string lights are the same—some use removable bulbs, while others have integrated (soldered-in) LEDs. This determines your repair strategy.
Start by examining the light strand. Look closely at the bulb housing. Is the bulb screwed in? Pressed in? Or does it appear permanently attached?
For removable bulbs (common in older models or decorative strands), you’ll see a small metal base—usually E10 (mini screw) or E12 (candelabra). These are the easiest to replace. Simply unscrew them like a regular bulb.
But many modern felt string lights use integrated SMD (surface-mount device) LEDs. These are flat, chip-like components soldered directly to the wire. You won’t be able to “screw” these out. Instead, you’ll need to desolder the old LED and solder in a new one.
To confirm, use your phone camera to zoom in. Look for tiny numbers printed on the bulb or socket. Common codes include “3V 20mA,” “SMD 3528,” or “LED-5mm.” Write these down. They’re your golden ticket to finding the right replacement.
If the bulb is sealed inside a plastic or rubber housing, gently pry it open with a flathead screwdriver. Be careful not to crack the casing. Some felt lights have a snap-on cover that protects the LED from dust and moisture.
Once you’ve identified the bulb type, search for replacements using the model number. Amazon, eBay, and specialty lighting sites like 1000Bulbs.com or Super Bright LEDs carry a wide range of options. Always buy extras—you’ll likely need them later.
Remember: knowing the bulb type is the foundation of how to replace LED bulbs for felt string lights easily. Skip this, and you risk buying the wrong part.
Step 2: Test the Circuit (Optional but Smart)
Before removing any bulbs, test the circuit to make sure the issue is actually a dead LED—not a broken wire, faulty plug, or power supply problem.
Plug the strand into a power source (but don’t turn it on yet). Use a multimeter set to “diode test” or “continuity” mode. Touch one probe to the positive wire (usually red or marked with a “+”) and the other to the negative wire (black or “-”).
If the multimeter beeps or shows a reading, the circuit is intact. No beep? Check for loose connections, frayed wires, or corrosion. Sometimes, a single broken wire kills the whole strand—even if the LEDs look fine.
Next, test individual LEDs. For removable bulbs, unscrew one and test it directly with the multimeter probes touching the contacts. For integrated LEDs, touch the probes to the solder points on the wire (after removing the cover).
A working LED will show a small voltage drop (1.8V–3.3V depending on color). A dead one shows “OL” (open loop) or no reading.
If multiple LEDs are out, it could be a daisy-chain failure—where one dead LED breaks the entire circuit. That’s normal with series-wired strings. Fixing one may restore the whole line.
Why do this? Because replacing a bulb won’t help if the real issue is a short or broken wire. Testing saves time and prevents unnecessary work. It’s a key part of how to replace LED bulbs for felt string lights easily—without guessing.
Step 3: Remove the Old LED Bulb
Now comes the hands-on work. The method depends on your bulb type:
For Removable Bulbs (Screw-in or Push-in)
- Unplug the lights.
- Hold the bulb firmly with needle-nose pliers (if loose) or twist gently by hand.
- Turn counterclockwise (like a regular light bulb) to unscrew. For push-in bulbs, pull straight out—don’t twist.
- Inspect the socket for corrosion or bent contacts. Clean with a cotton swab and rubbing alcohol if needed.
For Integrated SMD LEDs
- Use a precision screwdriver to remove any protective cover or housing.
- Locate the two solder points where the LED connects to the wire. They’re usually tiny copper pads.
- Heat a soldering iron to 300–350°F. Touch the tip to one solder joint and gently wiggle the LED with pliers. The old LED should lift off easily.
- Repeat for the second joint. Don’t rush—overheating can damage the wire or surrounding felt.
- Use solder wick or a solder sucker to clean excess solder from the pads.
Warning: Never yank the LED with pliers while soldering. The wire underneath is thin and can break. Always heat the joint first.
Once the old LED is out, check the wire for damage. If the insulation is cracked or the wire is frayed, cut it back and strip a small section (¼ inch) for the new LED.
Pro tip: Label the wires with tape—“+” for positive, “-” for negative. Polarity matters! LEDs won’t work if reversed.
Step 4: Install the New LED Bulb
Now it’s time to put in the new bulb. Again, the process varies slightly by type.
For Removable Bulbs
- Insert the new bulb into the socket. Match the base type (E10, E12, etc.).
- Twist clockwise until snug. Don’t overtighten—this can crack the socket.
- For push-in bulbs, press straight in until you hear a click.
For Integrated SMD LEDs
- Align the new LED so the anode (+) and cathode (-) match the wire markings.
- Apply a small amount of solder to the tip of your iron.
- Touch the iron to one pad, then feed in a tiny amount of solder. The joint should flow smoothly, not blob up.
- Repeat for the second pad. The LED should sit flat and secure.
- Let cool for 30 seconds before moving.
For both types, double-check polarity. Most SMD LEDs have a small flat edge or dot marking the cathode (-). The wire’s positive side usually has a stripe or label.
If you’re replacing multiple LEDs, do them one at a time. This prevents confusion and reduces the chance of mixing up wires.
After installation, use electrical tape or heat-shrink tubing to cover any exposed solder points. This prevents short circuits and protects the felt from heat damage.
Installing the new LED correctly is the heart of how to replace LED bulbs for felt string lights easily. Take your time—precision matters.
Step 5: Reassemble and Test
Once the new bulb is in, reassemble the housing or felt cover. If you removed a protective cap, snap it back in place. For integrated LEDs, ensure the solder points are fully covered.
Now, plug the lights in and turn them on. Watch closely. Does the new bulb light up? Is the color and brightness consistent with the others?
If it works—great! But if it doesn’t, don’t panic. Troubleshoot:
- Check polarity: Swap the wires if the LED is dark.
- Inspect solder joints: Cold joints (dull, grainy) won’t conduct. Reheat and add more solder.
- Test the circuit again with a multimeter. Ensure voltage reaches the new bulb.
- Look for loose wires or damaged insulation.
For felt-covered bulbs, make sure the cover isn’t blocking the LED. Some felt is thick and can dim the light. If needed, trim a small hole or use a lighter felt patch.
Test the entire strand. If other bulbs flicker or go out, the issue might be a daisy-chain failure. Replace the next dead LED and test again.
Only after all bulbs work should you fully reassemble the felt casing. Use fabric glue or small stitches if the felt tore during disassembly.
Testing is the final proof that your repair succeeded. It’s the satisfying moment when your lights shine again—thanks to your effort and knowledge of how to replace LED bulbs for felt string lights easily.
Step 6: Secure and Protect (Optional but Recommended)
To extend the life of your repair, add a few protective touches:
- Wrap any exposed wire sections with electrical tape or heat-shrink tubing.
- For outdoor or humid areas, apply a thin layer of silicone sealant around the bulb base (after testing). This keeps moisture out.
- Use zip ties or clips to secure loose wires along the strand. Prevents tension on solder points.
- Store extra bulbs in a labeled bag with the strand. You’ll thank yourself later.
If the felt cover is damaged, replace it. Craft stores sell felt sheets in various colors. Cut a new piece, glue it over the bulb, and let dry. Match the texture for a seamless look.
For long-term use, consider switching to waterproof LED string lights in the future. They’re more durable and easier to maintain.
Pro Tips & Common Mistakes to Avoid
Even with the best guide, things can go wrong. Here are insider tips and pitfalls to dodge:
Pro Tip 1: Always work with the lights unplugged. Even “safe” low-voltage LEDs can shock if mishandled.
Pro Tip 2: Use a helping hand tool or tape to hold small bulbs while soldering. Your fingers will thank you.
Pro Tip 3: Buy replacement bulbs in bulk. Prices drop, and you’ll always have spares. Look for “10-pack” or “20-pack” deals.
Common Mistake 1: Ignoring polarity. LEDs are directional. Reversing the wires = no light. Always double-check the “+” and “-” before soldering.
Common Mistake 2: Overheating the wire. Excessive heat melts insulation and weakens connections. Keep the iron on the joint for no more than 3 seconds.
Common Mistake 3: Using the wrong bulb. A 3V LED in a 5V circuit burns out quickly. Match voltage and current (mA) exactly.
Common Mistake 4: Rushing the felt repair. If the felt is torn, don’t just tape it. It looks messy and may fall off. Replace or stitch it neatly.
Pro Tip 4: For hard-to-find bulbs, take a photo to a local electronics store. Staff can help identify the type and suggest equivalents.
Another smart move: keep a repair log. Note the bulb model, date replaced, and any issues. This helps if the same problem returns or spreads.
And if you’re not comfortable with soldering, consider buying a pre-assembled LED replacement kit for felt lights. Brands like Brightech and Twinkle Star sell plug-and-play bulbs designed for DIY fixes.
Remember, how to replace LED bulbs for felt string lights easily isn’t just about the fix—it’s about doing it right the first time. These tips save you from repeat visits to the hardware store.
FAQs About How to Replace LED Bulbs for Felt String Lights Easily
Can I use any LED bulb as a replacement?
No. You need to match the voltage, current (mA), and base type. A 5V bulb in a 3V circuit will burn out fast. Always check the label or measure with a multimeter. Stick to the same model or a manufacturer-recommended equivalent.
Why do only some bulbs work after replacement?
This usually means the strand is wired in series. One dead LED breaks the entire circuit. Replace all non-working bulbs, or check for broken wires between them. Use a multimeter to test continuity along the line.
Are felt string lights waterproof?
Most are not. The felt absorbs moisture, which can corrode wires and cause shorts. If using outdoors, look for IP65-rated models or add a clear silicone sealant after repair. Never submerge felt lights.
Can I replace the whole strand instead?
Yes, but it’s more expensive and wasteful. Repairing one or two bulbs is often cheaper than buying a new set. Plus, you preserve the unique look and feel of your original lights. Only replace the whole strand if multiple bulbs are dead and the wiring is damaged.
What if I don’t have a multimeter?
You can still replace bulbs, but it’s riskier. Use a battery tester (available at hardware stores) to check if the strand powers on. Or, plug it into a low-voltage adapter (like a phone charger) and see if any LEDs light up. Still, a multimeter is the safest tool for diagnosing issues.
How long do LED string lights last?
High-quality LEDs last 25,000–50,000 hours—that’s 5–10 years with normal use. But felt covers can trap heat, reducing lifespan. Keep them in well-ventilated areas. Replace bulbs as needed to keep the whole strand running.
Can I make my own felt string lights?
Absolutely! Use pre-wired LED strands and felt circles. Glue the bulbs to the felt, then attach them to the wire. This lets you customize colors, spacing, and design. Just ensure the bulbs are securely mounted and wires are insulated.
Final Thoughts
Felt string lights are more than just decor—they create mood, comfort, and memories. When they stop working, it’s not just a lighting issue; it’s a loss of atmosphere. Learning how to replace LED bulbs for felt string lights easily gives you the power to fix that.
This guide gives you the tools, steps, and confidence to tackle the job yourself. No need to toss out a beloved strand or hire an electrician. With a few basic supplies and a little patience, you can restore your lights in under an hour.
Remember the key points: identify the bulb type, test the circuit, work safely, and double-check polarity. And if you run into trouble, refer back to the pro tips and FAQs.
Next time a bulb burns out, don’t panic. You’ve got this. Keep your replacement bulbs handy, and consider labeling your strands with the bulb model for future fixes.
Finally, share this knowledge. Help a friend, teach a family member, or leave a comment online. The more people who know how to replace LED bulbs for felt string lights easily, the fewer lights end up in landfills—and the more homes stay warm and bright.
Now go grab your tools, unplug those lights, and bring the glow back.

