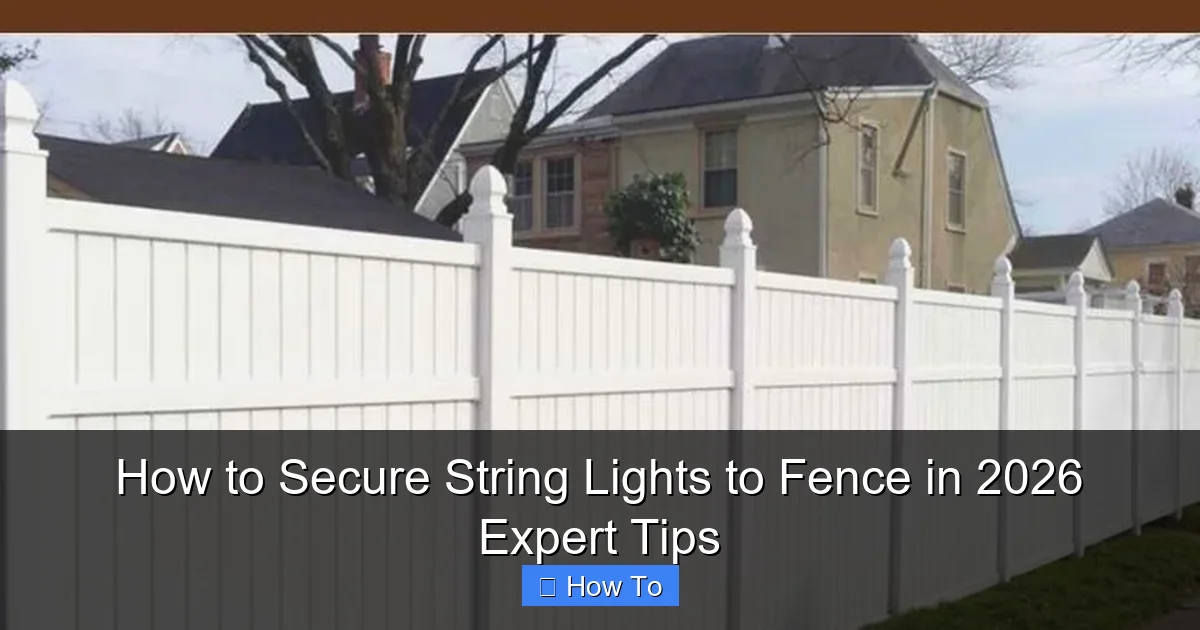
Featured image for how to secure string lights to fence
Image source: i.pinimg.com
Secure string lights to your fence in 2026 with heavy-duty, weather-resistant clips or adhesive hooks designed for outdoor use—ensuring a safe, damage-free hold all season long. For long-term durability, avoid nails or zip ties and opt for adjustable mounting brackets or silicone-coated fasteners that protect both your fence and lights. These expert-recommended methods combine ease of installation with reliable performance, even in extreme weather.
“`html
How to Secure String Lights to Fence in 2026 Expert Tips
Key Takeaways
- Choose weatherproof clips: Use UV-resistant, outdoor-rated clips for long-lasting hold.
- Measure spacing first: Plan light placement to avoid overstretching or sagging.
- Secure at both ends: Anchor lights tightly to prevent wind damage.
- Use adhesive hooks wisely: Opt for heavy-duty, removable options for renters.
- Inspect annually: Check fasteners and lights before each season for safety.
- Follow weight limits: Distribute bulbs evenly to avoid fence strain.
Why This Matters / Understanding the Problem
Picture this: you’ve spent hours stringing up twinkling lights on your fence for a backyard BBQ. The mood is perfect—until a light breeze sends half the strand swinging into the bushes. Sound familiar? You’re not alone. Securing string lights to a fence might seem simple, but without the right method, you risk sagging lines, broken bulbs, or a tangled mess by morning.
Whether you’re setting the scene for a summer party, a romantic evening, or year-round ambiance, knowing how to secure string lights to fence in 2026 expert tips ensures your lights stay where they belong—glowing beautifully, not dangling dangerously. And with modern materials, weather-resistant tech, and smart mounting options, 2026 is the year to get it right.
The goal? A clean, safe, and long-lasting installation that looks professional and survives wind, rain, and time. Let’s fix that wobbly strand once and for all.
What You Need
Before you start, gather your tools and materials. You don’t need a toolkit the size of a garage—just the essentials. Here’s what I always keep on hand:
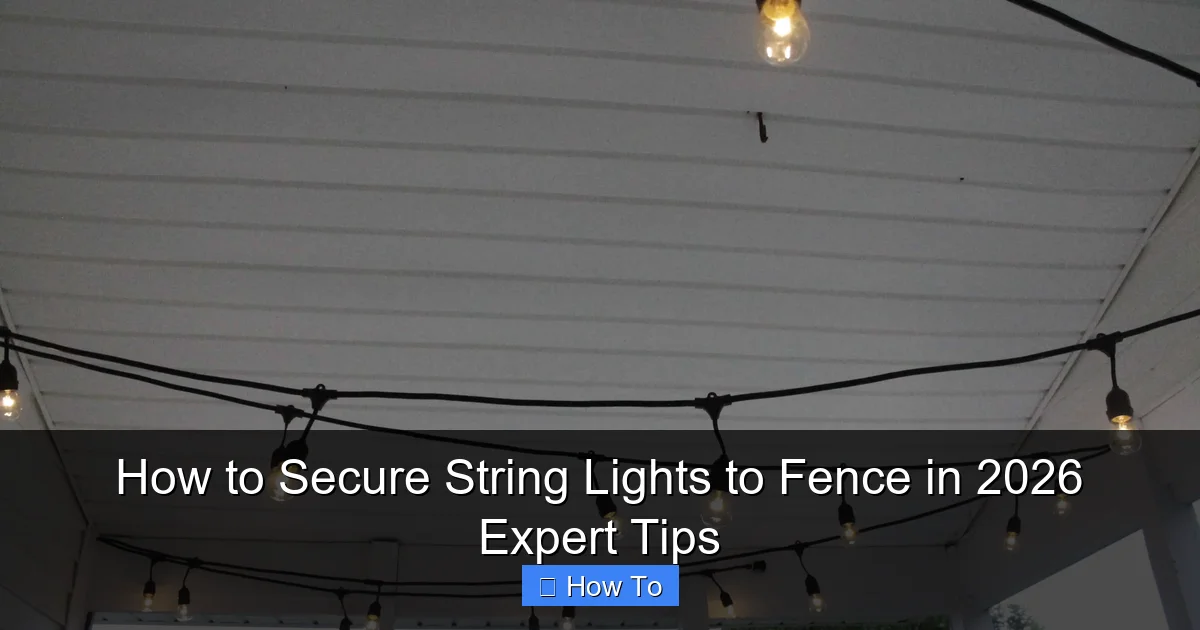
Visual guide about how to secure string lights to fence
Image source: charlestoncrafted.com
- String lights (LED, outdoor-rated, with weatherproof connectors)
- Fence clips or hooks (choose based on fence type: vinyl, wood, metal, or chain-link)
- Zip ties (UV-resistant, 12” or 18” for flexibility)
- Measuring tape (to space lights evenly)
- Extension cord(s) (outdoor-rated, GFCI-protected)
- Ladder (if your fence is tall or you’re working on a sloped yard)
- Drill with small bit (optional, for wood or metal fences)
- Rubber mallet (for gently tapping clips into vinyl or aluminum)
- Smart plug or timer (optional, but a game-changer for automation)
Pro tip: Always check your string lights for damage before installing. A frayed wire or cracked bulb can ruin the whole look—and be a safety hazard. And if you’re using older lights, consider upgrading to 2026’s weatherproof, energy-efficient LED strands for better performance and longevity.
Step-by-Step Guide to How to Secure String Lights to Fence in 2026 Expert Tips
Step 1: Choose the Right Mounting Method for Your Fence Type
Not all fences are created equal—and neither are the ways to secure lights. The first step in how to secure string lights to fence in 2026 expert tips is matching your mounting method to your fence material.
- Wooden fences: Use screw-in hooks or cup hooks. They grip securely and don’t damage the wood if installed carefully. Avoid nails—they can split the wood over time.
- Vinyl or PVC fences: Use adhesive clips or slip-on vinyl clips. These slide over the top rail and grip the side. No drilling, no damage. I once tried screwing into vinyl—big mistake. The rail cracked, and I had to replace it.
- Metal or chain-link fences: Use zip ties or metal S-hooks. Chain-link is ideal because the mesh lets you weave lights through. For solid metal panels, use magnetic clips (if the metal is magnetic) or heavy-duty adhesive mounts.
- Aluminum or composite fences: Use rubber-padded clips to prevent scratching. A rubber mallet helps seat them gently.
⚠️ Warning: Avoid using nails, staples, or duct tape. They damage fences, look messy, and fail in wind or rain. I learned this after my first holiday light disaster—duct tape peeled off in the first storm.
Step 2: Plan Your Layout and Spacing
Before you start attaching anything, plan the design. Are you going for a straight line? A zigzag? A canopy effect?
- Measure your fence length and divide it by the number of light sockets. For a clean look, space bulbs every 6–12 inches.
- Mark clip or hook positions with a pencil or removable tape. I use painter’s tape—it’s easy to remove and won’t leave residue.
- Decide where the power source will be. Run an extension cord along the ground (use a cable cover or bury it in a shallow trench if needed) or use a GFCI outlet nearby.
- For long runs, consider using connectable strands to avoid overloading one cord. Most outdoor lights can connect up to 3–5 strands safely.
Pro tip: Sketch a quick layout on paper or use a free app like SketchUp Free to visualize the pattern. I once skipped this step and ended up with a lopsided “S” shape—my guests thought it was intentional art. It wasn’t.
Step 3: Install the Mounting Hardware
Now it’s time to attach your clips, hooks, or ties. This is where precision pays off.
- For wood: Drill a pilot hole (slightly smaller than the hook) to prevent splitting. Screw in cup hooks at your marked points. Use a level to keep them even.
- For vinyl: Slide clips over the top rail. Press down gently with a rubber mallet to seat them. Don’t force them—vinyl can warp.
- For chain-link: Weave zip ties through the mesh at 12-inch intervals. Tighten just enough to hold—don’t over-tighten, or the plastic will weaken.
- For metal panels: Use magnetic clips (if applicable) or heavy-duty adhesive hooks. Clean the surface with rubbing alcohol first for better adhesion.
Install all hardware before adding lights. This lets you adjust spacing and fix mistakes without wrestling with a tangle of wires.
💡 Pro tip: For a professional look, install clips on the inside of the fence (facing your yard). It hides the hardware and keeps the lights centered.
Step 4: Hang the String Lights
With your hardware in place, it’s time to hang the lights. This is the fun part—but don’t rush it.
- Start at the power source. Plug in one end and test the strand before hanging.
- Hook or clip each bulb socket into the hardware. For zip ties, loop the socket through the tie’s head.
- Keep tension even. Don’t pull too tight—this can stress sockets or pull clips loose. Think “snug but relaxed,” like a well-tied shoelace.
- For long runs, work in sections. Hang 10 feet, step back, check alignment, then continue.
If you’re using multiple strands, connect them before hanging. Test each connection point. A single loose plug can kill the whole run.
⚠️ Warning: Never hang lights while they’re plugged in. Always unplug before installing or adjusting. Safety first, sparkle second.
Step 5: Secure Cords and Power Sources
Messy cords ruin the vibe. Keep them tidy and safe.
- Use cord clips or zip ties to secure extension cords along the fence base or to nearby posts.
- Keep cords off the ground. If they must cross a walkway, use a cable cover or bury them in a shallow trench (at least 6 inches deep).
- Plug into a GFCI outlet or use a GFCI extension cord. This cuts power instantly if there’s a short—critical for outdoor safety.
- Consider a smart plug with a timer or app control. I use mine to turn lights on at sunset and off at midnight—no more forgetting to unplug.
Bonus: If your yard has no outdoor outlet, use a solar-powered string light set. Modern ones are bright and last 6–10 hours on a full charge.
Step 6: Test, Adjust, and Finalize
Now the moment of truth: plug it in and test.
- Check every bulb. A single dead bulb can break the circuit in some strands.
- Look for sagging sections. Tighten clips or add extra support if needed.
- Walk around and view from different angles. Adjust spacing or height if lights look uneven.
- Wait for dusk and see how they glow. Some LEDs are too bright or too dim—swap bulbs if needed.
I always do a “wind test” by gently shaking the fence. If lights wobble excessively, add more clips or shorten spans between supports.
Step 7: Maintain and Store for Longevity
Good installation is just the start. To keep your lights shining year after year, maintain them.
- Inspect before each use. Look for frayed wires, cracked bulbs, or loose connections.
- Clean bulbs and sockets with a dry cloth. Avoid water—unless the lights are rated for submersion.
- Store lights properly. Wrap them around a cardboard tube or use a light reel to prevent tangles. I store mine in a sealed plastic bin with silica packets to fight moisture.
- Remove hardware at the end of the season—especially adhesive clips. They can leave residue or damage paint.
For permanent installations (like year-round patio lights), consider reinforced clips or under-rail mounts that blend into the fence.
Pro Tips & Common Mistakes to Avoid
After years of trial, error, and a few “oops” moments, here’s what I’ve learned the hard way—and how to avoid it.
- Don’t skip the pilot hole on wood. I once drove a hook directly into a cedar post. It split, and the whole strand sagged. Drill first, screw second.
- Use UV-resistant zip ties. Regular ties turn brittle and snap in sunlight. I lost a whole canopy because I used cheap ones.
- Mind the voltage drop. Long runs of lights can dim at the far end. Use a voltage booster or split the run into shorter segments.
- Don’t hang lights in a straight line on a curved fence. It looks awkward. Follow the curve with staggered clips for a natural flow.
- Label your strands. If you use multiple sets, tag them with tape. “Patio,” “Gazebo,” “Back Fence”—makes setup next year a breeze.
- Consider smart lighting. 2026’s Wi-Fi-enabled string lights let you change colors, set scenes, or sync with music. Worth the upgrade.
💡 Pro tip: For a magical effect, install lights on both sides of the fence. It doubles the glow and looks stunning from the street.
⚠️ Warning: Never use indoor lights outdoors. They’re not rated for moisture or UV exposure. I learned this when my “bargain” lights melted in the sun.
FAQs About How to Secure String Lights to Fence in 2026 Expert Tips
Q: Can I leave string lights on my fence all year?
A: Only if they’re outdoor-rated and properly secured. Even then, check them monthly. Wind, snow, and ice can loosen clips. I leave mine up from May to December, but I remove them in winter to protect the fence.
Q: What’s the best way to hang lights on a tall fence?
A: Use a sturdy ladder and a helper. Install clips from the ground first, then hang lights from the top down. For extra height, use a light pole adapter or attach lights to a nearby tree or pergola and drape them across.
Q: How do I prevent lights from sagging between posts?
A: Add extra clips or hooks in the middle of long spans. I use support wires—a thin cable run between posts, with lights clipped to it. It’s invisible at night but keeps everything tight.
Q: Are adhesive clips safe for vinyl fences?
A: Yes, but only if they’re designed for vinyl. Avoid cheap ones that use strong glue—they can peel paint. I recommend slip-on vinyl clips that grip the rail without adhesive.
Q: Can I use nails to hang lights on a wooden fence?
A: Technically, yes—but don’t. Nails split wood and loosen over time. Screw-in hooks are safer, cleaner, and last longer. Save the nails for picture frames.
Q: How do I connect multiple light strands safely?
A: Check the manufacturer’s limit (usually 3–5 strands). Use a power distribution block if you need more. Never overload a single outlet—use a heavy-duty extension cord and GFCI protection.
Q: What if my fence is too weak to support clips?
A: Use a free-standing light pole or attach lights to nearby trees, a pergola, or a fence-mounted light rail. I once used a garden arch—looked like a fairy tunnel!
Final Thoughts
Securing string lights to a fence isn’t just about looks—it’s about safety, durability, and creating a space you love. With how to secure string lights to fence in 2026 expert tips, you now have a clear, tested plan that works for any fence type, weather condition, or lighting style.
Remember: take your time. Plan your layout. Use the right hardware. And always prioritize safety. A few extra minutes upfront saves hours of frustration later.
So grab your clips, fire up those LEDs, and light up your yard the smart way. Whether it’s for a party, a quiet evening, or just everyday magic, your fence will shine—literally. And hey, if you mess up? No worries. We’ve all been there. Just unplug, adjust, and try again. The glow is worth it.
Now go make your backyard the envy of the neighborhood. And don’t forget to enjoy the view.
“`

