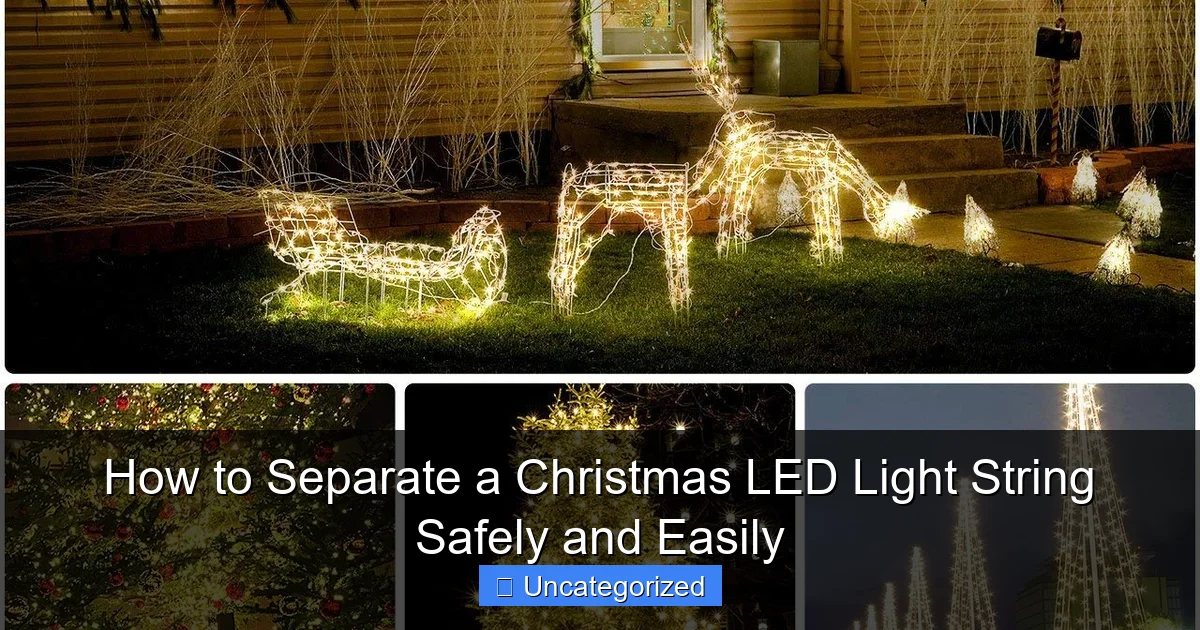
Featured image for how to separate a christmas led light string
Image source: eternityledglow.com
Always unplug the LED light string before attempting to separate it to ensure safety and prevent electrical hazards. Look for the manufacturer’s designated separation points—usually marked by small connectors or dashed lines—and gently pull apart or cut only at these spots to avoid damaging the wiring. Using proper tools like wire cutters or seam rippers makes the process quick, clean, and safe.
How to Separate a Christmas LED Light String Safely and Easily
Key Takeaways
- Power off first: Always unplug the string to avoid electrical hazards.
- Inspect for damage: Check wires and bulbs before separation to prevent issues.
- Use proper tools: Cut only at marked points with sharp wire cutters.
- Seal cut ends: Cover exposed wires with caps or tape for safety.
- Label segments: Tag each section for easier setup next season.
Why This Matters / Understanding the Problem
Every holiday season, millions of homes light up with festive cheer—thanks to Christmas LED light strings. But when it’s time to pack them away, many people face the same frustrating problem: tangled, knotted wires that seem impossible to separate.
Trying to yank apart a how to separate a Christmas LED light string safely and easily can lead to broken bulbs, frayed wires, or even electrical hazards. Worse, improper handling can shorten the lifespan of your lights or create fire risks.
This isn’t just about convenience. It’s about safety, efficiency, and protecting your investment. Whether you’re decorating your roof, wrapping trees, or stringing lights along your mantle, knowing how to separate LED light strings properly ensures they last for years and work perfectly each season.
Many people assume all LED light strings are the same, but they come in different styles: plug-in, battery-powered, parallel-wired, or series-wired. Some have connectors, others have end-to-end plugs. Each type requires a slightly different approach to untangling and separating—especially if they’ve been stored for months.
Pro Insight: The key to how to separate a Christmas LED light string safely and easily lies in patience, the right tools, and understanding how your lights are designed. Rushing leads to damage. Slow and steady wins the holiday race.
Think of it like untying a shoelace. You don’t pull hard—you loosen, guide, and work from the ends. The same logic applies here. In this guide, we’ll walk you through every step, from identifying your light type to storing them neatly for next year.
What You Need
Before you start, gather these essential tools and materials. Having everything ready saves time and reduces frustration.
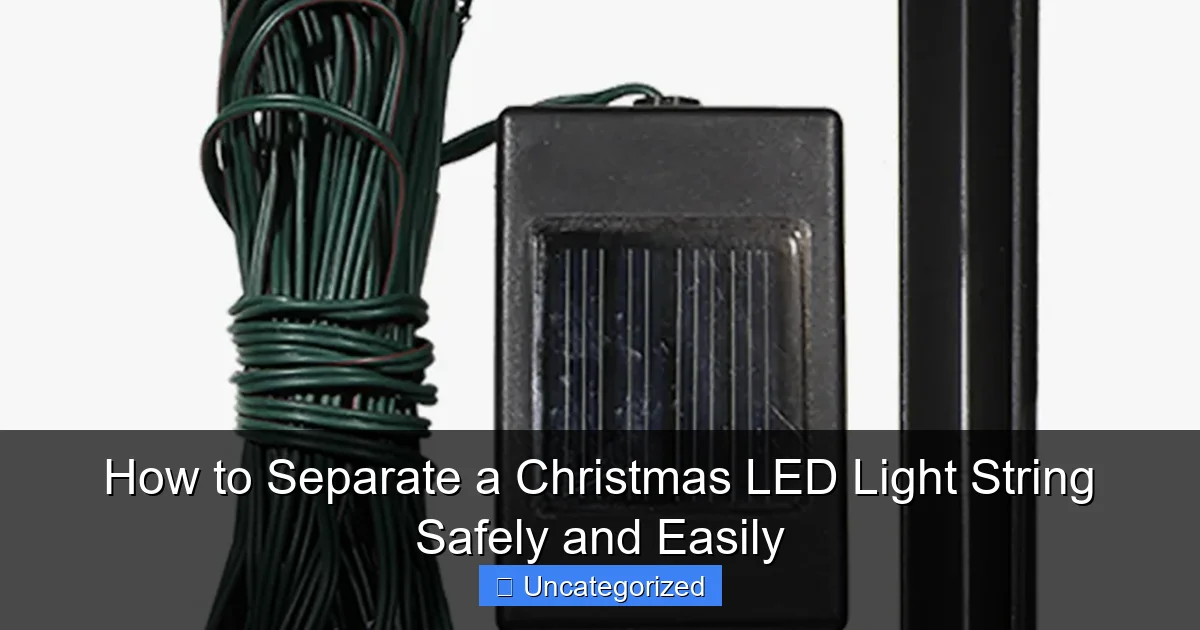
Visual guide about how to separate a christmas led light string
Image source: kindpng.com
- Work gloves (optional but recommended): Protect your hands from sharp wire ends and reduce strain when pulling.
- Scissors or wire cutters: Only needed if you encounter a damaged section or need to remove a knot (rare).
- Plastic zip ties or twist ties: For bundling separated strands.
- Cardboard or a light reel: To wind and store the lights after separation.
- Flat, clean workspace: A table or floor with good lighting. Avoid carpet if possible—it can hide small parts.
- Magnifying glass (optional): Helpful for spotting tiny connectors or damaged bulbs.
- Label maker or masking tape: To mark which string is which (especially useful for multi-color or themed sets).
- Soft cloth or microfiber rag: For gently cleaning bulbs and wires before storage.
Warning: Never use metal tools like pliers or knives to pry apart tangled lights. This can nick the insulation and expose wires—creating a shock or fire hazard. Stick to soft, non-conductive tools.
Bonus: If you have a light tester, use it after separation to check for burnt-out bulbs. It’s better to find dead lights now than during next year’s setup.
Now, let’s get into the real work: how to separate a Christmas LED light string safely and easily—step by step.
Step-by-Step Guide to How to Separate a Christmas LED Light String Safely and Easily
Step 1: Identify the Type of Light String
Not all LED strings are created equal. Before you start pulling, take 2 minutes to figure out what kind you’re dealing with.
- Plug-in vs. Battery-Powered: Plug-in strings have a male and female end (or a plug on one end and a dead end on the other). Battery-powered strings have a small control box and often no connector.
- Parallel vs. Series Wiring: In parallel strings, one bulb going out doesn’t kill the whole strand. In series, it does. Most modern LED strings are parallel-wired.
- Connector Types: Some have end-to-end connectors (male/female), others have stackable plugs (allowing multiple strings to connect), and some use proprietary connectors (like for animated or color-changing lights).
Why does this matter? If your string has connectors, you’ll know where to start and stop. If it’s battery-powered, you’ll focus on the control box and wire integrity.
Pro Tip: Take a photo of the plug and control box with your phone. This helps you remember the setup later and avoids mixing up strings during storage.
Once you know the type, you can plan your separation strategy. This is the foundation of how to separate a Christmas LED light string safely and easily.
Step 2: Lay the String Flat and Find the Ends
Uncoil the entire string and lay it out on a clean, flat surface. Avoid doing this on the floor if you have pets or kids—tiny bulbs can be choking hazards.
- Spread the lights out in a long, loose line. Don’t force any knots yet.
- Locate the power plug (if applicable) and the end cap or female connector.
- Mark each end with a twist tie or label. This prevents confusion later.
Look closely for any knots, tangles, or loops. Don’t pull—just observe. Identify where the tangles start and end. This helps you target your efforts.
For battery-powered strings, locate the control box and ensure the batteries are removed before handling. A live circuit can cause a short if wires touch.
Warning: Never work with wet hands or in a damp area. Even low-voltage LED strings can pose a shock risk if damaged.
This step may seem simple, but it’s crucial. Skipping it leads to wasted time and accidental damage. Now you’re ready to untangle—safely.
Step 3: Start Untangling from the Center Outward
Most people make the mistake of pulling from the ends. That just tightens the knots. Instead, work from the center of the tangle.
- Pinch a section of the wire in the middle of a knot. Gently wiggle it side to side to loosen.
- Use your fingers to separate individual wires. LED strings are thin—don’t use tools unless absolutely necessary.
- As you free one section, lay it flat and move outward. Think of it like untying a shoelace: loosen the middle, then pull the ends.
If you hit a stubborn knot, try this trick: gently twist the wires in opposite directions. This breaks up friction and helps the knot relax.
For strings with bulbs close together, use your fingernails to slide between the wires. Avoid pulling bulbs—they’re fragile and can pop out of sockets.
Pro Tip: Work on one tangle at a time. Don’t try to fix everything at once. Focus, breathe, and take breaks. This method is part of how to separate a Christmas LED light string safely and easily—it’s a process, not a race.
Once a knot is loose, don’t yank. Guide the wire through slowly. If it feels stuck, stop and re-assess. Forcing it can snap the internal filament or damage the socket.
Step 4: Separate Connected Strings (If Applicable)
If your setup uses multiple connected strings (e.g., 3 strands linked end-to-end), now is the time to disconnect them.
- Locate the male/female connectors between each string.
- Pinch the connector tabs (usually small plastic clips) and gently pull apart.
- Never pull by the wires—this can break internal connections.
- If the connector is stuck, wiggle it side to side while pulling. Use a plastic spudger or credit card to pry slightly (never metal).
For stackable plugs (like those on some icicle lights), press the release button and pull straight apart.
If a connector is cracked or loose, mark it with tape. You can repair it later or replace the string. Don’t try to tape it together—it’s unsafe.
Warning: Never cut connectors unless you’re replacing the entire string. Cutting voids warranties and creates electrical hazards.
After separation, label each string with masking tape: “Front Porch,” “Tree Topper,” etc. This saves time next year and is a key part of how to separate a Christmas LED light string safely and easily.
Step 5: Inspect for Damage
Now that the string is free, give it a full inspection. Look for:
- Broken or missing bulbs: Gently wiggle each bulb. If it flickers or doesn’t light, it’s faulty.
- Frayed or exposed wires: Check for cuts, kinks, or bare metal. These are fire hazards.
- Damaged sockets: Cracks or loose fit mean the bulb won’t stay in.
- Corroded connectors: Green or black residue on metal parts.
Use a light tester if you have one. Plug in the string and run the tester along the wire. It will beep or light up when it finds a break.
For minor issues (like a loose bulb), tighten the socket with your fingers. For major damage (frayed wires), it’s safer to retire the string. LED lights are cheap to replace—your safety isn’t.
Pro Tip: If only one bulb is out in a parallel-wired string, the rest should still work. But check the socket—sometimes a loose bulb causes a partial short.
This step ensures your lights are safe to store and reuse. Skipping it risks a fire or shock next season.
Step 6: Clean and Dry the String
Before storage, clean your lights. Dust, dirt, and moisture can cause corrosion or short circuits.
- Wipe each bulb and wire with a dry microfiber cloth.
- For stubborn grime, use a cloth slightly dampened with water (not soap). Wipe quickly and dry immediately.
- Ensure the string is 100% dry before storing. Even small moisture can lead to rust in connectors.
For strings that were outdoors, check for spider webs, sap, or leaves. Use a soft brush (like a toothbrush) to remove debris.
Never submerge LED strings in water. Even waterproof models aren’t meant for soaking.
Pro Tip: Store lights in a cool, dry place. Attics and basements are often damp—use a sealed plastic bin with silica gel packs to prevent moisture.
Step 7: Wind and Store Properly
How you store your lights determines how easy they’ll be to untangle next year. Here’s how to do it right:
- Use a cardboard reel: Cut two notches in a piece of cardboard. Wind the string around, tucking the plug and end into the notches.
- Or use a dedicated light reel: These have handles and built-in clips. They’re worth the small investment.
- Bundle with zip ties or twist ties: Tie every 6–8 inches. Don’t overtighten—this stresses the wires.
- Label the bundle: Use masking tape or a label maker. Include the length and type (e.g., “50 ft, white, steady glow”).
For battery-powered strings, remove batteries and store them separately. This prevents corrosion in the control box.
Store strings in a clear plastic bin with a lid. Add silica gel packets to absorb moisture. Keep the bin in a closet or under a bed—not in a garage or attic.
Warning: Never wrap lights around a tree or pole. This creates stress points and increases tangling risk. Always use a flat, even winding method.
This final step is the secret to making how to separate a Christmas LED light string safely and easily a breeze next year.
Pro Tips & Common Mistakes to Avoid
Even with the best intentions, people make mistakes. Here’s how to avoid them:
- Mistake: Pulling hard on tangled wires. Solution: Work slowly from the center. Patience prevents breaks.
- Mistake: Storing wet or dirty lights. Solution: Always clean and dry. Moisture causes rust and shorts.
- Mistake: Using metal tools to pry connectors. Solution: Use plastic or your fingers. Metal can damage insulation.
- Mistake: Wrapping around a pole or tree. Solution: Use a reel or cardboard. Flat winding prevents kinks.
- Mistake: Mixing different light types. Solution: Label and store separately. This avoids confusion and damage.
Pro Tip: Buy a light storage case with dividers. It keeps strings separate and labeled—perfect for large setups.
Another pro move: test your lights before decorating next year. Plug them in for 10 minutes. If they flicker or fail, replace them early.
And remember: LEDs last longer when stored properly. A little effort now means brighter holidays later.
When in doubt, follow the golden rule of how to separate a Christmas LED light string safely and easily: slow, gentle, and organized.
FAQs About How to Separate a Christmas LED Light String Safely and Easily
Let’s answer the most common questions—straight from real homeowners like you.
Q1: Can I cut a tangled string to make it easier to separate?
Only as a last resort. Cutting voids warranties and creates two shorter, less useful strings. Plus, you’ll need to rewire the ends—risky without electrical knowledge. Try untangling first. If it’s truly hopeless, cut one wire at a time and splice carefully with a waterproof connector. But honestly, it’s usually safer to replace the string.
Q2: What if my LED string has a broken bulb—can I still separate it?
Yes. A broken bulb doesn’t prevent separation. Just avoid pulling on that section. Once separated, you can replace the bulb (if sockets are removable) or retire the string. For parallel-wired strings, the rest should still work.
Q3: Are battery-powered LED strings harder to separate?
Not really. The main difference is the control box. Be extra careful around it—don’t yank or bend the wires near the battery compartment. Remove batteries first. Otherwise, the process is the same: lay flat, untangle, inspect, and store.
Q4: How do I know if my string is parallel or series-wired?
Test it: Remove one bulb. If the others stay on, it’s parallel (most modern LEDs). If they all go out, it’s series. Series strings are rare now due to reliability issues.
Q5: Can I use a hair dryer to loosen a knot?
No. Heat can melt insulation or damage plastic connectors. LEDs are sensitive to temperature. Stick to manual untangling. If a knot is super tight, soak it in warm water (off the string) for 10 minutes to relax the plastic—then dry thoroughly.
Q6: What’s the best way to store lights long-term?
Use a clear plastic bin with silica gel packs. Wind each string on a reel or cardboard. Label clearly. Store in a cool, dry, dark place. Avoid attics (too hot/cold) and basements (too damp). This is key to how to separate a Christmas LED light string safely and easily in the future.
Q7: My string has a proprietary connector—how do I disconnect it?
Look for a release tab or button. If you can’t find it, check the manual (search online for the brand + model). Never force it. Some brands use unique designs—like twist-locks or snap-in connectors. When in doubt, contact the manufacturer.
Final Thoughts
Separating your Christmas LED light string doesn’t have to be a holiday nightmare. With the right approach, it’s a quick, safe, and even satisfying task.
Remember: how to separate a Christmas LED light string safely and easily isn’t about speed—it’s about care. From identifying your light type to storing them properly, every step protects your investment and keeps your family safe.
Start next season strong. Test your lights early, replace any damaged ones, and use the labeling system you set up. You’ll spend less time untangling and more time enjoying the glow.
And here’s a final piece of advice: make it a tradition. Set aside one afternoon after the holidays to clean, inspect, and store your lights. Invite the kids to help. Turn it into a mini ritual.
Because the best holiday memories aren’t just about the lights—they’re about the moments we share while hanging them. And with these tips, next year’s setup will be brighter, safer, and easier than ever.
Now go forth, untangle with confidence, and keep the magic of Christmas shining—year after year.

