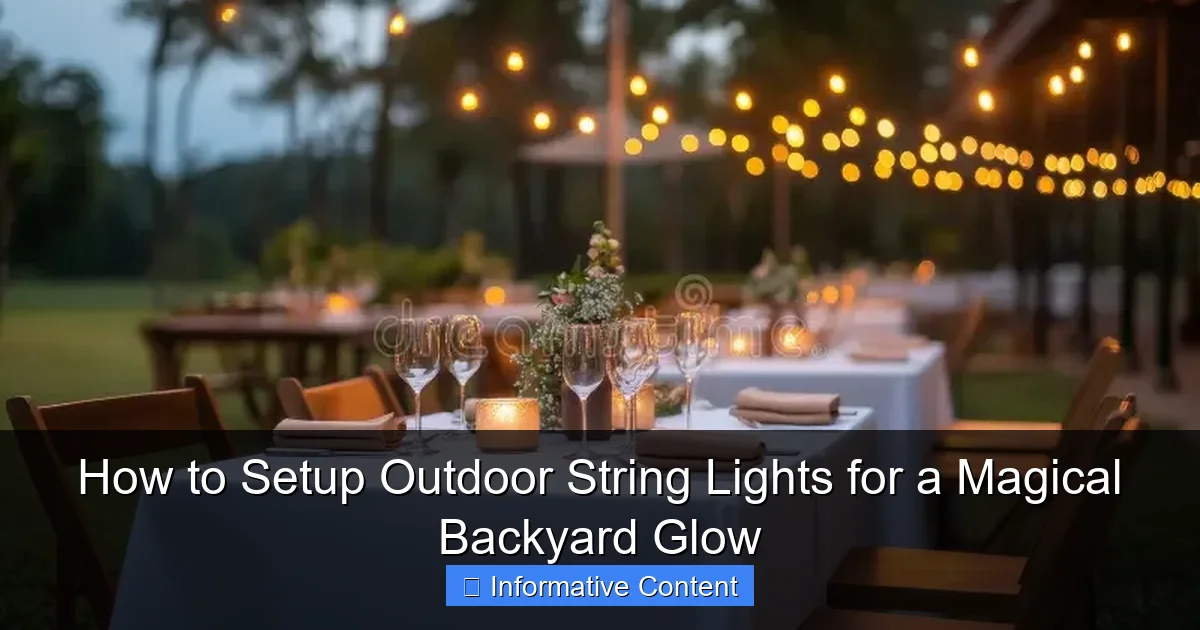
Featured image for how to setup outdoor string lights
Image source: thumbs.dreamstime.com
Transform your backyard into a magical retreat by securely mounting outdoor string lights along sturdy anchor points like trees, posts, or eaves using hooks or zip ties. Ensure bulbs are spaced evenly and use a timer or dimmer to enhance ambiance while conserving energy. Always check for weather-resistant ratings and proper electrical safety to enjoy a safe, glowing oasis all season long.
Key Takeaways
- Plan your layout: Sketch light placement before hanging for balanced, even coverage.
- Measure carefully: Buy 10% extra lights to account for gaps and corners.
- Use durable hardware: Install hooks or clips rated for outdoor use and weight.
- Test lights first: Ensure all bulbs work before hanging to avoid rework.
- Secure connections: Elevate plugs with waterproof covers to prevent moisture damage.
- Angle for ambiance: Hang lights 8–10 feet high for optimal glow and safety.
📑 Table of Contents
- How to Setup Outdoor String Lights for a Magical Backyard Glow
- 1. Choosing the Right Outdoor String Lights
- 2. Planning Your Layout and Measuring the Space
- 3. Gathering Tools and Supplies
- 4. Installing the String Lights (Step-by-Step)
- 5. Maintaining and Troubleshooting Your Lights
- 6. Creative Ideas and Pro Tips for Maximum Impact
How to Setup Outdoor String Lights for a Magical Backyard Glow
There’s something undeniably enchanting about stepping into a backyard bathed in the soft, warm glow of outdoor string lights. Whether you’re hosting a summer barbecue, enjoying a quiet evening with a book, or simply unwinding after a long day, these twinkling lights can transform your outdoor space into a cozy, inviting retreat. I remember the first time I strung up lights in my own backyard—it felt like I’d discovered a secret recipe for instant ambiance. But I’ll be honest: getting it right took a few tries. From tangled cords to sagging lines, I learned a lot through trial and error. And that’s exactly why I’m sharing this guide. Whether you’re a DIY newbie or a seasoned decorator, setting up outdoor string lights can be simple, affordable, and incredibly rewarding.
The key is to plan thoughtfully, choose the right lights for your space, and install them with care. Done well, outdoor string lights don’t just add beauty—they extend the usability of your yard, create a welcoming atmosphere, and even boost your home’s curb appeal. In this guide, I’ll walk you through every step, from choosing the perfect lights to troubleshooting common issues. By the end, you’ll have all the tools you need to create your own magical backyard glow—no professional help required.
1. Choosing the Right Outdoor String Lights
The first step in creating your backyard oasis is selecting the right kind of string lights. With so many options on the market, it’s easy to feel overwhelmed. But don’t worry—this section will help you narrow down your choices based on your needs, budget, and aesthetic goals.
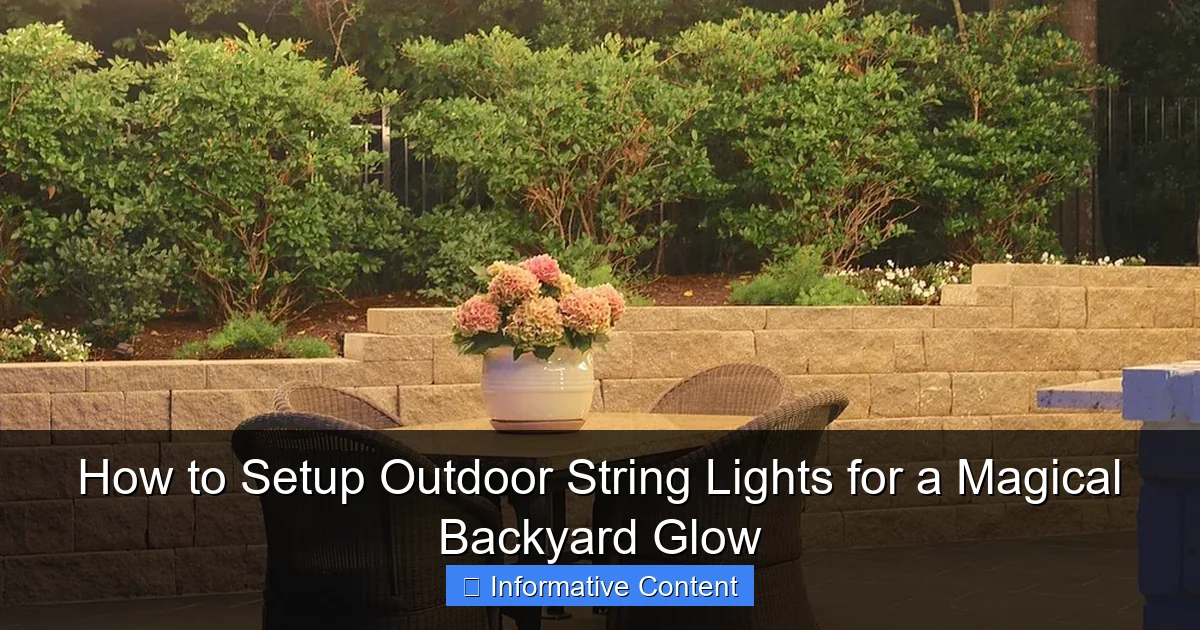
Visual guide about how to setup outdoor string lights
Image source: thecreativityexchange.com
Types of Outdoor String Lights
Not all string lights are created equal. Here are the most common types you’ll find:
- Incandescent string lights: These are the classic warm-white bulbs with a nostalgic feel. They’re affordable and emit a soft, cozy glow, but they use more energy and don’t last as long as LEDs. Great for occasional use or vintage-style setups.
- LED string lights: Energy-efficient, long-lasting, and cooler to the touch. LEDs come in a variety of colors and styles (warm white, cool white, multicolor) and are perfect for year-round use. They’re a bit pricier upfront but save money over time.
- Edison-style bulbs: These have a vintage, industrial look with exposed filaments. They’re popular for bistro-style lighting and work beautifully in rustic or modern settings. Most are LED-based for efficiency.
- Fairy lights or micro LEDs: Tiny, delicate bulbs often used in mason jars, along railings, or wrapped around trees. They create a dreamy, starry effect and are ideal for accent lighting.
- Solar-powered string lights: Eco-friendly and easy to install since they don’t require an outlet. They charge during the day and turn on automatically at dusk. Best for areas with consistent sunlight.
Key Features to Consider
Beyond bulb type, here are the features that matter most:
- Length and spacing: Measure your space first. Most string lights come in 24- to 48-foot lengths with bulbs spaced 4–12 inches apart. Closer spacing gives a denser glow; wider spacing creates a more spaced-out, elegant look.
- Connectability: Some lights can be plugged together end-to-end (e.g., “end-to-end connectable”). This lets you cover longer distances without multiple outlets. Check the manufacturer’s max connection limit—usually 3–5 strands.
- Weather resistance: Look for an IP44 or higher rating (IP stands for Ingress Protection). This means the lights are protected against splashing water and dust, which is essential for outdoor use.
- Bulb type and replaceability: Are bulbs removable? Can you replace a single burnt-out bulb? Some modern LED strands have sealed bulbs, which is fine if the whole strand is replaceable, but it’s nice to have options.
- Smart features: Some string lights are Wi-Fi or Bluetooth-enabled, letting you control brightness, color, or schedules via an app. Handy if you want to set a timer or sync with music.
Example: Matching Lights to Your Space
Let’s say you have a 20×15-foot patio with a pergola. You want a warm, inviting glow for evening gatherings. In this case, 48 feet of warm-white Edison-style LED lights (spaced 6 inches apart) would work beautifully. They’re energy-efficient, weather-resistant, and give that classic bistro look. If you’re lighting a large yard with trees and pathways, consider combining 24-foot solar-powered fairy lights for trees with 48-foot LED strands along fences.
Pro tip: Buy one extra strand. It’s always helpful to have a backup in case of damage or if you want to extend coverage later.
2. Planning Your Layout and Measuring the Space
Before you start hammering hooks or climbing ladders, take the time to plan your layout. A little preparation now saves headaches (and tangled wires) later. This is where your backyard truly begins to come alive in your mind’s eye.
Sketch a Simple Diagram
Grab a piece of paper or use a free design app (like SketchUp or Canva). Sketch your yard or patio, including key features: trees, fences, railings, pergolas, posts, and seating areas. Then, map out where you want the lights to go. Ask yourself:
- Do I want lights along the perimeter or in a central canopy?
- Should they highlight a specific area (like a dining table or fire pit)?
- Will they follow a natural line (e.g., along a fence) or create a geometric pattern (e.g., zigzag between posts)?
For example, if you have a pergola, you might run lights horizontally across the beams or drape them diagonally for a starry effect. If you’re lighting a deck, consider running lights along the railing or from corner posts in a crisscross pattern.
Measure Accurately
Use a measuring tape to determine the total length you need. Don’t forget to account for:
- Distance from the power source to the first anchor point
- Extra length for slack or loops (add 10–15% to your total)
- Vertical drops (e.g., from a roofline to a tree branch)
Let’s say your pergola is 12 feet long, and you want lights running across all four sides. That’s 48 feet total. But if you’re using 24-foot strands, you’ll need two, and they should be connectable. Also, measure the height—how far down will the lights hang? You don’t want them too low (bumping heads) or too high (looking sparse).
Choose Anchor Points
Identify sturdy, permanent structures to hang your lights from. Good options include:
- Existing posts (e.g., fence posts, pergola beams)
- Tree branches (at least 2 inches in diameter)
- Roof eaves or soffits (use gutter hooks or clips)
- Ground-mounted poles (like shepherd’s hooks or metal stakes)
Avoid hanging lights from weak structures (like thin branches or plastic railings) or anything that might move in the wind. If you don’t have natural anchor points, you can install ground stakes or tension cables between poles.
Pro tip: Use painter’s tape to mark anchor points temporarily. Step back and visualize the layout before installing anything permanently.
3. Gathering Tools and Supplies
Now that you have a plan, it’s time to gather everything you’ll need. Having the right tools makes the process smoother and safer. Here’s a checklist based on common installation methods.
Essential Tools
- Measuring tape: For accurate spacing and lengths.
- Pencil or chalk: To mark anchor points.
- Ladder: A sturdy, non-slip step ladder or extension ladder. Safety first!
- Drill and screws (optional): If installing permanent hooks or brackets.
- Hammer or mallet: For driving in ground stakes.
- Wire cutters (if using tension cables): For trimming excess cable.
Hanging Hardware
The right hardware depends on your anchor points:
- Cup hooks or eye screws: Ideal for wood (e.g., pergolas, deck posts). Use stainless steel or coated to resist rust.
- Zip ties or cable clips: For attaching lights to railings, fences, or trees. Use UV-resistant zip ties so they don’t degrade in sunlight.
- Gutter hooks or soffit clips: For hanging lights from rooflines without drilling.
- Shepherd’s hooks or ground stakes: Great for open yards or areas without structures. They’re easy to install and move.
- Tension cables and turnbuckles: For long spans (e.g., across a yard). The cable provides support, and the lights hang from it. This prevents sagging.
- Adhesive hooks (outdoor-rated): For temporary setups or rental properties. Make sure they’re rated for weight and weather.
Power and Safety Equipment
- Outdoor-rated extension cord: With a GFCI (Ground Fault Circuit Interrupter) plug for safety.
- Timer or smart plug: So your lights turn on and off automatically.
- Waterproof outlet cover: To protect the plug connection from rain.
- Work gloves: To protect your hands from splinters or sharp edges.
Pro tip: Test your lights before hanging them. Plug them in and check for burnt-out bulbs or loose connections. It’s much easier to fix issues on the ground than on a ladder!
4. Installing the String Lights (Step-by-Step)
Now comes the fun part: bringing your vision to life. Follow these steps for a secure, professional-looking installation.
Step 1: Install Anchor Points
Start by installing your hooks, clips, or stakes. For wood surfaces, drill pilot holes first to prevent splitting. Screw in cup hooks or eye screws at your marked points. Space them evenly—about every 12–18 inches for standard strands. For tension cables, install anchor hooks at both ends and run the cable through a turnbuckle to tighten it.
On trees, use zip ties or tree-friendly straps (avoid wire or rope that can cut into bark). For gutters, simply slide gutter hooks into place—no tools needed.
Step 2: Hang the First Strand
Begin at the power source. Unroll the first strand and attach the first bulb or socket to the starting hook. Work your way along the path, securing the strand at each anchor point. Don’t pull too tight—leave a little slack (about 1–2 inches between hooks) so the lights don’t sag or strain in the wind.
If using a tension cable, hang the lights from it with S-hooks or clips. This distributes weight and prevents drooping.
Step 3: Connect Additional Strands
If your layout requires multiple strands, connect them end-to-end. Plug the first strand into the outlet, then connect the next strand to the first. Use a waterproof outlet cover to seal the connection. Keep connections off the ground and away from pooling water.
Pro tip: Use a power strip with multiple outlets if you’re connecting several strands. Just make sure it’s GFCI-protected and outdoor-rated.
Step 4: Adjust and Secure
Once all strands are up, step back and check the layout. Adjust any sagging or uneven sections. Use zip ties or clips to secure loose wires or prevent swaying in the wind. Trim excess zip tie ends for a clean look.
For a crisscross or canopy effect, use a grid pattern. Hang horizontal lines first, then weave vertical strands through them. Secure each intersection with a clip.
Step 5: Test and Time It
Plug in the lights and turn them on. Check for dark spots, flickering, or dim bulbs. Replace any faulty bulbs (if removable) or strands. Once everything works, plug the setup into a timer or smart plug. Set it to turn on at dusk and off after a few hours—this saves energy and extends bulb life.
5. Maintaining and Troubleshooting Your Lights
Even the best setup needs a little TLC. Regular maintenance keeps your lights looking great and working safely.
Seasonal Care
- Spring: Inspect for winter damage. Replace broken bulbs or frayed wires. Clean off dirt or cobwebs with a damp cloth.
- Summer: Check connections after heavy rain. Ensure waterproof covers are intact.
- Fall: Before winter, consider taking down lights in harsh climates. If leaving them up, inspect for ice or snow buildup.
- Winter: In snowy areas, avoid letting snow accumulate on strands. Gently brush it off to prevent sagging.
Common Issues and Fixes
- Sagging lights: Tighten tension cables or add more anchor points. Use support clips every 10–12 feet.
- Flickering or dim lights: Check for loose bulbs, damaged sockets, or overloaded circuits. Replace faulty bulbs or reduce the number of connected strands.
- Burnt-out strands: If one section doesn’t light, it might be a blown fuse (in plug-in models) or a failed LED driver. Try replacing the fuse or the entire strand.
- Corrosion or rust: Replace metal hooks or clips that show signs of wear. Use stainless steel or plastic alternatives.
Storing Lights Off-Season
If you take your lights down, store them properly:
- Wind the strand around a cardboard tube or light reel to prevent tangling.
- Keep bulbs facing outward to avoid breakage.
- Store in a cool, dry place away from moisture.
Pro tip: Label each strand with its length and type (e.g., “24 ft, warm white LED”) so you know what you have next season.
6. Creative Ideas and Pro Tips for Maximum Impact
Now that your lights are up, let’s take them to the next level. A little creativity goes a long way in making your backyard glow truly magical.
Layer Your Lighting
Combine string lights with other light sources for depth:
- Use path lights to guide guests along walkways.
- Add lanterns or candles on tables for intimate lighting.
- Install uplights to highlight trees or architectural features.
This creates a layered effect—ambient (string lights), task (path lights), and accent (lanterns).
Play with Patterns and Colors
Try different layouts:
- Canopy: Hang lights in a grid or crisscross pattern above a seating area.
- Zigzag: Create dynamic lines between trees or posts.
- Swag: Drape lights in gentle curves for a romantic feel.
- Color themes: Use warm white for cozy gatherings, cool white for a modern look, or multicolor for parties.
Use Nature to Your Advantage
- Wrap lights around tree trunks or branches for a whimsical effect.
- Hang lights in mason jars from branches or railings.
- Use fairy lights inside glass orbs for a floating lantern look.
Pro Tips from Experience
- Always use outdoor-rated extension cords—never indoor ones.
- For long runs, use a higher-gauge (thicker) cord to reduce voltage drop.
- If you’re renting, use removable hooks or adhesive strips to avoid damage.
- Consider a backup power source (like a solar battery) for off-grid areas.
- Invite friends over for a “lighting party”—turn installation into a fun event!
| Light Type | Best For | Average Lifespan | Energy Use | Weather Resistance |
|---|---|---|---|---|
| Incandescent | Occasional use, vintage look | 1,000–2,000 hours | High (40W per strand) | Moderate (IP44) |
| LED | Year-round, energy efficiency | 25,000–50,000 hours | Low (5–10W per strand) | High (IP65+) |
| Solar | No outlet, eco-friendly | 10,000–20,000 hours | Zero (solar-powered) | High (IP65) |
| Fairy/Micro LED | Accent, decorative | 15,000–30,000 hours | Very low (2–5W per strand) | Moderate (IP44) |
Setting up outdoor string lights is more than a home project—it’s an act of creating joy. Every time you walk into your backyard and see those gentle twinkles, you’re reminded of the effort, creativity, and care you put into your space. And the best part? Anyone can do it. With the right tools, a little planning, and these tips, you’ll have a backyard that feels like a retreat every single night.
Remember, it’s not about perfection. It’s about atmosphere. Maybe your first attempt isn’t perfectly straight, or a bulb flickers in the wind. That’s okay. The magic is in the glow, the laughter, the quiet moments under the stars. So take your time, enjoy the process, and don’t be afraid to experiment. Your backyard is your canvas—let it shine.
Frequently Asked Questions
How do I choose the right outdoor string lights for my space?
Consider the size of your area, bulb type (LED for energy efficiency), and weatherproof ratings (IP65 or higher for durability). For larger spaces, opt for longer strings or connectable sets to achieve the perfect outdoor string lights glow.
Can I install outdoor string lights without drilling holes?
Yes! Use adhesive hooks, tension rods, or clamp-on fixtures to secure lights to fences, pergolas, or trees. This method is ideal for renters or those who want a damage-free setup.
How do I safely power my outdoor string lights?
Always use a GFCI outlet or extension cord rated for outdoor use, and keep connections elevated off wet surfaces. For longer runs, a transformer can help maintain consistent brightness across your outdoor string lights.
What’s the best way to hang lights in a zigzag pattern?
Start by marking anchor points with a pencil, then use a ladder to secure hooks at equal heights. Attach the lights loosely first, then adjust tension for a clean, crisscross effect.
How do I prevent tangles when storing my lights?
Wrap them around a cardboard rectangle or a dedicated reel, securing the plug end with a twist tie. Store in a dry place to avoid damage and make next year’s setup hassle-free.
Can I leave outdoor string lights up year-round?
Only if they’re rated for all-weather use (check the packaging). Even then, inspect them regularly for frayed wires or water damage to ensure safety and longevity.

