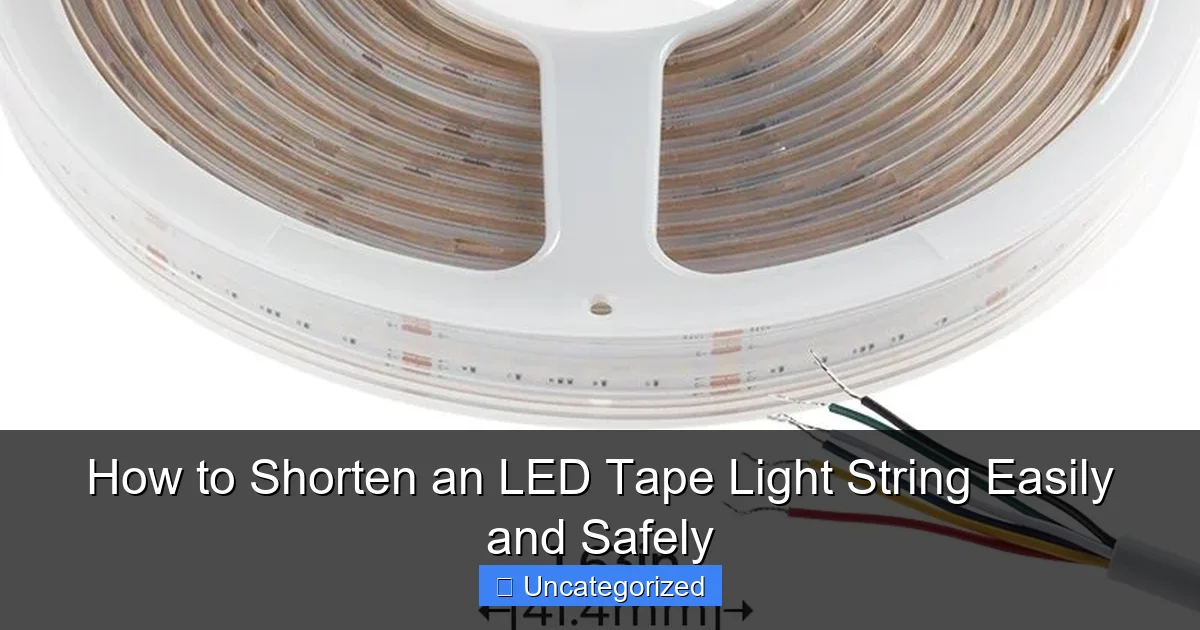
Featured image for how to shorten an led tape light string
Image source: ledlightcompare.com
Cutting an LED tape light string is safe and simple when you follow the manufacturer’s marked cut lines and use sharp scissors or a utility knife. Always disconnect the power before cutting, and ensure the cut end is properly sealed or capped to maintain waterproofing and prevent electrical hazards. With the right tools and precautions, you can customize your LED tape lights to fit any space without compromising performance.
“`html
How to Shorten an LED Tape Light String Easily and Safely
Key Takeaways
- Measure carefully: Always measure twice before cutting to avoid errors.
- Cut only at marked lines: LED tape has safe cut points—never elsewhere.
- Use sharp tools: Ensure clean cuts with precision scissors or a craft knife.
- Insulate connections: Cover exposed wires with tape or caps to prevent shorts.
- Test before reattaching: Verify functionality before finalizing installation.
- Follow manufacturer guidelines: Check specs for compatibility and warranty safety.
Why This Matters / Understanding the Problem
LED tape lights are a game-changer for modern lighting—sleek, flexible, and perfect for under-cabinet lighting, cove lighting, or accenting shelves. But what if the strip is too long? You might be tempted to just fold it or hide the extra, but that’s not a safe or effective solution. Overheating, dimming issues, and even fire hazards can result from improper modifications.
Learning how to shorten an LED tape light string easily and safely ensures your lighting looks professional, works efficiently, and lasts longer. Whether you’re a DIY beginner or a homeowner tackling a small project, this guide walks you through the process step by step—no electrical degree required.
From choosing the right cut points to reconnecting wires properly, we’ll cover everything you need to know. And yes, it *is* possible to do this without ruining your lights. Let’s dive in.
What You Need
Before you start cutting, gather the right tools and materials. Using the wrong supplies can damage your LED strip or create a safety hazard. Here’s a quick checklist of what you’ll need for how to shorten an LED tape light string easily and safely:
Visual guide about how to shorten an led tape light string
Image source: christmas-light-source.com
- LED tape light with cut points (most quality strips have marked cut lines every 2–4 inches)
- Sharp scissors or a precision utility knife (clean cuts matter!)
- Wire strippers (for exposed copper wires if reconnecting)
- LED strip connectors (pre-soldered, solderless, or solder-on types—choose based on your comfort level)
- Soldering iron and solder (if using solder-on connectors)
- Heat shrink tubing or electrical tape (for insulation and protection)
- Multimeter (optional but recommended) to test continuity and voltage
- Rubbing alcohol and cotton swab (to clean the strip before connecting)
- Small screwdriver (if using screw-type connectors)
Pro Tip: Always work with the power off. Even low-voltage LED strips (12V or 24V) can cause shorts or damage if mishandled while powered.
Step-by-Step Guide to How to Shorten an LED Tape Light String Easily and Safely
Step 1: Identify the Cut Points on Your LED Tape
Not every LED strip can be cut anywhere. Most high-quality LED tape lights have clearly marked cut lines—usually small scissor icons or dashed lines between individual LEDs or groups (e.g., every 3 LEDs).
These cut points are where the circuit is designed to be safely broken. Cutting outside these zones will damage the circuit and likely kill the entire strip.
Look closely under good lighting. On a typical 12V strip, you’ll find cut lines every 2 inches (5 cm); on 24V strips, they’re often spaced every 4 inches (10 cm).
Warning: Never cut between the copper pads at a cut point. You need those pads to reconnect the strip. Cut along the line, not across it.
Step 2: Measure and Mark the Desired Length
Use a tape measure or ruler to determine exactly where you want the strip to end. For example, if your under-cabinet run is 36 inches but the strip is 48 inches, subtract the extra 12 inches.
Now, count backward from the end to find the nearest cut point. Mark it lightly with a pencil or a small piece of tape. Don’t use a permanent marker—it can bleed and interfere with connections later.
Double-check your measurement. It’s better to cut a bit longer and adjust than to cut too short and waste the strip.
Real-Life Scenario: Sarah wanted to light her floating shelves. She measured the shelf at 30 inches, but the nearest cut point was at 32 inches. She chose to cut at 32 and use a small connector to bridge the 2-inch gap with a shorter jumper wire.
Step 3: Cut the LED Strip Cleanly
Using sharp scissors or a precision knife, cut straight across the marked cut line. A clean, perpendicular cut ensures the copper pads remain intact and undamaged.
Avoid jagged edges or diagonal cuts—they make it hard to align the connector properly and can lead to poor conductivity.
After cutting, inspect both ends: the remaining strip (the part you’ll use) and the excess (which you can save for future projects).
Tip: Save the excess! Even a short piece with working LEDs can be used in small spaces like drawer interiors or jewelry boxes.
Step 4: Clean the Copper Pads
Over time, dust, oils, or oxidation can build up on the exposed copper pads at the cut end. This can prevent a solid connection.
Dip a cotton swab in rubbing alcohol and gently wipe both pads on the cut end of the strip. Let it dry for 30 seconds.
Clean pads = better conductivity = brighter, more reliable lighting. This small step is often overlooked but makes a big difference in how to shorten an LED tape light string easily and safely.
Step 5: Choose and Install the Right Connector
Now comes the fun part: reconnecting the strip to your power source. There are three main types of connectors—choose based on your skill level and setup.
- Solderless (clip-on) connectors: Best for beginners. Just slide the strip into the clip, close the cover, and secure with a small screw. No heat or tools beyond a screwdriver.
- Pre-soldered connectors: These come with metal prongs already attached. Insert the strip, then use a soldering iron to bond the pads to the prongs. More reliable than clip-ons.
- Solder-on connectors: You solder bare wires directly to the copper pads. Ideal for permanent installations and custom lengths.
For a beginner, we recommend starting with solderless. They’re foolproof and widely available in 8mm, 10mm, and 12mm widths (match your strip width).
Open the connector, insert the strip with the copper pads facing the metal contacts, and close the cover until it clicks or tightens. Make sure the strip is seated fully and aligned with the connector’s polarity markers (usually “+” and “-”).
Step 6: Reconnect to Power and Test
Before mounting the strip permanently, connect the other end of the connector to your power supply, dimmer, or controller.
Turn on the power. If the LEDs light up evenly and at full brightness, you’re golden. If they flicker, stay dim, or don’t turn on, disconnect immediately and troubleshoot.
Common issues at this stage:
- Strip not fully inserted into connector
- Dirty or oxidized copper pads
- Polarity mismatch (reversed “+” and “-”)
- Damaged connector pins
Use a multimeter to check voltage at the connector. You should see 12V or 24V, depending on your system.
Pro Tip: Test in a well-lit area so you can see the LEDs clearly. Flickering or dim sections often point to a loose connection.
Step 7: Insulate and Protect the Connection
Exposed connections can short out if they touch metal surfaces or get wet (especially in kitchens or bathrooms).
Slide a piece of heat shrink tubing over the connector and use a heat gun or hair dryer to shrink it. If you don’t have heat shrink, wrap the joint tightly with electrical tape—at least two layers, overlapping slightly.
For outdoor or high-moisture areas, consider using IP65-rated silicone sealant around the connection. This adds a waterproof barrier and prevents corrosion.
This step is crucial for how to shorten an LED tape light string easily and safely—don’t skip it!
Step 8: Mount the Strip Properly
Now that your shortened strip works, install it where you want it. Clean the surface with alcohol first to remove dust and grease.
Peel off the adhesive backing and press the strip firmly into place. Use mounting clips or aluminum channels for a cleaner, more professional look—and better heat dissipation.
Avoid sharp bends or kinks. Most LED strips can bend side-to-side but not front-to-back. Bending the wrong way can crack the circuit board and break the strip.
Real-Life Tip: Mike installed his under-cabinet lights without channels. A year later, the adhesive failed and the strip fell. Now he uses aluminum channels—no more drooping!
Step 9: Final Power Check and Adjustments
Once mounted, turn the power back on and inspect the entire run. Look for:
- Even brightness across all LEDs
- No flickering or dark spots
- Proper alignment and spacing
If the lights are too bright, add a dimmer. If the color temperature is off, consider a different strip (e.g., 3000K for warm white, 5000K for daylight).
Make sure all connections are secure and out of sight but accessible for future maintenance.
Pro Tips & Common Mistakes to Avoid
Even simple projects like shortening LED strips can go wrong. Here are the top pro tips and mistakes to watch out for when learning how to shorten an LED tape light string easily and safely.
✅ Pro Tips for Success
- Use a multimeter early and often: Test voltage at the power supply, then at the connector, and finally at the strip. This helps catch issues before they become problems.
- Label your strips: If you’re using multiple lengths, label them (e.g., “Kitchen Cabinet – 36”) so you know which is which.
- Buy extra connectors: They’re cheap. Having spares means you can fix mistakes without waiting for a new shipment.
- Match strip width and voltage: A 12V 8mm strip needs an 8mm 12V connector. Mismatches cause poor contact or damage.
- Work on a clean, flat surface: A cluttered workspace increases the risk of accidental cuts or short circuits.
❌ Common Mistakes to Avoid
- Cutting between LEDs instead of at cut points: This breaks the circuit and ruins the strip. Always follow the manufacturer’s cut lines.
- Ignoring polarity: Connecting “+” to “-” won’t work. Most connectors have clear markings—double-check!
- Using dull scissors: Jagged cuts damage the copper pads. Sharp tools = clean cuts = better connections.
- Skipping insulation: Exposed wires are a fire hazard. Always cover the connection.
- Overloading the power supply: Shortening a strip doesn’t reduce power draw per LED. Make sure your power supply can handle the full load.
- Forgetting to test before mounting: Fixing a loose connection on the floor is easy. Fixing it on the ceiling? Not so much.
Warning: Never connect two shortened strips in series unless the manufacturer allows it. Most 12V strips can’t handle more than 16–20 feet in a single run. Overloading causes voltage drop and dimming at the end.
FAQs About How to Shorten an LED Tape Light String Easily and Safely
Can I cut LED strip lights anywhere?
No. Only cut at the designated cut points, marked by scissor icons or dashed lines. These are the only safe locations where the circuit is designed to be broken. Cutting elsewhere will damage the LEDs and the circuit.
What if my strip doesn’t have cut points?
Then it’s not designed to be cut. Some cheap or specialty strips (like addressable RGBIC) can’t be safely shortened. In that case, you’ll need to either use the full length or buy a custom-length strip. Always check the product specs before purchasing.
Can I reconnect two shortened pieces?
Yes—but only if they’re the same voltage and width. Use a jumper connector to bridge them. However, avoid daisy-chaining more than two strips unless your power supply can handle the total wattage. For long runs, use a power injection point every 16 feet.
Do I need to solder?
Not necessarily. Solderless connectors are great for beginners and work well for most indoor applications. But if you want a permanent, ultra-reliable connection (e.g., in a bathroom or outdoor soffit), soldering is the best option. It ensures a strong, low-resistance bond.
Why are my LEDs dim after shortening?
Dimming usually means a poor connection. Check that:
- The strip is fully inserted into the connector
- The copper pads are clean
- The connector pins aren’t bent or broken
- The power supply is delivering the correct voltage
Also, if you’re running a very long strip (over 20 feet), voltage drop can cause dimming at the end. Add a power injection point to fix this.
Can I shorten a plug-in LED strip?
Yes, but be careful. Most plug-in strips have a built-in transformer. If you cut too close to the plug, you might damage the driver. Always cut the strip itself, not the plug or power cord. Then connect the shortened strip to the existing plug via a connector.
Are shortened LED strips safe?
Absolutely—if done correctly. As long as you cut at the right points, use proper connectors, insulate the joints, and don’t overload the circuit, your shortened strip is just as safe as the original. In fact, it’s safer than leaving excess strip coiled up, which can overheat.
Final Thoughts
Shortening an LED tape light isn’t rocket science—but it does require attention to detail. By following this guide on how to shorten an LED tape light string easily and safely, you’ll get clean, professional results without risking damage or safety hazards.
Remember: measure twice, cut once, clean the pads, test before mounting, and always insulate the connection. These small steps make a huge difference in performance and longevity.
Whether you’re lighting a kitchen, bedroom, or outdoor space, a properly shortened LED strip gives you full control over your design. No more awkward folds or hidden wires. Just clean, efficient, beautiful light exactly where you want it.
So grab your tools, pick a project, and get started. Your perfect lighting setup is just a few cuts away. And if you ever get stuck? Come back to this guide—it’s here to help you shine.
Happy lighting!
“`

