Featured image for how to shorten led string christmas lights
Image source: ledwatcher.com
Shorten LED string Christmas lights safely by cutting only at marked cut points, usually indicated by a pair of scissors icon or a dashed line on the wire—never cut elsewhere to avoid damaging the circuit. Use wire nuts or solder with heat shrink tubing to seal the ends and prevent shorts, ensuring your modified strand stays bright and functional for seasons to come.
“`html
How to Shorten LED String Christmas Lights Easily and Safely
Key Takeaways
- Measure carefully: Plan cuts to avoid over-shortening and wasted lights.
- Cut only at marked points: Prevents damage to wiring and ensures safety.
- Use proper tools: Sharp scissors or wire cutters ensure clean, precise cuts.
- Seal ends securely: Prevent fraying and moisture damage with heat shrink or tape.
- Test before installing: Confirm functionality after shortening to avoid surprises.
- Avoid cutting in series: Only shorten parallel-wired lights to maintain brightness.
Why This Matters / Understanding the Problem
You’ve just pulled out your favorite LED string lights for the holidays—only to realize they’re way too long for your mantel, tree, or window frame. Instead of dealing with tangled excess or returning the lights, there’s a better way: How to Shorten LED String Christmas Lights Easily and Safely without ruining them or risking a fire hazard.
Unlike traditional incandescent lights, LED string lights are more energy-efficient and durable, but they still have delicate wiring and circuitry. Cutting them incorrectly can damage the entire strand or create a safety risk. The good news? With the right method, you can trim them to the perfect length—no electrician needed.
This guide walks you through the how to shorten LED string Christmas lights easily and safely using simple tools and smart techniques. Whether you’re decorating a small apartment or a cozy porch, you’ll get a clean, professional result every time.
We’ll cover everything from identifying where to cut to sealing the ends so your lights last for years. No guesswork. No wasted money. Just a tidy, custom-fit light display.
What You Need
Before you start, gather these tools and materials. Having everything ready makes the process smoother and safer.
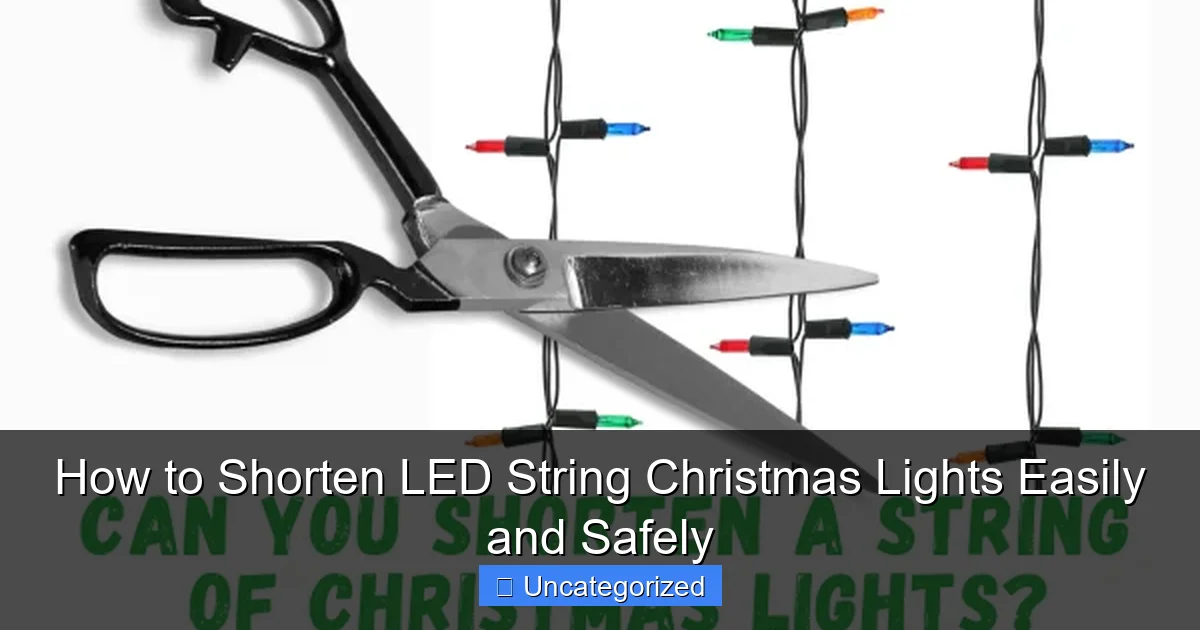
Visual guide about how to shorten led string christmas lights
Image source: assets.cdn.filesafe.space
- LED string lights (non-removable bulbs, not plug-in modules)
- Wire cutters or sharp scissors (clean, precise cuts matter)
- Electrical tape or heat-shrink tubing (for sealing cut ends)
- Multimeter (optional) – helps test for voltage and continuity
- Marker or masking tape – to mark your cut point
- Heat gun or lighter (if using heat-shrink tubing)
- Small container – to hold loose bulbs or wires
Note: Avoid using dull tools. A clean cut prevents frayed wires and makes sealing easier. Also, never attempt this with battery-powered or plug-in module lights—they’re designed differently and can’t be safely shortened.
The goal is to how to shorten LED string Christmas lights easily and safely while keeping the rest of the strand functional. These tools help you do exactly that.
Step-by-Step Guide to How to Shorten LED String Christmas Lights Easily and Safely
Step 1: Unplug the Lights and Inspect the Strand
Start by unplugging the lights from any power source. Safety first! Even if they’re LED (low voltage), you don’t want to risk a short circuit while working.
Lay the strand out flat on a table or floor. Look closely at the wiring and bulb sockets. Most LED strings have two or three wires running through the strand—these carry power from end to end.
Identify where the plug is (usually at one end) and trace the path of the lights. You’ll be cutting away from the plug, so the power still flows to the remaining bulbs.
Pro Tip: If your lights have a controller box (for color changes or flashing), make sure you’re cutting after the box, not before. Cutting before the controller will leave it unpowered.
Now, decide how many bulbs you want to keep. Measure the space you’re decorating and count the bulbs. Most LED strands have bulbs spaced 3–6 inches apart. For example, a 6-foot mantel might need 12–18 bulbs.
Step 2: Identify the Cut Point (Between Bulbs, Not Through a Socket)
Never cut through a bulb socket. That’s a common mistake. Instead, look for the small gap between two bulbs—usually 1–2 inches of exposed wire.
Use a marker or piece of masking tape to mark the exact spot where you’ll cut. The ideal cut is between the last bulb you want to keep and the next one.
Why? Because each bulb socket has internal connections. Cutting between sockets keeps the circuit intact for the remaining lights.
For example: If you want to keep 20 bulbs, count 20 bulbs from the plug, then mark the wire just after the 20th bulb.
Warning: Don’t guess. Measure twice, cut once. A misplaced cut means you might lose more lights than intended or damage the wiring.
This step is crucial for learning how to shorten LED string Christmas lights easily and safely—precision prevents costly errors.
Step 3: Cut the Wires Cleanly (But Only Two Wires!)
Now, use your wire cutters or sharp scissors to cut the wires at the marked point. But here’s the catch: only cut two of the three wires if your strand has three.
Most LED strings use a 3-wire system: two power wires (positive and negative) and one data/control wire (for color-changing or sequencing lights). If you cut all three, the remaining lights might not work.
- For two-wire strands (basic warm white or single-color): cut both wires.
- For three-wire strands (color-changing, app-controlled, or animated): cut only the two outer wires. Leave the center wire intact.
How to tell? Look closely at the cut end:
- The two outer wires are usually slightly thicker and carry power.
- The center wire is thinner and often a different color (red, blue, or white).
Cut cleanly and straight. Avoid crushing or fraying the wires. A clean cut helps with sealing later.
Pro Tip: If you’re unsure which wires to cut, use a multimeter. Set it to continuity mode and touch the probes to each wire. The two that show continuity with the plug are the power wires—cut those.
Step 4: Seal the Cut Ends to Prevent Short Circuits
Exposed wires can cause short circuits, especially if they touch each other or moisture (hello, snowy porch). That’s why sealing is non-negotiable.
You have two great options:
- Electrical tape: Wrap each cut wire end tightly with tape, then wrap both together. Overlap the tape by 1/2 inch on each side.
- Heat-shrink tubing: Slide a 1-inch piece of tubing over the cut end, then use a heat gun or lighter to shrink it. It creates a tighter, more professional seal.
For best results, use both: tape first, then heat-shrink over the tape.
Make sure no metal is exposed. The seal should be snug and waterproof if the lights will be outdoors.
Warning: Never leave cut wires bare. Even indoor lights can get dusty or damp. A loose wire can spark or damage the entire strand.
This step is key to how to shorten LED string Christmas lights easily and safely—a proper seal keeps your lights working for years.
Step 5: Test the Lights Before Hanging
Before you hang the shortened strand, plug it in and test it. Make sure all the remaining bulbs light up and the controller (if any) works.
If the lights don’t turn on:
- Check if the cut was too close to a bulb socket (might have nicked internal wires).
- Inspect the seal—loose wires can touch and short the circuit.
- Use a multimeter to test continuity from the plug to the last bulb.
If the lights flicker or only some bulbs work, you might have damaged the data wire (in 3-wire systems). In that case, you’ll need to re-cut and re-seal, or use the lights as-is for static display.
But if everything works? Congrats! You’ve successfully customized your lights.
Pro Tip: Test indoors first. Outdoor conditions (cold, wind, snow) can expose weak seals or loose connections.
Step 6: Store the Extra Bulbs and Wires (Optional but Smart)
Don’t toss the cut-off section! It might come in handy later.
- Save the extra bulbs for replacements (LEDs rarely burn out, but they can get damaged).
- Use the extra wire to extend a different strand later (if you have a soldering iron and skills).
- Label the container: “Extra bulbs from 2024 string lights” so you know what it’s for.
This small step saves money and reduces waste. Plus, you’ll feel like a holiday pro when a bulb goes out and you’ve got a spare.
It’s another way to make how to shorten LED string Christmas lights easily and safely a sustainable habit.
Step 7: Hang and Enjoy Your Custom-Fit Lights
Now that your lights are the perfect length, hang them with confidence. Use light clips, adhesive hooks, or zip ties—just avoid nails or staples that can damage wires.
For trees: Wrap from trunk to outer branches, spacing lights evenly. For windows: Use suction cup hooks or tape (test first on a small area).
Step back and admire your work. No more tangled excess or awkward draping. Just clean, bright, custom lighting.
And the best part? You did it yourself—no electrician, no new lights, no waste.
Pro Tips & Common Mistakes to Avoid
Even with the right steps, small mistakes can ruin your results. Here’s how to avoid them and get the best outcome.
- Mistake: Cutting through a bulb socket – This breaks the internal circuit and can kill the whole strand. Always cut between bulbs.
- Mistake: Cutting all three wires on a 3-wire strand – The center wire is often the data line. Cutting it disables color changes or animations. Only cut the two outer power wires.
- Mistake: Skipping the seal – Exposed wires can short, spark, or corrode. Seal every cut end—no exceptions.
- Mistake: Using dull tools – Crushed or frayed wires are harder to seal and more likely to fail. Use sharp wire cutters or scissors.
- Mistake: Not testing first – Hanging lights only to find they don’t work is frustrating. Test indoors before installing.
Pro Tip: For color-changing lights, cut after the controller box, not before. If you cut before, the box won’t get power, and the lights will be stuck on one color.
Another smart move: label your shortened strands. Use a tag or marker to note how many bulbs and the cut date. That way, you know which ones you’ve modified when storing them.
Also, avoid shortening lights that are already damaged. If the wire is frayed, the plug is loose, or bulbs are flickering, don’t cut—replace the strand. Safety always comes first.
Finally, remember: how to shorten LED string Christmas lights easily and safely is about control and customization. Don’t rush. Take your time, follow the steps, and you’ll get professional results.
FAQs About How to Shorten LED String Christmas Lights Easily and Safely
Can I shorten any LED string lights?
Most non-removable bulb LED strings can be shortened, as long as they have continuous wiring (not modular plugs). Avoid battery-powered, USB-powered, or plug-in module lights—they’re not designed for cutting.
Always check the manufacturer’s label. If it says “do not cut” or “sealed circuit,” leave it alone. But most standard holiday LED strands are safe to modify.
What happens if I cut the wrong wire?
If you cut all three wires on a 3-wire strand, the lights may not turn on or lose color-changing features. If you cut too close to a socket, you might break the internal connection.
In most cases, you can re-cut a few inches further down and try again. But if the damage is near the plug or controller, the strand may be unusable. That’s why measuring and marking are so important.
Can I reattach the cut end to make it longer again?
Technically yes—but it’s not easy. You’d need to solder the wires back together and seal them perfectly. For most people, it’s simpler to use the shortened strand as-is and buy a new one if needed.
That said, if you’re handy with electronics, you can use wire nuts or solder to reconnect. Just make sure the seal is airtight and insulated.
Are shortened LED lights safe for outdoor use?
Yes—if you seal the cut end properly. Use heat-shrink tubing or high-quality electrical tape. For extra protection, add a small piece of silicone caulk inside the seal (let it dry before use).
Just don’t submerge the cut end in water. Keep it off the ground and away from pooling water or snow.
Will shortening the lights affect brightness?
No. LED brightness is determined by the bulb and power supply, not the length of the strand. As long as the circuit is intact, the remaining bulbs will shine just as bright.
The only exception: if you cut too many bulbs, the voltage drop across the strand might slightly dim the last few bulbs. But this is rare with modern LED designs.
Can I shorten lights with a timer or remote control?
Yes—as long as you cut after the control module. The module needs power to work. Cutting before it will disable the timer, remote, or app control.
So, always identify where the control box is and cut downstream from it.
How do I know if my lights are 2-wire or 3-wire?
Unplug the lights and look at the wiring near the plug or a bulb. If you see:
- Two wires: Likely a basic single-color strand.
- Three wires: Often color-changing, animated, or app-controlled.
You can also use a multimeter to test. The two power wires will show continuity with the plug’s positive and negative terminals. The third (data) wire won’t.
When in doubt, cut only the two outer wires and test. If the lights work, you’ve done it right.
Final Thoughts
Shortening LED string Christmas lights isn’t just about convenience—it’s about control. You get to create the perfect look for your space, reduce clutter, and save money by using what you already have.
By following this guide, you’ve learned how to shorten LED string Christmas lights easily and safely—no guesswork, no risk, just clean, custom lighting.
Remember the key steps: unplug, inspect, mark between bulbs, cut only the right wires, seal tightly, and test before hanging.
Keep this guide handy for next year. And if you’re feeling adventurous, try shortening lights for other holidays—Valentine’s, Halloween, or even summer parties.
The best decorations are the ones you make yourself. So grab your tools, trim those lights, and let your creativity shine.
Now go make your space glow—perfectly, safely, and uniquely yours.
“`

