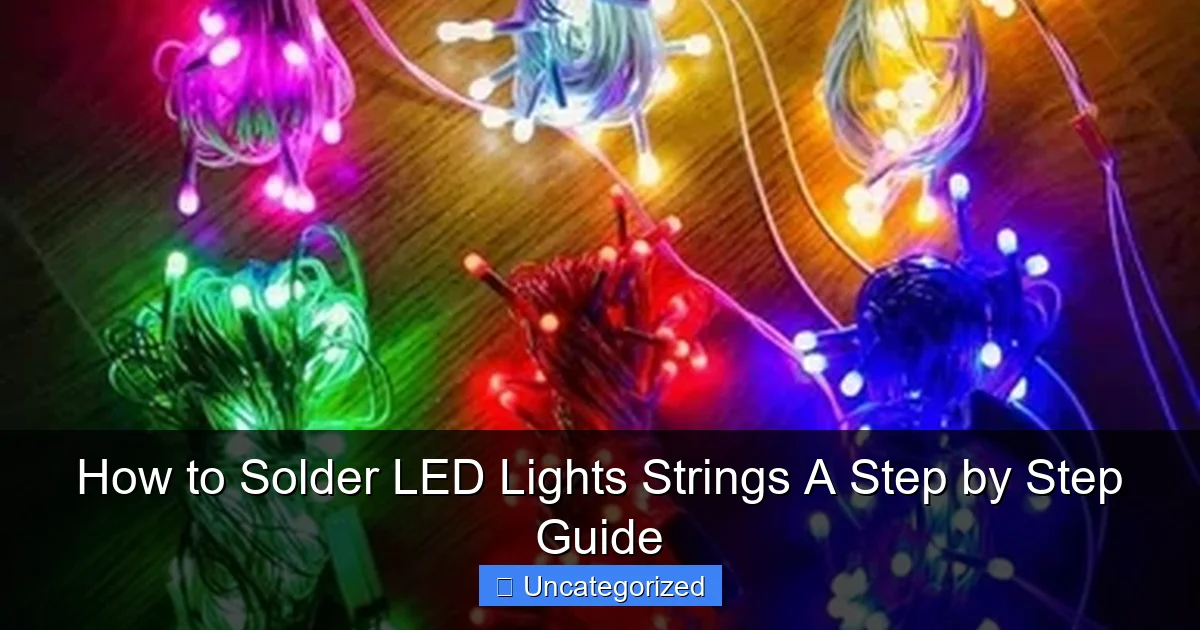
Featured image for how to solder led lights strings
Image source: 5.imimg.com
Soldering LED light strings requires precision and the right tools to ensure a safe, long-lasting connection. Start by stripping the wire ends, applying heat-shrink tubing, and using a temperature-controlled soldering iron to join the LED leads—never overheat to avoid damaging sensitive components. Always test each connection before final assembly for reliable, professional results.
“`html
How to Solder LED Lights Strings: A Step by Step Guide
Key Takeaways
- Prepare tools first: Gather soldering iron, wire strippers, and heat shrink tubing before starting.
- Strip wires cleanly: Remove insulation carefully to avoid damaging LED string wires.
- Use proper heat: Apply heat evenly to prevent cold joints or LED damage.
- Solder quickly: Minimize contact time to avoid overheating sensitive LED components.
- Inspect connections: Check for smooth, shiny joints to ensure electrical continuity.
- Secure with heat shrink: Protect soldered joints with tubing for durability and safety.
Why This Matters / Understanding the Problem
Soldering LED light strings can feel intimidating, especially if you’re new to electronics or DIY projects. Whether you’re repairing a broken holiday light strand, creating custom lighting for your room, or building a DIY art installation, knowing how to solder LED lights strings a step by step guide can save you time, money, and frustration.
LEDs are sensitive components—they don’t like heat, pressure, or incorrect polarity. A single mistake can ruin an entire string, leaving you with flickering lights or no lights at all. But don’t worry: with the right tools, a calm approach, and this step-by-step guide, you’ll gain the confidence to fix, extend, or customize your LED strings safely and effectively.
This guide focuses on addressable and non-addressable LED strips and string lights—including 5050, 3528, WS2812B, and standard 2-wire or 3-wire configurations. Whether you’re splicing wires, fixing a cut, or connecting power, this how to solder LED lights strings a step by step guide walks you through every stage with real-world clarity.
What You Need
Before you begin, gather these tools and materials. Having everything ready prevents mid-process frustration and keeps your work clean and efficient.
Visual guide about how to solder led lights strings
Image source: i1.sndcdn.com
- Soldering iron (30–60 watts, temperature-controlled preferred)
- Fine-tip soldering iron tip (for precision work)
- Lead-free or rosin-core solder (0.5–0.8mm diameter recommended)
- Helping hands tool (or alligator clips on a stand)
- Wire strippers (with adjustable gauge)
- Flush cutters (for clean wire cuts)
- Heat shrink tubing (assorted sizes: 1/8″, 1/4″, etc.)
- Heat gun or lighter (for shrinking tubing)
- Multimeter (optional, but highly recommended for testing)
- Isopropyl alcohol and cotton swabs (for cleaning flux residue)
- Magnifying glass or headlamp (for visibility on small pads)
- LED string or strip (the one you’re repairing or modifying)
- Wire (22–24 AWG stranded or solid core) (for extensions or connections)
Pro Tip: Use a solder sucker or desoldering braid if you need to remove old solder or correct mistakes. It’s a game-changer for rework.
Having the right gear ensures your how to solder LED lights strings a step by step guide experience is smooth, safe, and successful. Avoid using cheap, unregulated irons—they can overheat and damage LEDs.
Step-by-Step Guide to How to Solder LED Lights Strings A Step by Step Guide
Step 1: Identify the LED Type and Wiring Configuration
Not all LED strings are the same. Before soldering, determine what kind of lights you’re working with. This affects your wiring, power needs, and soldering technique.
- 2-wire strings (non-addressable): These are basic LEDs with positive (+) and negative (-) wires. Think of classic Christmas lights.
- 3-wire strings (addressable): Include data (D), power (+), and ground (-). Common in WS2812B, SK6812, and similar strips.
- 5050 vs. 3528: These refer to LED chip size. 5050s are brighter and use more power; 3528s are thinner and lower wattage.
Check the label on your string or strip. Look for voltage (5V, 12V, 24V), current (mA), and data line markings. If there’s no label, use a multimeter to test continuity and polarity.
Warning: Soldering 12V strips with 5V power (or vice versa) will either burn out LEDs or leave them dim. Always match voltage!
Understanding your LED type is the first step in our how to solder LED lights strings a step by step guide. Skipping this can lead to irreversible damage.
Step 2: Prepare Your Workspace
A clean, well-lit workspace prevents accidents and improves precision. Follow these setup tips:
- Work on a non-flammable surface (ceramic tile, silicone mat).
- Use a ventilated area or fume extractor—soldering fumes aren’t safe to inhale.
- Secure your LED string with helping hands or tape so it doesn’t move.
- Keep your soldering iron in a stand—never lay it on the table.
- Have a damp sponge nearby to clean the iron tip between uses.
Plug in your iron and let it heat up (usually 5–10 minutes). Set the temperature to 300–350°C (570–660°F) for most electronics. Higher temps can damage LEDs.
Pro Tip: Use a temperature-controlled iron with a digital display. It prevents overheating and gives consistent results.
A good setup is essential for any how to solder LED lights strings a step by step guide—it keeps you safe and your work clean.
Step 3: Strip and Tin the Wires
Before connecting anything, prepare the wires for soldering.
- Use your wire strippers to remove 5–7mm of insulation from the ends of both the LED string and any new wire you’re adding.
- Twist the exposed strands tightly to prevent fraying.
- Tin the wires: Touch the soldering iron to the wire, then feed a small amount of solder. The wire should be fully coated but not bloated.
- Repeat for all wires (positive, negative, data if applicable).
Tinning ensures a strong connection and prevents cold solder joints. It also makes the next step much easier.
Common Mistake: Applying too much solder creates lumps that can short-circuit nearby pads. Use just enough to cover the wire evenly.
This step is crucial in your how to solder LED lights strings a step by step guide—don’t skip tinning!
Step 4: Clean and Expose the LED Pads
LED strips and strings have small copper pads where wires connect. These can be covered in flux, dust, or oxidation.
- Use isopropyl alcohol and a cotton swab to clean the pads.
- If pads are damaged or missing, you may need to expose more copper by gently scraping with a blade or sandpaper.
- For cut strips, ensure the copper pads at the cut end are clean and accessible.
For addressable strips (like WS2812B), look for three pads: DIN (data in), 5V (+), and GND (-). Non-addressable strips have just + and -.
Pro Tip: Use a magnifying glass to inspect tiny pads. A blurry view leads to misaligned solder joints.
Clean, exposed pads are essential for a reliable connection in your how to solder LED lights strings a step by step guide.
Step 5: Tin the LED Pads
Just like the wires, the pads on the LED strip need tinning.
- Hold the iron tip against the pad for 2–3 seconds to heat it.
- Feed a small amount of solder onto the pad. It should melt and spread evenly, not ball up.
- Remove the iron and let it cool. Avoid blowing on it—this can create a cold joint.
Don’t overheat the pad. LEDs are sensitive—limit heat exposure to 5 seconds max per pad. Use a lower iron temp if needed.
Warning: Overheating can lift the copper pad or damage the LED chip underneath. If the pad starts to lift, stop immediately and try a cooler iron.
Tinning pads ensures a smooth, strong bond when you join the wires. A key part of any how to solder LED lights strings a step by step guide.
Step 6: Solder the Wires to the Pads
Now comes the main event: joining the wires to the LED pads.
- Align the tinned wire with the tinned pad.
- Hold the wire in place with tweezers or helping hands.
- Touch the iron tip to the joint (wire + pad) for 2–4 seconds.
- The solder should melt and flow smoothly, forming a shiny, concave joint.
- Remove the iron and hold the wire steady for 5–10 seconds while the solder cools.
For addressable strips: solder DIN to DIN, 5V to 5V, GND to GND. For non-addressable: + to +, – to -.
Pro Tip: Use flux pen (rosin-based) if the solder isn’t flowing well. It cleans the surface and improves adhesion.
A good solder joint is shiny, smooth, and covers the entire pad. A dull, lumpy joint is likely a cold joint and will fail.
This is the heart of your how to solder LED lights strings a step by step guide—precision matters.
Step 7: Insulate with Heat Shrink Tubing
Exposed solder joints can short-circuit or corrode over time. Insulation is non-negotiable.
- Slide a piece of heat shrink tubing over each soldered joint before soldering (yes, do this early!).
- After soldering, slide the tubing over the joint.
- Use a heat gun or lighter to shrink the tubing. Keep it 6–12 inches away to avoid melting the wire.
Use different colors if you’re connecting multiple wires (e.g., red for +, black for -). This helps with troubleshooting later.
Common Mistake: Forgetting to slide the tubing on before soldering. Once the joint is made, it’s too late!
Proper insulation ensures long-term reliability in your how to solder LED lights strings a step by step guide.
Step 8: Test the Connection
Never assume it works—test it!
- Plug the LED string into a power supply or controller (with correct voltage).
- Check if all LEDs light up, including the ones near your solder joint.
- Use a multimeter to test continuity between wires. No continuity? You have an open circuit.
- If LEDs flicker or dim, check for cold joints, shorts, or incorrect wiring.
If it fails, don’t panic. Use a solder sucker to remove the joint, re-tin, and try again.
Pro Tip: Test with a current-limiting resistor (e.g., 300–500Ω) on the data line for addressable LEDs. It protects the first LED from voltage spikes.
Testing is the final check in your how to solder LED lights strings a step by step guide—it confirms your work is safe and functional.
Step 9: Secure and Protect the Joint (Optional but Recommended)
For outdoor or high-vibration use, add extra protection.
- Wrap the joint with electrical tape for a quick fix.
- Use hot glue to strain-relieve the wires (apply to the wire, not the joint).
- For strips, use adhesive mounting clips to keep tension off the solder points.
For waterproofing, apply conformal coating or use silicone sealant (after testing!).
Warning: Never cover a hot joint with glue or tape—it can trap heat and damage components.
Extra protection extends the life of your work, especially in harsh environments.
Pro Tips & Common Mistakes to Avoid
Even experienced solderers make mistakes. Here’s how to avoid the most common pitfalls in your how to solder LED lights strings a step by step guide.
- Use too much heat? LEDs hate heat. Keep the iron on the pad for <5 seconds. Use a heat sink clip on the wire near the pad.
- Skipping tinning? Untinned wires are hard to solder and often result in cold joints.
- Ignoring polarity? Reversing + and – can fry LEDs. Always double-check with a multimeter.
- Overloading the power supply? Too many LEDs on one circuit can cause overheating. Use a power supply with 20% headroom (e.g., 10A for 8A load).
- Using solid core wire for flexible strips? Solid wire is stiff and can crack. Use stranded wire for bendable connections.
- Forgetting heat shrink? Exposed joints are a short-circuit waiting to happen. Always insulate!
- Soldering in a drafty area? Airflow cools the joint too fast, causing cold solder. Work in a still room.
Pro Tip: Practice on scrap LED strips or old electronics before working on your main project. It builds confidence and skill.
These tips will help you master your how to solder LED lights strings a step by step guide with fewer headaches.
FAQs About How to Solder LED Lights Strings A Step by Step Guide
Let’s answer the most common questions people have when learning how to solder LED lights strings a step by step guide.
Q1: Can I solder LED strips without damaging the LEDs?
Yes—but only if you control the heat. Use a temperature-controlled iron (300–350°C), limit contact to 5 seconds per pad, and avoid touching the LED chip directly. Tinning first helps reduce heat exposure.
Q2: What if I accidentally short two pads together?
Use a solder sucker or desoldering braid to remove the excess solder. Gently heat the joint and pull the solder away. Clean the pads with alcohol afterward.
Q3: Can I extend a 12V LED strip with a 5V power supply?
No. Mismatched voltage will either burn out 5V LEDs or leave 12V LEDs dim. Always match voltage. For 12V strips, use a 12V power supply. For 5V strips (like WS2812B), use 5V.
Q4: Why do my LEDs flicker after soldering?
Flickering usually means a poor connection—cold solder joint, broken wire, or incorrect polarity. Test continuity and re-solder if needed. Also check for loose power connections.
Q5: Can I solder addressable LED strips (like WS2812B) the same way?
Yes, but be extra careful with the data line. Use a data line resistor (300–500Ω) to protect the first LED. Solder DIN to DIN, 5V to 5V, GND to GND. Test with a simple animation (e.g., rainbow) to verify data flow.
Q6: Is lead-free solder safe for LED strips?
Yes, but it has a higher melting point (217°C vs. 183°C for leaded). It’s also less forgiving. Use a rosin-core lead-free solder and a hotter iron (350°C). Practice on scrap first.
Q7: How do I waterproof my soldered joints?
After testing, apply clear silicone sealant or conformal coating to the joint. For strips, use waterproof LED channels or enclosures. Avoid submerging unless rated for it.
Final Thoughts
Soldering LED light strings isn’t just about fixing broken lights—it’s about unlocking creativity. Whether you’re building a custom mood light, repairing holiday decor, or creating interactive art, knowing how to solder LED lights strings a step by step guide gives you control and confidence.
Remember: slow down, prepare well, test often, and don’t fear mistakes. Every pro solderer started where you are now. With this guide, the right tools, and a little patience, you’ll go from nervous beginner to skilled DIYer in no time.
Now grab your iron, fire up your workspace, and bring your LED visions to life. Your next project is just a few clean solder joints away. Happy soldering!
“`

