Featured image for how to splice led string lighting
Image source: armacostlighting.com
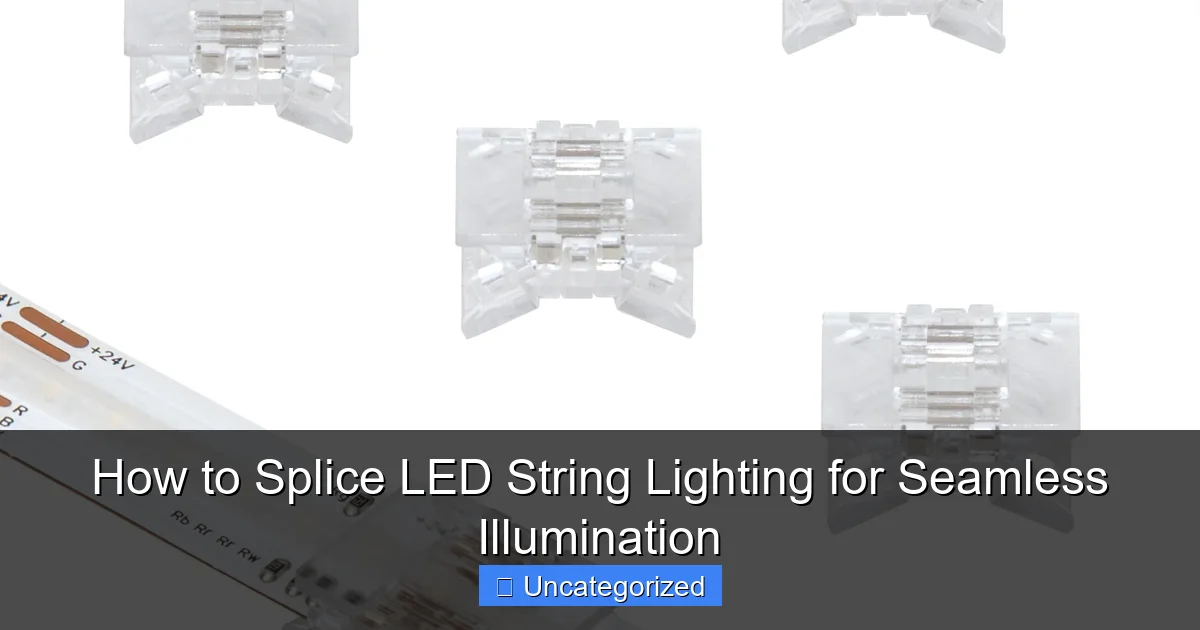
Master the art of splicing LED string lights to achieve seamless, professional-grade illumination without visible gaps or flickers. With the right tools—wire strippers, solder, and heat shrink tubing—you can safely extend or repair strands while maintaining consistent brightness and waterproof integrity. Perfect for custom installations, this technique ensures your lighting stays flawless, whether indoors or outdoors.
How to Splice LED String Lighting for Seamless Illumination
Key Takeaways
- Cut only at marked points to avoid damaging LED circuits.
- Strip wires carefully to expose clean, workable copper ends.
- Match wire colors precisely when connecting for consistent polarity.
- Use waterproof connectors in outdoor or humid environments.
- Secure joints with heat shrink to prevent short circuits.
- Test before finalizing to ensure all LEDs light up properly.
Why This Matters / Understanding the Problem
You’ve got a beautiful outdoor patio, a cozy bedroom nook, or a wedding arch—perfect for LED string lights. But what happens when your dream setup gets cut short by a broken wire, a missing plug, or a gap between two light strands?
That’s where knowing how to splice LED string lighting for seamless illumination comes in. Instead of tossing out a half-working strand or buying a whole new set, you can fix or customize your lights with a simple splice. Whether you’re connecting two strands end-to-end, repairing a cut wire, or extending a run across a garden, splicing gives you full control.
Imagine hosting a backyard BBQ with lights that stretch perfectly from the pergola to the fence—no dark spots, no tangled mess. That’s the power of a clean, well-executed splice. And the best part? You don’t need to be an electrician. With a few tools and this guide, you can achieve seamless illumination like a pro.
This isn’t just about fixing broken lights. It’s about customizing your lighting design to fit any space, event, or mood. Whether you’re a DIY decorator, a holiday enthusiast, or a landscape designer, mastering this skill saves time, money, and frustration.
The key is doing it safely and correctly. A bad splice can lead to flickering, overheating, or even fire hazards. But with the right technique, your spliced lights will look and work as if they came from the factory.
What You Need
Before we dive into how to splice LED string lighting for seamless illumination, let’s gather your toolkit. You don’t need a full workshop—just a few essentials.

Visual guide about how to splice led string lighting
Image source: webshop.tronixlighting.com
- Wire strippers: Precision matters. Use a gauge-specific stripper (usually 20–24 AWG for LED lights).
- Needle-nose pliers: For twisting wires and handling small connectors.
- Electrical tape: For temporary insulation (not a permanent fix).
- Heat-shrink tubing (preferred) or waterproof wire connectors: For a long-lasting, weatherproof seal.
- Heat source (lighter or heat gun): To shrink the tubing.
- Multimeter (optional but helpful): To test continuity and polarity.
- Sharp scissors or utility knife: For cutting insulation.
- Marker or tape: To label positive and negative wires.
- Replacement plug or socket (if needed): For extending or repairing ends.
- Silicone sealant (for outdoor use): Extra protection against moisture.
Pro tip: Always use tools rated for low-voltage DC circuits. LED strings typically run on 12V or 24V, not 120V AC. This reduces risk, but safety still matters.
Bonus: If you’re splicing multiple strands, consider a Y-splitter connector for branching lights without cutting wires. But for true customization, splicing is still king.
Step-by-Step Guide to How to Splice LED String Lighting for Seamless Illumination
Now let’s walk through the process—clear, safe, and effective. Whether you’re repairing, extending, or combining strands, these steps apply to most low-voltage LED string lights.
Step 1: Identify the Type of LED String Light
Not all LED lights are the same. Start by checking your light strand’s specifications. Look for:
- Voltage (12V, 24V, etc.)
- Wire gauge (usually 20–24 AWG)
- Number of wires (2-wire vs. 3-wire)
- Plug type (male, female, or bare ends)
Most standard LED string lights use a 2-wire system: one positive (usually marked with a + or red insulation), one negative (– or black). Some RGB or smart lights use 3 or 4 wires (data, red, green, blue). For this guide, we’ll focus on 2-wire DC lights—the most common for home use.
Why does this matter? Mismatched voltages or wire types can damage LEDs or cause inconsistent brightness. Always match the voltage and wire count when splicing.
If you’re unsure, check the label on the plug or transformer. Or use a multimeter to test voltage with the lights on.
Step 2: Cut the Wires Cleanly (If Needed)
If you’re repairing a broken strand or connecting two ends, make a clean, straight cut with sharp scissors or a utility knife.
- Cut at least 6 inches from any damaged area (e.g., frayed wires, melted insulation).
- For joining two strands, cut the plug end off one strand and the socket end off the other.
- Use a marker to label each wire: “+” for positive, “–” for negative.
Tip: If you’re extending a strand, cut the male plug off the end of the first strand and the female socket off the start of the second. This lets you connect them directly.
Never twist wires while they’re live. Always unplug the lights before cutting.
Step 3: Strip the Wire Insulation
Use your wire strippers to remove about ½ inch (1.25 cm) of insulation from the end of each wire.
- Match the stripper gauge to your wire (usually 20–24 AWG).
- Don’t nick or cut the metal conductor—this weakens the connection.
- If using a knife, slice gently along the insulation, then pull it off.
Why ½ inch? It’s long enough for a solid twist or connector, but not so long that excess wire creates a mess or short circuit.
Pro tip: After stripping, twist the exposed copper strands clockwise to prevent fraying.
Step 4: Match and Connect the Wires
Now, align the wires from both strands:
- Positive to positive
- Negative to negative
Use one of these two methods:
Method A: Twist and Solder (Most Durable)
- Twist the matching wires together clockwise using pliers.
- Apply rosin-core solder to the joint until it flows evenly.
- Let cool completely—don’t move while hot.
Method B: Waterproof Wire Connector (Easier, No Solder)
- Insert both stripped ends into a waterproof gel-filled connector (like a “butt splice”).
- Squeeze firmly with pliers to crimp.
- Ensure no bare copper is exposed.
Never use regular wire nuts—they’re not waterproof and can loosen over time.
For outdoor use, soldering + heat shrink is the gold standard. It’s weatherproof, durable, and invisible when done right.
Step 5: Insulate with Heat-Shrink Tubing (Recommended)
Slip a piece of heat-shrink tubing over each spliced wire before connecting. If you forgot, cut the wires again and start over.
- Choose tubing with a 2:1 or 3:1 shrink ratio.
- Slide it over the joint before soldering or crimping.
- After connecting, center the tubing over the splice.
- Use a heat gun or lighter (kept 2–3 inches away) to shrink it evenly.
The tubing will seal tightly, protecting against moisture, vibration, and corrosion.
For extra protection (especially outdoors), apply a dab of clear silicone sealant inside the tubing before shrinking. This fills tiny gaps and makes the splice 100% waterproof.
Alternative: If you don’t have heat shrink, use waterproof wire connectors filled with silicone gel. They’re easier but less compact.
Step 6: Test the Connection
Before finalizing, plug in the lights and test:
- Do all LEDs light up evenly?
- Is there any flickering or dimness?
- Does the splice feel warm? (It shouldn’t—if it does, unplug immediately.)
Use a multimeter to check for continuity. Set it to “continuity” mode and touch probes to each end of a spliced wire. A beep means the connection is solid.
If lights don’t work, double-check polarity. Reversing positive and negative can damage LEDs or prevent them from lighting.
Pro tip: Label the splice with a tag or tape so you know it’s custom. This helps during future repairs or upgrades.
Step 7: Secure and Protect the Splice
A splice isn’t just about electricity—it’s about longevity. Protect it from strain and weather.
- Use cable clips or zip ties to anchor the wire near the splice (not on the joint itself).
- For outdoor use, run wires under eaves, behind trim, or in conduit to avoid direct rain.
- If splicing near the ground, bury the splice in a small, sealed junction box or use a waterproof enclosure.
Never let a splice dangle. Movement from wind or foot traffic can loosen connections over time.
For temporary setups (like holiday lights), electrical tape is okay. But for permanent installations, heat shrink + silicone is the way to go.
Step 8: Optional – Add a Plug or Socket
If you cut off a plug or socket, replace it:
- For a new plug: Strip the end wires, connect to the plug terminals (match + and –), and secure with screws.
- For a socket: Attach wires to the socket contacts and seal with heat shrink.
Use plugs and sockets rated for your voltage and amperage. Mismatched parts can overheat.
Bonus: You can now plug into a timer, dimmer, or smart outlet for automated control.
Pro Tips & Common Mistakes to Avoid
Even small errors can ruin a splice. Here’s how to avoid them and get seamless illumination every time.
Pro Tip #1: Label Everything – Use colored tape or markers to identify positive and negative wires. This prevents polarity mistakes, which are the #1 cause of LED failure.
Pro Tip #2: Use the Right Tools – A $10 wire stripper is worth it. Cheap tools can nick wires, causing weak spots and shorts.
Pro Tip #3: Test Before Sealing – Plug in the lights before shrinking tubing or sealing with silicone. Fixing a bad connection after insulation is a pain.
Pro Tip #4: Keep It Dry – For outdoor use, always use waterproof connectors or heat shrink with silicone. Moisture kills splices over time.
Pro Tip #5: Match Voltage and Current – Don’t splice a 12V strand to a 24V one. The lower-voltage lights will burn out. Always check specs.
Common Mistakes:
- Using electrical tape as the only insulation: It dries, cracks, and peels. Use heat shrink instead.
- Overheating the solder: Too much heat can melt insulation or damage nearby LEDs. Use a low-wattage iron (15–30W).
- Ignoring strain relief: A splice should never bear the weight of the wire. Anchor it nearby.
- Splicing high-voltage (120V) lights: Most string lights are low-voltage. If yours plug directly into the wall without a transformer, do not splice—it’s dangerous. Replace the entire strand.
- Forgetting polarity: Reversed wires can fry LEDs or make them flicker. Always double-check.
Real-life example: Sarah tried splicing her Christmas lights with electrical tape. By February, the tape had cracked, water got in, and half the strand died. After learning how to splice LED string lighting for seamless illumination the right way, she now uses heat shrink and silicone—her lights last all season.
FAQs About How to Splice LED String Lighting for Seamless Illumination
Let’s tackle the questions we hear most often.
Q1: Can I splice different brands or colors of LED string lights?
A: Only if they have the same voltage, wire count, and current draw. Mixing brands can work, but mismatched specs cause dimming or burnout. Stick to similar specs for best results.
Q2: Do I need to solder, or can I just use wire connectors?
A: You can use waterproof gel-filled connectors for a quick fix. But for long-term, outdoor, or high-movement setups, soldering + heat shrink is more reliable and weatherproof.
Q3: What if my LED lights flicker after splicing?
A: Check for loose connections, reversed polarity, or a bad solder joint. Use a multimeter to test continuity. Also, ensure all wires are fully stripped and twisted tightly.
Q4: Can I splice more than two strands together?
A: Yes, but be careful. Each splice adds resistance. For long runs, use thicker wire (18 AWG) for the main line and splice smaller strands to it. Or use a distribution block to avoid multiple splices in one spot.
Q5: Is it safe to splice LED lights outdoors?
A: Absolutely—if you do it right. Use waterproof connectors, heat shrink tubing, and silicone sealant. Avoid splices in areas with standing water or direct rain. Elevate or protect them.
Q6: How long will a spliced LED strand last?
A: A properly spliced strand can last just as long as a factory-made one—often 20,000+ hours. The key is a clean, sealed connection. Poor splices may fail in weeks.
Q7: Can I splice battery-powered LED string lights?
A: Yes, but be extra careful. Battery packs use low voltage, but the wires are thinner. Use smaller heat shrink tubing (1/8”) and handle wires gently to avoid breaking.
Final Thoughts
Knowing how to splice LED string lighting for seamless illumination is a game-changer. It turns a frustrating limitation—broken wires, mismatched lengths, or dark gaps—into a creative opportunity.
You’re not just fixing lights. You’re designing your own lighting story. Whether it’s a romantic dinner under a custom-lit pergola, a kid’s bedroom with stars that stretch across the ceiling, or a festival booth with lights that wrap around poles, splicing gives you freedom.
Remember: Safety first. Always unplug before cutting. Match voltage and polarity. Use waterproof insulation for outdoor use. And test before sealing.
Start small—try splicing two short strands first. Once you nail the technique, you’ll never look at a broken string light the same way again. Instead of tossing it, you’ll see potential.
And when guests ask, “Wow, how did you get the lights to flow so perfectly?”—you can smile and say, “I spliced them myself.”
So grab your tools, pick a strand, and give it a try. With this guide, you’ve got everything you need to achieve seamless illumination—one splice at a time.
Your space deserves it.

