Featured image for how to split led christmas light string
Image source: i0.wp.com
Splitting LED Christmas light strings is safe and simple when you use a voltage tester and cut only at marked separation points to avoid damaging the circuit. Always disconnect power first, then use insulated wire cutters to ensure a clean, hazard-free break. Follow manufacturer guidelines closely—this preserves bulb function and keeps your holiday display bright and reliable.
“`html
How to Split LED Christmas Light String Safely and Easily
Key Takeaways
- Unplug lights first: Always disconnect power before splitting to prevent shocks or damage.
- Check for splitters: Use manufacturer-approved splitters for safe, reliable connections.
- Cut at marked spots: Only cut wires at designated sections to avoid ruining the string.
- Seal exposed ends: Waterproof connections with heat-shrink tubing or electrical tape.
- Test before hanging: Verify functionality after splitting to catch issues early.
- Limit string length: Avoid overloading circuits by following wattage guidelines.
Why This Matters / Understanding the Problem
Decorating with LED Christmas lights is a holiday tradition for millions. But what happens when you want to split LED Christmas light string to wrap around a tree, drape over a mantle, and line a window—all from a single outlet? Without the right approach, you risk overloading circuits, damaging lights, or creating a tangled mess.
Many people assume all LED strings can be split like regular extension cords. That’s not always true. Unlike incandescent lights, LED strings often have internal drivers, voltage regulators, and polarity-sensitive circuits. How to split LED Christmas light string safely and easily isn’t just about cutting and splicing—it’s about preserving performance, safety, and longevity.
Whether you’re a DIY decorator or a first-time holiday enthusiast, understanding how to split your LED lights correctly ensures your display shines bright without blowing a fuse. This guide walks you through every step—from prep to power-up—so your lights stay safe, efficient, and dazzling.
What You Need
Before you start, gather the right tools and materials. Using the wrong ones can damage your lights or create fire hazards. Here’s your checklist:
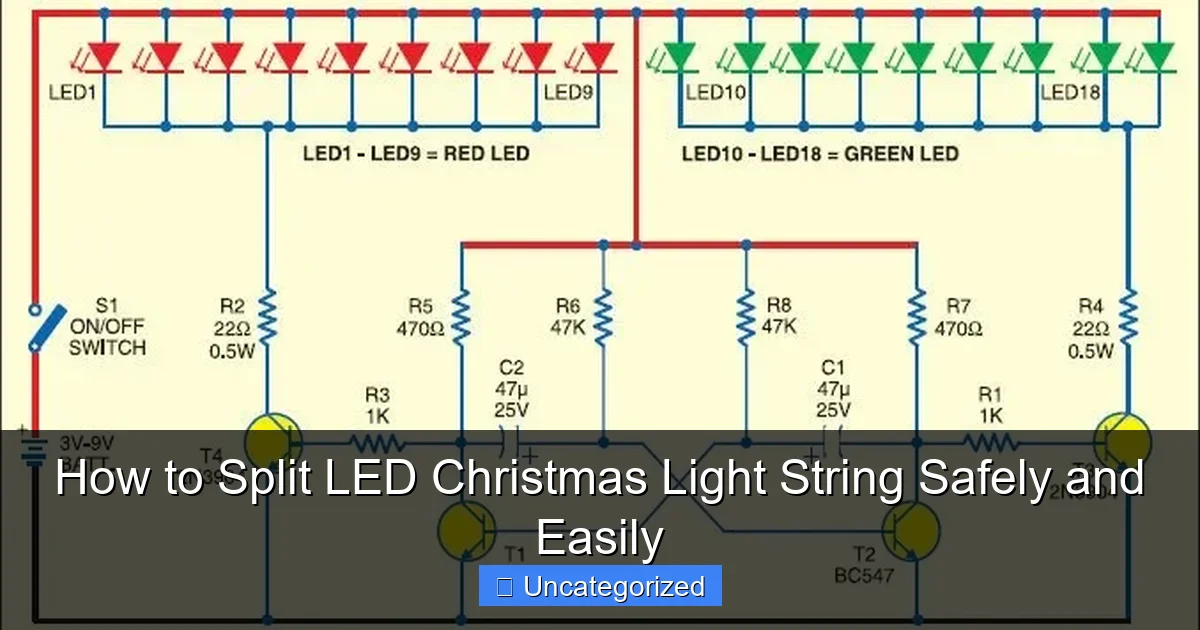
Visual guide about how to split led christmas light string
Image source: i1.wp.com
- LED Christmas light string(s) – Make sure they’re labeled “non-continuous” or “non-end-to-end” if you plan to split them.
- Wire strippers – For cleanly removing insulation without cutting the wire.
- Electrical tape or heat-shrink tubing – For insulating exposed wires (heat-shrink is safer and more durable).
- Wire connectors (wire nuts) – Use UL-listed, rated for outdoor use if needed.
- Multimeter (optional but recommended) – To test voltage and polarity before reconnecting.
- Scissors or utility knife – For trimming tape or insulation.
- Zip ties or cable clips – To manage and secure split wires.
- Power source tester (non-contact voltage tester) – To confirm wires are de-energized before handling.
- Extension cord (if needed) – Use a heavy-duty, outdoor-rated cord to avoid overloading.
Pro Tip: Always check the manufacturer’s label on your LED string. If it says “do not cut” or “non-spliceable,” don’t split it. Some LED strings are sealed and designed to work only as a single unit.
Step-by-Step Guide to How to Split LED Christmas Light String Safely and Easily
Step 1: Choose the Right LED String
Not all LED strings are created equal. Before you even touch a wire, confirm your lights are designed to be split. Look for labels like “cuttable,” “modular,” or “spliceable.” These strings often have marked cut points—usually every 1–2 feet.
For example, some LED strings from brands like Twinkly or GE have cut zones with small icons or dotted lines. These indicate where it’s safe to split without damaging the circuit.
If your string has no cut points or says “do not cut,” do not proceed. Instead, use multiple strings powered by a multi-outlet extension cord or smart power strip. Trying to split a non-cuttable string can short-circuit the entire strand.
How to split LED Christmas light string safely and easily starts with choosing the right product. If in doubt, buy a cuttable LED string from the start—it saves time and risk.
Step 2: Power Off and Unplug
Safety first. Always unplug the light string from the power source before working on it. Even if the lights are off, the circuit may still carry voltage.
Use a non-contact voltage tester to double-check that no electricity is flowing through the wires. Touch the tester to the plug prongs and along the cord. If it doesn’t beep, you’re safe to proceed.
Never work on live wires. This isn’t just about avoiding shocks—it’s about preventing accidental shorts that can fry the LED drivers or create fire risks. How to split LED Christmas light string safely and easily means never skipping this step.
Also, lay the string on a clean, dry surface—like a table or tarp. Avoid working on concrete or grass, where moisture can damage wires or create grounding issues.
Step 3: Identify the Cut Zone
Look for the marked cut points on the string. These are typically small notches, colored dots, or printed lines between bulbs. They indicate where the internal circuitry is designed to be split.
At each cut point, you’ll usually see two parallel wires (positive and negative) with a small gap. This is where you’ll make your cut. Never cut between bulbs at random—this can damage the driver or create an open circuit.
Use scissors or a utility knife to make a clean, straight cut through both wires. Avoid crushing or fraying the wires. A clean cut ensures better connections later.
If your string doesn’t have visible cut points, check the packaging or product manual. Some brands label cut zones with a “|” or “✂” symbol. If there are none, do not cut—opt for a different setup instead.
Step 4: Strip the Wires
After cutting, you’ll have two ends: one from the power source (plug end) and one from the remaining lights (tail end). Each end has two exposed wires—usually a red (positive) and white or black (negative).
Use wire strippers to remove about 1/2 inch (1.3 cm) of insulation from each wire. Be gentle—LED wires are thin and fragile. Don’t cut into the copper core.
If you don’t have wire strippers, carefully use a utility knife to score the insulation and peel it back. Never twist or pull—this can break the wire inside.
Pro tip: If your string uses ribbed vs. smooth wires (common in some brands), the ribbed wire is usually negative. This helps avoid polarity mistakes later.
This step is crucial for how to split LED Christmas light string safely and easily—poor stripping leads to loose connections, overheating, or flickering lights.
Step 5: Connect the Split Ends (Optional: Use a Junction Box)
Now, you have two separate strands. You can either:
- Use them independently – Plug each into separate outlets (or a multi-outlet strip).
- Reconnect them in parallel – If you want to power both from one outlet, connect them using wire nuts or a junction box.
For independent use: Simply plug each strand into its own outlet. Use outdoor-rated extension cords if needed. This is the easiest and safest method.
For parallel connection: Join the positive wires together (red to red) and negative wires together (white/black to white/black) using UL-listed wire nuts. Twist clockwise until snug, then tug gently to test.
For extra safety, use a weatherproof junction box (especially for outdoor setups). Place the connections inside, seal with silicone, and mount away from foot traffic.
Never twist wires and tape them without wire nuts—this is a fire hazard. How to split LED Christmas light string safely and easily means using proper connectors.
Step 6: Insulate and Secure
After connecting, insulate all exposed wires. Use heat-shrink tubing for the best seal:
- Slide a piece of tubing over each wire before connecting.
- After joining, slide it over the connection.
- Use a heat gun or hair dryer to shrink it tightly.
If you don’t have heat-shrink, wrap each connection tightly with electrical tape in overlapping spirals. Cover at least 1 inch beyond the bare wire on each side.
Then, secure the split wires with zip ties or cable clips to prevent strain. For outdoor use, use UV-resistant zip ties to avoid brittleness.
Keep connections elevated off the ground to avoid water pooling. If outdoors, use a plastic container with drainage holes to house the junction box.
Step 7: Test Before Use
Before hanging your lights, test them. Plug in the original plug (if using one strand) or the new connection point (if parallel).
Use a multimeter to check voltage at the farthest bulb. It should read close to the string’s rated voltage (usually 12V, 24V, or 120V AC/DC).
If lights don’t turn on, check for:
- Loose wire nuts
- Reversed polarity (swap red/white if flickering)
- Damaged wires from cutting
Also, use a circuit breaker tester to ensure you’re not overloading the outlet. Most LED strings draw 0.1–0.3 amps per strand, but stacking too many can trip breakers.
How to split LED Christmas light string safely and easily means testing every connection—don’t skip this!
Step 8: Mount and Manage the Lights
Now it’s time to decorate! Mount each split strand using:
- Outdoor light clips for gutters or shingles
- Adhesive hooks for windows or indoor walls
- Zip ties for trees or railings
Keep wires away from heat sources (like space heaters) and sharp edges. Avoid running cords under rugs or through doorways where they can fray.
Use zip ties every 12–18 inches to prevent sagging. For trees, spiral the lights upward, leaving 4–6 inches between bulbs.
For a professional look, hide split points behind branches or decorations. Use colored zip ties to blend in.
Pro Tips & Common Mistakes to Avoid
Pro Tip: Use smart LED strings with app control. You can split them physically and still sync colors and patterns via Bluetooth or Wi-Fi—no extra wiring needed.
Pro Tip: Label each split strand with a tag (e.g., “Tree,” “Mantle”) so you know which is which during setup and takedown.
Common Mistake #1: Cutting at the Wrong Spot
Cutting between bulbs or at non-marked points can sever the internal driver or data line. This kills the entire string. Always follow cut zones.
Common Mistake #2: Ignoring Polarity
LEDs are polarity-sensitive. Reversing positive and negative wires can cause flickering, dimming, or no light at all. Double-check with a multimeter if unsure.
Common Mistake #3: Overloading the Circuit
Even though LEDs use less power, plugging 10+ strings into one outlet can overload it. Use a power meter to check total amps. Most outlets handle 15 amps max.
Common Mistake #4: Poor Insulation
Taping wires with masking tape or duct tape is a fire hazard. Use only UL-listed electrical tape or heat-shrink for safe, long-lasting insulation.
Common Mistake #5: Forgetting Weatherproofing (Outdoor Use)
If your split is outdoors, seal all connections with silicone caulk or use a waterproof junction box. Moisture causes shorts and corrosion.
Pro Tip for Large Displays: Use a light splitter adapter (available at hardware stores). These let you split one plug into multiple outputs without cutting wires—ideal for non-cuttable strings.
How to split LED Christmas light string safely and easily isn’t just about cutting—it’s about planning, precision, and safety. Take your time, and don’t rush the process.
FAQs About How to Split LED Christmas Light String Safely and Easily
Q1: Can I split any LED light string?
No. Only strings labeled “cuttable” or “spliceable” should be split. Check the packaging or product manual. Non-cuttable strings have sealed circuits and will fail if cut.
Q2: What happens if I cut the wrong part of the string?
You may break the internal driver, data line, or power circuit. This can kill the entire string. Always follow marked cut zones.
Q3: Can I reconnect split LED strings later?
Yes, but only if you used wire nuts or a junction box. Tape connections are temporary and unsafe for reuse. For permanent reconnection, re-solder and heat-shrink.
Q4: Are split LED strings safe for outdoor use?
Yes—if you use waterproof connectors, seal all joints, and elevate connections off the ground. Use outdoor-rated wire nuts and heat-shrink tubing.
Q5: How many split strings can I plug into one outlet?
It depends on the outlet’s amperage (usually 15A) and each string’s draw. As a rule, don’t exceed 8–10 standard LED strings. Use a power meter to check total load.
Q6: Do I need a special tool to split LED lights?
Basic tools like wire strippers, scissors, and electrical tape are enough. A multimeter and heat gun improve safety and durability but aren’t required.
Q7: Can I split smart LED lights (like app-controlled ones)?
Yes—but only at cut points that preserve the data line (usually marked with a “D” or “data” icon). Splitting elsewhere can break app control. Some brands (e.g., Twinkly) allow splitting without losing sync.
Final Thoughts
Decorating with LED Christmas lights should be fun—not stressful. Learning how to split LED Christmas light string safely and easily gives you the freedom to create custom displays without buying extra sets or overloading circuits.
Remember: Always start with a cuttable string, power off, follow cut zones, use proper connectors, and test before hanging. These steps ensure your lights shine bright and stay safe all season long.
For future projects, consider investing in modular LED systems or smart lights with built-in splitters. They make decorating easier and reduce the need for DIY splicing.
Now, go light up your home with confidence! Whether you’re wrapping a tree, framing a window, or outlining a roof, you’ve got the tools to do it right. Happy holidays—and stay safe!
“`

