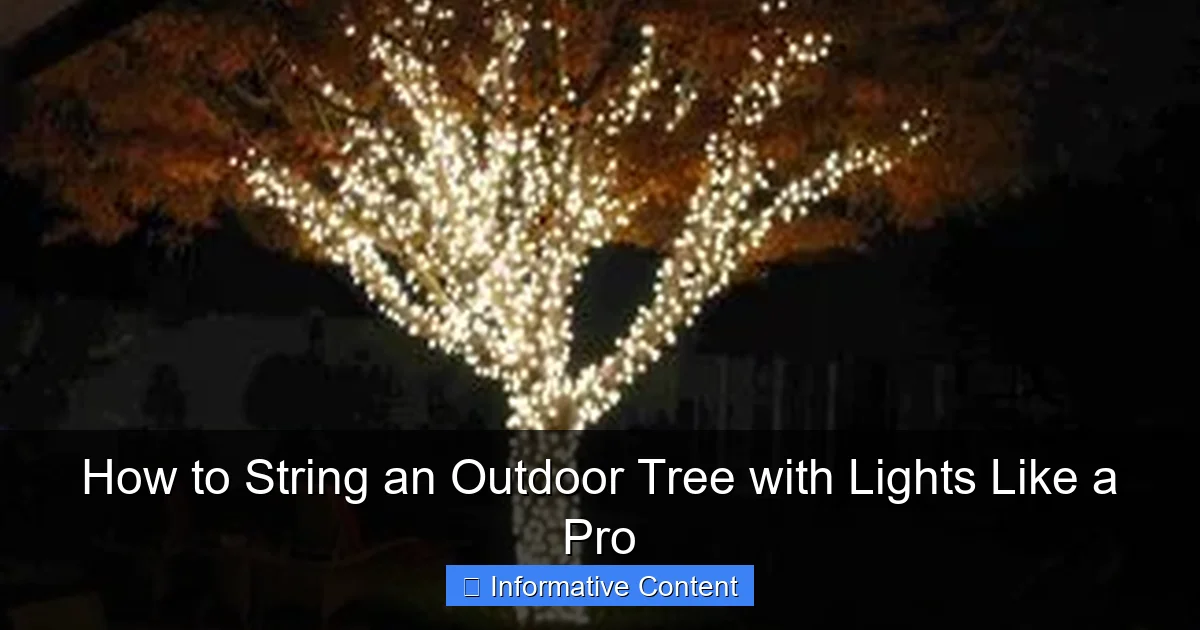
Featured image for how to string an outdoor tree with lights
Image source: visualhunt.com
Choose the right lights and plan your layout before starting to ensure even coverage and avoid tangles when stringing an outdoor tree. Wrap lights from the trunk outward in a spiral pattern, securing them with clips or zip ties for a professional, weather-resistant display that shines all season.
Key Takeaways
- Plan your layout: Sketch the tree and mark light placement for even coverage.
- Choose durable lights: Use weatherproof, outdoor-rated lights for long-lasting results.
- Start at the base: Wrap lights from the trunk outward to avoid tangles.
- Secure with clips: Use insulated clips to protect branches and wires.
- Layer strategically: Combine string, net, and spotlights for depth and dimension.
- Test before hanging: Check bulbs and connections to save time later.
📑 Table of Contents
Why Stringing Outdoor Tree Lights Is Worth the Effort
There’s something magical about stepping outside on a crisp winter evening and seeing your backyard transformed into a glowing wonderland. I remember the first time I strung lights on my old maple tree. It was a little wobbly, with tangled cords and a few bulbs that flickered like they were about to give up. But when I flipped the switch and the whole tree lit up, my kids ran outside in their pajamas, eyes wide with wonder. That moment—simple, heartfelt, and full of joy—made every tangled cord worth it.
Stringing outdoor tree lights isn’t just about holiday cheer. It’s about creating ambiance, extending your outdoor living space into the cooler months, and making your home feel warm and inviting. Whether you’re preparing for the holidays, hosting a summer garden party, or just want to enjoy your yard after sunset, lighting up a tree adds instant charm. But let’s be honest: it can also feel a little intimidating. Where do you start? How do you avoid tripping hazards? What kind of lights work best? And how do you keep them from looking like a tangled mess after just one season?
Choosing the Right Lights and Tools
Types of Outdoor Lights: What Works Best?
Not all lights are created equal—especially when it comes to outdoor use. Before you even think about climbing a ladder, take a moment to choose the right kind of lights for your tree and your goals.
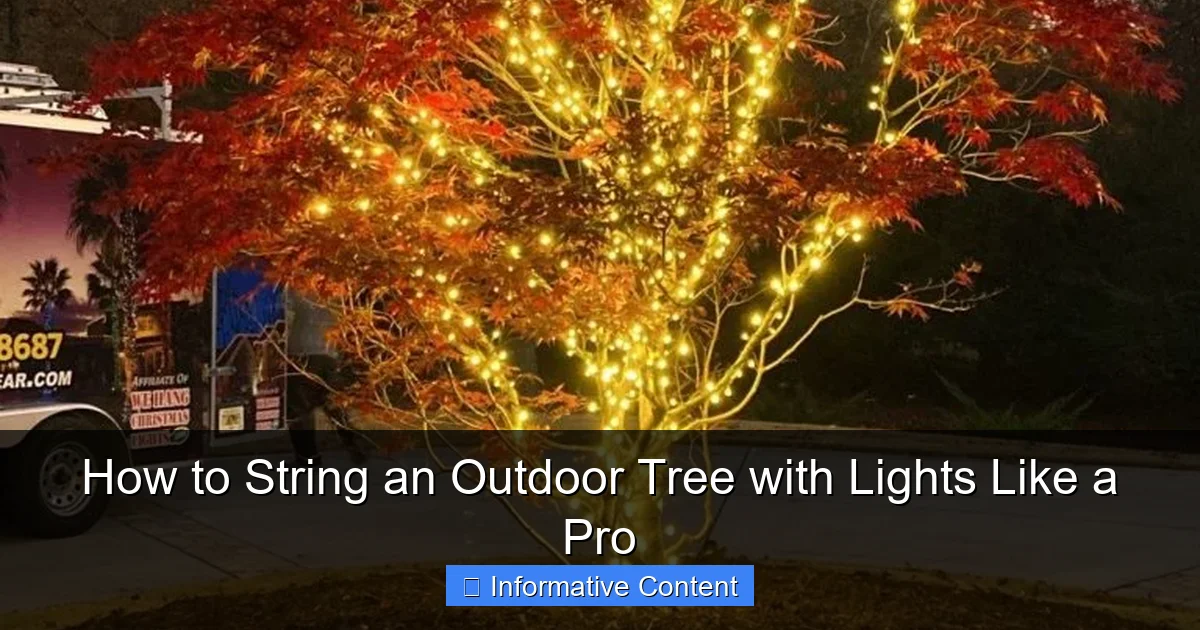
Visual guide about how to string an outdoor tree with lights
Image source: lightsallyear.com
- LED lights are your best friend. They’re energy-efficient, last longer (often 25,000+ hours), and stay cool to the touch. Plus, they use less electricity, which is great for your wallet and the planet.
- Incandescent lights give off that classic warm glow, but they use more power and burn out faster. I’ve used them before, and while I love the look, I always end up replacing bulbs mid-season.
- Mini lights (the small bulbs) are ideal for wrapping trunks and branches. They’re lightweight and easy to maneuver.
- C9 or C7 bulbs are larger and more dramatic—perfect for outlining the silhouette of a tree or creating a bold statement. They’re heavier, so use them sparingly on smaller branches.
- Twinkle or color-changing lights add movement and fun, but use them strategically. Too much twinkling can look chaotic, not magical.
One thing I’ve learned the hard way: always check for the “indoor/outdoor” rating. Indoor lights might look great in the store, but they’ll short out the first time it rains. Look for lights with a UL rating for outdoor use and weather-resistant plugs and cords.
Essential Tools and Accessories
You don’t need a full toolkit, but a few essentials make the job safer and easier.
- Extension cords rated for outdoor use. Get one long enough to reach from your outlet to the tree, with a built-in GFCI (ground fault circuit interrupter) for safety.
- Light clips or hooks designed for trees. Avoid nails or staples—they damage bark and can create entry points for pests and disease. I use gutter clips or plastic tree hooks that grip without piercing.
- Ladder—a sturdy, non-slip step ladder or extension ladder, depending on your tree’s height. Always have someone spot you when climbing.
- Gloves to protect your hands from sap, rough bark, and cold metal.
- Timer or smart plug so your lights turn on and off automatically. This is a game-changer—no more running outside in the dark to flip a switch.
- Zip ties or velcro straps to secure loose cords and prevent tripping hazards.
Pro tip: Buy lights with end-to-end connectors so you can string multiple strands together without needing extra outlets. But don’t exceed the manufacturer’s recommended number of connected strands—usually 3–5 for LED mini lights.
Planning Your Lighting Design
Assess Your Tree’s Structure and Size
Every tree is different, and your lighting plan should match its shape, height, and branch layout. Start by walking around the tree and taking photos from different angles. This helps you visualize how the lights will look at night.
Ask yourself:
- Is the tree tall and narrow, or wide and spreading?
- Are there low-hanging branches that might block light or be a tripping hazard?
- Does it have a strong central trunk, or is it multi-stemmed?
- Will the lights be visible from the street, your patio, or both?
For example, a tall evergreen like a pine or spruce looks stunning with vertical stringing—lights running from the top down the trunk and along major branches. A wide deciduous tree like an oak or maple works better with horizontal wrapping—lights circling the trunk and wrapping around major limbs in a spiral pattern.
Sketch a Simple Lighting Layout
Grab a notebook or use a drawing app to sketch your tree and plan where the lights will go. I like to break it down into zones:
- Trunk: Wrap lights vertically or in a spiral from base to about 6–8 feet high.
- Main branches: Wrap or outline the largest, most visible limbs. Focus on those that frame your view from the house or patio.
- Canopy: For smaller trees, you can gently drape lights through the outer branches, but avoid overloading—too many lights can make the tree look heavy or unnatural.
Don’t feel pressured to light every branch. Less is often more. A well-placed strand on a key branch can create more impact than a fully lit canopy that looks cluttered.
Consider Power and Safety Zones
Before you start hanging lights, map out where your power source is and how cords will run.
- Keep cords away from walkways, driveways, and high-traffic areas to prevent tripping.
- Use outdoor-rated extension cords and avoid daisy-chaining too many together.
- If the outlet is far from the tree, consider using a weatherproof power stake or in-ground conduit for a cleaner, safer setup.
- Always use a GFCI outlet—this shuts off power if there’s a short, preventing shocks and fires.
I once made the mistake of running a cord across my front walkway. My neighbor tripped over it (thankfully unhurt), and I learned my lesson: visibility and safety matter as much as aesthetics.
Step-by-Step Guide to Stringing the Lights
Start at the Bottom and Work Up
Begin by plugging in the first strand of lights and starting at the base of the trunk. Use your light clips or hooks to secure the first bulb about 6 inches above the ground. Then, wrap the strand upward in a spiral, spacing each loop 6–8 inches apart.
Why spiral? It creates even coverage and prevents gaps. Plus, it’s easier to follow the natural curve of the bark. As you go, gently press the clips into the bark—don’t force them. If a clip won’t grip, use a small zip tie around a low branch or twig to anchor it.
When you reach the top of the trunk (or where the branches begin), unplug the strand and move to the next section. Never work with live electricity. Always unplug before adjusting or moving lights.
Move to the Branches: Wrapping and Draping
Now it’s time to tackle the branches. For large, sturdy limbs, wrap lights in a spiral, just like you did on the trunk. Keep the spacing even—too tight, and the lights look crowded; too loose, and you lose the effect.
For smaller or more delicate branches, try draping instead of wrapping. Gently lay the strand across the branch, letting it hang like a garland. Use clips at intervals to keep it in place. This works especially well on weeping trees like willows or birches.
Pro tip: Work from the inside out. Start with the main branches near the trunk, then move to outer limbs. This keeps the lights balanced and prevents overloading one side.
Connecting Multiple Strands
If you’re using multiple light strands, connect them before hanging. Plug the first strand into the extension cord, then connect the second strand to the first, and so on. Make sure all connections are tight and secure.
Use zip ties or velcro straps to bundle excess cord near the base of the tree. This keeps things tidy and reduces the risk of snagging or tripping.
One thing I learned from my neighbor: test each strand as you go. If a bulb goes out or a section doesn’t light, you’ll catch it early instead of having to re-hang everything.
Final Touches: Hiding Cords and Adjusting Placement
Once all the lights are up, walk around the tree and make adjustments. Look for:
- Strands that are too tight or too loose
- Bulbs pointing the wrong way (flip them so they shine outward)
- Exposed cords that need to be tucked or secured
- Dark spots where you might add a few extra lights
Use natural camouflage—tuck cords behind branches, wrap them around the trunk, or bury them slightly in mulch. Just don’t cover them with soil, which can cause overheating.
And don’t forget the power source. If your outlet is visible, consider using a decorative cover or tucking it behind a bush or planter.
Maintaining and Storing Your Lights
Year-Round Maintenance Tips
Outdoor lights face a lot of wear and tear—sun, rain, wind, even curious squirrels. A little maintenance goes a long way in keeping them safe and functional.
- Inspect annually before hanging. Look for frayed wires, broken sockets, or cracked bulbs. Replace any damaged strands—don’t risk a fire hazard.
- Clean bulbs and sockets with a dry cloth. Dust and debris can cause shorts.
- Check timers and smart plugs to make sure they’re working and set correctly.
- Trim back overgrown branches that might rub against lights or block visibility.
I once ignored a frayed cord because “it still worked.” A week later, it sparked and tripped the breaker. Lesson learned: better safe than sorry.
Safe and Efficient Storage
After the season ends, don’t just toss your lights in a bin. Proper storage keeps them tangle-free and extends their life.
- Unplug and remove all lights carefully. Don’t yank them—unhook clips and untangle gently.
- Use a light reel or storage container designed for holiday lights. I use a simple cardboard box with cardboard dividers, or a plastic storage tote with reels.
- Label each strand with a tag (e.g., “50-ft warm white mini lights”) so you know what you have next year.
- Store in a cool, dry place—not the attic or garage, where temperature swings can damage wiring.
Pro tip: Take a photo of your setup before taking it down. It’s the best reference for next year, especially if you’re trying to recreate the same look.
Common Mistakes and How to Avoid Them
Even seasoned decorators make mistakes. Here are the ones I’ve made (and seen)—and how to avoid them.
Overloading the Tree
It’s tempting to go all out, but too many lights can overwhelm a tree. The branches may sag, the trunk could get too hot, and the overall effect looks chaotic instead of elegant.
Stick to a light-to-tree ratio:
- For a 10-foot tree: 100–150 bulbs
- For a 20-foot tree: 200–300 bulbs
And remember: quality over quantity. A few well-placed strands often look better than a fully lit tree.
Ignoring Weather and Wildlife
Wind can blow cords loose, rain can damage plugs, and animals love to chew on wires. To protect your lights:
- Use weatherproof connections and sealed extension cords.
- Secure all cords with zip ties or conduit to prevent movement.
- Consider rodent-proof covers if squirrels or mice are a problem in your area.
Forgetting the View from Inside
Don’t design your lighting only from the outside. Step inside your home and look out the window. Are the lights visible? Are they creating glare on the glass? Adjust as needed so the view is just as magical from indoors.
Not Testing Before Finalizing
Always do a nighttime test before you consider the job done. Turn on the lights after dark and walk around the yard. Look for dark spots, flickering bulbs, or uneven coverage. Make adjustments now—it’s much easier than doing it in the dark later.
| Light Type | Best For | Energy Use | Lifespan | Weather Resistance |
|---|---|---|---|---|
| LED Mini Lights | Wrapping trunks & branches | Low | 25,000+ hours | High (with outdoor rating) |
| Incandescent Mini Lights | Classic warm glow | High | 3,000–5,000 hours | Medium |
| LED C9 Bulbs | Outlining large trees | Low | 25,000+ hours | High |
| Fiber Optic Lights | Delicate or multi-stemmed trees | Very Low | 10,000+ hours | High |
| Color-Changing LEDs | Parties, themed displays | Low | 20,000+ hours | High |
Stringing outdoor tree lights isn’t just a chore—it’s a chance to create something beautiful and lasting. Whether you’re lighting up a single sapling or a towering oak, the process becomes easier with every season. You’ll learn what works, what doesn’t, and how to adapt to your tree’s unique personality.
The real magic isn’t in the bulbs or the cords—it’s in the moments they create. The quiet evening on the porch, the kids laughing under a glowing canopy, the neighbor who stops to admire your handiwork. These are the things worth the effort.
So grab your lights, your ladder, and your gloves. Take your time, stay safe, and don’t stress about perfection. Even if a few bulbs flicker or a strand droops, your tree will still shine. And when you flip that switch and see it come to life? That’s the moment you’ll remember—just like I do with my old maple tree.
Frequently Asked Questions
How do I choose the right lights for stringing an outdoor tree?
Opt for weatherproof, outdoor-rated LED string lights with a suitable length and brightness (measured in lumens). Consider color temperature—warm white for a cozy look, multicolor for festive vibes—and ensure the lights are spaced appropriately for your tree’s size.
What’s the best way to string outdoor tree lights without damaging the branches?
Use soft, non-abrasive clips or zip ties designed for outdoor lights, and avoid wrapping wires tightly around branches. Start from the trunk and work outward, securing lights loosely to prevent girdling or stress on limbs.
How to string outdoor tree lights on a tall or wide tree safely?
Use a sturdy ladder with a spotter, or try a light-hanging pole with a hook attachment for hard-to-reach areas. For large trees, work in sections and plan your pattern (spiral, zigzag, or web) before hanging to ensure even coverage.
Can I leave my outdoor tree lights up year-round?
While weatherproof lights can withstand seasons, it’s best to remove them after use to prolong lifespan and prevent damage from storms or heavy snow. Store lights coiled in a dry, cool place to avoid tangles.
How do I hide the wires when stringing outdoor tree lights?
Route extension cords along the tree’s natural lines or use green/black cord covers to blend into the bark. For ground wires, bury them slightly under mulch or use landscape staples to secure them discreetly.
What’s the most efficient way to string outdoor tree lights evenly?
Measure your tree’s height and circumference to calculate light spacing (typically 6–12 inches apart). Use a grid or spiral pattern, working from the bottom up, and step back periodically to check symmetry.

