
Featured image for how to string christmas light on fence
Image source: i1.wp.com
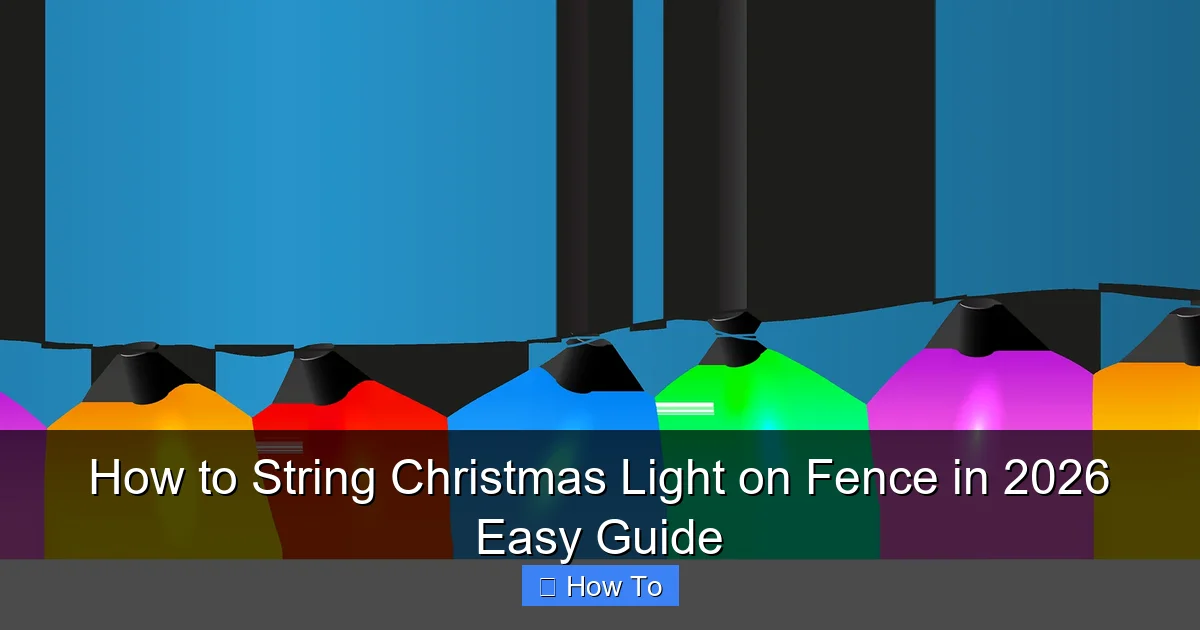
Stringing Christmas lights on a fence in 2026 is easier than ever with modern LED clips and smart lighting systems that simplify installation and enhance durability. Follow a step-by-step approach—measure, secure clips, and drape lights evenly— to create a dazzling, weather-resistant display that transforms your outdoor space with minimal effort.
How to String Christmas Light on Fence in 2026 Easy Guide
Key Takeaways
- Plan your layout: Sketch light placement to avoid gaps and ensure even coverage.
- Use fence clips: Secure lights with durable, non-damaging clips for easy installation.
- Measure first: Calculate total length needed to prevent mid-project shortages.
- Check power sources: Ensure outdoor-rated outlets and timers are safely accessible.
- Test before hanging: Verify lights work to avoid re-climbing ladders later.
- Weatherproof connections: Seal plugs with covers to protect from moisture and wind.
Why This Matters / Understanding the Problem
Every December, I stare at my backyard fence, wondering how to turn it from a plain wooden barrier into a glowing holiday centerpiece. I’ve seen neighbors with dazzling displays, but when I tried to copy them, I ended up with tangled lights, sagging strands, and a fence that looked more like a haunted house than a winter wonderland.
If you’re like me, you want that festive glow without the headache. You don’t need to be an electrician or a DIY expert to pull this off. With the right approach, how to string Christmas light on fence in 2026 easy guide can go from intimidating to enjoyable—even fun.
The key? Planning, the right tools, and a few clever tricks that save time and frustration. Whether your fence is wood, vinyl, chain-link, or metal, this guide walks you through the process step by step. No fluff, no overcomplicated jargon—just real, practical advice from someone who’s learned the hard way so you don’t have to.
By the end, you’ll know exactly how to hang lights securely, avoid common pitfalls, and create a display that makes your neighbors pause and say, “Wow, that looks amazing.”
Pro Insight: The biggest mistake most people make? Starting without a plan. Measure your fence, check your outlet access, and pick the right lights before you climb that ladder. Trust me—this saves hours of frustration.
What You Need
Before you dive in, gather your supplies. You don’t need a truckload of tools, but having the right ones makes a huge difference. Here’s your checklist:
Visual guide about how to string christmas light on fence
Image source: clipart-library.com
- Christmas lights (LED recommended—brighter, cooler, and energy-efficient)
- Measuring tape (to calculate length and spacing)
- Outdoor-rated extension cords (with built-in surge protection)
- Fence clips or hooks (choose based on your fence material—more on this below)
- Zip ties or twist ties (for securing and bundling)
- Ladder (stable, non-slip, and tall enough for your fence height)
- Timer or smart plug (to automate on/off times)
- Gloves (to protect your hands from splinters or sharp edges)
- Light tester or spare bulb (to troubleshoot before hanging)
- Optional: Light projector or net lights (for quick, even coverage)
When picking lights, think about your fence type. For example:
- Wooden fences: Use plastic or rubber-coated clips that grip the wood without nails.
- Vinyl/PVC fences: Use UV-resistant, non-marring clips to avoid cracking or discoloration.
- Chain-link fences: Twist ties or S-hooks work great—just avoid overloading.
- Metal fences: Magnetic clips or adhesive hooks (if the surface is smooth).
Warning: Never use nails, screws, or staples unless your fence is designed for it. They can damage the material, cause leaks (in vinyl), or create fire hazards. Safety first!
And remember: how to string Christmas light on fence in 2026 easy guide starts with smart prep. Buy a few extra clips—they’re cheap, and you’ll thank yourself later.
Step-by-Step Guide to How to String Christmas Light on Fence in 2026 Easy Guide
Step 1: Measure and Plan Your Layout
Grab your measuring tape and walk the entire fence line. Measure the total length in feet. Multiply by 1.5 to account for curves, corners, and spacing. This gives you a safe estimate for how many feet of lights you need.
Now, sketch a quick layout. Decide where you want the lights to start and end. Do you want:
- Straight lines along the top?
- Diagonal or zigzag patterns?
- Net lights for a full “wall of light” effect?
- Accent lighting on posts or gates?
Pro tip: Mark outlet locations with a small flag or tape. This helps you plan where to plug in and avoid long extension cords that create tripping hazards.
Personal Note: I once bought lights that were 10 feet short because I forgot to include the gate. Now I always add 15% extra—better safe than sorry!
Step 2: Test Your Lights Before Hanging
Unpack your lights and plug them in. Check for:
- Dead bulbs (use a light tester if you have one)
- Frayed wires or damaged plugs
- Flickering or inconsistent brightness
Replace any faulty strands. It’s much easier to fix them on the ground than halfway up a ladder.
If your lights are new, consider using LED. They last longer, use less energy, and stay cool—no risk of melting plastic clips or scorching wood.
This step is critical for a smooth how to string Christmas light on fence in 2026 easy guide experience. Don’t skip it!
Step 3: Choose the Right Mounting Method
Your fence material dictates how you attach the lights. Here’s what works best for each type:
- Wooden Fences: Use plastic fence clips (like the ones from LightKeeper Pro). They grip the wood without nails. Slide them under the top rail or into the gaps between boards.
- Vinyl/PVC Fences: Use UV-resistant, non-marring clips. Avoid adhesive hooks—they can leave residue or damage the finish over time.
- Chain-Link Fences: Use S-hooks or twist ties. Wrap lights around the mesh or run them along the top rail. S-hooks let you adjust spacing easily.
- Metal Fences: Use magnetic clips (if the surface is flat and magnetic) or adhesive hooks rated for outdoor metal.
For a clean look, space clips 6–12 inches apart. Closer spacing = more coverage; farther = a subtle glow.
Pro Insight: I love using zip ties on chain-link fences. Wrap the light strand around the mesh, then secure it with a zip tie every 8 inches. It’s fast, secure, and invisible from a distance.
Step 4: Start from the Power Source
Always begin hanging lights at the outlet. This ensures:
- No extension cords running across walkways
- Shorter wire runs (less voltage drop)
- Easier troubleshooting if a strand goes out
Plug in your first strand and secure it at the outlet point. Then, work outward—left or right—depending on your layout.
For longer fences, use multiple strands. Connect them with outdoor-rated extension cords, but never daisy-chain more than three strands unless they’re low-wattage LEDs. Overloading causes overheating and fire risks.
Use a timer or smart plug to automate your lights. Set them to turn on at dusk and off at 10 or 11 p.m. Saves energy and keeps the neighborhood happy.
Step 5: Hang the Lights Securely
Now the fun part—hanging! Here’s how to do it right:
- Attach your first clip at the starting point.
- Hang the light strand, letting it drape slightly (not tight).
- Move 6–12 inches down and add the next clip.
- Repeat until you reach the end.
For straight lines, keep the strand parallel to the fence. For patterns (zigzag, crisscross), mark your path with chalk or string before hanging.
If you’re using net lights, drape them over the top rail and secure the sides with clips or ties. Net lights cover large areas fast—perfect for full-fence coverage.
Warning: Don’t pull lights too tight. They’ll sag over time, especially in cold weather. A little slack prevents strain on the wires and clips.
Step 6: Handle Corners and Gates
Corners and gates are where most people mess up. Here’s how to handle them:
- Inside Corners: Run the strand along the top rail, then bend it 90 degrees. Use a clip at the bend to prevent sagging.
- Outside Corners: Let the strand curve naturally. Add a clip at the corner to keep it snug.
- Gates: Use a flexible conduit (like a plastic wire sleeve) to run lights across the hinge. Or, hang lights on the gate itself with removable clips. This lets the gate swing freely.
For double-sided fences (like a front yard), hang lights on both sides. Use a Y-splitter extension cord to power both sides from one outlet.
Step 7: Secure the Ends and Test Again
Once all lights are up, secure the end with a clip or zip tie. This prevents wind from whipping the strand and damaging connections.
Now, plug everything in and test. Look for:
- Bright, even lighting
- No flickering or dark spots
- Proper timer function
If a section isn’t working, unplug and check the connections. Loose plugs are the #1 culprit.
Step back and admire your work. If something looks off, adjust the clips or spacing. It’s easier to fix now than in January when the lights come down.
Step 8: Add Finishing Touches
Want to level up your display? Try these extras:
- Twinkle or color-changing lights: Mix in a few strands for dynamic effects.
- Light projectors: Shine snowflakes or stars onto the fence from a nearby post.
- Garland or wreaths: Hang them on posts for a classic touch.
- Outdoor-safe ornaments: Use plastic or metal decorations—no glass!
For a modern look, try icicle lights draped over the top rail. They create a soft, cascading glow.
Personal Note: Last year, I added a light projector with snowflakes. My kids loved it, and it took less than 10 minutes to set up. Sometimes, less is more!
Pro Tips & Common Mistakes to Avoid
After years of trial and error, here’s what I’ve learned—the hard way.
1. Don’t overload your outlets. Most outdoor outlets can handle 15 amps. LED lights use about 0.1 amps per 100 feet. So, 3,000 feet of LED = 3 amps. Add a heater or inflatables, and you’re risking a trip.
2. Use outdoor-rated everything. Indoor lights, cords, and plugs will fail fast in rain or snow. Look for “wet-rated” or “outdoor use” labels.
3. Avoid staples or nails. They damage fences, create fire hazards, and make removal a nightmare. Clips are faster, safer, and reusable.
4. Plan for removal. Hang lights so you can take them down easily. Use clips that release with a twist, not glue. Store lights in labeled bins—no tangles next year!
5. Watch the weather. If a storm’s coming, unplug your lights. High winds can tear strands or knock over ladders. Better safe than sorry.
6. Light spacing matters. Too close = harsh glare. Too far = patchy glow. 6–12 inches is ideal for most fences.
7. Use a timer. No one wants to remember to turn off the lights at midnight. A $10 timer saves energy and stress.
Pro Insight: I once left my lights on for three days straight. The electric bill was a wake-up call. Now, I use a smart plug with a schedule. Problem solved!
And one last tip: how to string Christmas light on fence in 2026 easy guide isn’t just about looks. It’s about safety, efficiency, and creating a display you’re proud of. Take your time, do it right, and enjoy the process.
FAQs About How to String Christmas Light on Fence in 2026 Easy Guide
Q: Can I leave Christmas lights on my fence all year?
Nope—and you shouldn’t. Even LED lights degrade over time, and outdoor exposure (sun, rain, wind) wears them down. Take them down in January and store them in a dry place. They’ll last longer and work better next season.
Q: What if my fence is too tall for a regular ladder?
Use an extension ladder with stabilizers, or rent a small scaffold. Never stand on the top two rungs—it’s a fall risk. If your fence is over 8 feet, consider hiring a pro or using a light projector instead.
Q: Can I use adhesive hooks on my vinyl fence?
It’s risky. Most adhesives degrade in UV light, and removal can leave sticky residue or damage the surface. Use UV-resistant plastic clips instead. They’re designed for vinyl and won’t harm the fence.
Q: How do I prevent lights from sagging?
Use clips every 6–12 inches and leave a little slack—but not too much. For long runs, add a support wire (like a thin metal rod) under the lights and clip both to the fence. It’s like a mini clothesline for your lights!
Q: What’s the best type of lights for a chain-link fence?
Twist ties or S-hooks work best. Wrap the strand around the mesh, then secure it every 8–12 inches. Net lights also look great—they cover the whole fence in one go.
Q: Can I use solar-powered lights?
Yes, but with caveats. Solar lights need direct sunlight to charge. If your fence is in shade, they’ll be dim or won’t turn on. Use them for accent lighting, not full coverage.
Q: How do I store my lights after the holidays?
Coil them loosely (don’t pull tight), then place in a breathable bag or bin. Label each strand by location (“front fence,” “gate,” etc.). Store in a cool, dry place—no attics or damp basements. This prevents tangles and corrosion.
Final Thoughts
Stringing Christmas lights on your fence doesn’t have to be a chore. With the right tools, a little planning, and the steps in this how to string Christmas light on fence in 2026 easy guide, you can create a display that’s safe, stunning, and stress-free.
Start by measuring your fence, testing your lights, and choosing the right clips. Hang them securely, handle corners with care, and always test before calling it a day. Add a timer, and you’ll enjoy your lights all season—without lifting a finger.
Remember: It’s not about perfection. It’s about creating a little magic. Whether you go all-out or keep it simple, the joy is in the doing.
So grab your ladder, put on your gloves, and get started. Your backyard is about to shine.
And when your neighbors stop to admire your handiwork, you can smile and say, “It was easier than I thought.”
Happy lighting!

