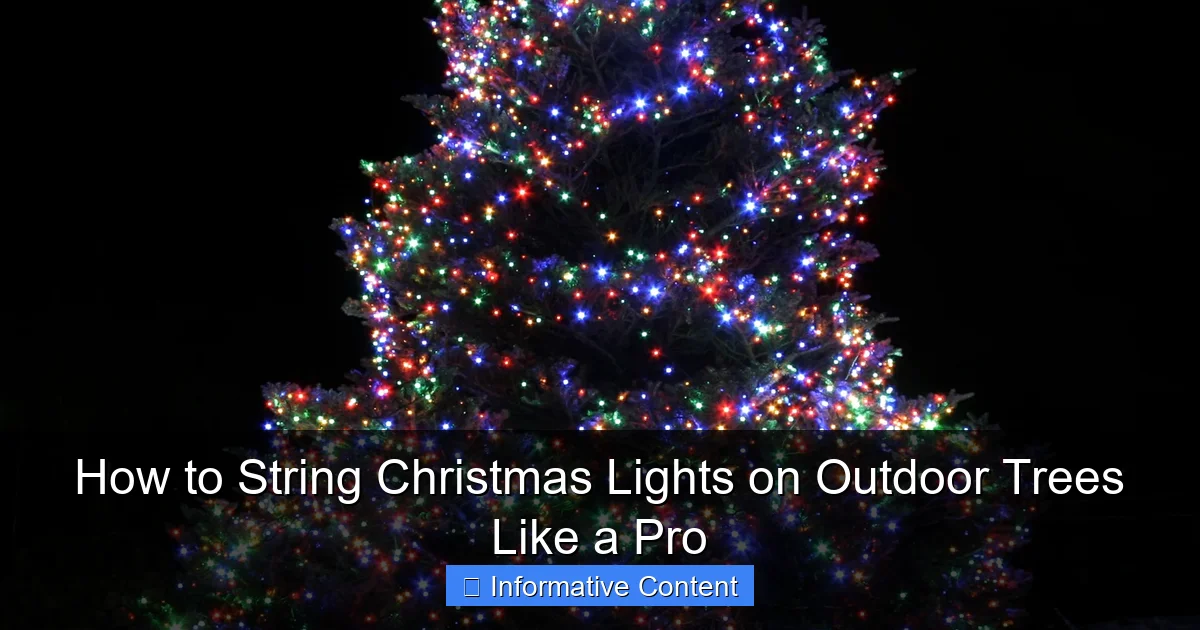
Featured image for how to string christmas lights on outdoor trees
Image source: warisanlighting.com
Start by choosing durable, weather-resistant LED Christmas lights to ensure safety and longevity when decorating outdoor trees. Wrap lights evenly from the trunk outward, working in a spiral pattern around branches for a professional, balanced look that highlights the tree’s natural shape—no tangled mess or dark spots.
Key Takeaways
- Plan your design first: Sketch light placement to avoid gaps and ensure even coverage.
- Use outdoor-rated lights: Choose weatherproof, LED lights for safety and longevity.
- Start at the base: Work upward from the trunk for a balanced, professional look.
- Secure with clips, not nails: Prevent damage by using insulated light clips or zip ties.
- Test lights before hanging: Check functionality to avoid mid-installation surprises or rework.
- Layer lights strategically: Combine trunk, branch, and canopy lighting for depth and dimension.
📑 Table of Contents
- Why Lighting Up Your Outdoor Trees Matters
- Plan Your Lighting Design Before You Start
- Choose the Right Christmas Lights for Outdoor Trees
- Gather the Right Tools and Safety Gear
- Step-by-Step: How to String the Lights
- Maintain and Remove Lights Safely
- Bonus: Troubleshooting Common Issues
- Final Thoughts: Make It Your Own
Why Lighting Up Your Outdoor Trees Matters
There’s something magical about stepping outside on a crisp winter evening and seeing your trees glowing with twinkling Christmas lights. It’s not just about holiday cheer—it’s about transforming your yard into a warm, welcoming space that feels like a winter wonderland. Whether you’re hosting a festive gathering or simply enjoying the quiet of a snowy night, properly strung outdoor tree lights can elevate your entire outdoor experience.
I remember my first attempt at lighting our backyard oak tree. I thought I could just wrap the lights around the trunk and call it a day. Spoiler: it looked more like a tangled mess than a holiday spectacle. After a few frustrating hours, a broken ladder, and a near-electrocution (okay, maybe that’s dramatic), I learned that there’s a right way to string Christmas lights on outdoor trees—and it’s not just about plugging in and hoping for the best.
Plan Your Lighting Design Before You Start
Before you even touch a strand of lights, take a step back and plan. A little prep work goes a long way in avoiding frustration and wasted time. Think of this like sketching a blueprint before building a house—except this house is made of twinkling lights and holiday joy.
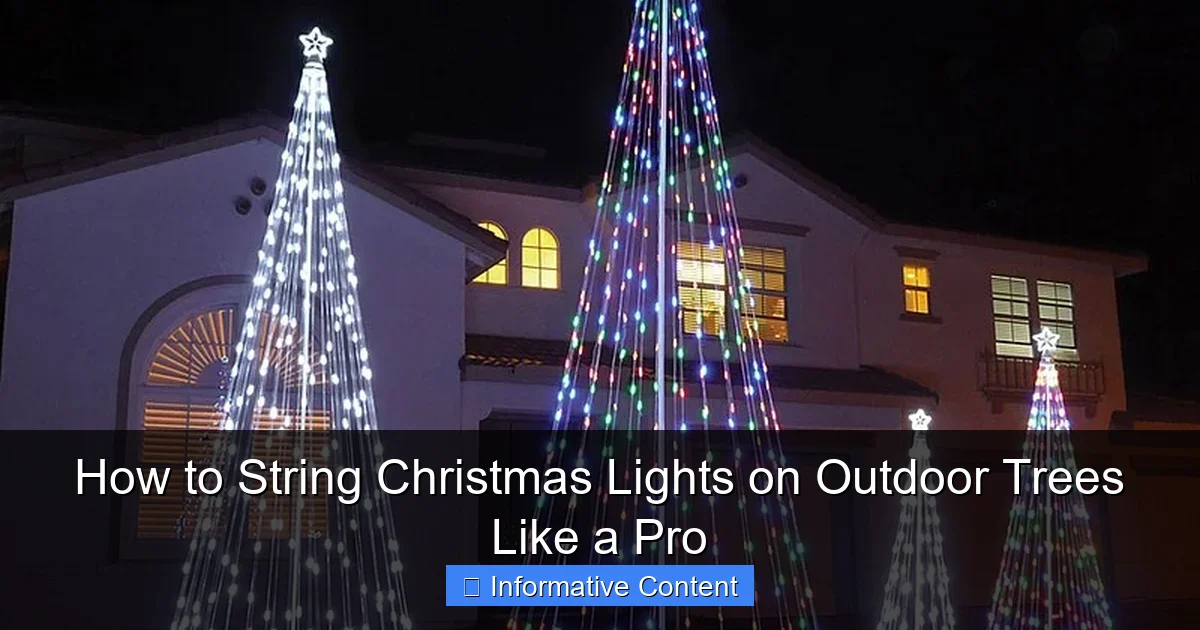
Visual guide about how to string christmas lights on outdoor trees
Image source: homebrite.com
Assess Your Tree’s Structure
Start by walking around your tree and observing its shape, height, and branch layout. Is it a tall, narrow pine? A wide-spreading maple? Or a multi-trunked birch? Each tree type requires a slightly different approach.
- Tall, narrow trees (like pines or firs): Focus on vertical lighting from top to bottom. Avoid overloading the sides.
- Wide, spreading trees (like oaks or maples): Use a combination of vertical and horizontal runs to fill space.
- Multi-trunk trees: Light each trunk separately, then connect them with horizontal strands across the canopy.
Pro tip: Take photos from different angles. This helps you visualize the final look and spot any “dark zones” you might miss in person.
Decide on a Lighting Style
Not all light displays are created equal. Your choice of style will affect how many lights you need and how you install them. Here are a few popular options:
- Wrap-around (trunk & branches): Classic and cozy. Great for smaller trees. Wrap lights around trunks and main branches.
- Vertical strands (up and down): Modern and clean. Run lights straight from the base to the top, spaced evenly.
- Canopy netting: Covers the entire top section like a blanket. Best for wide trees with dense branches.
- Spotlight effect: Use focused LED spotlights at the base to illuminate the canopy from below. Dramatic and low-effort.
For most homeowners, I recommend starting with a combination of vertical and wrap-around. It’s visually balanced and easier to manage than trying to cover every inch.
Measure and Calculate Light Needs
Don’t guess how many lights you need. Measure your tree’s height and canopy width. A good rule of thumb:
- Vertical lighting: Use 100 lights per foot of tree height (e.g., a 15-foot tree needs ~1,500 lights).
- Trunk wrapping: Use 20–30 lights per inch of trunk diameter (e.g., a 12-inch trunk needs ~240–360 lights).
- Canopy coverage: Use net lights at a rate of one 4×6 ft net per 3 feet of canopy diameter.
Always buy 10–15% extra. Lights break, strands get tangled, and you’ll want spares for repairs.
Choose the Right Christmas Lights for Outdoor Trees
Not all lights are built for the outdoors. Picking the right type can mean the difference between a dazzling display and a soggy, flickering mess by December 15th.
LED vs. Incandescent: The Great Debate
LED lights are the clear winner for outdoor use. Here’s why:
- Energy efficient: Use up to 80% less power than incandescent.
- Durable: Resistant to cold, wind, and moisture.
- Long-lasting: Last 25,000–50,000 hours (vs. 1,000–2,000 for incandescent).
- Safer: Don’t get hot, reducing fire risk.
Yes, LEDs cost more upfront. But over 5–10 holiday seasons, they’ll save you money on electricity and replacements. Plus, they come in warm white, cool white, multi-color, and even color-changing options.
Look for Outdoor-Specific Features
When shopping, check for:
- Weatherproof rating: Look for IP44 or higher (protects against rain and snow).
- UV-resistant wire: Prevents yellowing and cracking from sun exposure.
- Low-voltage or 120V outdoor-rated: 120V is standard for most homes. Low-voltage (24V) is safer but requires a transformer.
- End-to-end connectors: Allows you to link multiple strands safely.
Avoid indoor-only lights. They’ll fail in cold or wet conditions and could be a safety hazard.
Specialty Lights for Unique Effects
Want to go beyond basic strands? Consider:
- Net lights: Pre-arranged grids that drape over branches. Great for canopies.
- Twinkle or chasing lights: Add motion and sparkle. Use sparingly—too much can look chaotic.
- RGB color-changing LEDs: Control colors via remote or app. Fun for themed displays.
- Fairy lights (micro LEDs): Delicate and magical. Best for small branches or accent lighting.
Example: For my 12-foot maple, I use 3 strands of warm white LED net lights on the canopy, 2 vertical strands of twinkle lights, and a trunk wrap with solid white LEDs. The mix feels festive without being overwhelming.
Gather the Right Tools and Safety Gear
You wouldn’t build a shed without a hammer, right? Same goes for tree lighting. The right tools make the job safer, faster, and less stressful.
Essential Tools
- Extension ladder: Choose a sturdy, non-conductive fiberglass model. Ensure it reaches at least 2–3 feet above the highest point you need to access.
- Light clips or hooks: Use outdoor-rated light clips (not nails or staples). They grip branches without damage and won’t rust.
- Light-hanging pole: A telescoping pole with a hook attachment. Saves you from climbing the ladder for every strand.
- Extension cords: Use outdoor-rated, GFCI-protected cords. Keep them off the ground to avoid water damage.
- Timer or smart plug: Automate on/off times. Saves energy and hassle.
- Gloves: Thick, grippy gloves protect your hands from cold, bark, and sharp branches.
Safety First: Avoid Common Hazards
Outdoor lighting isn’t without risks. Follow these tips:
- Never work in wet or icy conditions. Slips and falls are the #1 cause of holiday decorating injuries.
- Use a spotter. Have someone hold the ladder and hand you tools.
- Check for power lines. Keep lights, ladders, and tools at least 10 feet from overhead wires.
- Don’t overload circuits. Most outdoor outlets handle 10–15 amps. A typical LED strand uses 0.2–0.5 amps. Use a circuit calculator to avoid tripping breakers.
- Inspect lights before use. Look for frayed wires, broken sockets, or damaged plugs. Discard damaged strands.
True story: My neighbor once used metal hooks on a tree near a power line. A gust of wind knocked a hook into the line—sparks flew, and the whole block lost power. Not fun. Use plastic clips and stay clear of wires.
Prep Your Lights Before Installation
Unpack and test all light strands indoors. Plug them in to check for dead bulbs or faulty circuits. Replace any bad bulbs with spare fuses (included with most sets). This saves you from discovering a broken strand halfway up the tree.
Also, lay out your lights on the ground and untangle them. Nothing’s worse than wrestling a knotted mess while balancing on a ladder.
Step-by-Step: How to String the Lights
Now for the main event. Follow these steps for a pro-quality installation.
Step 1: Start at the Top (or Bottom?)
There’s debate about whether to start at the top or bottom. I recommend starting at the top for vertical strands. Why? Gravity helps. You can drape lights downward without fighting tension.
- Climb the ladder with your light-hanging pole.
- Attach the first clip near the tree’s highest point.
- Let the strand hang down, unspooling as you go.
For trunk wrapping, start at the base. Wrap lights in a spiral, moving upward every 6–12 inches. Keep tension even—don’t pull too tight or let it sag.
Step 2: Work in Sections
Divide the tree into manageable zones:
- Trunk: Wrap from base to first major branches.
- Primary branches: Run lights along each major limb, from trunk to tip.
- Canopy: Drape net lights or weave strands through outer branches.
Example: For a 20-foot pine, I’ll do the trunk first, then the 4 main branches, then the canopy. Each section takes 15–20 minutes.
Step 3: Secure Lights Properly
Use clips every 8–12 inches. Don’t rely on the lights’ own weight—wind can pull them loose.
- Clip to the underside of branches. This hides the wires and protects them from rain.
- For vertical runs, clip every few feet to prevent sagging.
- For wrapping, clip at the start and end of each spiral loop.
Pro tip: Use different-colored clips (e.g., green for trunk, red for branches) to keep track of sections during troubleshooting.
Step 4: Connect Strands Safely
When linking strands:
- Use outdoor-rated extension cords or end-to-end connectors.
- Keep connections off the ground. Tape them to a branch or hang them in a waterproof bag.
- Limit connections to 3–4 strands per circuit to avoid overload.
For long runs, use a power strip with a weatherproof cover mounted on the tree or a nearby post.
Step 5: Fill Gaps and Adjust
Step back and inspect. Look for:
- Dark spots: Add extra strands or clips.
- Sagging lights: Re-secure with clips.
- Overcrowding: Remove excess strands if the tree looks “busy.”
Adjust clips as needed. It’s easier to fix now than in January.
Maintain and Remove Lights Safely
Your work isn’t over after the holidays. Proper maintenance and removal prevent damage and save time next year.
Winter Maintenance Tips
- Check weekly: Look for loose clips, broken bulbs, or water in connections.
- Clear snow: Gently brush snow off branches to prevent breakage and keep lights visible.
- Use a timer: Set lights to turn off at 10 PM or midnight to save energy and extend bulb life.
- Inspect after storms: High winds can knock clips loose. Re-secure as needed.
How to Remove Lights Without Damage
Don’t just yank them off. Follow these steps:
- Unplug and power down: Safety first.
- Remove clips carefully: Gently unhook—don’t pry.
- Unwind in reverse order: Start at the top, work downward.
- Coil lights properly: Use the “over-under” method to prevent tangles.
- Store in labeled bins: Keep clips, timers, and extra bulbs together.
Pro tip: Wrap lights around a cardboard rectangle or a dedicated storage reel. No more “light spaghetti” in January.
Tree Health Considerations
Don’t harm your tree for holiday cheer:
- Never use nails or staples. They create entry points for disease.
- Don’t leave lights on year-round. They block sunlight and can girdle branches.
- Remove lights by late January. Even LED heat can stress trees in spring.
Example: My neighbor left lights on their birch tree until March. By summer, the bark had cracked where the clips were. Not cool for the tree.
Bonus: Troubleshooting Common Issues
Even pros run into problems. Here’s how to fix the most common ones.
| Issue | Likely Cause | Solution |
|---|---|---|
| Whole strand is dark | Blown fuse or loose plug | Check plug connections. Replace fuses (usually in the plug). |
| Half the strand is out | Broken bulb or wire | Replace bulbs. If still out, cut and splice the strand (use outdoor-rated connectors). |
| Lights flicker | Loose connection or moisture | Check all plugs and clips. Dry connections with a hair dryer. |
| Lights too dim | Too many strands on one circuit | Split strands onto separate circuits. Use a higher-wattage transformer for low-voltage lights. |
| Clips won’t stay on | Wrong clip type or branch size | Use larger clips for thick branches. For smooth bark, try adhesive clips. |
Remember: Most issues can be fixed without removing the entire display. Carry a small toolkit (spare bulbs, fuses, clips) for quick repairs.
Final Thoughts: Make It Your Own
Stringing Christmas lights on outdoor trees isn’t just a chore—it’s a chance to create something beautiful. Whether you prefer classic white lights, bold colors, or a minimalist glow, the process should be enjoyable. Take your time, involve family or friends, and don’t stress about perfection.
I still remember the year my kids helped me light our maple. We wrapped the trunk together, laughed when the ladder wobbled, and cheered when we plugged it in. It wasn’t the most symmetrical display, but it was ours—and that’s what matters.
So grab your lights, plan your design, and light up your trees like a pro. Your yard (and your neighbors) will thank you. And who knows? Maybe next year, you’ll be the one giving how to string Christmas lights on outdoor trees tips to a friend.
Frequently Asked Questions
How do I choose the right type of Christmas lights for outdoor trees?
Opt for LED lights labeled for outdoor use, as they’re weather-resistant and energy-efficient. Consider the tree’s size and shape when selecting light strand length and bulb spacing to ensure even coverage.
What’s the best way to string Christmas lights on tall outdoor trees?
Use a sturdy ladder or light-hanging pole for hard-to-reach areas, and wrap lights in a spiral or zigzag pattern from trunk to branches. For large trees, work in sections and connect strands with outdoor-rated extension cords.
How many light strands do I need for my outdoor tree?
Measure the tree’s height and circumference—plan for 100 lights per 1 foot of tree height as a general rule. For fuller coverage, especially on dense trees, add 20-30% more strands.
Can I use regular indoor lights for outdoor trees?
No, indoor lights lack weatherproofing and can become a fire hazard. Always use outdoor-rated Christmas lights designed to withstand rain, snow, and temperature changes.
How do I secure Christmas lights without damaging the tree?
Use plastic clips or zip ties designed for holiday lights instead of nails or staples. These gently grip branches and bark without harming the tree’s growth or structure.
When should I take down outdoor Christmas lights?
Remove lights by mid-January to prevent damage from winter storms or overheating if left on too long. Store them properly to avoid tangles and extend their lifespan for next season.

