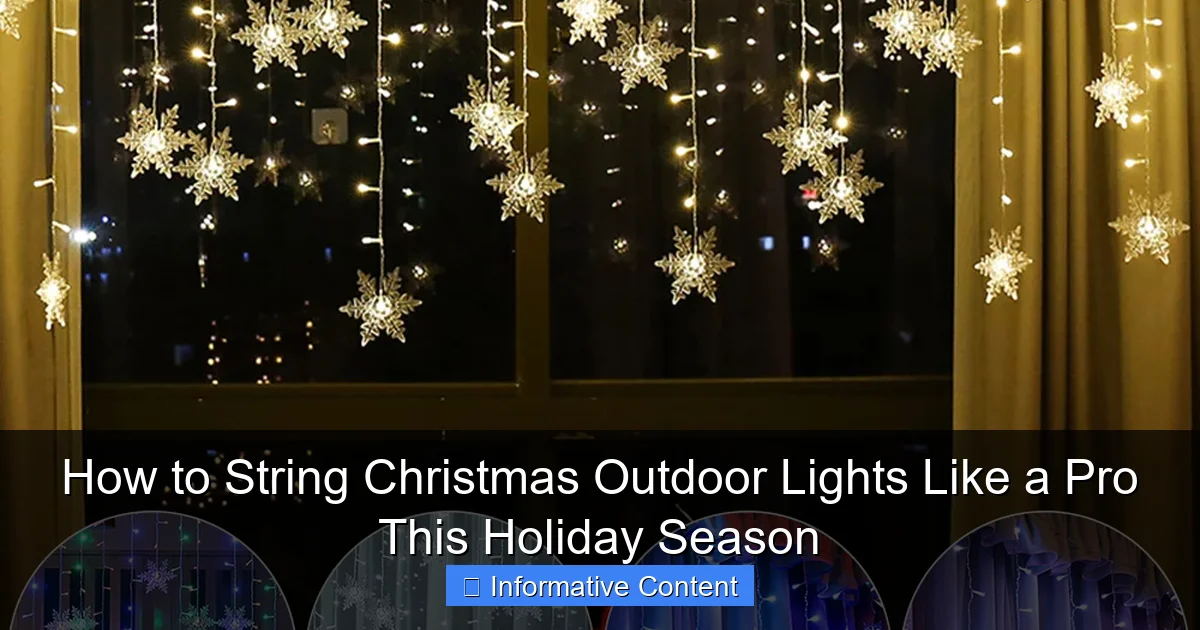
Featured image for how to string christmas outdoor lights
Image source: i5.walmartimages.com
Plan your layout and measure your space first to ensure a seamless, professional look when stringing Christmas outdoor lights. Use durable, outdoor-rated lights and secure them with proper clips or hooks—never nails or staples—to protect wires and maintain a clean appearance. With thoughtful spacing and layering, you’ll create a dazzling display that’s safe, long-lasting, and holiday-ready.
Key Takeaways
- Plan your layout: Sketch your design before hanging lights to avoid mistakes.
- Use LED lights: They’re energy-efficient, durable, and safer for outdoor use.
- Secure with clips: Avoid nails or staples—use light clips for damage-free installation.
- Check connections: Test lights and inspect wires before climbing ladders or rooftops.
- Layer lighting: Combine string, net, and icicle lights for a professional look.
- Weatherproof everything: Use outdoor-rated extension cords and seal connections from moisture.
- Time it right: Set a timer to automatically turn lights on and off nightly.
📑 Table of Contents
- How to String Christmas Outdoor Lights Like a Pro This Holiday Season
- Plan Your Design Like a Pro (Before You Even Touch a Light)
- Choose the Right Lights and Tools for a Stress-Free Setup
- Install Lights Safely and Securely (No More Falling Strands!)
- Master the Art of Wrapping and Draping (No More Messy Lights)
- Test, Maintain, and Store Lights Like a Pro (So They Last for Years)
- Bonus Tips for a Show-Stopping Display (That Neighbors Will Love)
How to String Christmas Outdoor Lights Like a Pro This Holiday Season
Every year, as the days get shorter and the air turns crisp, I start dreaming of twinkling lights draped over rooftops, wrapped around trees, and glowing along my porch. There’s something magical about driving through a neighborhood where every house is lit up—like stepping into a holiday movie. But let’s be real: stringing outdoor Christmas lights can quickly go from festive to frustrating if you’re not prepared.
I’ve been there—ladder wobbling, tangled wires, a single burnt-out bulb ruining an entire strand. One year, I spent two hours trying to untangle a mess of lights that looked like a spider’s web. Another time, I forgot to check the weather and ended up soaked while hanging icicle lights. But after years of trial, error, and a few hard-earned lessons, I’ve learned how to string Christmas outdoor lights like a pro—quickly, safely, and with results that earn compliments from neighbors.
If you’re ready to transform your home into a winter wonderland without the stress, this guide is for you. Whether you’re a first-timer or a seasoned decorator, I’ll walk you through every step—from planning your layout to safely storing your lights after the holidays. Let’s make this year the easiest, brightest, and most beautiful holiday season yet.
Plan Your Design Like a Pro (Before You Even Touch a Light)
Before you grab a ladder and start wrapping lights around your roofline, take a breath. The secret to stunning outdoor Christmas lights starts long before you plug anything in. A little planning now saves hours of frustration later. Think of this as your blueprint—the foundation of a dazzling display.
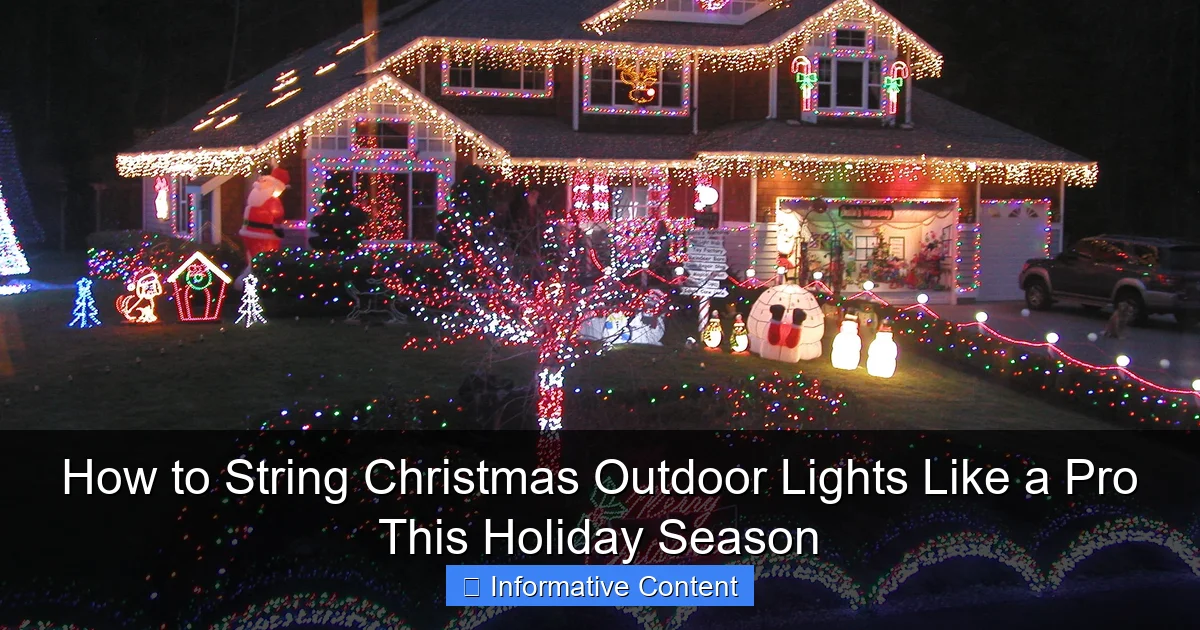
Visual guide about how to string christmas outdoor lights
Image source: warisanlighting.com
Sketch Your Layout on Paper (Or Use a Digital Tool)
Grab a piece of paper or use a free app like SketchUp Free or even Google Drawings. Sketch your home’s front view, including the roofline, windows, doors, trees, and shrubs. Then, decide where you want lights:
- Roofline (eaves and peaks) – Creates a classic, clean look
- Windows and doors – Adds symmetry and warmth
- Trees and shrubs – Brings depth and dimension
- Pathways and railings – Guides guests and adds safety
- Garage and fence – Extends the glow beyond the house
Pro tip: Use different colors or symbols for each type of lighting. For example, draw wavy lines for roofline lights, dots for tree wrap, and straight lines for pathways. This visual guide helps you estimate how many strands you’ll need.
Measure Everything (Yes, Even That Tiny Bush)
Grab a long measuring tape and measure:
- The length of your roofline (add 10% extra for peaks and curves)
- Window and door frames
- Tree trunks and branches (for wrapping)
- Pathway or railing length
Example: My house has a 40-foot front roofline. I add 4 feet for peaks and curves, so I need at least 44 feet of roofline lights. I also have two 5-foot-tall trees—each needs about 15 feet of lights wrapped around the trunk (more on that later).
Keep a notebook or use your phone to jot down measurements. This prevents last-minute trips to the store.
Decide on Lighting Style and Color Scheme
Your style sets the mood:
- Classic white – Elegant, timeless, works with any home style
- Multi-color – Playful, fun, great for families with kids
- Themed (e.g., blue and white for a winter wonderland) – Unique and memorable
- Warm white with colored accents – Cozy with a pop of personality
I usually go with warm white on the house and add multi-color strands on trees for contrast. It feels festive without being overwhelming.
Pro tip: Stick to one or two main colors. Too many can look chaotic. Use accent lights (like red on a wreath or blue on a mailbox) to add flair without clashing.
Choose the Right Lights and Tools for a Stress-Free Setup
Not all Christmas lights are created equal. Picking the wrong type can mean flickering strands, short circuits, or lights that burn out in a week. Let’s break down what to look for—and what tools will make the job easier.
Pick the Right Type of Lights
Here’s a quick guide to the most popular outdoor options:
| Light Type | Best For | Pros | Cons |
|---|---|---|---|
| LED String Lights | Roofline, windows, trees | Energy-efficient, long-lasting, cool to touch, low heat | Higher upfront cost (but pays off over time) |
| Incandescent String Lights | Smaller displays, budget setups | Cheaper upfront, warm glow | Uses more energy, bulbs burn out faster, gets hot |
| Icicle Lights | Eaves, gutters, porch ceilings | Creates a “frozen waterfall” effect, great for depth | Can look messy if hung poorly, heavier strands |
| Net Lights | Bushes, hedges, railings | Easy to drape, even coverage, fast setup | Less flexible for unique shapes |
| Mini Lights (on green wire) | Wrapping trees, columns, small areas | Flexible, blends with foliage, subtle glow | Can be tricky to wrap evenly |
I switched to LED lights a few years ago, and it was the best decision. They last 10+ years, use 80% less energy, and don’t melt snow or damage gutters. Yes, they cost more upfront—but I’ve saved money on replacements and electricity.
Essential Tools and Supplies
Here’s what you’ll need (most you probably already own):
- Ladder – Choose one that reaches at least 3 feet above your work height. I use a 6-foot step ladder for eaves and a 12-foot extension for peaks.
- Outdoor-rated extension cords – Look for “UL Listed” and “Wet Location” on the label. I keep a 50-foot cord on hand.
- Timer or smart plug – Automatically turns lights on at dusk and off at bedtime. No more remembering to plug/unplug!
- Light clips or hooks – Roofline clips, gutter hooks, and shingle tabs (more on these later).
- Zip ties (outdoor-rated) – For securing lights to railings, trees, or fences.
- Gloves – Protects hands from sharp edges and cold metal.
- Light tester – A $10 tool that finds burnt-out bulbs or broken strands fast.
Pro tip: Buy lights in bulk from stores like Costco or Home Depot during Black Friday. I stock up on LED strands every year and save 30–50%.
Install Lights Safely and Securely (No More Falling Strands!)
This is where most people go wrong. Haphazard hanging leads to loose lights, sagging wires, and even electrical hazards. Let’s do it right—safely, neatly, and so it stays put all season.
Use the Right Clips for Each Surface
Don’t just tape or nail lights—use purpose-made clips:
- Roofline clips – Snap over shingles or attach to gutters. They grip tight without damaging your roof. I use Christmas Light Clips (about $10 for 50 clips).
- Gutter hooks – Hang icicle lights from gutter edges. They’re lightweight and won’t bend gutters.
- Shingle tabs – For asphalt roofs. Slide under shingles and hold lights with a small hook.
- Adhesive clips – For smooth surfaces like windows or siding (use outdoor-rated glue).
Pro tip: Space clips every 6–8 inches along the roofline. For peaks, use a clip at the top and every 4 feet down each side. This keeps lights straight and prevents sagging.
Hang Lights in the Right Order
Always work from the bottom up and inside out:
- Start with pathways and railings (ground level, easy access).
- Move to windows and doors (use adhesive clips or tape).
- Then trees and shrubs (wrap or drape net lights).
- Finally, roofline and peaks (ladder work—safest last).
Why? If you start with the roof, you might step on lights while working on lower areas. I learned this the hard way when I broke a strand while adjusting a window light.
Secure Connections and Prevent Tripping Hazards
Outdoor lights face wind, rain, and snow. Keep them safe:
- Use outdoor-rated extension cords—indoor cords can short-circuit.
- Plug connections into a covered outlet—use a weatherproof outlet cover or tape the plug with electrical tape.
- Elevate cords off the ground—run them under bushes or use cord clips. Never leave cords in driveways or walkways.
- Use a timer—reduces fire risk and saves energy. I use a simple dusk-to-dawn timer (about $15).
Pro tip: Test each strand before hanging. Plug it in, check for dead bulbs, and fix any issues on the ground. Nothing worse than climbing a ladder to find a broken light!
Master the Art of Wrapping and Draping (No More Messy Lights)
Wrapping trees and draping lights on bushes can look stunning—or like a tangled mess. Here’s how to do it right.
How to Wrap a Tree Like a Pro
For small to medium trees (up to 10 feet tall):
- Start at the base. Wrap the first 2–3 feet of lights around the trunk.
- Use zip ties every 12 inches to secure the strand. Don’t tie too tight—tree bark can expand.
- Move upward in a spiral, spacing wraps 6–8 inches apart. Keep the strand taut but not stretched.
- At the top, run the strand down a main branch and secure with another zip tie.
- Plug in and check for even glow. Adjust any loose areas.
For large trees: Use net lights instead. Drape them over the canopy and secure with zip ties. It’s faster and gives even coverage.
Pro tip: Use green wire lights for a natural look. They blend with leaves and bark, so the focus is on the glow, not the wire.
Drape Lights on Shrubs and Bushes
Net lights are your best friend here. But if you’re using string lights:
- Start at the top of the bush.
- Drape strands in a zigzag pattern—up one side, down the other.
- Secure with zip ties or garden clips every 12–18 inches.
- Keep lights off the ground to avoid snow and moisture.
I use white net lights on my boxwoods. They look like a dusting of snow at night—so elegant!
Add Depth with Layered Lighting
Don’t just light the front—create depth:
- Place spotlights behind trees to cast shadows on the house.
- Use pathway lights to guide guests to the door.
- Add wreath or garland lights on the front door.
My favorite trick? I run a strand of warm white lights along the edge of my driveway. It looks magical when cars pull up.
Test, Maintain, and Store Lights Like a Pro (So They Last for Years)
You’ve hung the lights—now keep them shining all season. And when January comes, store them right so they’re ready next year.
Test Every Light and Connection
Plug everything in and check:
- Are all bulbs working?
- Are connections secure?
- Does the timer turn lights on/off at the right time?
Use a light tester to find dead bulbs. Most LED strands have “shunt” technology—if one bulb burns out, the rest stay on. But a tester pinpoints the issue fast.
Pro tip: Keep a spare bulb or two (check the box for part numbers). I always have a few extras in my holiday storage bin.
Maintain Throughout the Season
Winter weather can take a toll:
- Check after storms—snow or wind might dislodge clips.
- Clear snow from lights—use a soft broom or leaf blower. Never use a shovel or ice scraper.
- Inspect cords weekly—look for fraying or exposed wires.
I set a phone reminder every Sunday to do a quick walkaround. It takes 5 minutes and prevents big issues.
Store Lights Properly (No More Tangles!)
January is the perfect time to organize. Here’s how:
- Unplug and remove all lights (don’t leave them up).
- Coil each strand around a piece of cardboard or a light reel. I cut cardboard into 12-inch strips and wrap lights around them.
- Label each coil with its location (e.g., “Front Roofline” or “Pine Tree”).
- Store in a cool, dry place—avoid attics or damp basements.
- Keep clips, timers, and extra bulbs in a labeled bin.
Pro tip: Use clear plastic bins so you can see what’s inside. I stack mine in the garage—easy to grab next year.
Bonus Tips for a Show-Stopping Display (That Neighbors Will Love)
Ready to take your lights to the next level? Here are my favorite pro tips:
Use a Smart Plug for Voice Control
I use a smart plug with Alexa. I can say, “Alexa, turn on the Christmas lights” or schedule them to turn on at sunset. It’s a game-changer—especially when you’re cozy on the couch.
Add a Timer with a Fade Feature
Some timers slowly turn lights on and off. It looks like the house is “waking up” and “going to sleep”—so magical!
Mix Light Types for Dimension
Try warm white on the roofline, blue icicle lights on the eaves, and multi-color on the trees. The contrast adds depth without clashing.
Light the Backyard Too
Don’t forget the patio or deck. String lights over a pergola or wrap them around railings. It extends the festive vibe to your outdoor space.
Involve the Family
Make it a tradition. I invite my kids to help wrap the trees. We play holiday music, drink cocoa, and laugh. The lights look better—and the memories are priceless.
Stringing Christmas outdoor lights doesn’t have to be a chore. With the right plan, tools, and a little patience, you can create a display that’s safe, stunning, and stress-free. This year, focus on the joy—not the hassle. Light up your home, share the magic with your neighbors, and enjoy the season to the fullest. Happy decorating!
Frequently Asked Questions
How do I choose the right outdoor Christmas lights for my home?
When selecting outdoor Christmas lights, consider LED options for energy efficiency and durability. Make sure they’re rated for outdoor use and match your desired color scheme or theme.
What’s the safest way to hang Christmas lights on my roof?
Use plastic light clips or gutter hooks designed for outdoor lights to avoid damaging shingles or gutters. Always use a sturdy ladder with a spotter and turn off power before installing near outlets.
How do I string Christmas outdoor lights without tangling them?
Unroll lights completely before hanging and test each strand to ensure all bulbs work. Work in sections, draping loops over a hook or railing as you go to keep them tangle-free.
Can I connect multiple strands of outdoor Christmas lights together?
Yes, but check the manufacturer’s guidelines for maximum connected strands to avoid overloading circuits. LED lights typically allow more connections than incandescent ones.
How far should outdoor lights be spaced for even coverage?
Space lights 6–12 inches apart for optimal brightness without overcrowding. For rooflines, follow the natural architectural lines, adjusting spacing for corners and peaks.
How do I store Christmas outdoor lights to prevent damage?
Coil lights around cardboard or a reel, then place them in a sealed container with silica gel packs to prevent moisture and tangling. Store in a cool, dry place until next season.

