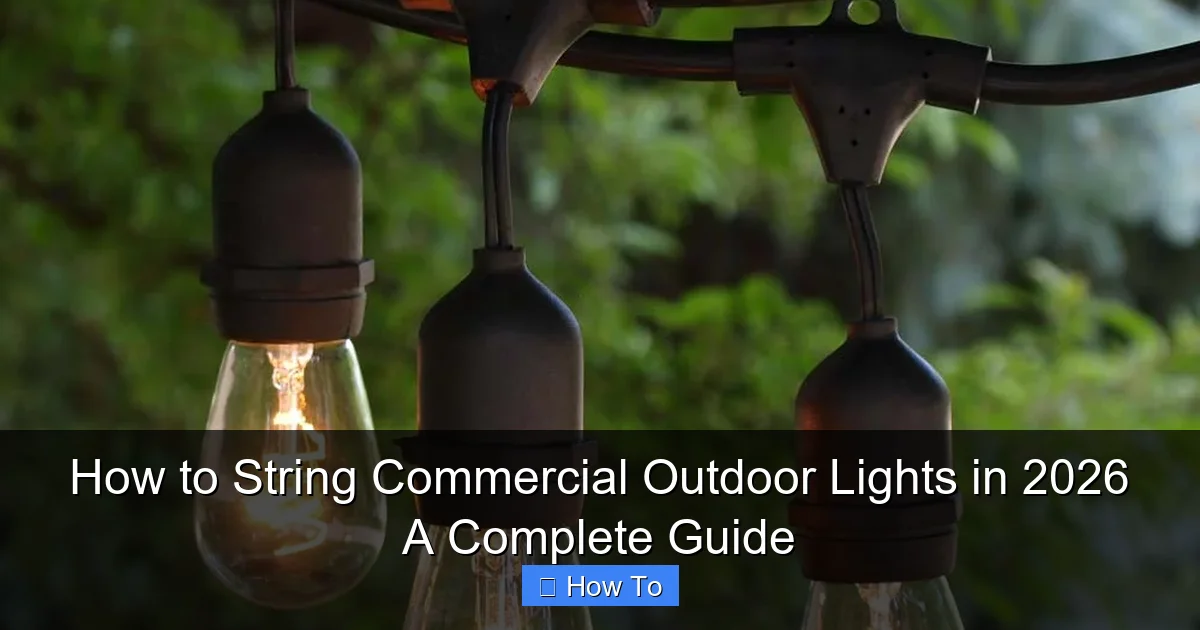
Featured image for how to string commercial outdoor lights
Image source: randolphsunoco.com
Proper planning and durable materials are essential for safely stringing commercial outdoor lights in 2026. Choose weather-resistant LED strands, secure mounting hardware, and follow electrical codes to ensure long-lasting, energy-efficient illumination. Always consult a licensed electrician for complex installations to avoid hazards and maximize performance.
“`html
How to String Commercial Outdoor Lights in 2026: A Complete Guide
Key Takeaways
- Plan your layout first: Measure space and mark anchor points for even light distribution.
- Use weatherproof fixtures: Choose IP65-rated or higher for lasting outdoor performance.
- Install tension cables: Support heavy-duty lights and prevent sagging over time.
- Secure proper permits: Check local codes before installing commercial outdoor lighting.
- Test before finalizing: Power up the system to troubleshoot issues early.
- Maintain seasonal upkeep: Clean fixtures and inspect wiring annually for safety.
Why This Matters / Understanding the Problem
Let’s be honest—nothing ruins a summer evening like flickering, sagging, or downright dangerous outdoor lights. Whether you’re lighting up a restaurant patio, a retail plaza, or an event space, how to string commercial outdoor lights in 2026 isn’t just about looks. It’s about safety, longevity, and creating a space people want to spend time in.
Back in 2024, I helped a small business owner in Portland redo their patio lighting. They’d used cheap string lights from a big-box store—within three months, half were out, and the wires were sagging dangerously low. After a customer tripped, they called me in. That’s when I realized: most people don’t know the difference between residential and commercial-grade outdoor lighting.
Fast forward to 2026. LED tech is smarter, weatherproofing is better, and mounting systems are more flexible. But the fundamentals? They’re still the same. And if you skip the basics, even the fanciest lights won’t save you.
This guide walks you through how to string commercial outdoor lights in 2026: a complete guide—from planning to testing—with real-world insights, not just textbook steps.
What You Need
Before you start, gather your tools and materials. I’ve seen too many jobs delayed because someone forgot a ladder or the wrong clips. Here’s your checklist:
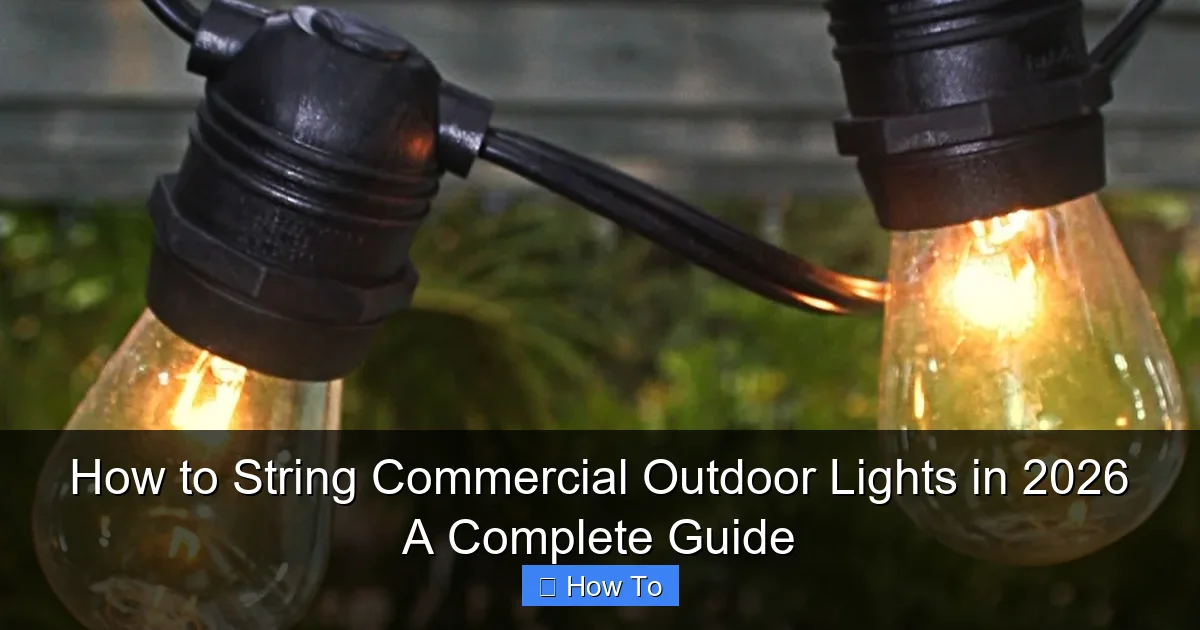
Visual guide about how to string commercial outdoor lights
Image source: randolphsunoco.com
- Commercial-grade LED string lights (120V, wet-rated, shatterproof bulbs, 18 AWG or thicker cord)
- Heavy-duty mounting clips (screw-in, adhesive, or magnetic, depending on surface)
- Weatherproof cable ties (UV-resistant, 40+ lb tensile strength)
- Stainless steel or aluminum wire (for support lines, if needed—300+ lb test)
- Power source (GFCI outlet, preferably with a weatherproof cover)
- Extension cords (outdoor-rated, 14 AWG minimum)
- Voltage tester (to confirm power is off before handling)
- Measuring tape & chalk line (for straight, even spacing)
- Ladder or lift (depending on height)
- Drill & screws (if mounting to wood, brick, or concrete)
- Smart timer or photocell (optional, but highly recommended for automation)
Pro Insight: Don’t cheap out on the lights. Commercial outdoor lights in 2026 are built to handle UV exposure, wind, rain, and temperature swings. Residential lights? They’ll yellow, crack, or short out in a season.
Step-by-Step Guide to How to String Commercial Outdoor Lights in 2026: A Complete Guide
Step 1: Plan Your Layout (Before You Buy a Single Bulb)
This is where most people rush—and regret it later. I once had a client who wanted lights “everywhere.” We ended up with a tangled mess that looked like a spiderweb.
Start with a sketch. Use graph paper or a free tool like SketchUp Free to map your space. Mark:
- Where you want light (e.g., over seating, along walkways)
- Distance between lights (12–18 inches is ideal for even glow)
- Where power sources are located
- Any obstacles (trees, signs, vents)
For a 40-foot patio, you’ll likely need 2–3 runs of 25-foot commercial string lights. But don’t just multiply—account for drops, curves, and power access.
Tip: Use painter’s tape to mock up the layout. Walk around at night. Does it feel balanced? Too bright in one spot? Adjust before drilling.
Step 2: Choose the Right Mounting Method
How you attach the lights makes or breaks the installation. The wrong method leads to sagging, falling, or damage to surfaces.
Here are your options:
- Surface-mounted clips: Best for wood, stucco, or metal. Screw-in or adhesive. I prefer screw-in for long-term use (e.g., 3M Outdoor Mounting Clips).
- Wire support system: For long spans (20+ feet) or high winds. Run a stainless steel wire between posts or anchors, then hang lights from it. Prevents sagging.
- Ceiling hooks: If you have a covered patio or pergola, use heavy-duty hooks (50+ lb capacity). Space every 3–4 feet.
- Magnetic clips: Great for metal awnings or steel beams. Quick install, but only for flat, magnetic surfaces.
For a commercial space with a 30-foot span between two brick columns, I’d use a wire support system. Attach the wire with eye bolts, tension it with a turnbuckle, then hang lights with S-hooks.
Warning: Never staple or nail directly into the light cord. It damages insulation and creates fire risks. Always use clips or ties on the cord’s jacket, not the wires inside.
Step 3: Run a Support Wire (If Needed)
If your lights will span more than 20 feet or face windy conditions, a support wire is non-negotiable. I learned this the hard way after a storm took down a 25-foot run at a café in Seattle.
Here’s how:
- Measure the distance between anchor points (e.g., two posts).
- Cut stainless steel wire 2–3 feet longer than the span.
- Attach eye bolts to both ends (use masonry anchors for brick/concrete).
- Thread the wire through, add a turnbuckle in the middle.
- Tighten the turnbuckle until the wire is taut but not over-stretched.
- Test by pressing down in the center—should deflect no more than 2 inches.
Now, your lights will hang from this wire, not the cord itself. It’s like giving them a backbone.
Step 4: Install Mounting Clips
Now, attach your clips or hooks. Use a measuring tape and chalk line to keep them aligned. For even spacing, I use a 16-inch spacing—standard for commercial jobs.
For screw-in clips:
- Drill pilot holes (prevents wood from splitting).
- Screw in clips, leaving 1–2 inches of thread exposed.
- For brick, use a hammer drill with masonry bit, then plastic anchors.
For adhesive clips (like 3M VHB tape):
- Clean the surface with rubbing alcohol.
- Apply clip, press for 30 seconds, wait 24 hours before hanging lights.
Pro Tip: Use a laser level for long runs. It saves time and keeps everything straight. A $30 tool you’ll use forever.
Step 5: Hang the Lights
Now for the fun part. Unpack your commercial LED string lights. Check each bulb—yes, each one. I’ve had clients get halfway through installation only to find a dead string.
Hang them:
- Start at the power source. Plug in the first light, then work outward.
- Clip each bulb socket into a mounting clip (don’t hang by the cord!).
- For wire support systems, use S-hooks or zip ties to attach the light’s hanging loop to the wire.
- Keep slack in the cord—don’t stretch it tight. A little droop prevents stress.
- Use UV-resistant zip ties to secure excess cord to the wire or structure.
For curves or angles, let the lights bend naturally. Don’t force them—commercial lights are flexible, but sharp bends can crack sockets.
Step 6: Connect Power & Test
Never skip this step. I once saw a job where they connected 5 strings in series—way beyond the 25-foot max. Half the bulbs were dim, and the last string didn’t light at all.
Rules for power:
- Max 25 feet per circuit (check manufacturer’s spec).
- Use outdoor-rated extension cords (14 AWG, 15A).
- Plug into a GFCI outlet—required by code for outdoor use.
- Use a smart timer or photocell to automate on/off times.
Now, test:
- Plug in one string at a time.
- Check for dim bulbs, flickering, or buzzing.
- Walk the entire path—look for dark spots or glare.
- Use a voltage tester to confirm no stray current.
Common Mistake: Overloading circuits. A 15A circuit can handle ~1800W. A 25-foot commercial string might draw 120W. So 15 strings? Nope. Stick to 10 max, or use multiple circuits.
Step 7: Secure & Weatherproof
This is where your lights survive a storm. Even commercial lights need protection from wind, rain, and UV.
Do this:
- Use silicone sealant on any exposed wire connections (e.g., where extension cords plug in).
- Cover plug connections with a weatherproof cord connector (like a “dog bone” boot).
- For long runs, add a drip loop—a small loop in the cord below the outlet. Prevents water from running into the plug.
- Trim excess zip ties with a cutter—no sharp edges.
- Label the power source (e.g., “Patio Lights – GFCI Reset Here”).
I once forgot a drip loop on a job in Florida. During a storm, water followed the cord into the outlet. Fried the GFCI. Lesson learned.
Pro Tips & Common Mistakes to Avoid
After 20+ years in the field, here’s what I wish I knew earlier:
Tip 1: Buy extra lights. Bulbs burn out, cords get damaged. Keep 1–2 spare strings. It’s cheaper than a service call.
Tip 2: Use warm white (2700K–3000K) for hospitality spaces. Cool white (4000K+) feels sterile—great for security, not for ambiance.
Tip 3: For trees, use zip ties with tree-friendly sleeves. They expand as the tree grows. Metal ties cut into bark.
Mistake 1: Ignoring local codes. Some cities require permits for permanent installations. Check with your building inspector.
Mistake 2: Skipping the photocell. Manually turning lights on/off leads to wasted energy or dark nights. A $15 photocell saves hassle.
Mistake 3: Using indoor-rated extension cords. They crack in UV and short in rain. Always use outdoor-rated, grounded cords.
Mistake 4: Poor spacing. Lights too far apart? Dark spots. Too close? Glare. 12–18 inches is the sweet spot for commercial use.
One last thing: inspect quarterly. Check for loose clips, frayed cords, or dimming bulbs. Small fixes prevent big failures.
FAQs About How to String Commercial Outdoor Lights in 2026: A Complete Guide
Q: Can I use regular string lights for a commercial space?
Technically, yes—but I wouldn’t. Residential lights aren’t built for 24/7 use, UV exposure, or heavy wind. They’ll fail faster, costing more in replacements. For a 40-foot run, commercial lights pay for themselves in 2–3 seasons.
Q: How many lights can I connect in series?
Most commercial strings max out at 25 feet per circuit. Some brands allow 3–5 strings, but check the manual. Overloading causes dimming, flickering, or blown fuses. When in doubt, use a separate circuit for each 25-foot run.
Q: Do I need a permit?
It depends. If you’re running new wiring or installing permanent fixtures, yes. For plug-in setups, usually no. But always check with your local building department. A $50 permit is better than a $500 fine.
Q: How do I prevent sagging?
Two ways: (1) Use a support wire for spans over 20 feet, or (2) add extra clips every 2–3 feet. Never hang lights by the cord alone—gravity wins every time.
Q: What’s the best power source?
A GFCI outlet with a weatherproof cover. If none exists, hire an electrician to install one. Never use an indoor outlet—it’s a fire hazard. For remote areas, consider a solar-powered commercial light system (gaining popularity in 2026).
Q: How long do commercial outdoor lights last?
Quality commercial LEDs last 25,000–50,000 hours (3–6 years of nightly use). But the cord and sockets matter too. Look for ETL or UL listing—it means they’ve passed safety tests.
Q: Can I install them myself?
Absolutely—if you’re comfortable with basic tools and electrical safety. But if you’re running new wiring, working over 10 feet high, or dealing with complex layouts, hire a licensed electrician. Safety first.
Final Thoughts
Lighting isn’t just functional—it’s emotional. The right setup makes people linger, laugh, and come back. And in 2026, with smarter LEDs, better materials, and more options than ever, how to string commercial outdoor lights in 2026: a complete guide is about doing it right the first time.
Remember: plan before you buy, use commercial-grade gear, support long runs, and test thoroughly. Don’t rush. A well-lit space isn’t built in a day—but it’s worth the effort.
So grab your tools, sketch your layout, and start. And when that first evening rolls around, and the lights come on—smooth, bright, and steady—you’ll know you did it right. No sagging, no flickering, just warm, welcoming light.
Now go make your space shine.
“`

