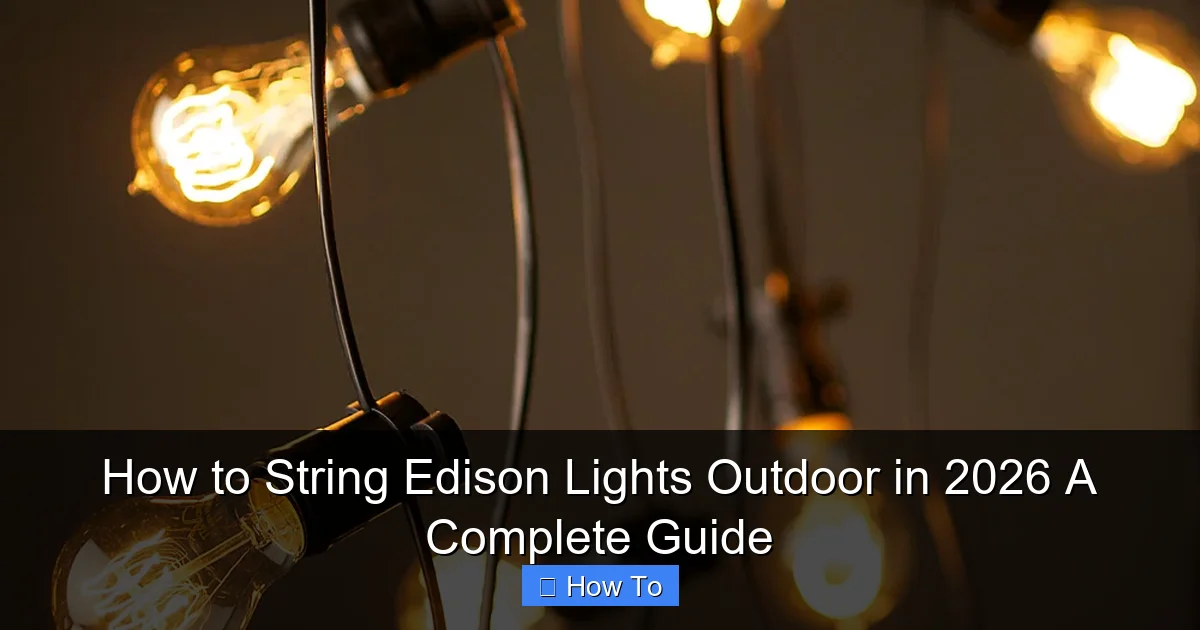
Featured image for how to string edison lights outdoor
Image source: warisanlighting.com
Transform your outdoor space in 2026 with expertly strung Edison lights by following simple, safe techniques that blend vintage charm with modern durability. Choose weather-resistant bulbs, plan your layout with proper spacing, and secure cables using insulated hooks or tension wires to ensure a stunning, long-lasting glow for patios, pergolas, or backyard gatherings.
How to String Edison Lights Outdoor in 2026 A Complete Guide
Key Takeaways
- Plan your layout first: Measure space and sketch light placement for even coverage.
- Use outdoor-rated lights: Ensure bulbs and cords are weatherproof for safety and durability.
- Secure with proper hardware: Use hooks, clips, or cables rated for outdoor tension.
- Check power sources: Use GFCI outlets and extension cords designed for outdoor use.
- Space bulbs evenly: Maintain 6–12 inches between bulbs for balanced illumination.
- Test before hanging: Verify all bulbs work and connections are secure pre-installation.
Why This Matters / Understanding the Problem
Let’s be real—nothing transforms a backyard, patio, or garden like the soft, golden glow of Edison lights. I remember the first time I strung them up for a summer BBQ. The mood shifted instantly: conversations got cozier, laughter lasted longer, and the party didn’t end when the sun went down.
But here’s the catch: how to string Edison lights outdoor in 2026 a complete guide isn’t just about aesthetics. It’s about safety, durability, and making sure your lights last through seasons—not just one weekend. In 2026, outdoor lighting tech has evolved, but so have weather patterns, energy costs, and smart home integrations. You don’t want your lights flickering out after a spring storm or tripping your breaker.
Many people try to DIY this and end up with tangled cords, sagging wires, or lights that won’t turn on. Some over-engineer it with expensive mounts. Others skip planning and regret it when the string doesn’t reach the outlet. The truth? With a little prep and the right approach, anyone can create a stunning, safe, and long-lasting outdoor lighting setup.
This guide walks you through every step—from choosing the right lights to troubleshooting common issues—so you can enjoy that magical glow all year round. Whether you’re lighting a tiny balcony or a sprawling backyard, how to string Edison lights outdoor in 2026 a complete guide starts here.
What You Need
Before you grab your ladder and start hammering nails, let’s talk tools and materials. I’ve learned the hard way that skipping this step leads to frustration (and sometimes a trip to the hardware store at midnight). Here’s your checklist:
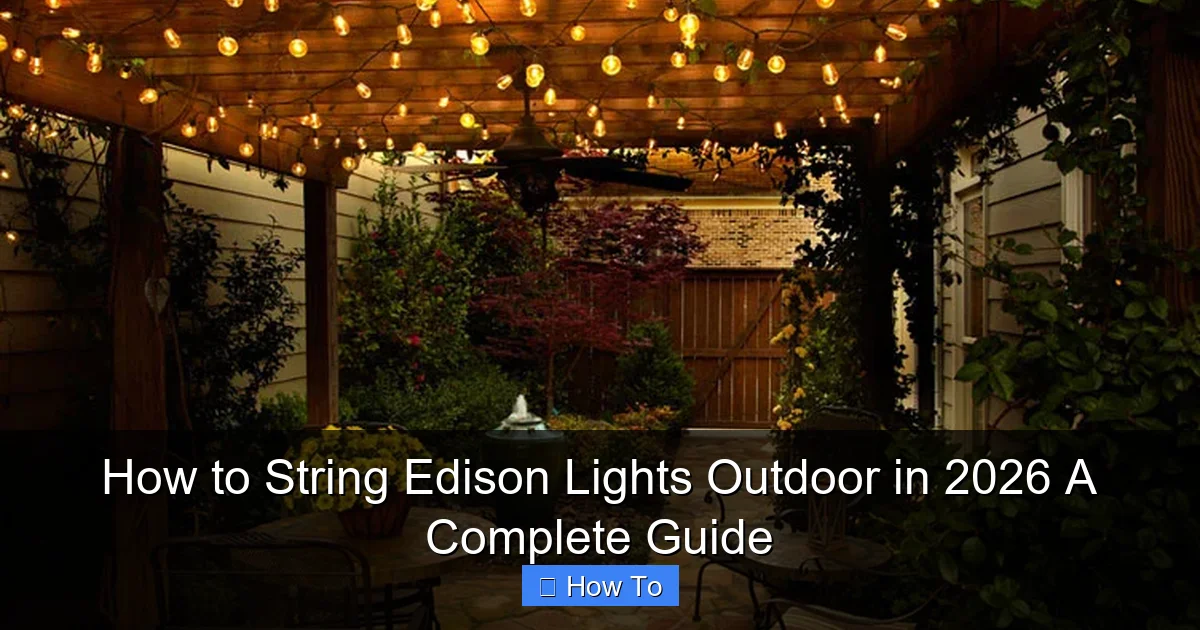
Visual guide about how to string edison lights outdoor
Image source: warisanlighting.com
Essential Tools & Materials
- Edison-style string lights (LED, weatherproof, with E26 sockets)
- Extension cords (outdoor-rated, heavy-duty, preferably with built-in surge protection)
- Mounting hardware: eye hooks, screw-in hooks, or zip ties with adhesive backing (for non-permanent setups)
- Measuring tape (to plan spacing and length)
- Ladder (stable, with a spotter if needed)
- Drill & drill bits (if installing permanent hooks)
- Voltage tester (optional, but great for safety checks)
- Smart plug or timer (for automated on/off, especially in 2026 when smart homes are standard)
- Weatherproof outlet cover (if your outdoor outlet isn’t GFCI-protected)
Bonus (But Highly Recommended)
- Light clips or gutter hooks (if you’re attaching to eaves or gutters)
- Zip tie mounts with adhesive (for vinyl siding or stucco)
- String light tensioner or turnbuckle (for long runs to prevent sagging)
- Smart hub or app (to control lights from your phone—yes, even Edison bulbs can be smart now)
Pro Insight: I once used indoor-rated lights because they were “on sale.” Big mistake. After one rainy night, half the bulbs died. Always check for IP44 or higher weatherproof rating. And if you’re in a humid or coastal area, go for marine-grade or stainless steel hardware.
Now that you’re equipped, let’s get into the actual process. This how to string Edison lights outdoor in 2026 a complete guide is all about doing it right the first time.
Step-by-Step Guide to How to String Edison Lights Outdoor in 2026 A Complete Guide
Step 1: Plan Your Layout (Measure Twice, Hang Once)
Start with a sketch. No, you don’t need to be an artist. Just grab a piece of paper and draw your space: house, trees, pergola, patio, etc. Mark where you want light clusters—maybe over the dining table, along the fence, or wrapping a tree trunk.
Measure the distances between your anchor points (e.g., from a tree to a post, or from one eave to another). This tells you how many light strands you’ll need. Most Edison string lights are 24 to 48 feet long. Pro tip: buy one extra strand—just in case. You’ll thank me when you need to fill a gap or replace a faulty bulb.
Also, map your power source. Where’s the nearest outdoor outlet? Can you reach it without running cords across walkways? If not, plan for extension cords or consider a solar-powered option (more on that later).
Warning: Don’t overload circuits. A standard outlet can handle about 1,800 watts. Most Edison LED strands use 10–20 watts per bulb. If you’re using 10 bulbs, that’s 100–200 watts—safe. But if you’re daisy-chaining 10 strands, you’re in trouble. Check your lights’ specs and use a power strip with surge protection.
Step 2: Choose the Right Mounting Method
This is where most people go wrong. They nail into wood, screw into stucco, or use flimsy tape that falls off in wind. Let’s fix that.
- Wooden beams, pergolas, or fences: Use screw-in eye hooks. They’re strong, reusable, and won’t damage the surface if removed carefully.
- Stucco or brick: Use plastic anchors with screws. Drill a pilot hole, insert the anchor, then screw in the hook. Avoid metal anchors—they can rust.
- Vinyl siding or gutters: Use gutter hooks or adhesive zip tie mounts. These clip on without drilling. I’ve used 3M VHB tape mounts on my stucco—they’ve lasted 3 years with no issues.
- Trees: Use zip ties or tree-safe clips. Never use nails or screws—they damage the bark and invite pests. Wrap the tie loosely so it doesn’t cut into the trunk as it grows.
Space your hooks every 16–24 inches for straight runs. For curves (like around a tree), go every 12 inches to maintain shape.
Personal Tip: I once used regular zip ties on a tree. They cut in after a year and the lights sagged. Now I use wide, UV-resistant zip ties and leave a little slack. Trees grow—your lights should too.
Step 3: Install the Hooks (or Clips)
Now it’s time to install. Start from the power source and work outward. This helps you avoid tangles and ensures the plug-end is near the outlet.
- Drill pilot holes if needed (especially in hardwood or stucco).
- Screw in eye hooks by hand first, then use pliers to tighten—don’t overdo it, or the hook will break.
- For adhesive mounts, clean the surface with rubbing alcohol, let it dry, then press the mount firmly for 30 seconds.
- For trees, loop the zip tie around the trunk and pull snug—not tight.
Double-check spacing. Use a tape measure or string with knots at intervals to visualize the layout. You don’t want hooks too close (wasted effort) or too far (sagging lights).
Step 4: Unpack & Test the Lights
Before hanging, unroll the lights and plug them in. Test every bulb. I know—it’s tedious. But I’ve skipped this step and spent hours troubleshooting a “dead” strand only to find one bulb was loose.
If you’re using LED Edison bulbs, look for flickering or dim bulbs—these can indicate a bad connection or low-quality product. Swap out any duds now, not after hanging.
For smart lights (popular in 2026), pair them with your app or hub. Set up a group, name your lights, and test the on/off, dimming, and color temperature (if applicable).
Pro Tip: Use a voltage tester on the plug and sockets. It’s overkill for most, but if you’re in an area with frequent brownouts, it can save your lights from voltage spikes.
Step 5: Hang the Lights (Start from the Power Source)
Here’s the fun part. But don’t rush. Start at the outlet end.
- Loop the first bulb socket or a zip tie over the first hook.
- Let the strand hang naturally—don’t pull it tight yet.
- Move to the next hook, drape the light over it, and continue.
- For curves, gently guide the strand around the tree or post.
- For long runs (over 40 feet), use a turnbuckle or tensioner in the middle to prevent sagging.
Keep the cord slack but not droopy. You want a gentle curve—like a smile, not a frown. If it’s too tight, the bulbs will pop out. Too loose, and it looks messy and sags in wind.
When connecting multiple strands, use a weatherproof extension cord or a Y-splitter. Never plug two strands directly into each other unless they’re designed for daisy-chaining (check the manual).
Step 6: Secure the Cord & Manage Power
Now that the lights are up, tidy up the cords. Loose cords are tripping hazards and look sloppy.
- Use zip ties every 2–3 feet to secure the cord to the hook or structure.
- For vertical runs (e.g., down a wall), use cord clips or adhesive mounts.
- Route cords away from foot traffic. If they cross a walkway, cover them with a cord cover or run them overhead.
- Plug into a weatherproof outlet cover. In 2026, many homes have smart outlets with built-in covers—use them.
For automation, plug the cord into a smart plug or timer. I use a Wi-Fi plug that turns my lights on at sunset and off at 11 PM. No more forgetting to turn them off!
Step 7: Adjust & Final Check
Stand back and look at your work. Are the bulbs evenly spaced? Is the curve smooth? Do any strands sag?
Make small adjustments:
- Slide bulbs along the socket to fix gaps.
- Adjust hooks slightly to tighten or loosen.
- Use a broom handle to lift sagging sections.
Test the lights at night. Walk around the space. Does the light feel warm and inviting? Are there dark spots? If so, add a small accent light or adjust the angle.
Finally, check for safety:
- Are cords away from water (sprinklers, pools)?
- Are plugs elevated off the ground?
- Are smart devices connected and responding?
You’re done! Now pour a drink and enjoy your glowing oasis.
Pro Tips & Common Mistakes to Avoid
I’ve made (and fixed) every mistake in the book. Here’s what I wish I knew earlier—especially for this how to string Edison lights outdoor in 2026 a complete guide.
Pro Tips
- Use LED bulbs with warm white (2700K–3000K) for that classic Edison look. Avoid cool white—it kills the mood.
- Go solar if your space gets 6+ hours of sun. Solar string lights are more efficient in 2026, with better battery life and dusk-to-dawn sensors.
- Install a GFCI outlet if you don’t have one. It cuts power if there’s a ground fault—critical for outdoor safety.
- Use a dimmer for ambiance. Some Edison strands are dimmable. Pair with a smart dimmer for sunset-to-night transitions.
- Label your strands with colored tape if you have multiple. Saves time when troubleshooting.
Common Mistakes (And How to Avoid Them)
Mistake 1: Over-tightening the cord. I did this once and popped three bulbs. The sockets are plastic—they can’t handle tension. Keep it snug, not stretched.
Mistake 2: Ignoring the weather. Even “weatherproof” lights can fail if water pools in the sockets. Tilt bulbs slightly downward so water runs off.
Mistake 3: Using indoor lights outdoors. They’ll corrode or short-circuit. Check the IP rating: IP44 (splash-proof) or IP65 (dust and water-resistant).
Mistake 4: Forgetting the end plug. If you’re not daisy-chaining, cap the end socket with a weatherproof plug cover. Rain can seep in and cause a short.
Mistake 5: Not planning for growth. Trees, vines, and even grass can grow into your lights. Leave extra slack and check every few months.
And one last thing: don’t leave lights on 24/7. It shortens bulb life and wastes energy. Use a timer or smart plug. In 2026, energy efficiency matters more than ever.
FAQs About How to String Edison Lights Outdoor in 2026 A Complete Guide
Let’s tackle the questions I get most often—especially from first-timers.
Can I leave Edison lights outside all year?
Yes, but with caveats. If they’re weatherproof (IP44+) and you live in a mild climate, they’ll survive. But in areas with heavy rain, snow, or salt air, I recommend storing them in winter. Or, use commercial-grade lights designed for year-round use. For this how to string Edison lights outdoor in 2026 a complete guide, I suggest a seasonal check-in: inspect bulbs, sockets, and cords every spring.
How do I fix a flickering bulb?
First, turn off the power. Then, twist the bulb gently—sometimes it’s loose. If it’s still flickering, remove it and check the socket for corrosion. Clean with a cotton swab and rubbing alcohol. If the socket is damaged, replace the bulb or the entire strand. Pro tip: keep spare bulbs on hand.
Can I connect multiple strands?
Only if they’re designed for daisy-chaining. Check the manual or packaging for “end-to-end” or “connectable” labels. Most Edison strands have a plug on one end and a socket on the other. But don’t exceed the manufacturer’s limit (usually 2–3 strands). Overloading can trip your breaker or fry the lights.
Are solar Edison lights as bright as plug-in?
In 2026, yes—many solar models use high-lumen LEDs. But they’re best for accent lighting, not full illumination. If you want a bright, steady glow, stick with plug-in. Solar is perfect for pathways or trees where you want a soft, eco-friendly touch.
How do I hide the cords?
Great question. I use:
- Zip ties to secure cords to beams or fences.
- Paintable cord covers to match the wall color.
- Landscaping—plant vines or shrubs to drape over cords (but not too close).
- Underground conduit for permanent setups (run the cord through PVC pipe).
For this how to string Edison lights outdoor in 2026 a complete guide, I prefer a mix of camouflage and smart routing.
Can I use smart bulbs in string lights?
Absolutely. In 2026, many Edison bulbs are Wi-Fi or Bluetooth-enabled. You can control color temperature, dimming, and schedules from your phone. Just make sure the strand is compatible (look for “smart-ready” or “E26 smart bulb compatible”). Pair with Alexa, Google Home, or Apple HomeKit for voice control.
How often should I replace the bulbs?
LED Edison bulbs last 15,000–25,000 hours—about 5–10 years with 4 hours of use per night. But if you see flickering, dimming, or color shifts, replace them. Keep a few spares in your garage. And always turn off the power before swapping.
Final Thoughts
Stringing Edison lights outdoors isn’t just a DIY project—it’s an act of transformation. One minute, it’s a plain backyard. The next, it’s a glowing retreat where memories happen.
This how to string Edison lights outdoor in 2026 a complete guide isn’t about perfection. It’s about intention. Plan your layout, choose the right tools, and take your time. A little extra effort now means years of warm, golden light.
Remember: safety first. Use weatherproof gear, secure cords, and never overload circuits. And don’t be afraid to ask for help—two sets of hands make hanging lights way easier.
As 2026 brings smarter, more efficient lighting, you’re not just installing bulbs—you’re crafting an experience. Whether it’s for a quiet evening or a lively gathering, your space will shine.
So go ahead. Grab your tools, follow these steps, and light up your world. And when the sun sets and your backyard glows like a scene from a movie—sit back, smile, and know you did it right.
Happy hanging.

