Featured image for how to string holiday outdoor lights
Image source: m.media-amazon.com
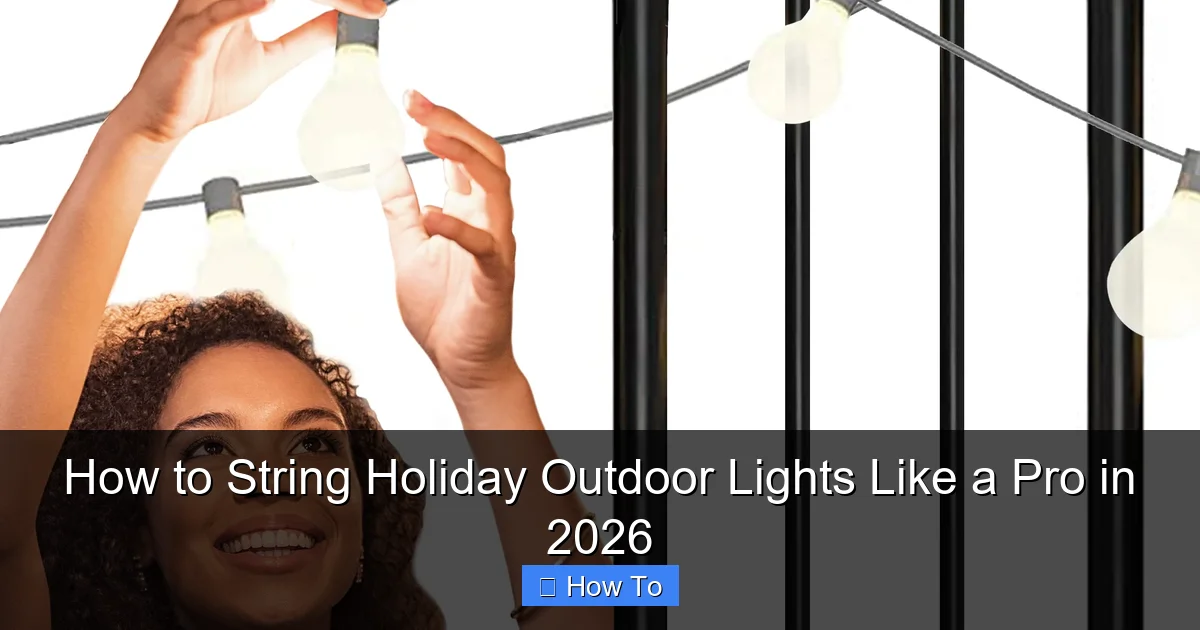
Plan your layout and choose LED, weather-resistant lights to ensure a safe, dazzling display that lasts all season. Use clips or hangers designed for outdoor use—never nails or staples—to protect wires and surfaces while creating clean, professional lines. Test lights before hanging and connect no more than three strands in a single circuit to avoid overloads and simplify troubleshooting.
How to String Holiday Outdoor Lights Like a Pro in 2026
Key Takeaways
- Plan your layout first: Sketch light placement to avoid mid-installation changes.
- Use outdoor-rated lights: Ensure all lights are UL-listed for exterior use.
- Secure with proper clips: Attach lights with clips, not nails or staples.
- Measure power needs: Limit to 3 light strands per outlet to prevent overload.
- Test before hanging: Check all bulbs work before climbing ladders.
- Weatherproof connections: Use electrical tape or covers on all outdoor plugs.
- Remove carefully post-season: Untangle gently to reuse lights next year.
Why This Matters / Understanding the Problem
Every year, as the days grow shorter and the air gets crisp, I start dreaming of twinkling lights framing my front porch, outlining my roofline, and casting a warm glow over the yard. But let’s be honest—**how to string holiday outdoor lights like a pro in 2026** isn’t just about aesthetics. It’s about safety, efficiency, and avoiding the “why-did-I-do-this-at-9-PM-on-a-weeknight” regret spiral.
I’ve been there. One year, I spent three hours untangling last year’s mess, only to realize half the strand was dead. Another year, I used cheap clips that snapped in a windstorm, leaving lights dangling like sad tinsel. And don’t get me started on the extension cord jungle.
The truth? Most of us treat holiday lighting like a chore we rush through. But when done right—with planning, the right tools, and a little pro-level know-how—it becomes a joyful ritual. And more importantly, it *lasts*. That’s why learning **how to string holiday outdoor lights like a pro in 2026** is less about showing off and more about creating a tradition that’s safe, stunning, and stress-free.
Whether you’re a first-timer or a seasoned decorator, this guide will walk you through the modern way to light up your home—without the frustration, fire hazards, or last-minute trips to the hardware store.
What You Need
Before you climb that ladder (please, wear non-slip shoes), let’s gather your toolkit. I’ve learned the hard way that skipping prep leads to wasted time and broken bulbs. Here’s what you’ll need for a pro-level job:
- LED holiday lights (more on types below) – I recommend warm white or color-changing smart LEDs for 2026. They last longer, use less power, and are easier to control.
- Outdoor-rated extension cords – Look for “SJTW” or “SJTOW” on the label. These are weather-resistant and safe for snow, rain, and cold temps.
- Light clips or hangers – Roof clips, gutter hooks, shingle tabs, and wall mounts. Avoid nails or staples—they damage your home and void warranties.
- Timer or smart plug – Set it and forget it. No more running outside at 10 PM to turn off the lights.
- Ladder (with stabilizer) – A 6- or 8-foot step ladder for lower areas; an extension ladder for rooflines. Add a stabilizer bar to prevent gutter damage.
- Power strip (outdoor-rated) – Helps manage multiple strands without overloading circuits.
- Light tester – A small tool that identifies dead bulbs or broken circuits. Saves *so* much time.
- Measuring tape – Measure rooflines, windows, and distances to plan light placement.
- Gloves – Cold hands make clipping lights a nightmare. Keep ‘em warm and dry.
- Smartphone or tablet – For checking weather, using a level app, or controlling smart lights.
Pro Insight: Buy 10–20% more lights than you think you need. Gaps happen. And trust me—no one wants to run to the store the night before the party.
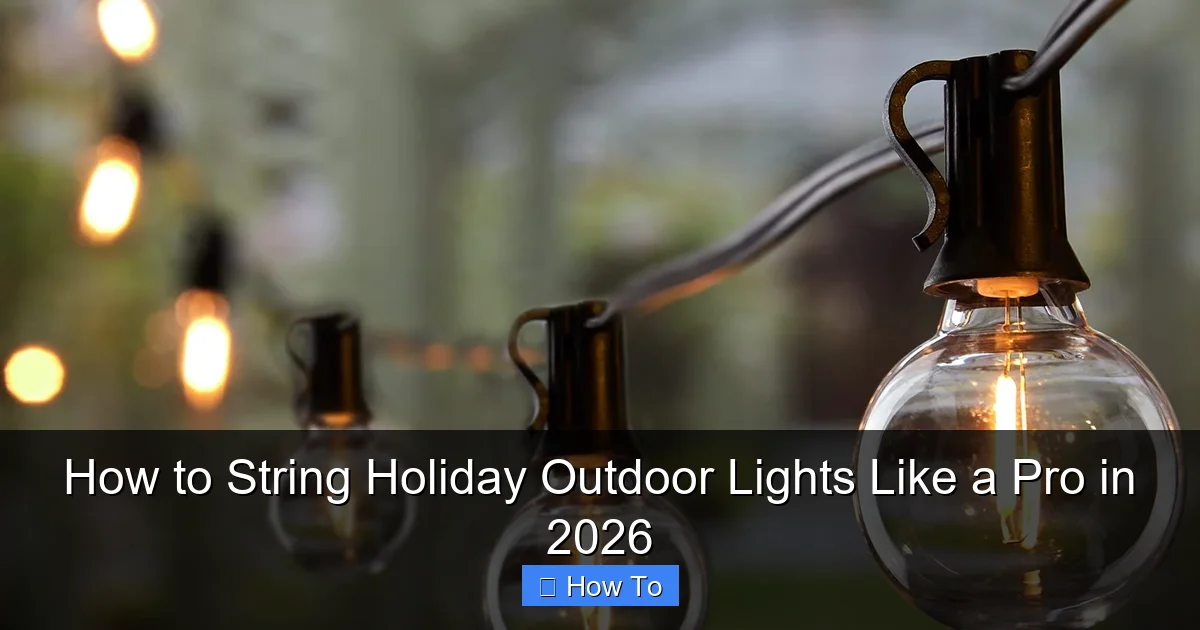
Visual guide about how to string holiday outdoor lights
Image source: m.media-amazon.com
Bonus: Consider a **light storage reel** or labeled bins for next year. It makes unpacking in 2027 way less chaotic.
Step-by-Step Guide to How to String Holiday Outdoor Lights Like a Pro in 2026
Step 1: Plan Your Design (Yes, Really)
I used to just “wing it.” Lights on the roof, a few on the porch, maybe the tree if I had time. But that led to uneven coverage, tangled cords, and a look that felt… meh.
Now, I plan. And it’s the secret to **how to string holiday outdoor lights like a pro in 2026**.
Start by sketching your home from the street. Mark:
– Roofline edges
– Gable peaks
– Windows and doors
– Trees, shrubs, or columns
– Power source locations
Then, decide your “zones.” Most pros break the house into 3–5 lighting zones:
– **Roofline** (most visible from the street)
– **Windows and doors** (adds depth)
– **Front porch/entryway** (welcoming)
– **Landscape features** (trees, fences, walkways)
For each zone, calculate the linear feet. Example: My 30-foot roofline needs ~35 feet of lights (accounting for overlap and spacing).
Pro tip: Use painter’s tape to mark light paths on the ground. It helps visualize placement before you climb.
Step 2: Test and Organize Your Lights
Before you hang a single bulb, test every strand.
Plug in each set. Look for:
– Flickering
– Dim or dark sections
– Overheating (rare but dangerous)
Use a light tester—it’s a $15 tool that pays for itself in time saved. Replace or discard any faulty strands.
Now, organize. Group lights by:
– Type (roofline, window, tree)
– Length (10-ft, 25-ft, etc.)
– Color or function (static, twinkle, smart)
Label each group with masking tape. I use color-coded zip ties: red for roof, green for trees, blue for windows.
Warning: Never connect more than 3 standard incandescent strands end-to-end. For LEDs, check the manufacturer’s limit—usually 20–25 strands. Overloading causes overheating and fire risk.
Step 3: Install the Right Clips (No Nails!)
This is where most DIYers go wrong. Stapling, nailing, or duct-taping lights to your home damages shingles, gutters, and siding. And in 2026, we’ve got better options.
Choose clips based on your home’s surface:
– **Gutter clips:** For rooflines with gutters. Hook under the lip and clip lights to the front.
– **Shingle tabs:** For asphalt shingles. Slide under the shingle and hook the light.
– **Adhesive clips:** For smooth surfaces like vinyl siding. Use outdoor-rated adhesive (3M makes great ones).
– **Tree straps:** Wrap around trunks or branches without damaging bark.
– **Magnetic clips:** For metal gutters or awnings.
Install clips *before* hanging lights. Space them every 6–12 inches for even support.
Real-life example: My neighbor used gutter clips last year. When a storm hit, the lights stayed put—no sagging, no damage. I switched this year and it was a game-changer.
Step 4: Hang Roofline and Gable Lights
This is the big one. The roofline sets the tone for your display.
Start at the power source. Why? It reduces cord clutter and ensures even voltage across the strand.
Here’s my method:
1. Plug the first strand into an outdoor outlet or extension cord.
2. Climb your ladder (with someone spotting you).
3. Attach the first clip at the corner, near the power source.
4. Run the strand along the roofline, clipping every 8–10 inches.
5. At corners or peaks, use a “V” or “U” shape to avoid sharp bends that break wires.
6. For gable peaks, loop lights up and over, securing at the top.
Pro move: Use a level app on your phone to keep lights straight. Nothing kills the pro look like a crooked strand.
Pro Tip: For long runs, use a “daisy chain” of 2–3 strands connected with waterproof couplers. But never exceed the max load for your power source.
Step 5: Frame Windows and Doors
Windows and doors add depth and make your home feel inviting.
Measure each window/door. Add 6 inches to each side for overlap.
Use adhesive clips or shingle tabs (if near roof). Run lights:
– Horizontally across the top
– Vertically down the sides
– In a “U” shape around the frame
For double-hung windows, avoid blocking the sash. Use low-profile clips or tuck lights under the trim.
My trick: Use warm white lights here. They mimic candlelight and feel cozier than cool white.
Step 6: Light Up the Porch and Entryway
Your front porch is the welcome mat for holiday cheer.
Options:
– Wrap columns with lights (use spiral clips)
– Outline the door frame
– Hang icicle lights from the eaves
– Place LED candles in windows
Use a timer or smart plug so lights turn on at dusk. I set mine to 5 PM in December—perfect for early evening visitors.
Warning: Keep lights away from gas meters, vents, and door handles. Safety first!
Step 7: Decorate Trees, Shrubs, and Landscaping
Don’t forget the yard. Trees and bushes add dimension.
For trees:
– Use net lights (they’re faster than wrapping)
– Or wrap trunk and main branches with C9 or mini lights
– Secure with tree straps, not wire
For shrubs:
– Drape net lights over the top
– Use ground stakes for path lights
For walkways:
– Place solar-powered stakes every 2–3 feet
– Or use low-voltage landscape lighting
Real talk: I used to spend hours wrapping my 15-foot pine. Last year, I tried net lights. Done in 20 minutes. My wife didn’t even notice the difference.
Step 8: Manage Power and Cords
This is where the “pro” in **how to string holiday outdoor lights like a pro in 2026** really shows.
Avoid:
– Tripping hazards
– Overloaded circuits
– Water exposure
Here’s how:
– Use outdoor-rated extension cords. No indoor cords outside!
– Elevate cords off the ground with hooks or stakes.
– Use a GFCI outlet or breaker to prevent shocks.
– Plug all strands into a single power strip (outdoor-rated) near the main outlet.
– Label cords with tags (“Roof,” “Porch,” “Tree”).
Pro hack: Bury low-voltage landscape cords under mulch or grass. Use a shovel to cut a shallow trench.
Step 9: Set Up Timers or Smart Controls
No one wants to manually turn lights on/off. In 2026, smart tech makes it easy.
Options:
– **Mechanical timer:** Set a schedule (e.g., 5 PM–10 PM). $10–$15.
– **Wi-Fi smart plug:** Control via app or voice (Alexa, Google). $20–$30.
– **Smart LED lights:** Some sets have built-in timers and color control.
I use a Wi-Fi plug. I can turn the lights on from my phone if I’m running late. Or dim them for a cozy dinner.
Pro Tip: Set your timer 30 minutes before sunset and 30 minutes after sunrise. It looks natural and saves energy.
Step 10: Do a Final Safety and Aesthetic Check
Before you celebrate, do a walk-around.
Check for:
– Loose clips or sagging strands
– Exposed wires
– Overloaded outlets (warm to the touch = bad)
– Even spacing and alignment
– No tripping hazards
Walk across the street. Does it look balanced? Are there dark spots? Adjust as needed.
My ritual: I turn off all indoor lights and watch the display from the sidewalk. It’s magical—and the best way to spot flaws.
Pro Tips & Common Mistakes to Avoid
After 15 years of holiday decorating (and many, many mistakes), here’s what I’ve learned:
- Use LED lights: They use 80% less energy, last 10+ years, and don’t get hot. In 2026, there’s no reason to use incandescents.
- Buy weatherproof connectors: Look for IP65 or IP67 ratings. They’re sealed against rain and snow.
- Don’t mix old and new strands: Voltage drops can kill the newer ones.
- Store lights properly: Wrap around cardboard or a reel. Label and store in a dry, cool place. No more “Christmas in July” surprises.
- Check local regulations: Some HOAs or cities have rules about brightness, colors, or timing. Better safe than fined.
- Involve the family: Stringing lights is a tradition. Let kids help with lower areas (supervised, of course).
Common Mistake #1: Hanging lights in the rain or snow. Wet wires + electricity = danger. Wait for dry conditions.
Common Mistake #2: Using indoor lights outside. They’re not rated for UV, moisture, or cold. Save them for the tree.
Common Mistake #3: Ignoring the power source. Always plan your layout around outlets. No outlet? Use a generator (outdoor-rated, grounded).
Personal story: Last year, I ignored a flickering strand. Two days later, it sparked and tripped the breaker. Lesson learned: test, test, test.
FAQs About How to String Holiday Outdoor Lights Like a Pro in 2026
How many lights do I need for my house?
Measure your roofline, windows, and other areas in linear feet. A general rule: 100 mini lights cover 10–15 feet. For a 30-foot roofline, you’ll need 2–3 strands of 100-light sets. Add 10–20% extra for overlap and mistakes.
Can I use regular extension cords outdoors?
No. Use outdoor-rated cords with “SJTW” or “SJTOW” on the jacket. Indoor cords can crack in cold weather and pose fire risks. For long runs, use 12-gauge cords to prevent voltage drop.
How do I fix a dead strand?
First, check the fuse (usually in the plug). Replace with the spare (included in most sets). If still dead, use a light tester to find the bad bulb or section. Replace the bulb or cut out the faulty part and splice with waterproof connectors.
Are solar-powered outdoor lights worth it?
For path lights or small decorations, yes. They’re easy to install and eco-friendly. But for rooflines or large displays, stick with plug-in LEDs. Solar lights often don’t last all night in winter.
How do I remove lights without damaging my house?
Gently unclip or unhook—don’t pull. For adhesive clips, use a hair dryer to warm the glue, then peel off. Never yank lights. Store clips for reuse next year.
Can I leave lights up year-round?
Technically, yes. But I don’t recommend it. Sunlight degrades wires and plastic. Most LED lights last 50,000 hours—but UV exposure cuts that in half. Take them down by January 15th.
What’s the best time to install lights?
Late October to mid-November. Avoid freezing temps (below 20°F) and rain/snow. And don’t wait until December 20th—you’ll rush and cut corners.
Final Thoughts
Learning **how to string holiday outdoor lights like a pro in 2026** isn’t about perfection. It’s about creating joy—for yourself, your family, and your neighbors.
It’s about the moment when you flip the switch and see your home transformed. The oohs and aahs from passersby. The warmth it brings on a cold winter night.
So take your time. Plan. Test. Use the right tools. And don’t be afraid to ask for help—whether it’s a friend holding the ladder or your kid handing you clips.
Remember: the best displays aren’t the flashiest. They’re the ones that feel thoughtful, safe, and full of heart.
This year, skip the stress. Follow this guide, and you’ll have a holiday display that’s not just beautiful—but built to last.
Now go string those lights. And when you’re done, pour yourself a hot cocoa, step back, and enjoy the glow. You’ve earned it.
Happy decorating.

